How to Apply One-Coat Plasters: Step-by-Step Guide
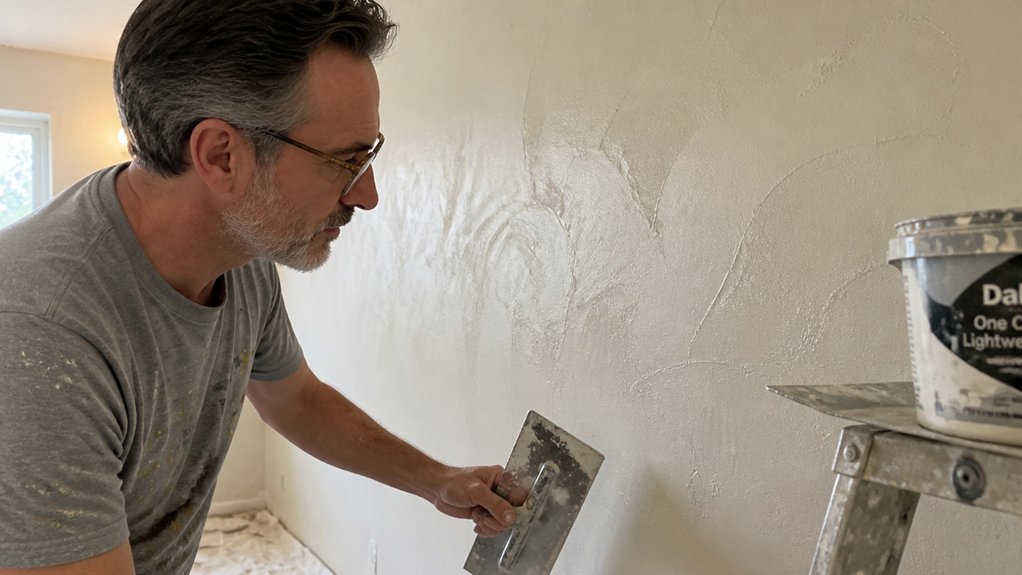
One-coat plasters sound like a shortcut, but getting that flat, paintable finish is all about reading the wall first. If you skip the prep, you will end up with patchy suction and a rough surface that ruins your topcoat.
Check the wall’s absorption before you mix anything, then adjust with a bonding agent or a light mist. You will also need to nail the water ratio and cure time, or your primer will highlight every flaw later.
This guide walks through the full process, including the exact mix and how to fix mistakes before they dry. Stick with it, and you will have a smooth base ready for any sheen.
Quick Answer
- Assess suction with a damp sponge test; treat low or high suction before plastering.
- Mix 7.5 liters water per 12.5kg bag; sprinkle plaster into water, not reverse.
- Apply two thin coats at 8mm each; rule off second coat for a flat plane.
- Mist overly dry substrates hard; avoid thick layers to prevent cracks and bubbles.
- Wait full cure (up to 24 hours in damp air) before painting or topcoating.
Check Substrate Suitability and Suction for One-Coat Plaster Before You Start
You cannot skip substrate prep and still get a flawless one‑coat plaster finish. I have tried it, and the result was bubbling, cracking, and a full weekend lost to redoing the work.
Start by checking the wall for dampness, oil, and shiny paint. Smooth, low‑suction surfaces will not grip plaster, so you need to know what you are working with before you mix anything.
Suction control is the art of balancing how dry your wall is. If the background is high‑suction, like fresh render or old lime plaster, wet it down first to slow the drink.
For glazed or painted surfaces, reach for a bonding agent like Bond‑it. No exceptions, because a slick surface will reject the plaster just like water on a waxed car.
Spend ten minutes testing the wall with a damp sponge and a quick scratch. If water beads up, you have low suction; if it soaks in fast, you have high suction, and both need different treatment.
Think of it like sanding wood before a topcoat: you would not put polyurethane over a greasy, glossy surface and expect it to hold. The same logic applies to plaster, so treat the wall like you would a raw timber edge before varnish.
Use a clean mist sprayer to dampen thirsty backgrounds, but do not soak them, because a dripping wall is just as bad as a dry one. Let the surface sit for a few minutes until it feels cool and matte, not wet.
When you do apply the one‑coat, keep a wet edge and work in manageable sections to avoid lap marks. A brush or trowel line that dries unevenly will show through the final finish, so keep your pace steady.
Remember the difference between drying time and cure time: plaster may feel set in an hour, but it needs days to fully harden. Do not rush to paint or topcoat over it, or you will trap moisture and cause the finish to fail. For example, the Meoded Lime Wash Base Coat Primer lists a 5–8-hour dry time and an 8-hour full-cure time, but damp, chilly air can extend full cure up to 24 hours.
My verdict is simple: check the substrate first, control the suction, and you will save yourself a redo. Skip it, and you are just gambling with your time and materials.
Mix One-Coat Plaster With 7.5 Litres of Water per 12.5kg Bag
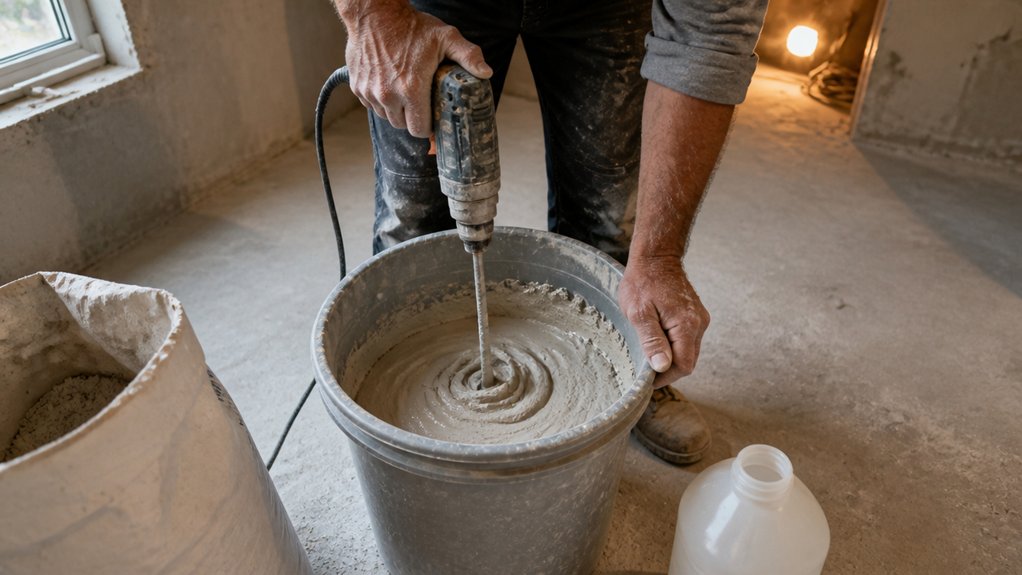
Measure the water first. Use exactly 7.5 litres for every 12.5kg bag of Thistle one-coat plaster, just like a primer needs its specified coverage.
Getting this ratio right is not fussy; it is simple physics. Too little water gives you a stiff paste that fights your trowel, like dragging a brush through old varnish. Too much water turns the mix into a sagging slump that will not hold its shape on the wall.
| Bag Size | Water Needed | Coverage at 13mm |
|---|---|---|
| 12.5kg | 7.5 litres | 1.125 m² |
| 7.5kg | 4.2 litres | 0.675 m² |
| 25kg (2 bags) | 15 litres | 2.25 m² |
| 50kg (4 bags) | 30 litres | 4.5 m² |
Sprinkle the plaster into the water, not the other way around. Mix on a slow speed until every lump disappears, similar to stirring a topcoat to a uniform sheen without whipping in air.
Over-mixing is your enemy, as it shortens the working time and leaves you chasing a sticky, unworkable mess. I learned that the hard way on my first ceiling, so trust the clock and the feeling of the mix.
Keep a wet edge while troweling, just like you would with satin paint, and aim for an even 13mm thickness across the surface. Let the plaster set firm before you finish, but do not walk away for too long.
Plan your batches so you can apply and flatten before the material stiffens. If you need more, mix a fresh bag rather than adding water to an old one.
Measure like your finish depends on it, because it does. The correct hydration gives you a smooth, paintable surface ready for primer and your final coats.
For larger batches, pentagon mixing paddles handle thick plaster paste more efficiently by preventing drill wobbling and reducing wrist strain.
Apply the First Coat in Thin Layers, Then Level the Second for a Smooth Finish
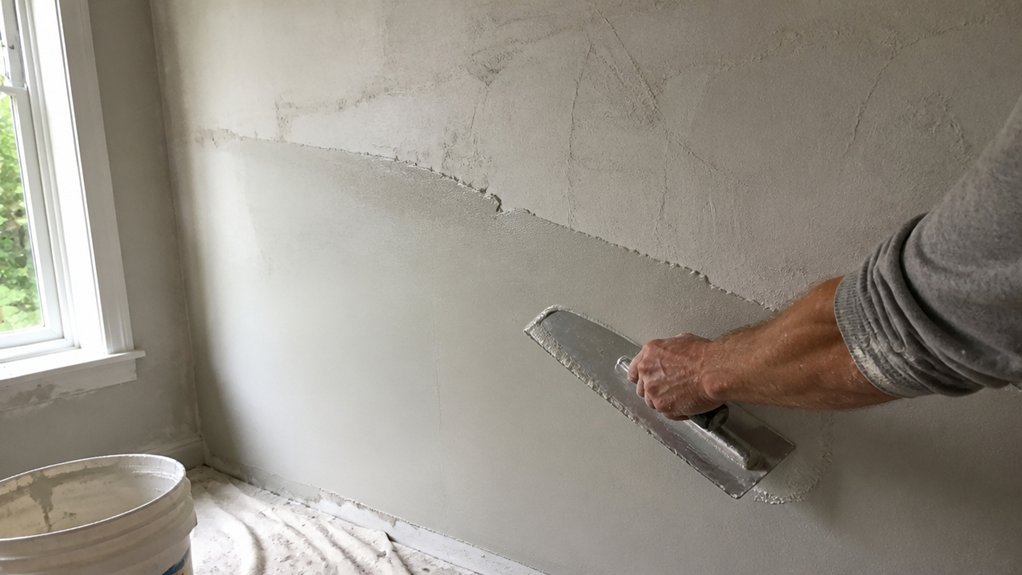
First, spread your first coat in thin passes at about 8mm per layer. Think of buttering toast with restraint, not feeding a hungover teenager.
You are building a base, not a mountain, so work fast but watch the suction control. If your background is thirsty, dampen it first or you will fight the setting process.
Roughly level this first coat, then let it firm up slightly before moving on. The second thin coat goes on smooth, and here is where you rule it off for a flat plane.
Ambient temperature sets your pace, so a hot room means hurry and a cold room lets you take your time. Do not overwork the surface, just close it with a clean trowel to avoid lap marks or brush strokes.
This is how you get that smooth finish without fighting the material. Trust the layers, not the muscle, and keep your drying time in mind between coats.
Use a drop cloth and painter’s tape to protect edges, and stick with a low VOC primer if you want fewer fumes. The final topcoat sheen, whether satin or matte, will sit better on a level base.
A clean trowel is your best friend here, so keep it wiped and ready. Sanding between coats with a fine grit, like 220, helps knock down any tiny ridges.
Remember that drying time is not the same as cure time, so wait before you stress the surface with heavy use. Simple steps, steady hands, and you will get that even finish every time.
For challenging painted or low-suction surfaces, a bonding coat creates the mechanical key needed to hold the fresh plaster securely.
Fix One-Coat Plaster Mistakes: Cracks, Trowel Marks, and Uneven Patches
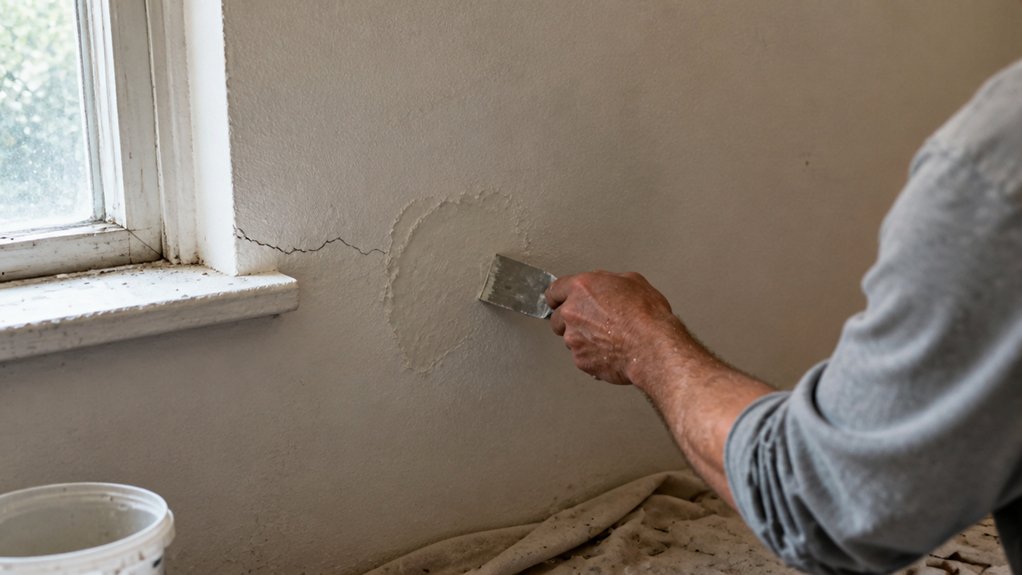
Every one-coat plaster patch develops its own quirks, and I have fixed plenty of cracked, marked, or wobbly spots over the years.
Cracks usually mean the base coat was too dry or the layer went on too thick, so I mist the substrate hard before spreading anything.
That moisture is your first defense, and it gives the plaster a fighting chance to bond instead of shrink and split.
For trowel marks, the fix is all in your wrist: keep the blade clean, use long overlapping sweeps, and never chase a drying spot like a cat after its tail.
If you catch a patch going uneven, fill the low areas with fresh mud, wait until it turns tacky, then run a flat float across the whole surface to knock it level.
Let that sit for ninety minutes, then finish with a tight final trowel to close the surface smooth.
Think of the first pass as your primer coat, and the last pass as your topcoat, because the sheen of a good finish depends on that final touch.
Use a 120-grit sanding block lightly between coats if you see ridges, but keep the dust down with a damp drop cloth nearby.
Keep a wet edge on your trowel at all times, and work in small sections so you never lose that working time.
Drying time is not cure time, so give the patch a full day before you paint, and a low-VOC primer will seal the plaster without raising grain.
If you fix fast and scrape slowly, you will skip the redo and move straight to varnish or paint without a second thought.
For stubborn cracks that reappear, consider a low-shrink filler over the cured base to reduce repeat filling and sanding passes.
Frequently Asked Questions
Can I Apply One-Coat Plaster Over Existing Paint?
Yes, you can apply one-coat plaster over existing paint, but only after proper surface preparation. You must first perform an adhesion test and lightly key the painted surface with 120-grit sandpaper to create a mechanical grip.
For painted plaster, a bonding agent is essential because it provides the necessary tooth for the coating to grab onto. Without this step, you’ll be skimming over paint that will eventually delaminate and crack.
After keying, wipe down the wall with a damp cloth to remove dust, then apply a thin mist coat of bonding agent. Wait 24 hours for it to cure before troweling on your one-coat plaster, keeping the layer at 3 to 5 mm thick.
How Long Should One-Coat Plaster Dry Before Painting?
One-coat plaster should dry for at least seven days before painting, though this assumes standard conditions and a single coat. Rushing this step traps moisture and leads to peeling paint or discoloration later.
Check for dampness by pressing plastic wrap against the surface and sealing the edges with tape. If condensation appears under the plastic after 24 hours, the plaster is still releasing moisture and needs more time.
Humidity and thickness are the biggest variables, so a 10mm coat can take up to two weeks in a damp climate. For a practical test, sand with 120-grit paper: if the dust clumps instead of powdering, wait another 48 hours.
Use a moisture meter set to the plaster mode if you have one, as readings above 12% mean stop painting. Otherwise, prime with a mist coat of thinned emulsion before your final finish, which seals the porous surface evenly.
What Is the Ideal Room Temperature for Plastering?
The ideal room temperature for plastering is between 10 and 20°C. Below 10°C, the curing process slows down dramatically, which can leave the surface damp and weak for days.
Above 20°C, the mix dries too fast, risking cracks and a powdery finish. For a practical tip, keep the room at about 15°C and avoid direct sunlight on the wall.
You can also use a thermometer to check the surface, not just the air. If you are working in a colder space, delay the job until it warms up, or use a space heater set low.
For a drying time example, a 10mm coat at 15°C will typically be ready for a first trowel in about two hours. The ideal plastering temperature range also applies to the water you mix with, so use lukewarm water if the room feels cold.
Can One-Coat Plaster Be Applied in a Single Thick Layer?
No, one-coat plaster should not be applied in a single thick layer. Factory limits cap each coat at roughly 8mm, so a thick pass invites severe cracking risk and weak suction control across the substrate.
Instead, build the surface with multiple thin layers, letting each one firm up before the next. For a typical repair, apply a first coat at 6mm, scratch it with a comb, then top it after 30 to 45 minutes at another 5mm.
This two-coat approach also lets you adjust the suction evenly, avoiding bald patches. If you must fill deeper than 15mm total, switch to a bonding agent or backing plaster first, then finish with your one-coat material.
How Do I Repair a Small Hole Using One-Coat Plaster?
To repair a small hole using one-coat plaster, first clean and wet the edges, then press the plaster in firmly with a putty knife. Keep the fill depth under 8mm, as thicker layers risk cracking and poor adhesion.
Scrape the surface flush while the plaster is still damp, using a wide blade for a level finish. Avoid over-troweling, since too much smoothing can pull the material away from the edges and create a low spot.
For best results, let the patch dry for at least 24 hours before sanding with 120-grit paper. If the hole is deeper than 8mm, apply a second thin coat after the first sets, rather than filling all at once. This method, sometimes called skim patching, gives a seamless repair ready for primer.
Rounding Up
To apply one-coat plasters, you work the wall in thin, swift passes and accept that touch-ups are part of the finish.
Mix the plaster exactly to the bag’s spec, then move fast, because the clock starts the moment water hits powder.
Check your surface for missed spots before it dries, and smooth them with a damp trowel instead of a fresh coat.
Don’t chase perfection, chase a flat surface you can live with, since the bag costs about $15 and your sanity is worth more.
Write down your working time after the first mix, so you can pace the next batch without guessing.
Test your pressure on a corner first, and adjust until the coat feels even under the blade.
Breathe, and remember you are not building Rome, just a decent wall.
Next, read up on finishing trowel techniques for a smoother face.