Can You Paint Wet Plaster or Damp Walls?
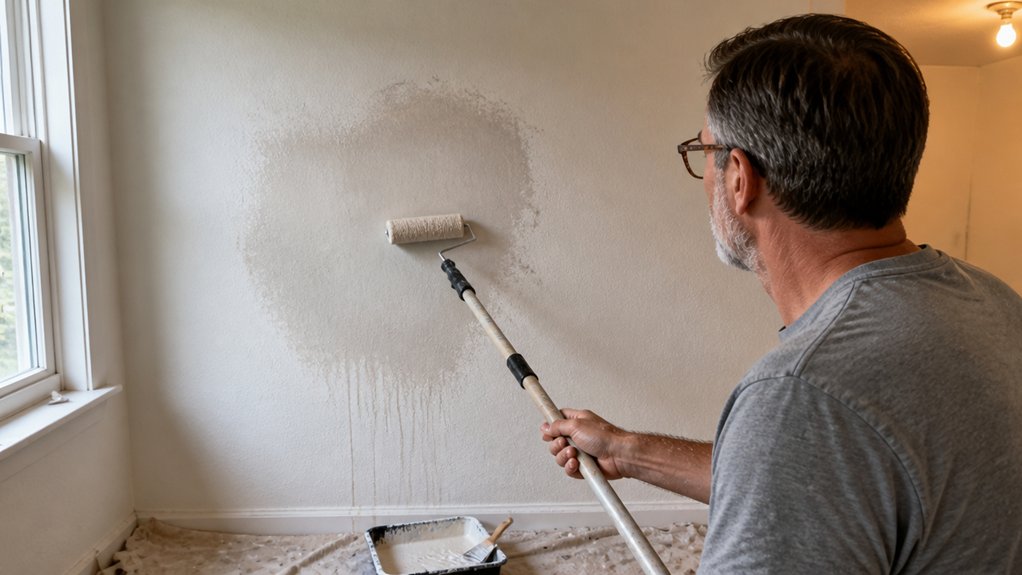
So you just skimmed the plaster and you are already picking out paint colors. Hold that thought.
Painting wet plaster or damp walls is the fastest way to ruin a fresh finish, causing peeling and blotchy salt stains before the first coat cures. The good news is that this is avoidable with a simple drying test, the right primer, and a bit of patience.
In this guide, I’ll cover how to test for moisture, prep the surface, and choose the right materials so your finish stays flawless.
Here is the short version: wait for a dry surface, then use an alkali-resistant primer before your topcoats. Stick with me, and I’ll show you exactly how to avoid the rework and get a smooth, durable paint job.
Quick Answer
- Never paint wet plaster; trapped moisture causes peeling, blistering, and permanent finish failure.
- Use a plastic sheeting test overnight to confirm plaster is fully dry before priming.
- Moisture readings above 15% demand waiting; below that, pair with plastic test for certainty.
- Wet walls draw salts to the surface, creating efflorescence that ruins the paint finish permanently.
- If painted damp, full scraping and repainting of the entire room becomes necessary.
Test Your Plaster’s Dryness Before Painting
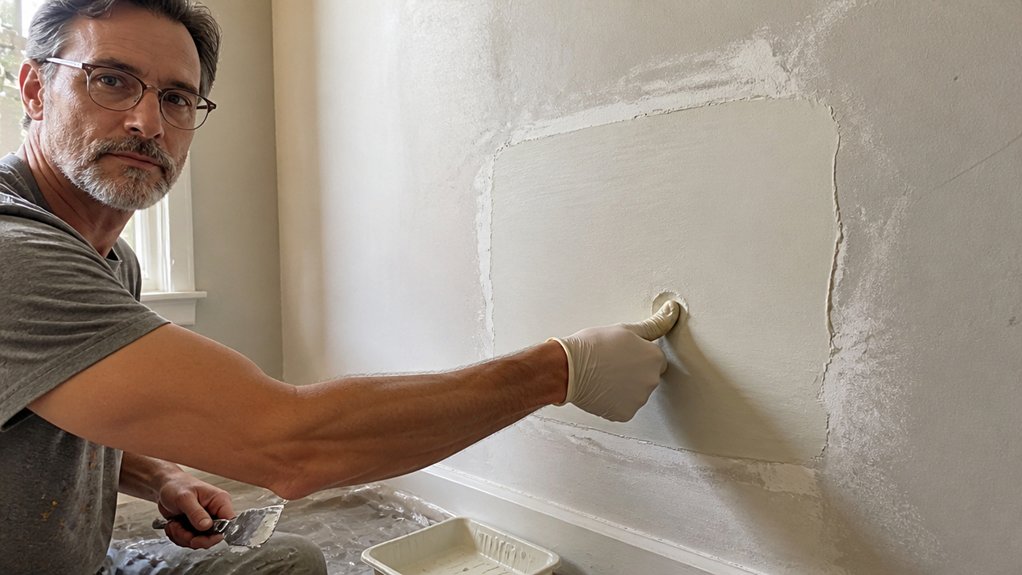
Patience is the whole game when you’re painting fresh plaster. If you rush it, you’ll be fixing peeling paint and blotchy spots before summer.
You don’t need expensive tools to test dryness. Cut a 30 cm square of plastic sheeting, tape it tightly to the wall, and seal every edge with painter’s tape. Leave it overnight, then check the underside in the morning.
Skip the fancy gadgets: tape plastic sheeting to the wall overnight. Morning droplets mean the plaster’s still wet.
If you see moisture droplets, the plaster is still releasing water, so wait another week before you even think about primer. For a faster read, grab a handheld moisture meter with prongs and press it into the wall.
Anything above 15% means hold off on the topcoat. Under that, you’re clear to prep, but I’d still pair the meter with the plastic test to be sure. Pin-type meters provide direct readings from that exact spot, but a pinless scan can catch hidden pockets up to ¾ inch deep without leaving holes.
A week of waiting beats repainting the whole room come spring, especially when the sheen goes uneven. Once the plaster reads dry, brush on a quality primer, then sand lightly with 120 grit before your satin or matte finish.
Keep a wet edge as you roll, and avoid lap marks by working in full wall sections. The drying time after a coat is not the same as full cure time, so give the finish a few days before heavy use.
Why Wet Plaster Ruins Paint: and How to Avoid It
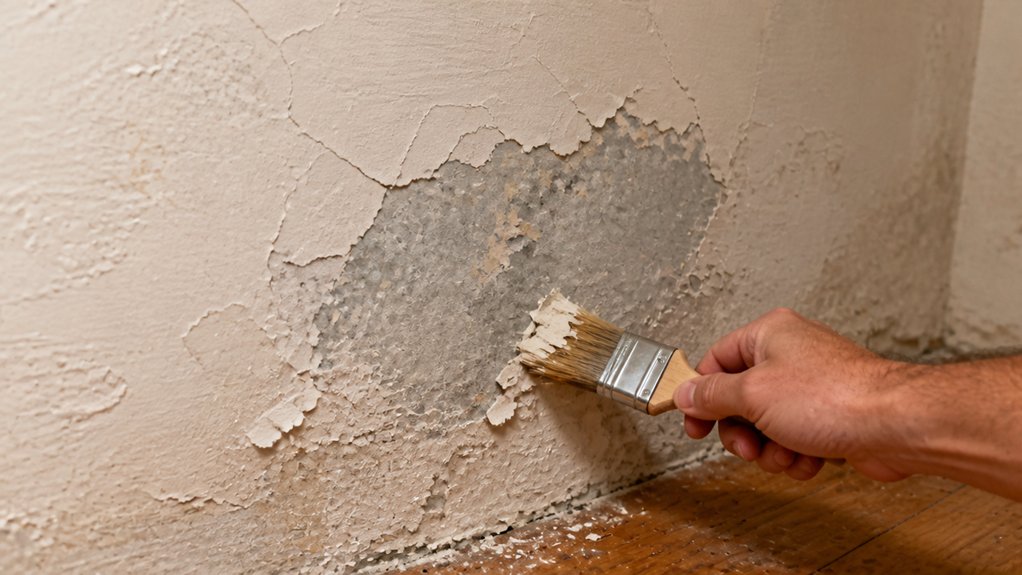
When you paint over damp plaster, you’re setting yourself up for peeling and blistering down the road. The moisture trapped under the paint breaks down the binder, which is the glue that holds the coating together, so it loses its grip and lifts off the wall.
Water also pulls salts to the surface, leaving a white, fuzzy residue called efflorescence that permanently ruins the finish. Even a light coat over a slightly wet wall can double your rework time, and I’ve scraped an entire hallway to learn that lesson.
The fix is simple: wait for the plaster to dry completely before you reach for a brush. You can test dryness by taping a sheet of plastic over the wall for 24 hours; if condensation forms underneath, it’s not ready.
Once it’s dry, apply an alkali-resistant primer, let it cure fully, then add your topcoat. Efflorescence removal via brushing is necessary before applying alkali-resistant primers to ensure proper adhesion. Use a satin or matte finish for walls, and keep a wet edge to avoid lap marks when rolling.
Drying time and cure time are different, so don’t rush the primer either. A drop cloth and painter’s tape protect your floors and trim while you work, but the real protection is patience.
Dry plaster takes paint the way it should, and you won’t be repainting every six months. Just wait, prime, and paint in that order, and the finish will stay put.
Prep the Surface: Sand, Fill, and Remove Dust
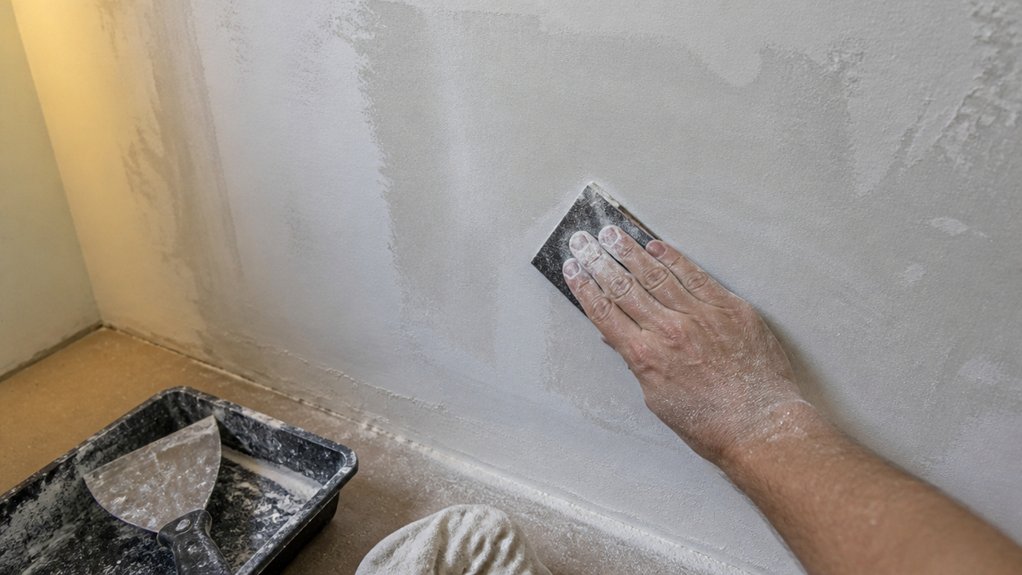
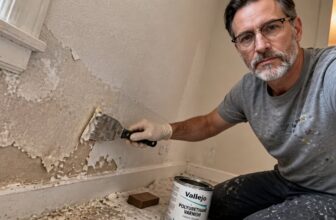
Before you open the primer can, give the wall a serious once-over. Loose flakes, dust, and dried plaster bits will ruin adhesion, so scrape rough spots with a putty knife and fill any dings with lightweight joint compound.
Sand gently after the compound dries, because over-sanding exposes the base coat and changes how the wall absorbs primer. Plaster curing has its own timeline, and humidity plus thickness decide when you can sand without turning the surface to powder.
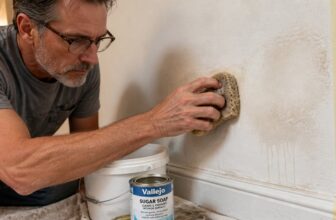
After sanding, wipe the wall with a barely damp cloth, never vinegar, since vinegar dissolves gypsum. Let the dust settle, then wipe again with a clean, dry cloth to catch any leftover residue.
A smooth, dust-free wall takes an extra hour now, but it saves you a weekend of peeling paint later. Use a fine grit like 120 or 150 for the final pass, and keep a wet edge when you roll on primer to avoid lap marks.
Check the primer’s drying time versus full cure time, because a fast-dry product still needs proper cure before a topcoat. Lay down a drop cloth and use painter’s tape on trim so you can focus on the wall without worrying about splatter.
For stubborn spots, choose a stiff high-carbon steel blade to resist flex under pressure and avoid edge rollover during forceful scraping.
Choose an Alkali-Resistant Primer and Topcoat
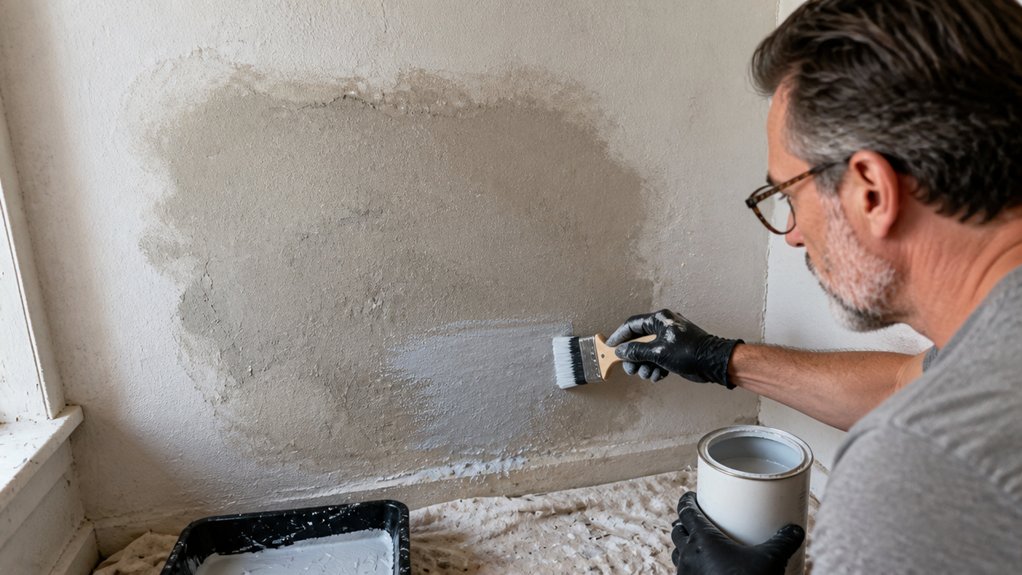
Fresh plaster sits around pH 12–13, which is strongly alkaline, and regular paint can’t handle that assault. It will blister or burn off, so you need a barrier that stops the alkali from migrating into your finish.
Start with a dedicated alkali-resistant primer, and don’t skip it. A quality plaster primer seals the porosity and blocks that chemical attack, so your topcoat has a stable surface to bond to. Any-angle spray tips can ease application on overhead or vertical plaster surfaces, but they don’t replace the primer’s protective barrier.
Start with a dedicated alkali-resistant primer—don’t skip it. It seals porosity and blocks chemical attack.
Check the drying time on the primer label before you plan your day. Solvent-based primers need 18 to 24 hours to dry, while water-based ones recoat in about four hours, and I’ve learned that difference the hard way.
For the topcoat, use an alkali-resistant latex or alkyd system on standard gypsum plaster. If you’re working with lime-based plaster, an epoxy finish is mandatory, since nothing else will hold up.
Watch your application technique with the topcoat, too. Keep a wet edge to avoid lap marks, use a roller with a 3/8 inch nap for smooth plaster, and sand between coats with 220 grit if you want a satin or matte sheen without brush strokes.
VOC levels matter if you’re painting indoors, so pick low-VOC products and lay down a drop cloth to protect the floor. The primer’s drying time is not the same as its cure time, so wait the full cure period before heavy use or washing.
Skip the primer and you’ll be repainting by spring, no question. I’d rather wait an extra day than curse my past self for a whole season, so do the prep right and the finish will last.
Frequently Asked Questions
How Long Should New Plaster Dry Before Painting?
New plaster should dry for four to six weeks before painting, depending on the depth of the plaster and the room’s ventilation. You’ll know it’s ready when a moisture meter reads under 15%, which is the safe threshold for most emulsion paints.
Check the plaster dampness levels at the surface and about 10mm deep, since the top can feel dry while the core remains wet. If you rush the plaster curing time, you risk sealing in moisture, which leads to peeling paint and blistering later.
A practical tip is to use a dehumidifier for the first two weeks to speed evaporation, but keep windows cracked to avoid a fast skin that traps dampness. For the first coat, use a mist coat of thinned paint at a 4:1 ratio of paint to water, then follow with two full coats. This approach works for standard drying, but always test with a hygrometer before you start.
Can I Speed up Plaster Drying With a Dehumidifier?
Yes, you can speed up plaster drying with a dehumidifier, but only if you manage the airflow carefully to avoid cracking. Point the unit away from the fresh plaster and keep the room sealed, since direct drafts cause surface skinning while the core stays wet.
Run the dehumidifier for 48 hours at a steady 50% relative humidity, and you’ll typically cut drying time by a third compared to still air. Check the plaster color daily: an even light pink across the whole area signals safe moisture loss, while patchy dark spots mean you need to lower the fan speed.
For a standard 12mm skim coat, expect around 3 days with the unit on low, versus 5 days without. You’re still risking trapped dampness if you push it faster, so pair the dehumidifier with a moisture meter and wait for readings below 12% before priming.
Use controlled ventilation as your synonym for dehumidifier drying, and always leave one window slightly ajar to replace humid air. Remember, patience here prevents peeling paint or efflorescence later, so treat the machine as a helper, not a shortcut.
What Happens if I Paint Over Slightly Damp Plaster?
Painting over slightly damp plaster will cause the paint film to fail, leading to bubbling, flaking, and peeling. That moisture gets trapped under the coating, and it will push the paint off the surface as it tries to escape, often within weeks.
You need to let the plaster dry completely. For new plaster, this can take up to four weeks per 12mm thickness, but a simple test is to tape a small square of plastic sheeting over the area for 24 hours. If condensation forms underneath, it’s still too wet to paint.
Once it’s dry, apply a mist coat first: a 50/50 mix of water and emulsion, then follow with two full coats. If you’re using an oil-based primer instead, ensure the moisture content reads below 10% with a moisture meter. This extra patience prevents a costly redo and keeps your finish looking professional.
How Do I Know if My Plaster Is Fully Cured?
You can confirm your plaster is fully cured by combining moisture meter readings with a simple plastic sheet test. Press the meter against the surface daily, and tape a square of plastic sheeting overnight, checking that no condensation forms beneath it.
Hold off on painting until the cure timeline has passed, typically 3 to 5 weeks for fresh plaster.
For a practical check, wait until readings drop below 2% on a wood scale or 75% on a plaster scale, which indicates safe moisture levels. Respect the full 28 day minimum even if the surface feels dry to touch, as trapped moisture causes blistering later.
Use a fine sanding pass with 120 grit just before priming to remove any plaster bloom, then apply a mist coat of thinned emulsion. Search for “plaster drying times” to compare regional humidity effects, but trust the meter over the calendar.
Can I Use a Moisture Meter to Check Plaster Dryness?
Yes, you can use a moisture meter to check plaster dryness, and it is the most reliable method for avoiding paint failure. I always take readings at several depths and locations, because surface readings can mislead you when deeper moisture remains trapped.
For the best results, push the pins fully into the plaster and test at least three spots per wall section. I recommend waiting until the meter shows under 15% before applying any primer or paint, as anything higher risks blistering and poor adhesion.
A practical tip is to pair the meter with a simple plastic sheet test: tape a square of plastic over the plaster for 24 hours and check for condensation underneath. This confirms the meter’s reading and catches hidden dampness, especially in cooler corners or after a skim coat.
Remember that curing time varies with thickness, so a 12 mm patch might take 7 to 10 days, while a full wall could need three weeks. When in doubt, wait an extra day, since repainting over damp plaster is far more costly than a bit of patience.
Rounding Up
Don’t paint wet plaster or damp walls. I’ve peeled off enough bubbled coats to know the cure is patience, not primer.
Test dryness with a plastic sheet taped overnight. If any condensation shows up, wait another day and repeat the test.
Use an alkali-resistant primer before your finish coat. It costs about $25 a gallon and stops lime from eating your paint.
Paint only when the plastic test shows zero moisture. You can also check the wall with your palm; it should feel dry, not cool.
Read about sealing new plaster before priming for a deeper guide on prep.