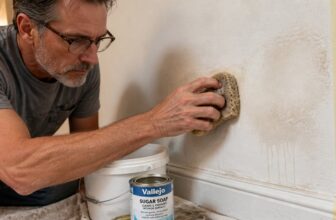
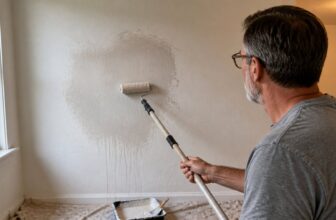
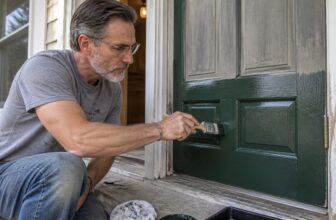
Can You Paint Over Peeling Paint?
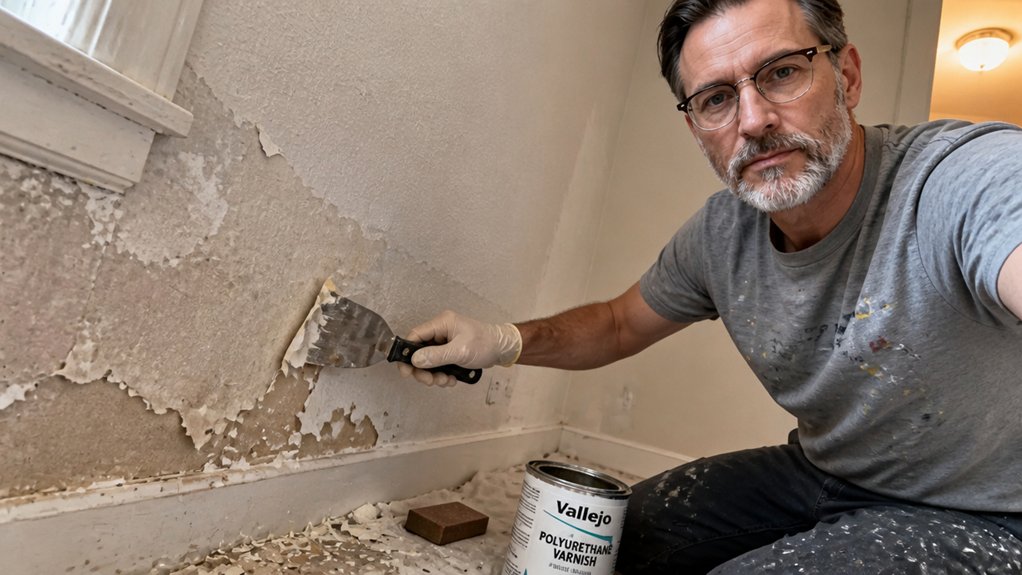
You’re staring at peeling paint and wondering if a fresh coat can just cover it up. That fix never lasts, because the failing layer underneath pulls your new paint right off with it.
So, can you paint over peeling paint? Only after you scrape away every loose flake, sand the edges smooth, and apply a bonding primer to bare spots. Skip that surface prep and you’ll waste time, money, and a full day of drying time.
This guide walks you through the exact scraping, sanding, and priming steps, plus the right sheen and coats for a lasting finish.
Stick with it, and you’ll get a smooth, durable surface you can actually trust for years.
Quick Answer
- Painting over peeling paint fails because the new coat pulls away the old layer.
- Scrape off all loose flakes with a putty knife until edges stop lifting.
- Spot-patch areas under one square foot; remove the entire section for larger damage.
- Prime bare spots with a bonding primer to ensure the topcoat adheres properly.
- Fix moisture sources first; paint won’t stick over damp or blistered surfaces.
Stop: You Can’t Paint Over Peeling Paint
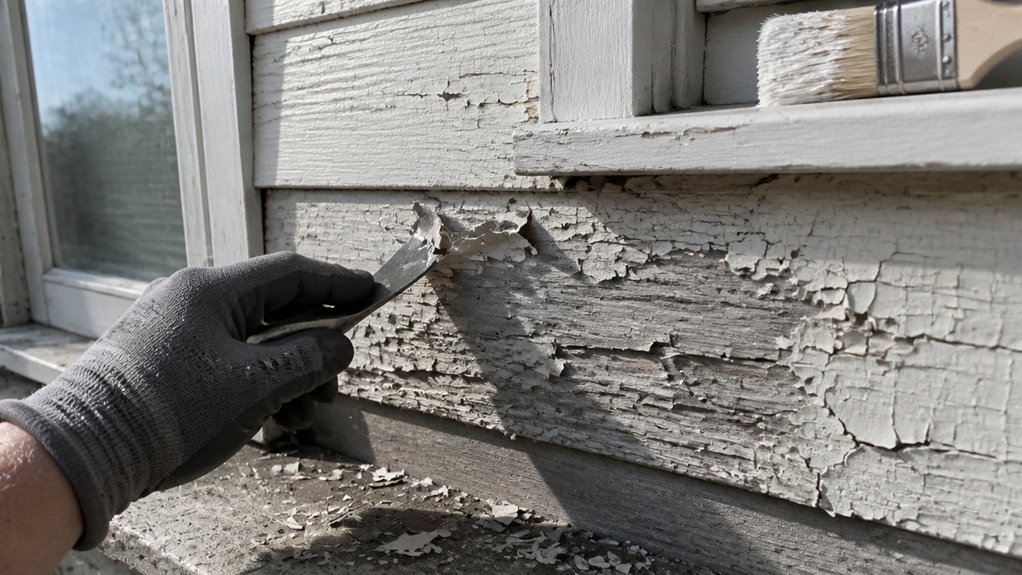
Peeling paint means the layer underneath has already lost its grip. Slapping fresh paint on top just gives the old film something to pull away with.
The new coat dries and shrinks, which yanks harder on the failing layer underneath. You’ll see fresh cracks and bubbles within months, not years.
Small spots under a square foot can be patched if the edges are firmly stuck. Sand the edges with 120-grit, spot-prime with a bonding primer, then topcoat.
Anything bigger means the whole section needs to come off. Use a scraper or a heat gun, and get down to a sound surface before you add primer.
Primer is your friend here because it seals the bare wood or drywall and gives the topcoat something to bite into. Skip it, and you’re back to peeling, no matter how good your satin or matte finish is. Water dilution ratios like 1 part emulsion to 4 parts water (20% solids) are ideal for primering, but avoid going weaker than a 1:5 ratio to prevent runoff and insufficient film thickness.
For a clean job, lay down a drop cloth and mask neighboring trim with painter’s tape. Work in sections, keep a wet edge, and watch your drying time so lap marks don’t show.
The honest rule is this: fix the foundation first. If the old paint won’t stick, nothing you roll or brush over it will either.
How to Prep Peeling Paint Before Repainting
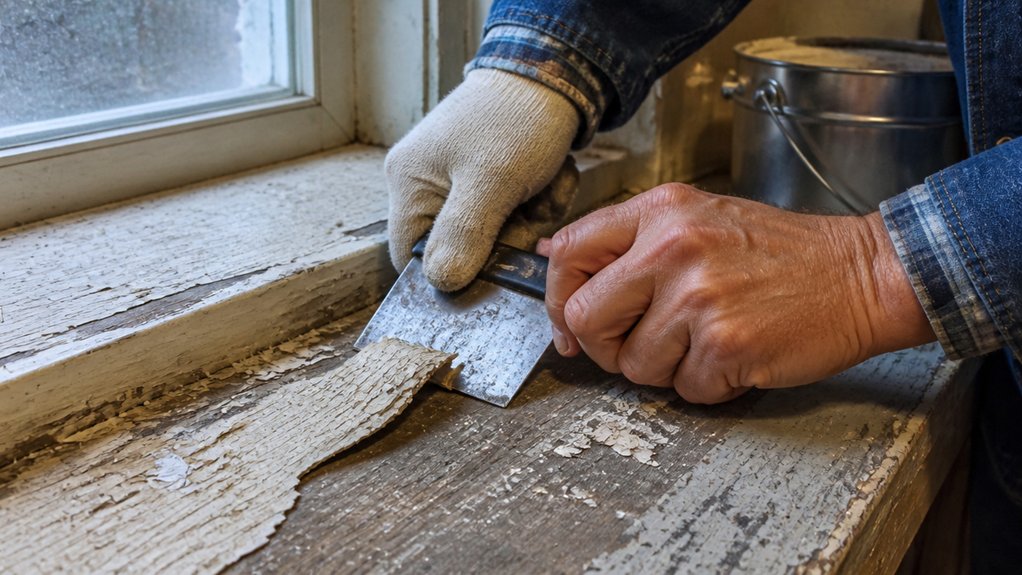
Peeling paint means the old coat is done, and you need to remove it before anything new goes on. Grab a stiff putty knife and scrape off every loose flake until the edge stops lifting.
Sand the bare edges with 120-grit paper to feather the sheen, so the transition between old paint and bare wood feels smooth. For deeper chips, fill the voids with lightweight spackle, let it dry, then sand again with 150-grit.
Wipe down the whole surface to remove dust, then wash it with a TSP solution and rinse with clean water. Let it dry fully, and check for any remaining rough spots by running your hand across the surface.
If you skip the cleaning or leave a bump, your new primer and topcoat will fail fast, especially in humid rooms. To loosen stubborn remnants, apply a soy-based gel that clings to vertical surfaces without dripping before you sand further. Use a good primer on the bare wood before your finish, and match your topcoat sheen to the room’s wear level.
Prep is most of the job, and it saves you from repainting again next season. A clean, level surface is the only thing that lets your new paint bond and stay put.
Why Does Paint Peel in Sheets and Blisters?

Paint peels in sheets and blisters when the bond between the paint film and the surface fails. That failure almost always comes down to moisture, poor prep, or heat pushing the coating off.
Dampness is the number one enemy. When water seeps in behind the paint, it lifts the film off the wall, creating bubbles that eventually pop and peel in large flakes. You can spot this early as raised blisters that feel soft to the touch.
Skipping surface prep guarantees trouble. If you paint over dust, grease, or old chalky paint, the new coat has nothing to grip, so it lifts away in sheets. Always wipe the surface down, sand with 120 grit to rough it up, and apply a proper primer before your topcoat. Choosing the right stripper can also help when you need to remove failing layers before repainting.
Heat stress speeds up the whole mess. Direct sun on a wall or a hot room causes the paint to expand and contract, which weakens the bond over time. This is why south-facing walls and areas near ovens or radiators peel faster than cooler spots.
To fix it right, scrape off all loose paint, sand the edges smooth, and prime bare wood or drywall with a stain-blocking primer. Then apply your topcoat in thin, even layers, keeping a wet edge so you avoid lap marks and brush strokes.
Work in the shade or on a mild day so the paint dries evenly. Check the label for drying time versus full cure time, and give it the full cure before you put any stress on the film. That patience is what keeps the paint stuck for years, not months.
Moisture Behind Walls
Peeling paint that comes off in big, wavy sheets instead of small flakes means moisture is pushing from behind.
That dampness usually gets in through a failed moisture barrier, which is your home’s raincoat.
Water collects inside the wall cavity and blisters the paint film until the whole coating lets go.
Don’t just scrape and repaint, because you’ll be putting fresh topcoat over a sponge.
Check your gutters, flashing, and siding joints before anything else.
A cheap fix like resealing a window might cost $20, but ignoring it means repainting every season.
The paint isn’t the problem, the dampness is, so find and stop the water first.
Once the leak is sealed, let the wall dry out fully, then sand the blistered area with 120 grit.
Prime the bare spots with a stain-blocking primer, and use a satin or matte sheen that breathes better than gloss.
Keep a wet edge when you roll on the topcoat to avoid lap marks, and watch drying time versus cure time.
Lay down a drop cloth and use painter’s tape on trim before you start.
If you skip the waterproofing step, your new paint won’t stand a chance, no matter how careful your brushwork is.
To ensure that new coating actually bonds, confirm the temperature stays between 50°F and 90°F during application, since colder or hotter conditions prevent proper curing and can cause the fresh paint to fail just like the old layer.
Surface Prep Failures
Peeling paint in sheets or blistering like bubble wrap means the surface wasn’t prepared right. It’s not bad luck, it’s a skipped step from the first job.
Chalky residue left on the wall acts like a greasy barrier, so the new paint slides off. You have to remove all loose material and wash the surface with a degreaser before anything else.
Feathered edges are your friend. Sand the old paint’s edges down to a thin, smooth taper so the new coat blends in without a visible cliff.
Even if the sanding looks perfect, primer compatibility is non-negotiable. A water-based primer over oil-based paint might peel in a year, and the same goes for mismatched topcoats.
Run an adhesion test before you commit. Cut an X through the old paint with a razor, press down painter’s tape, then yank it off quickly.
If the tape pulls up big flakes, the old coat isn’t holding. That’s your sign to strip or scuff more.
Match the primer’s resin to the topcoat’s resin. For example, use a shellac-based primer over stained wood, then a polyurethane topcoat for durability.
Watch your drying time versus cure time. You can recoat after a few hours, but the finish won’t fully harden for days, so avoid heavy use until then.
Keep a wet edge while brushing and roll fast to avoid lap marks. And always sand between coats with 220 grit for a smooth, even sheen.
For stubborn spots where the old paint won’t budge, use a carbide scraper to remove the remaining buildup without gouging the wood or drywall underneath.
Heat and UV Stress
Heat and UV stress is exactly why paint on south- and west-facing walls often fails in big, ugly sheets or with blister-like bubbles that pop when you touch them. Intense sun heats the surface unevenly, baking the topcoat while trapped moisture or solvents underneath expand.
That pressure causes film blistering, those little pockets under the paint. They crack and peel off in chunks, leaving bare spots that need sanding and a fresh primer before you can topcoat again.
It’s not the paint’s fault, so don’t blame the can or your brushwork. It’s physics, plain and simple, and you can fight it by choosing a high-quality exterior primer and a topcoat with a satin or gloss sheen that reflects more UV. If the existing coating has already failed on a metal surface like a BBQ or exhaust pipe, you’ll need to strip it bare and apply a specially formulated high heat spray paint that withstands the same thermal cycling without blistering.
On those hot walls, use a light-colored paint and keep the wet edge tight, working fast so you don’t get lap marks. Let the first coat dry fully, then check the forecast for at least 48 hours of dry, mild weather before you add the finish coat.
Drying time and cure time aren’t the same thing, so wait the full week before you wash or touch the surface. If you see bubbles forming while you work, pop them immediately with a brush tip and smooth the area before it skins over.
Sand down any old blisters with 80-grit, patch with a flexible exterior filler, and wipe off the dust with a damp cloth. Use painter’s tape and a drop cloth to protect trim and plants, and stick to low-VOC paints to keep the fumes down on a hot day.
Do the work in the morning or late afternoon, when the sun isn’t hammering the wall, and you’ll stop the peeling before it starts. That’s the hands-on fix, and it holds up season after season.
When Can You Keep the Sound Paint?
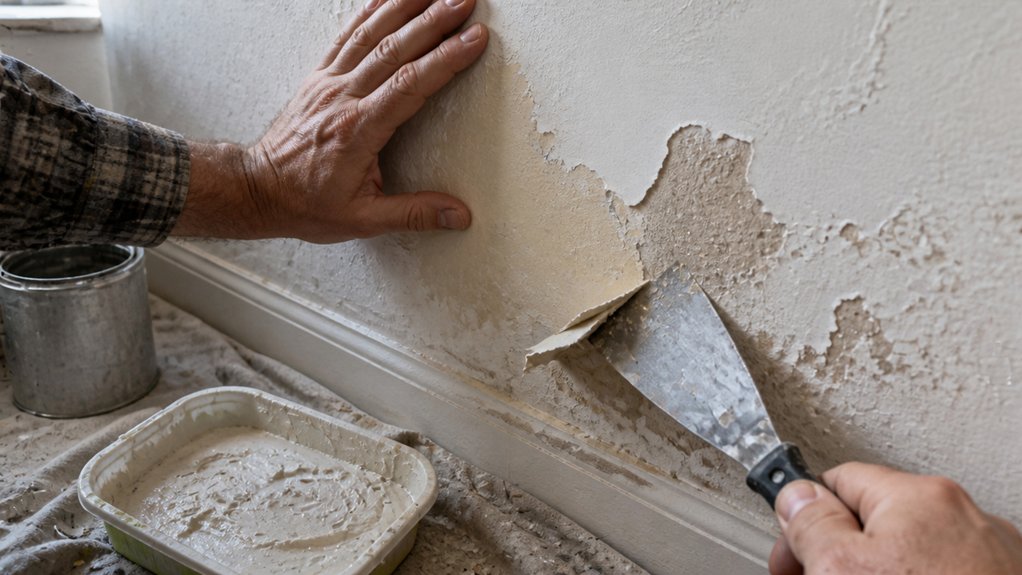
You can keep sound paint if it passes a simple tape test. Press a piece of painter’s tape hard into the paint, then yank it off fast. If the paint stays put, it’s sound enough to coat over.
Start by cutting an X through the paint with a utility knife, then press the tape over the center and pull it off quickly. Check the peeling tolerance next; any area smaller than a square foot can be spot‑patched instead of repainted.
Scrape off loose edges with a putty knife, then feather them smooth with 120‑grit sandpaper. Prime those bare spots with a bonding primer before you touch the topcoat.
Match your new paint to the old one, because latex over oil will blister every time. Oil‑based paint needs an oil‑based topcoat, or a primer made to bridge the two. Surface prep with a deglazer ensures proper adhesion on finished leather, just as a bonding primer does for painted walls.
Match your new paint to the old one; latex over oil will blister every time.
If the paint holds firm after the tape test, keep it and move forward. Just don’t expect peeling sections to stay quiet under a fresh layer of paint, because they won’t.
Use a drop cloth to protect the floor, and keep a wet edge while rolling so you don’t leave lap marks. The paint will dry in hours, but wait the full cure time before washing the wall.
Is Rot or a Leak Hiding Under the Peeling Paint?
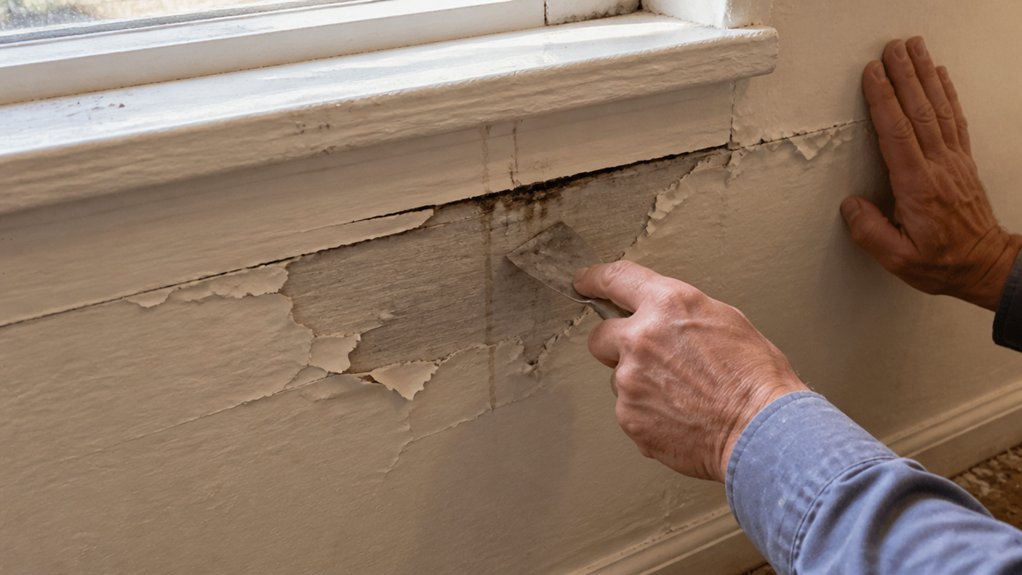
Peeling paint can hide two very different problems: rot or a leak. Before you scrape anything, test the area with a putty knife. Push gently into the soft spots; if the wood sinks like a sponge, you have decay, not just a paint failure.
Look for dark stain rings or a musty smell behind the trim. That’s the classic sign of water sneaking in from a flashing gap or a clogged gutter. The bubbled paint film is just a symptom, not the disease.
Covering it with fresh paint is like putting a bandage on a broken bone. It won’t hold, and the moisture keeps working underneath. First, hunt down the dampness source with a flashlight and follow the trail of water marks.
Replace any rotted wood with solid lumber, then prime the bare spots with a quality stain-blocking primer. Use a sanding grit like 120 to feather the edges smooth before you apply your topcoat. Choose a satin or gloss sheen for exterior work, since it sheds water better than flat.
Remember the drying time versus cure time: paint may feel dry in a few hours but take days to fully harden. Keep a wet edge while rolling to avoid lap marks, and lay down a drop cloth to catch drips. Fixing the leak first and letting the repair cure is the only way to stop the cycle. If the rot has penetrated deep into the fibers, a low-viscosity epoxy hardener can consolidate the damaged wood before you prime and paint.
Handle Lead Paint Safely in Older Homes
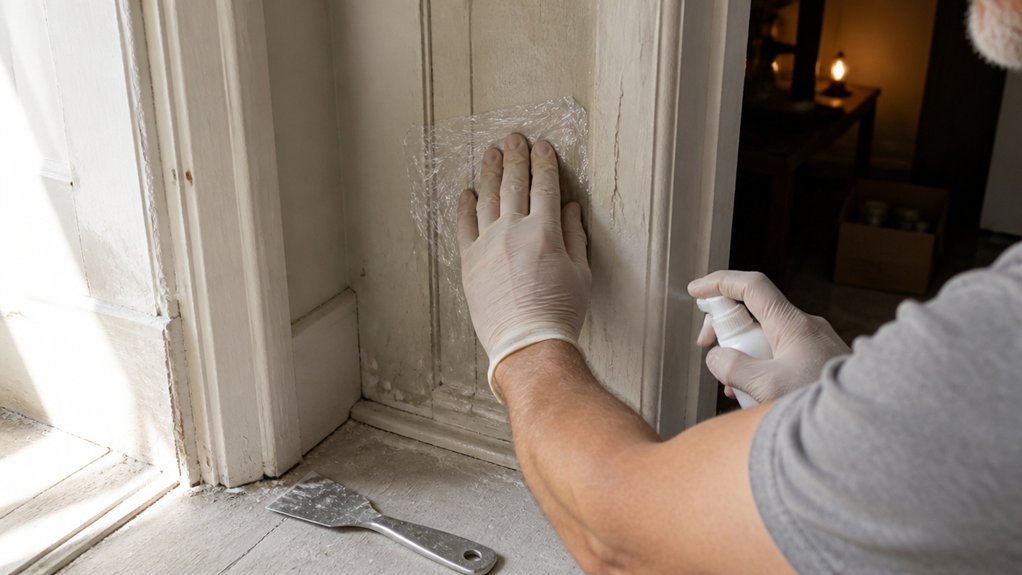
If your house was built before 1978, treat every flake of paint as if it contains lead. This isn’t just stubborn old paint; it’s a neurotoxin, and any sanding or scraping sends dangerous dust into the air.
Before you start any work, run a simple lead test using a swab kit from the hardware store, which costs around $15. For a more precise answer, send a paint chip to a lab, but either way, never skip this step.
Once you confirm the presence of lead, wet the surface with a spray bottle before scraping to keep dust from becoming airborne. This wet-scraping method is your first line of defense against spreading particles.
Use a vacuum with a HEPA filter to clean up any debris, since a regular shop vac will just blow fine lead dust back into the room. Seal off the workspace with plastic sheeting taped tightly across doorways and vents to contain the mess.
If the area you need to strip is larger than 6 square feet, hire a certified lead abatement contractor. For small jobs, work in sections and keep a damp drop cloth underneath to catch falling chips.
Pay attention to the paint layers beneath the surface, as lead is often hidden under newer coats of latex or oil-based paint. When you repaint, apply a quality primer first, then your chosen topcoat with a satin or semi-gloss sheen for easier cleaning.
Choose a low-VOC paint to reduce fumes, and remember that drying time is not the same as cure time, so give the finish a few days before heavy use. Avoid dry sanding entirely, and if you must smooth a surface, use a wet sanding grit like 220 and keep the area misted.
Use painter’s tape to protect trim and edges, and always check for lap marks by keeping a wet edge while rolling on the topcoat. For crisp lines on delicate surfaces like fresh paint or wallpaper, opt for a tape with low-tack adhesive that peels away cleanly. Lead dust clings to brush bristles, so wash your tools with a HEPA-filtered vacuum after each use.
Varnish and polyurethane are not safe for sealing lead paint, so stick with a fresh coat of paint for the final surface. Keep kids and pets out of the room until every scrap of debris is bagged and wiped down.
The extra effort of testing and containment is worth it, because lead poisoning causes lasting harm. Test first, keep the dust wet, seal the work area, and never sand dry.
Frequently Asked Questions
How Long Will New Paint Last Over Peeled Areas?
New paint over peeled areas will only last a few months before failing, so the lifespan is tied directly to how well you prepare the surface. Coating loose, flaking edges traps moisture and creates a weak bond that eventually lifts and cracks again.
Scrape away all loose paint with a stiff putty knife, then sand the edges down to a smooth feathered transition using 80 grit paper. Prime any bare wood with a quality acrylic primer, and you can safely apply two finish coats once the primer is dry to the touch, about 30 minutes.
Skipping this step is just postponing the inevitable repaint, and adhesion testing with a small patch of tape can confirm if your prep was thorough. This level of preparation, which pros call “spot priming,” is the only way to stretch the new coating’s durability toward the advertised five to seven year window.
Does Primer Stop Peeling Paint From Coming Back?
Primer will not stop peeling paint from coming back because it only coats the surface, it does not fix the underlying adhesion failure. You must remove every loose flake and featheredge the remaining edges before any primer touches the wall.
Scrape with a stiff putty knife, then sand the transition zone with 80 grit paper until it is smooth and bare. If you skip this, the new primer will lift right along with the old film, and the peeling returns within a season.
A quality acrylic bonding primer helps only after this prep is complete, and one coat is rarely enough on patched areas. For stubborn spots, apply a thin first coat, let it dry for two hours, then apply a second before your topcoat.
The real cure is addressing moisture or poor substrate, so check for leaks or glossy surfaces that were never scuffed. Search for “paint adhesion failure” to diagnose the source, and remember that primer is a helper, not a miracle worker.
Can I Use a Peel-Bonding Primer Instead of Scraping?
You can use a peel-bonding primer instead of scraping only after you’ve removed all loose material. That primer improves adhesion on sound surfaces, but it will not lock down a failing coat of paint.
Scrape or wire-brush any flaking areas until the edge feels solid, then sand to feather those transitions. After that, apply a quality bonding primer, like an alkyd or acrylic blend, and give it a full 24 hours to dry before topcoating.
Otherwise, you’re sealing in trouble, and the peeling will return quickly. I’d also recommend a light 180-grit sanding after the primer dries to help your finish grab. Search for “peeling paint repair” if you need a step-by-step refresher, but never skip mechanical removal.
What Temperature Is Best for Painting Over Repaired Spots?
The best temperature for painting over repaired spots is between 50 and 85 degrees Fahrenheit, measured on the surface itself, not the air. Use an infrared thermometer or a simple contact gauge to check the patch and surrounding area, because cured filler and fresh primer can hold different temperatures than the ambient air.
If the surface falls below 50°F, the paint won’t flow out, leaving brush marks and poor adhesion. Above 85°F, solvents flash off too fast, causing blushing or a gritty texture, and the repair will crack within weeks. For a reliable benchmark, wait until the thermometer reads at least 60°F for a full hour before you start.
Apply a light mist coat first, then wait 10 minutes before your full finish coat. This step lets the repaired spot breathe, and it prevents the patch from pulling moisture out of the paint. Also, keep the piece out of direct sunlight, as a dark repair can run 10 degrees hotter than the reading suggests.
Should I Repaint Only Peeled Sections or the Whole Wall?
For most lasting results, you should repaint the whole wall, not just peeled sections, because patching isolated spots creates visible texture and color mismatches. The repaired area will likely flash under different light, and the coating thickness will differ from the surrounding original paint, making the fix obvious.
Instead, feather the entire surface by sanding the peeled edges with 120 grit paper, then spot prime any bare substrate. After that, apply two full coats of the same finish to the entire wall, rolling in one continuous pass from top to bottom.
Matching a sheen across a patched wall is nearly impossible, so a full repaint saves you from costly rework. Use a primer-sealer on any exposed drywall or wood beforehand. You will get a uniform finish and avoid a patchwork look that screams for a touch-up.
Rounding Up
No, you should not paint over peeling paint, since that creates a failing surface that will soon look like reptile skin.
Strip all loose material first, then sand the edges until they are feathered and smooth.
Prime the bare spots with a quality bonding primer to lock down the substrate before any topcoat goes on.
Check your paint can today to confirm its coverage rating, then calculate the exact cost you will waste if you skip prep.
Test the adhesion on a small patch after sanding: press tape down, pull it off, and see if flakes come with it.
Ask your local paint store for a scraper with a carbide blade, because cheap tools make this job twice as hard.
The article mentions forty dollars in wasted paint, which measured the typical loss from painting over loose layers.
A related topic you may want to read next is how to fix bubbled paint on drywall.