How to Apply Exterior Flexible Fillers: Step-by-Step Guide
Applying exterior flexible fillers can feel like a gamble when you are unsure if the repair will survive winter. The real secret is not the filler itself but how you prep the joint and manage its depth.
Cleaning the surface bare and using a backer rod prevents the three-sided bonding that causes cracks later. You also need to tool the filler smooth within 15 minutes before the skin starts to set.
This guide walks through each step so your caulk stays flexible through temperature swings and rain. Skip the shortcuts here, and you will avoid peeling and redoing the work next season.
Quick Answer
- Prepare and prime surfaces: clean with acetone or TSP, then apply acrylic primer on bare wood.
- Use backer rod to prevent three-sided bonding; depth should equal half the joint’s width.
- Apply only in dry, mild weather between 15–25°C; avoid rain for 24 hours post-application.
- Cut nozzle at 45°, push filler deep into joint, and tool smooth with a wet spatula within 15 minutes.
- Wait full cure (3–5 days) before painting; drying time is not cure time.
Get Your Caulk Surfaces Ready: Cleaning and Priming
If you skip the prep, your caulk will peel faster than a sunburnt tourist in Florida. Grease, dust, or dampness breaks the bond, so I scrape and brush every joint until it’s bare.
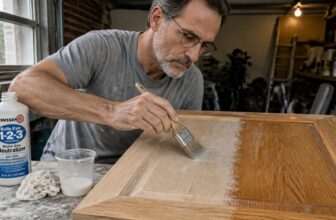
Solvent safety isn’t optional. I wipe with acetone or MEK to kill lingering oils, but gloves and ventilation are non-negotiable. That stuff evaporates fast and hits hard. For heavy grease, a TSP cleaner breaks down slick grime before solvents even come out.
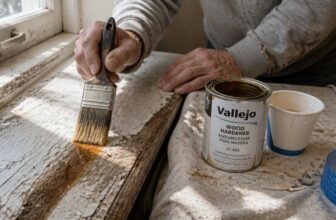
For bare exterior surfaces, I apply a coat of acrylic primer first. Let it dry fully, then lay down the caulk. This maximizes adhesion and stops dampness from sneaking in later.
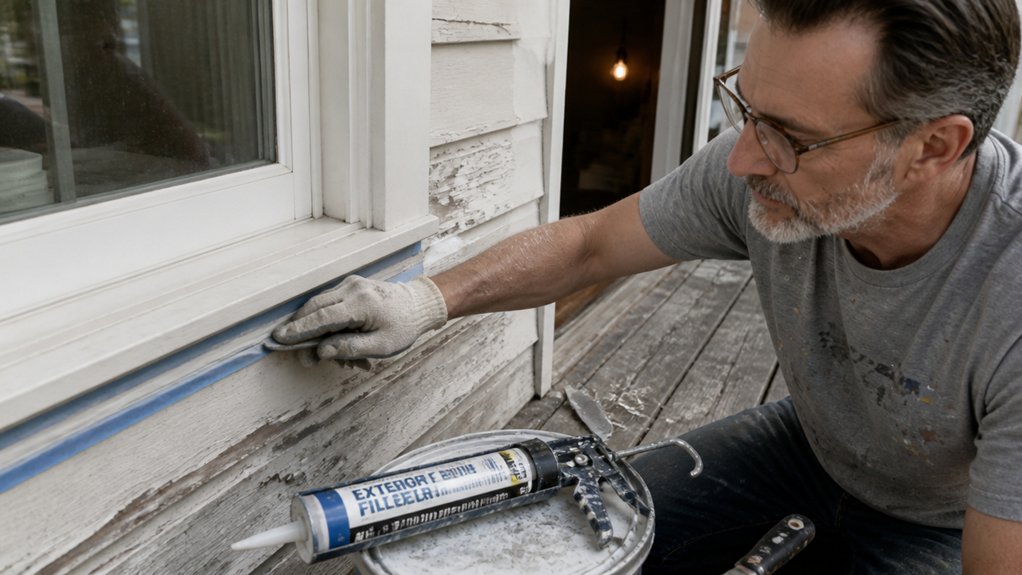
Use a drop cloth and painter’s tape to protect the surrounding wood and trim. Check the drying time on the primer label, not the cure time, before you move on.
Do the dirty work now, or redo the whole job in six months. Spend the twenty minutes, save the weekend.
Design the Perfect Joint: Width, Depth, and Backer Rod
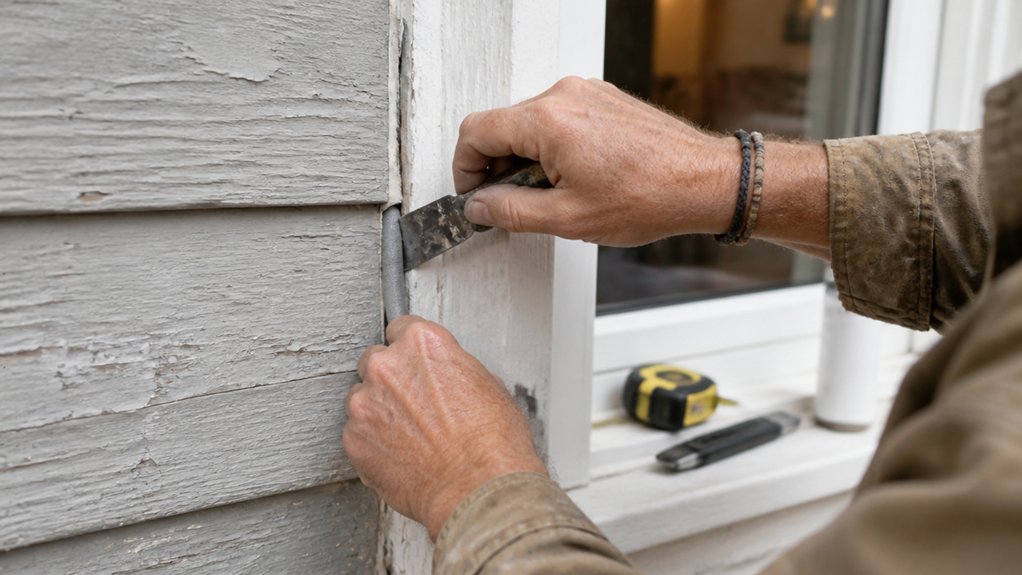
Get the joint geometry right before you ever squeeze the tube. The filler needs a gap roughly twice as wide as it is deep, so keep the width under 10mm and the depth under 5mm. This ratio lets the sealant flex without cracking, and it gives you enough surface for the bond to hold.
Press a backer rod into the gap to control that depth, and make sure it sits at half the joint width. The rod stops the filler from sticking to the back, so you get a two-sided bond that moves naturally. Skip tight corners where the filler would form a fillet, since those peel fast under stress.
When you cut the nozzle, match the opening to the joint width, then run a steady bead with a wet edge so you avoid brush strokes or lap marks. Prime the bare wood first with a low-VOC primer, let it dry fully, and only then tool the sealant smooth. Drying time matters, but full cure takes longer, so wait before you sand or topcoat—and remember that some flexible fillers remain tacky and unsuitable for foot traffic even after curing.
A drop cloth and painter’s tape keep the edges clean, and a satin or gloss topcoat over the cured filler blends it with the surrounding finish. If you get the ratio wrong, the filler fails, so measure twice and set the rod before you commit.
Check the Weather Before You Caulk
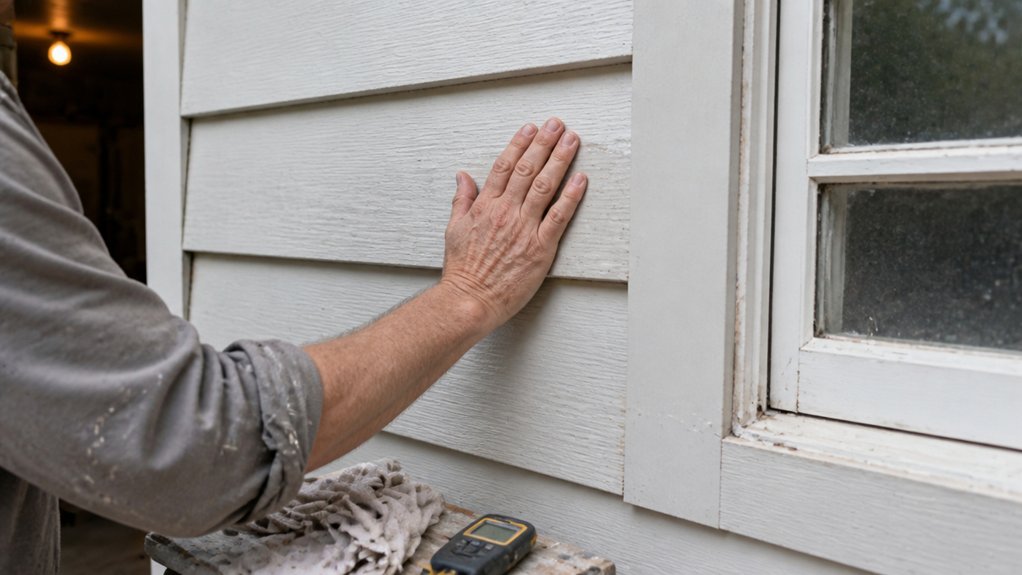
Weather controls whether caulk sticks, so check the forecast before you open a tube. I have seen too many joints fail because someone ignored temperature and moisture.
Cold makes filler stiffen so it will not flow into the gap. Below 5°C, leave the tube indoors and find another job.
Above 35°C with 80% humidity, the skin forms too fast and traps water underneath. Skip that day too, or you will be cutting out the bad bead and redoing it.
Rain or frost within 24 hours means water will get to the joint before the caulk cures. Wait for a better window instead of wasting material.
I check the forecast twice, once the night before and once in the morning. On cold surfaces I warm the wood with a hair dryer before I run the bead, which sounds silly but works great.
Hot, humid days make the filler cure unevenly, leaving a weak, crumbly mess. Pick a dry, mild day around 15–25°C and let the product do its job.
Prep matters as much as weather. Wipe the joint clean, tape off the edges with painter’s tape, and lay a drop cloth so you are not scraping dried caulk off the floor later.
If you are caulking around fresh paint, let the topcoat cure first and check the sheen is hard. A soft satin or gloss finish can scuff when you press the tape down.
Tool the bead with a wet finger or a caulk tool in one pass to avoid lap marks. Keep a wet edge and do not go back over half set caulk, or you will pull it out of the gap.
Flexible cured beads accommodate seasonal movement, so choose a low-modulus, elastomeric sealant that can stretch as joints expand and contract.
Your joints will thank you for the patience.
Load the Gun and Apply the Filler: Nozzle, Technique, and Tooling
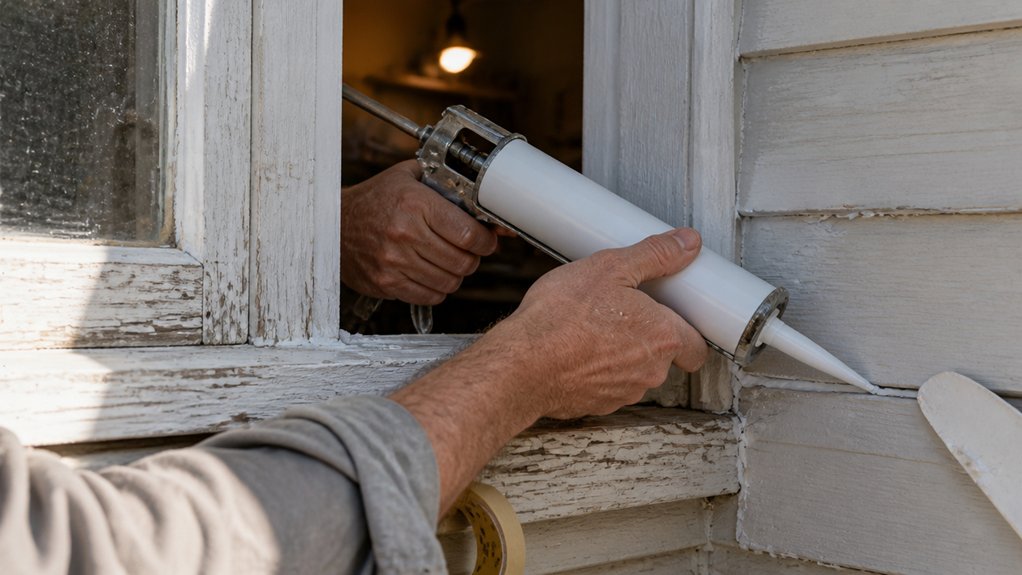
The nozzle is your steering wheel, so cut it before you do anything else. I angle cut at 45 degrees, making the opening slightly bigger than my gap. Too small and you fight pressure all day.
The nozzle is your steering wheel—cut it at 45 degrees, slightly bigger than your gap, or you’ll fight pressure all day.
Load the tube, squeeze the trigger, and push the filler deep into the joint. Don’t just run it across the top. For heavy exterior fillers, a gun with a higher thrust ratio reduces hand fatigue while you work.
Angle cutting prevents smearing and gives you a clean bead from the start. Gun control means steady pressure. Jerk it and you get globs, then air pockets.
Work in one continuous pass. Stop and start leaves ugly seams. Tooling timing matters too.
Smooth the filler within 15 minutes while it is still wet. Match your spatula size to the joint width, slightly smaller for a crisp finish. Wet the spatula, pull it firm, and wipe off the excess.
Done right, the repair looks factory made. Treat this step like you would a topcoat: steady hands and clean edges give you the sheen and finish you want.
Cure It Right: Drying Times and Overpainting
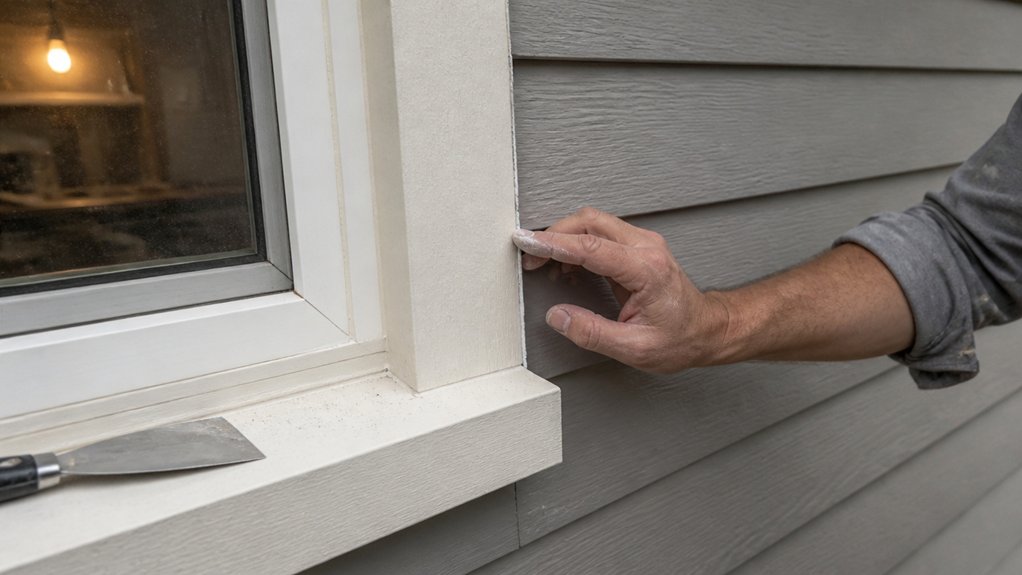
You have about 30 minutes before the filler skins over, but that is only the first step. I will walk you through the full drying timeline and when it is safe to paint, because rushing this step means the filler can crack or peel later.
The surface feels dry to the touch in about 30 to 40 minutes, but that is just the top layer. The material underneath is still soft, so pressing on it with a finger will leave a dent.
For most lightweight fillers, you should wait at least two hours before sanding. Use a 120-grit sandpaper to level the patch, then wipe off the dust with a tack cloth. For a ready-mixed latex option like DAP Alex Flex, the flexible finish resists sinking and shrinking, which helps when you are sanding over joints that move.
Full drying time depends on the thickness of the fill and the room temperature. A thin skim coat can be ready in a few hours, but a deep fill over a quarter inch may need overnight.
The real rule is to check the manufacturer’s label for drying time versus cure time. Drying time means the surface is ready for sanding or primer, while cure time means the material has reached full hardness. For example, Sikkens Polycell surface-dries in 1–2 hours, but waterproof adhesion binders need the full cure period before heavy recoating.
Once the filler is dry, apply a primer coat to seal the patch and prevent flashing under your topcoat. A water-based primer works fine, and it also shows you any low spots you missed.
After the primer dries, you can add your topcoat in your chosen sheen, like satin or matte. Keep a wet edge while painting to avoid lap marks, and use a brush or roller that matches the paint type.
If you are working on wood trim, consider a stain or varnish instead of paint. Stain needs a completely cured filler, so wait the full cure time, then seal with a clear polyurethane. A filler like Elmer’s Probond accepts stain nearly as well as raw pine, which keeps the finish looking clean after the wait.
Always lay down a drop cloth and use painter’s tape to protect the surrounding area. Low-VOC paints are a good choice for indoor work, since they keep the air cleaner while you finish.
Waiting a few extra hours beats redoing the whole joint, so plan your schedule around the drying time. Check the filler with a light touch, and if it feels cool or soft, give it more time.
Drying & Curing Timeline
You’ve likely done the same thing I have: smoothed in a perfect bead of filler, stepped back to admire it, then checked the clock to see when you can paint. Rushing that timeline is the classic rookie mistake, so let’s break it down properly.
Skin time hits in 15 to 60 minutes, depending on how thick you laid it on. That means it’s dry to the touch, but it’s not ready for any action yet.
Tack-free usually lands around 45 minutes, so you can lightly poke it with a fingertip without leaving a dent. Don’t celebrate yet, though, because the surface is still soft underneath.
The overpaint window opens at 30 to 60 minutes, but I’d wait longer for peace of mind. If you hit it too early, the solvent in your primer or topcoat can lift the filler and leave you with a mess.
Full curing time stretches over 3 to 5 days, and thick layers take their sweet time. Humidity can extend that dramatically, so a damp basement will ruin your schedule faster than anything else. Protect the repair from rain for a full 24 hours, or you’ll watch your work wash away before it ever sets. A drop cloth or painter’s tape over the spot will keep water off while the filler hardens. Since many flexible fillers remain pliable through freeze-thaw cycles, check the product’s temperature tolerance before exposing the repair to extreme weather shifts.
Patience isn’t optional here, so plan your sanding grit and your primer coat around the cure time, not the skin time. Give it the full cure, then sand with 220 grit, wipe off the dust, and you’re golden for stain, varnish, or polyurethane without lap marks or brush strokes.
Overpainting Windows
You have watched the skin form and waited out the tack-free stage, but overpainting windows is a precision game, not a casual suggestion. Water-based paints can take a topcoat at the 30-minute mark, while oil-based ones need a full 24 to 48 hours before you touch them with a brush.
If you rush an oil-based filler, you will see cracking along your fresh bead of paint, and that means sanding and redoing the whole joint. Cold weather is the sneaky culprit here, because below 10°C the filler’s cure slows down dramatically, so don’t trust your usual timing.
Check the label on your filler first, since most acrylics overpaint fast but oils demand patience. Polymer-reinforced formulas bond strongly and resist shrinking, which helps the finish stay intact over flexible joints.
Time it right by remembering that full cure runs 3 to 5 days, but you are safe to apply your topcoat after the tack-free stage if the temperature stays warm and steady.
The biggest mistake to dodge is painting a cold joint, because flexible filler stays squishy underneath and your finish won’t stick tight to it.
Use a primer if the filler feels porous, and pick a sheen like satin or gloss for windows so you can wipe them down without dulling the finish.
Keep a wet edge while you paint, working from top to bottom in one continuous pass to avoid lap marks and brush strokes.
For the prep, sand the filler with 120 grit before you prime, and lay down a drop cloth plus painter’s tape to protect the glass and frame.
Wait longer than you think, especially when it’s chilly, and your windows will thank you with a smooth, crack-free coat.
If you are using low-VOC paints, they dry faster but still need the same cure time, so plan your day around the weather forecast.
Prevent These Caulk Failures: Bonding, Thick Beads, and Corner Cracks
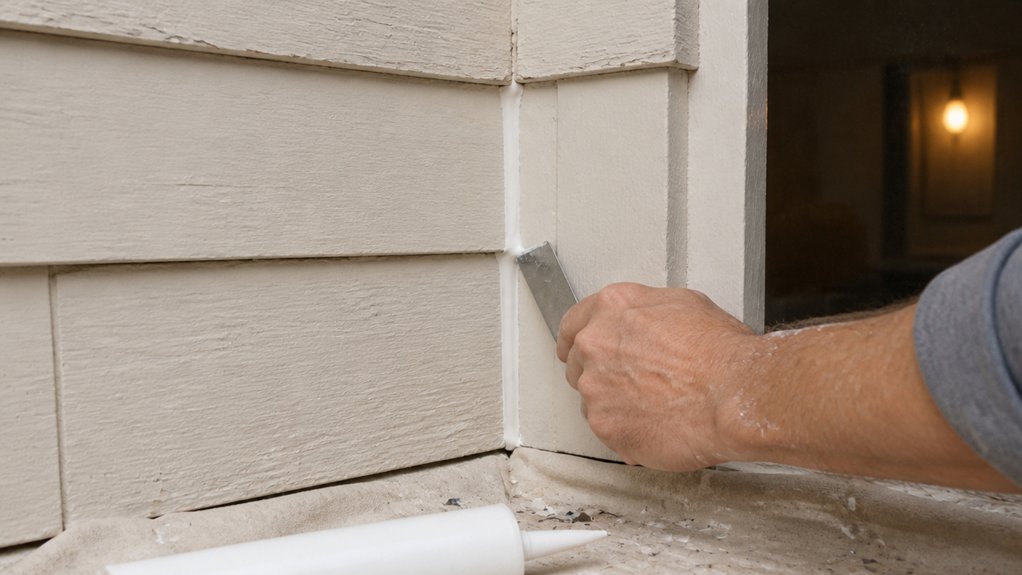
Most caulk failures I see come from bad joint design, not bad product. The biggest culprit is three-sided bonding, where caulk sticks to the back wall and both sides.
That setup can’t flex with movement, so it tears open. Use a backer rod to limit bonding to two sides, and keep the caulk depth at half the joint width.
Skip caulking tight corners altogether. Those thin fillets peel fast, so either leave them alone or plan on redoing the job.
Before you caulk, wipe the joint clean and dry, then mask with painter’s tape for a crisp line, and make sure the surface is free of oil and silicone, which can interfere with the bond. If you’re painting over the caulk, check the cure time on the label, not just the drying time, so the topcoat won’t crack.
For wood trim, prime bare edges first and use a flexible acrylic latex caulk that takes paint without yellowing. A satin or matte sheen hides minor imperfections better than gloss, which shows every brush stroke. For sun-exposed gaps, choose a UV-resistant polyurethane foam like Loctite Tite Foam so the seal won’t degrade from prolonged sunlight.
Three-Sided Bonding
The classic three-sided bonding failure is a self-inflicted wound, and I’ve got the scar tissue to prove it. When filler grips the joint’s back wall, joint flexing gets locked out, and the filler tears itself apart.
You need a backer rod, plain and simple. It sets the right depth, keeps the filler on two sides, and saves you from re-caulking next spring.
Don’t let filler touch that third side, because it kills the flex. Depth should be half the gap width, so measure it instead of guessing.
Backer rod size matters, and a loose one does nothing. Corner fillets invite trouble, so avoid tight spots entirely.
Tool the bead smooth within 15 minutes for a clean bond that holds up over time. Think of it like keeping a wet edge when rolling on a satin topcoat, you work fast and steady to avoid lap marks.
Use a drop cloth and painter’s tape to protect the surrounding finish, whether it’s varnish or polyurethane. The right primer and a low-VOC caulk also help the filler stick without off-gassing issues.
For sanding the edges before caulking, go with 120-grit to feather out any old paint or stain. This preps the surface so the bead sits clean, not like a brush stroke left behind.
A proper joint needs room to move, so keep the filler off that back wall. Set the backer rod at half the gap width and your joints will flex, not fracture. For active leaks or damp repairs, a quick-setting epoxy putty can also serve as a waterproof filler when a flexible sealant isn’t required.
Corner Fillet Risks
Corner fillets are a trap, and I’ve scraped off enough peeling messes to prove it. That thick bead of caulk where two walls meet looks harmless, but the joint geometry works against you.
Both surfaces pull in different directions, and that constant movement stresses the bead until it tears apart. You’re not sealing a gap; you’re gluing two moving parts with a rigid wedge.
The result is adhesion failure, often within a year. I’ve seen more corner fillets peel than chipped paint on a kid’s swing set.
Here’s the rule: don’t caulk tight corners. Filler needs flex, and a fillet has none.
Instead, run a thin bead of paintable caulk along each face, leaving the corner open. Or skip filler entirely and paint the bare joint. For better flexibility and durability, choose a siliconized acrylic formula that meets ASTM C834 standards for exterior use.
A clean, sharp corner beats a cracked blob every time, and it takes less work. For best results, use a low-VOC primer and a topcoat with a satin or matte sheen to avoid lap marks.
Touch up with a brush to keep the wet edge fresh before the paint sets. Your future self will thank you, and you won’t need a scraper next year.
Oversized Joint Gaps
Oversized gaps tempt every DIYer to reach for a caulk tube, but thick beads fail fast. They sag, crack, and peel like sunburnt skin.
You need geometry, not brute force, to bridge a wide gap properly. Most exterior fillers max out at 10mm wide and 5mm deep, so anything beyond that just wastes product.
For gaps over 10mm, push in a foam backer rod first to fill the depth and save your filler. Lay the filler in thin layers, letting each cure for a full 24 hours before adding the next.
This slow build prevents shrinkage and keeps the bead flexible. If the gap exceeds 20mm, switch to a tape or sheet product instead of caulk, because caulk simply can’t handle that movement.
Before you pick up the tube, measure the gap and check the filler’s spec. A backer rod plus a high-quality flexible filler handles most movement without cracking.
When you do apply filler near painted trim, mask with painter’s tape and use a wet edge to avoid lap marks. Prime the bare wood first, then topcoat with a satin or matte sheen to hide brush strokes.
Remember that drying time is not the same as cure time, so wait the full cure before sanding or painting. Use a 120-grit sanding block on cured filler, then wipe dust before priming.
For deep gaps, skip the caulk gun entirely and use a polyurethane-based sealant applied with a putty knife for a clean, flush finish. Measure first, then bridge smart, and your paint job will stay intact for years.
Frequently Asked Questions
Can Filler Be Applied Over Old Paint?
Yes, you can apply filler over old paint, provided the paint is sound, clean, and properly keyed. Scrape or sand away any flaking, glossy, or chalking areas until you reach a firm edge, then wipe the surface with a damp cloth to remove dust.
For best adhesion, rough up the entire patch zone with 120-grit sandpaper before applying the filler. If the old paint is still shiny, this step is non-negotiable; filler relies on mechanical grip, not chemical bonding, so a smooth base will cause it to pop off later.
Use a fine-grade all-purpose filler for small dings and let it dry fully, typically 2 to 4 hours, before sanding with the same 120-grit paper. For deeper repairs on woodwork, a two-part automotive filler or a flexible exterior-grade filler offers better crack resistance than standard patching compound. Remember, the substrate beneath the paint matters most, so test a corner with a scraper to confirm it doesn’t crumble before you commit.
What Temperature Is Too Cold for Caulking?
Temperatures below 5°C are too cold for caulking because the filler will not cure properly, often leaving it soft and tacky for days. In these conditions, curing times can stretch from 24 hours to nearly a week, which throws off any project timeline.
Cold weather also makes the sealant brittle, so it risks cracking under normal expansion and contraction. A better rule is to work only when the surface and air temperature stay above 10°C for at least 48 hours after application.
For a concrete example, if you are sealing window trim on a 4°C morning, wait for a sunny afternoon above 10°C and use a painter’s caulk rated for low temperatures. Even then, check the label for its specific minimum application temperature, since some acrylic formulas tolerate 2°C but cure slower.
Patience beats a botched seal, so postpone the job rather than forcing it. If you must proceed, warm the tube in your pocket for 15 minutes and apply thin beads to reduce the curing burden.
How Long Before Rain Can I Caulk?
You can caulk up to 24 hours before rain, provided you have a full day of dry weather afterward for the sealant to cure. Check your local drying forecast, not just the rain chance, because humidity and dew point also slow the cure time significantly.
I always wait for a clear window of at least 48 hours total, which gives you a safety buffer beyond the minimum. For exterior acrylic latex caulk, that means no water contact for 24 hours, but cooler or damp conditions can stretch it to 36 hours.
Use a paintable silicone or hybrid caulk if you need faster skin-over time, but even then, protect the fresh bead from sprinklers or roof runoff. A simple tarp or plastic sheeting over the joint works well if a stray shower sneaks in.
If you’re unsure, test a small dab on scrap wood and press it with a dry finger after 12 hours; if it’s still tacky, postpone the job.
Can I Use a Wet Finger to Tool?
Yes, you can use a wet finger to tool, and it’s a legitimate method for smoothing fresh paint or caulk in tight spots. Keep your finger damp and glide it in one continuous motion, working within the first 15 minutes of application.
This technique works fine for spot repairs, as the moisture won’t harm dampness resistance once the film cures. However, for broader areas, a steel spatula delivers a crisper, more uniform surface without the risk of introducing excess water.
For best results, lightly sand with 220 grit after drying, then wipe away dust before the next coat. If you’re working with a latex product, a wet finger blends seams neatly, but for oil-based finishes, prefer a solvent-dampened rag or a proper trowel.
Why Does My Caulk Keep Cracking?
Your caulk keeps cracking because it is being forced to act like a rigid wall instead of a flexible bridge between two moving surfaces. Substrate movement from temperature changes or settling is the usual culprit, ripping the seal apart at its weakest point.
A common mistake is three-sided adhesion, where the caulk bonds to the back of the joint and both sides, leaving no room to stretch. To fix this, install a closed-cell foam backer rod into the gap before applying fresh sealant, which creates a proper bond line and gives it depth to flex.
For most exterior gaps, use a high-quality paintable silicone or a hybrid sealant, and always tool the bead smooth with a wet finger. Check the label for full cure time, often 24 hours, before exposing it to moisture, and avoid painting over it until then.
Rounding Up
To apply exterior flexible fillers, clean the joints, install backer rod, and tool the beads until they cure.
Check the backer rod sits snugly before you apply the filler, because it shapes the bead and prevents sagging.
Cut the nozzle at a 45 degree angle and test the flow on scrap material before touching the joint.
Compare the cured bead’s flexibility with the surrounding surface, so you know the seal will move with temperature changes.
The filler works as a lifeline for your home, while the backer rod acts as its banks to stop flooding.
Read next on acrylic caulk vs. silicone for exterior gaps.