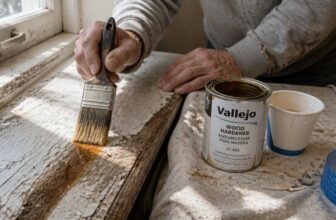
How to Apply Expanding Foam Fillers: Step-by-Step Guide
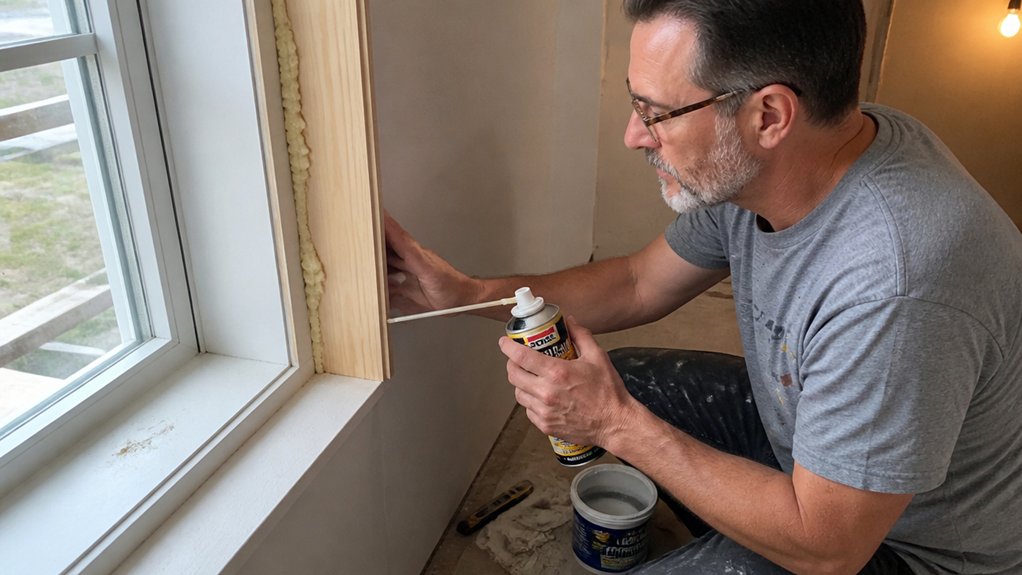
Expanding foam fillers seem straightforward until you trim too early or overfill a gap and ruin the frame. Getting the fill right comes down to prep, paint, and cure time, not just spraying and hoping.
You only need a few basic tools and a clear sequence for surface prep, priming, and final sheen. This guide walks you through each coat and the drying time needed before you can paint over the foam.
Follow these steps to avoid warped wood and messy trims on your next project. Keep reading for the finer points on application and finishing.
Quick Answer
- Misting gaps with water before spraying activates foam adhesion and expansion.
- Shake the can 30–60 seconds and point the valve downward to avoid waste.
- Fill gaps only one-third full; foam expands to roughly 2.5 times its volume.
- Apply from the cavity bottom upward to prevent sagging and uneven beads.
- Trim excess with a serrated knife after a full 12-hour cure for clean results.
Prep the Surface and Gear Up Before Using Expanding Foam
Prepping the surface is the first real step, and it decides how well the foam holds. The surface must be clean, solid, and free of dust, grease, or loose paint, or the foam won’t bond properly.
Wear disposable gloves because the foam sticks to skin like glue, and the chemicals can irritate. Cover nearby trim or finished wood with painter’s tape and a drop cloth, since foam spreads far beyond the gap you aimed for.
Check the can’s storage temperature before you start, and keep it between 15°C and 25°C. Cold foam expands weakly and slowly, while warm foam can run and sag before it sets.
Check the can’s storage temperature: keep it between 15°C and 25°C. Cold foam expands weakly; warm foam runs and sags.
Don’t spray outdoors if the air is below 5°C or above 35°C, because the cure reaction simply stops working in those extremes. For indoor jobs, a cool, dry room around 20°C gives you the most predictable expansion.
Use a primer or topcoat on bare wood or metal before foaming, if the surface is porous or slick. A quick sand with 120 grit opens up the surface so the foam has something to grip.
Keep a wet edge in mind when you apply the foam in layers, and let each layer dry before adding more. Foam has a drying time of about an hour, but full cure takes up to 12 hours, so don’t trim or paint it early.
If you’re working near a finished surface, mask it with low-tack painter’s tape to avoid overspray. For cleanup, keep a rag with acetone or a solvent-based cleaner handy, because cured foam is a nightmare to scrape off.
Sanding the cured foam with 80 to 100 grit smooths it nicely before you apply a stain or varnish, if that’s your finish. Just avoid sanding it too hard, or you’ll expose the hollow cells and ruin the seal.
Prep right, and the foam becomes a solid, paintable base that takes a satin or matte topcoat well. Skimp on prep, and you’ll spend hours scraping regret off your trim, and the stain won’t look even either.
For gaps wider than one inch, choose a big gap filler that expands aggressively to avoid multiple costly applications.
Shake the Can, Dampen the Gap, and Aim Downward for Full Expansion
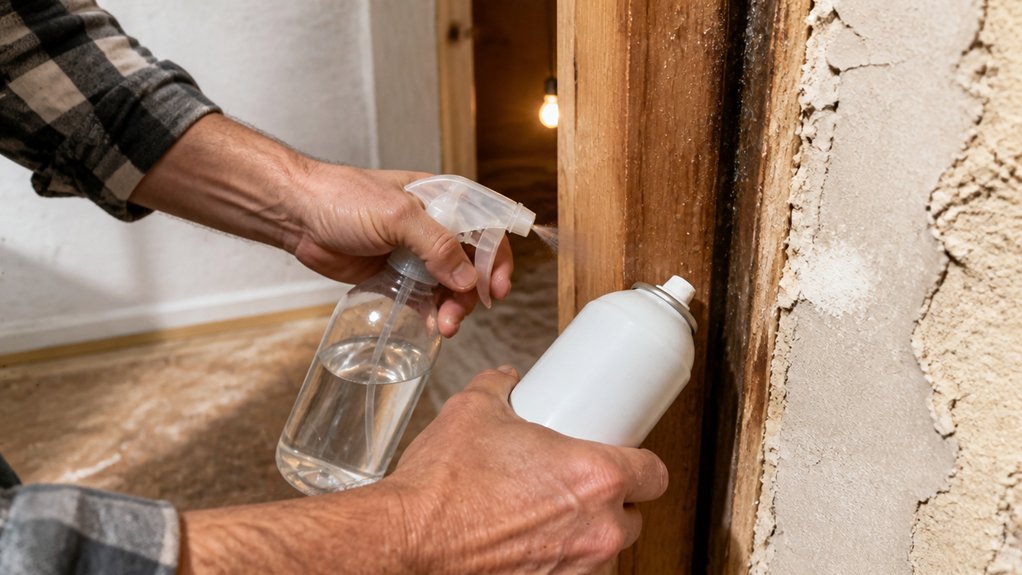
The whole expansion game hinges on three moves you make before the nozzle ever touches the gap: shake the can, wet the surface, and flip the valve downward. Dampening is non-negotiable, because moisture activates the cure and lets the foam swell into every crevice.
Downward positioning keeps the propellant flowing smoothly, so you are not wasting half the can on sputtering. Think of it like keeping a wet edge on a finish coat, you want a steady, even feed without lap marks or weak spots.
Shake the can for 30 to 60 seconds. A cold, lazy shake gives you lumpy foam that cures with poor density, like a sloppy varnish job with brush strokes.
Mist the gap lightly with water before you spray. A dry surface causes poor adhesion, and you will end up scraping the mess off later, just like you would with paint on an unprimed wall.
Point the valve down every time you pull the trigger. Upward aims waste propellant gas and cut your yield, so you lose coverage before the foam even lands.
Start at the cavity’s bottom and work upward. This prevents sagging beads, much like laying down a topcoat from the top edge downward to avoid runs. Optimal application temperatures range from roughly 50–90°F for the foam to flow and cure predictably.
Skip these steps, and you get a half-expanded mess that crumbles under a putty knife. Trust me, I have scraped that lesson off more than one doorframe, and it always costs extra sanding grit and a fresh coat of primer to fix.
Fill to One-Third, Wait 12 Hours, Then Trim and Paint the Cured Foam
Fill the gap only a third of the way, or half if you’re feeling bold, then walk away for the night. The foam swells to about 2.5 times its size, so overfilling warps door frames and leaves you with a sticky mess.
Trust the cure time instead of your impatience. Give it a full 12 hours before you touch it, and you’ll save yourself the cleanup.
| Stage | Time | Action |
|---|---|---|
| Tack-free | 15 min | Don’t touch |
| Surface dry | 30 min | Don’t trim yet |
| Full cure | 12 hours | Trim & paint |
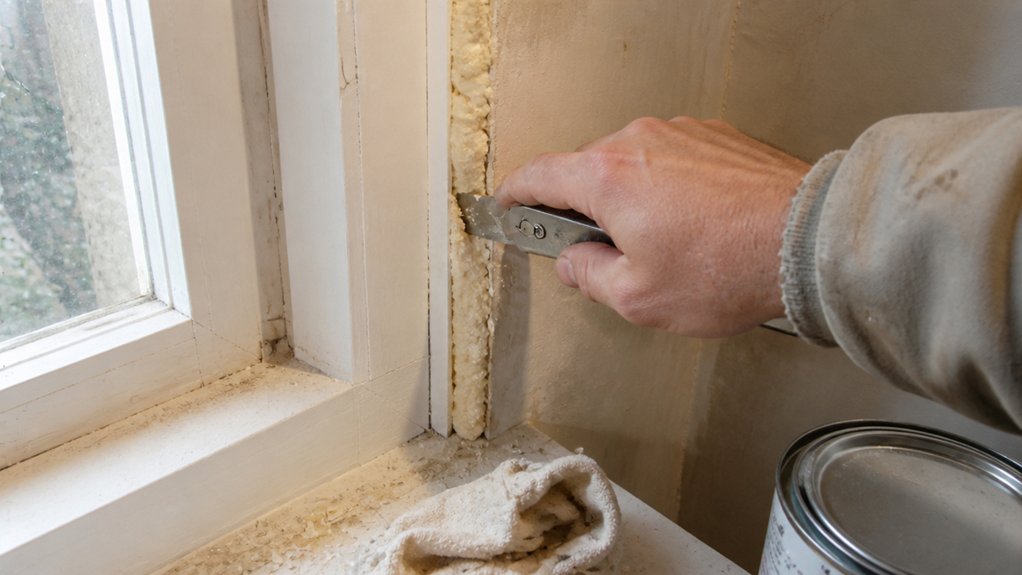
After the 12 hours, trimming is straightforward. Use a serrated knife or an oscillating tool to cut the excess flush, then sand smooth with 120-grit paper.
Wipe off the dust with a damp cloth, then apply a primer that blocks stains from the foam. Let the primer dry completely, then paint with a satin or matte topcoat to match the surrounding trim.
Keep a wet edge while you paint so brush strokes don’t show. Use painter’s tape along the frame for a clean line, and lay a drop cloth underneath to catch drips.
If you’re finishing bare wood nearby, stain and then seal with polyurethane or varnish instead of paint. Low-VOC products keep the smell down in a small room.
The drying time for the paint is a few hours, but the full cure takes a day before you can put weight on it. Patience here pays off because you won’t waste foam, sanding effort, or paint on a botched fix.
Check the filler’s compatibility with the surrounding trim and molding before priming, since a chemical mismatch can make the repair visibly stand out.
Frequently Asked Questions
Can I Reuse a Partially Used Can of Expanding Foam?
Yes, you can reuse a partially used can of expanding foam, but it is a gamble that often fails. Propellant loss and nozzle clogging are the main culprits, so I recommend treating it as a last resort rather than a reliable option.
To improve your odds, store the can valve-down after each use and clean the nozzle immediately with acetone. Even with care, the remaining foam may cure too thick or sputter, leaving you with a mess. For a small gap, try the trick of spraying a test bead on cardboard first to check pressure and texture.
If it flows smoothly, you are good, but if it’s rubbery or weak, toss it. I always keep a fresh can for critical seals, and for tiny repairs, consider a foam sealant in a squeeze tube instead. Expect about six months of shelf life, and remember that temperature below 50°F slows curing dramatically.
What if the Foam Gets on My Skin Accidentally?
If foam gets on your skin accidentally, the risk is low, but you should remove it quickly to avoid irritation. Wipe off wet residue with nail varnish remover containing acetone, as this dissolves the uncured material before it bonds.
Once the foam hardens, acetone won’t work, so you’ll need mechanical removal. Gently scrub with a fine grit sandpaper, like 220 grit, or carefully cut it away with a razor, then wash the area with warm soapy water.
For stubborn patches, use a pumice stone or a citrus-based hand cleaner, which breaks down the residue without harsh solvents. Avoid pulling or picking, as that can damage your skin’s top layer.
If redness or itching persists beyond a few hours, apply a soothing lotion and consult a pharmacist. Act fast on fresh foam, and keep spare gloves nearby when handling spray cans, as prevention beats any cleanup.
Does Expanding Foam Work on Wet or Damp Surfaces?
Yes, expanding foam does work on wet or damp surfaces, and it actually relies on that moisture to cure properly. Dampness activates the foam’s chemical reaction, so a light misting is the ideal starting point for most polyurethane formulas.
I always spray a fine water mist onto the joint or gap before application, which gives the foam a dependable initial tack and speeds up the cure time to roughly 1 to 2 hours for a sandable surface. However, avoid puddles or dripping wet areas, because excess water dilutes the reaction and leads to poor bonding and a crumbly, weak fill. For a quick fix, wipe the spot with a damp rag, then apply the foam in a steady bead, leaving it slightly recessed so you can trim it flush after drying. Just remember that this moisture trick works best for sealing and gap filling, not for structural repairs.
How Do I Store an Open Can Between Applications?
Store an open can between applications by cleaning the nozzle with solvent, capping it tightly, and flipping it upside-down so the valve will not clog. This simple routine is your key to can longevity.
Wipe the nozzle and valve area with a solvent-soaked rag, then give it a minute to flash off before capping. For aerosol cans, store them upside down and give a quick two-second spray before your next use to clear any residue.
Never skip nozzle cleaning, or you will curse later when the valve clogs mid-project. Think of proper aerosol can storage as cheap insurance for your finish.
Will Expanding Foam Adhere to Plastic or Metal Pipes?
Yes, expanding foam will adhere effectively to both plastic and metal pipes, provided the surface is prepared correctly. The bond strength on metal is excellent once the pipe is clean and dry, while plastic requires a quick wipe with a degreaser to remove any mold-release residue.
For the best result, lightly scuff glossy plastic with 120-grit sandpaper to give the foam a mechanical grip. Avoid overfilling the gap, as the foam’s expansion can warp thin-walled pipes or push fittings out of alignment. Apply in thin layers and let each cure for 24 hours before trimming with a knife. This gap-filling method works well for sealing around copper or PVC in stud walls, and you can also use spray foam sealant as a synonym when searching for compatible products.
Rounding Up
Applying expanding foam fillers starts with understanding that the material is forgiving, cheap at about $6 a can, and worth keeping for drafty gaps.
You will not get a pretty finish straight from the nozzle, so trimming and paint are the final steps you should plan for.
Gear up with gloves and safety glasses, then fill each gap to one-third of its depth.
Let the foam do its expanding without touching it, and wait for it to cure fully before you trim the excess.
Check your baseboard line after trimming, and compare the cured surface with the surrounding trim to see if you need a second light pass.
Ask yourself whether your gap is deeper than one-third full, because overfilling leads to messy cleanup.
Read next about choosing the right foam for interior versus exterior gaps.