How to Apply Paint Scrapers: Step-by-Step Guide
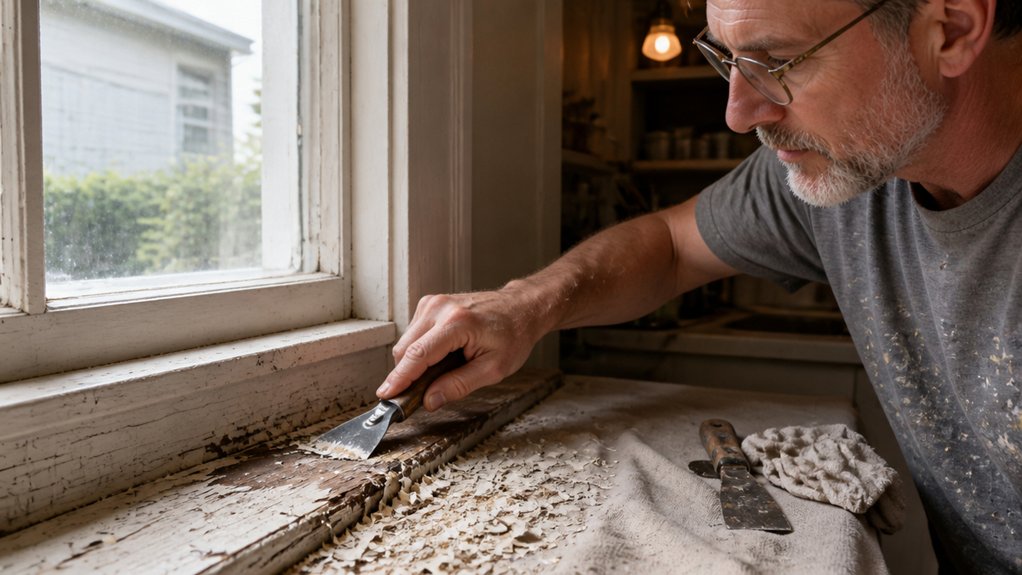
Scraping paint sounds simple until you’re fighting brittle flakes or a stuck blade. If that’s your afternoon, this guide to applying paint scrapers will save you time and frustration.
You need to master surface prep, tool angles, and knowing when a carbide edge beats a stiff blade. Match the scraper to the paint’s behavior, and keep the blade sharp before you start.
This walkthrough covers lead safety, the right drop cloth setup, and how to handle tough layers without gouging your wood. Stick with this practical method, and you’ll get bare, clean surfaces ready for primer and fresh coats.
We also cover when to scrape versus when to use a heat gun, plus how to protect your finish after the last pass. Keep going to get the full step-by-step process from prep to final sanding.
Quick Answer
- Hold the scraper blade at a 30 to 45-degree angle to lift paint without chiseling wood.
- Work in short, controlled strokes following the wood grain to avoid tearing splinters.
- Use a carbide pull scraper on tough, resisting paint; a stiff blade suits flaking layers.
- Hone the blade with about ten whetstone passes per side to keep it crisp and nick-free.
- For stubborn spots, warm paint with a heat gun until it bubbles, then scrape immediately.
Test for Lead, Cover Floors, and Ventilate Before Scraping
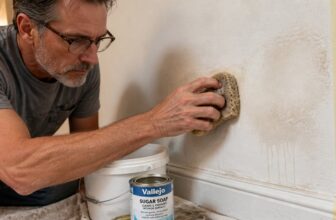
Before you pick up a scraper, test for lead. If your home was built before 1978, grab a $10 lead test from the hardware store and check the paint.
A positive result means wet-scraping only, because dry sanding or scraping sends lead dust straight into your lungs. Lay down a thick drop cloth before you start; canvas grips the floor better than plastic and won’t slide under your feet.
Tape the cloth tight to the baseboards, remove outlet covers, and open every window. Run a box fan blowing outward so dust moves away from you while you work.
Ventilation is your cheapest safety gear, and it keeps the air clear for your finish work later. Ten minutes of prep here saves you from a messy cleanup and a rough cough.
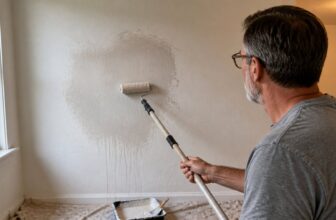
Use a primer after scraping if you hit bare wood, then a topcoat in your chosen sheen, like satin or matte. Keep a wet edge while rolling or brushing to avoid lap marks, and watch your drying time before the next coat.
Low-VOC paints are easier on your nose, but they still need proper airflow. Trust me, future-you appreciates the setup when the job’s done and the room smells clean.
Choose a double-stitched canvas option to resist tearing under heavy foot traffic and tools while you scrape.
Choose a Scraper That Matches Your Paint Type
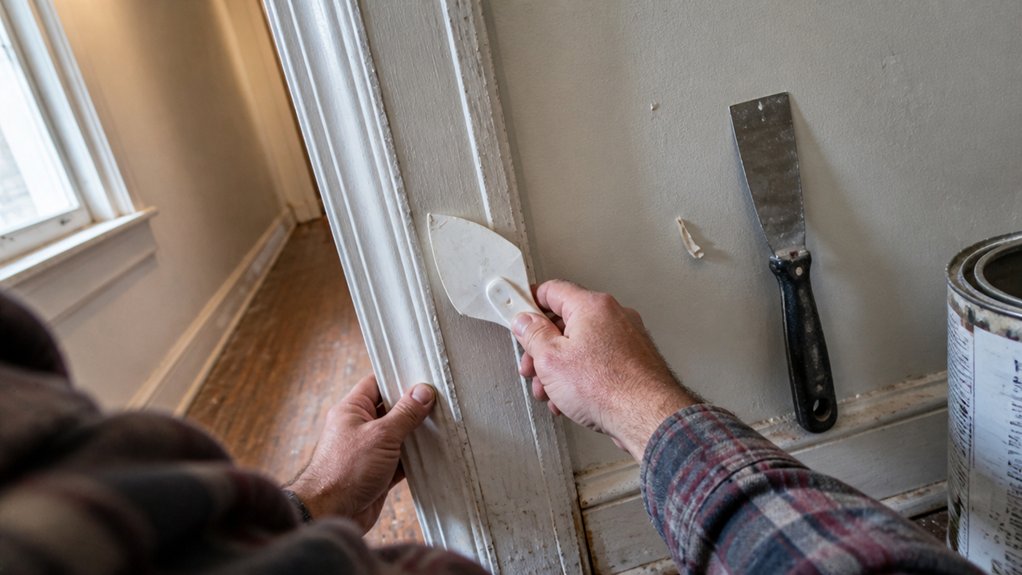
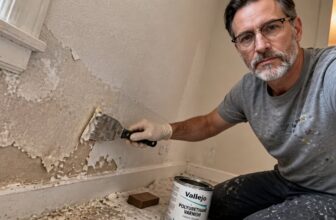
Test the paint with your thumbnail before choosing a scraper. If it flakes off easily, a stiff-blade scraper will handle the heavy peeling work.
If the paint holds tight and resists your nail, switch to a carbide pull scraper that bites into tough layers without gouging the wood. The right blade type matters more than most DIYers expect.
A flat putty knife works for light trim and fresh paint, but thick, rubbery coatings will shrug it off. Match the tool to how the paint fails, not what the surface looks like.
A flat putty knife won’t cut it on rubbery paint—match your tool to how the paint fails.
Loose and brittle paint calls for a stiff blade, while elastic layers need the harder carbide edge. Test a corner first, then pick the tool that fits the job.
Spending ten dollars on the right scraper beats repairing a fifty dollar gouge in your trim. After scraping, sand with 80 to 120 grit to smooth the bare wood before priming.
Use a high quality primer to seal the surface, then apply your topcoat with a consistent wet edge to avoid lap marks. A drop cloth and painter’s tape will protect the surrounding finish.
Check the drying time versus full cure time on the paint can, especially if you plan to sand between coats. This simple test saves you frustration and keeps your project moving.
For heavy buildup on stubborn flat surfaces, a thick stiff blade delivers the force needed without bending or flexing mid-stroke.
Sharpen Your Blades and Clear Debris Before You Start

Sharpen your blades and clear debris before you start.
Hone the edge on a whetstone, about ten passes per side, until it feels crisp. You don’t need razor-sharp, just clean.
Check for nicks, since any scraper nicking leaves grooves you’ll regret later. Wipe the blade dry and clear debris from the handle and bolt, because old paint flakes jam the mechanism.
This five-minute ritual saves you twenty. A sharp blade means light pressure, fewer gouges, and a smoother job, so your wrist will thank you.
Think of it like prepping a wall before primer: rough edges cause lap marks and brush strokes later. Sharpen first, scrape smarter, and keep the topcoat sheen even.
For a satin or matte finish, a clean edge matters most. Use a 220-grit sanding block after scraping to smooth any residue before you apply stain or polyurethane.
Keep a drop cloth under your work and painter’s tape on trim to protect the surfaces you aren’t touching. Low-VOC products dry faster, but cure time still matters, so let the varnish sit overnight before handling.
A dull blade forces you to bear down, which tears the wood and leaves rough spots. You’ll end up sanding longer, and that’s time you could spend on the next coat.
Gentle mallet taps on a hammer cap can loosen stubborn paint without warping the blade, so keep that option in mind for tough spots.
Hold the Blade at 30–45 Degrees and Scrape With the Grain
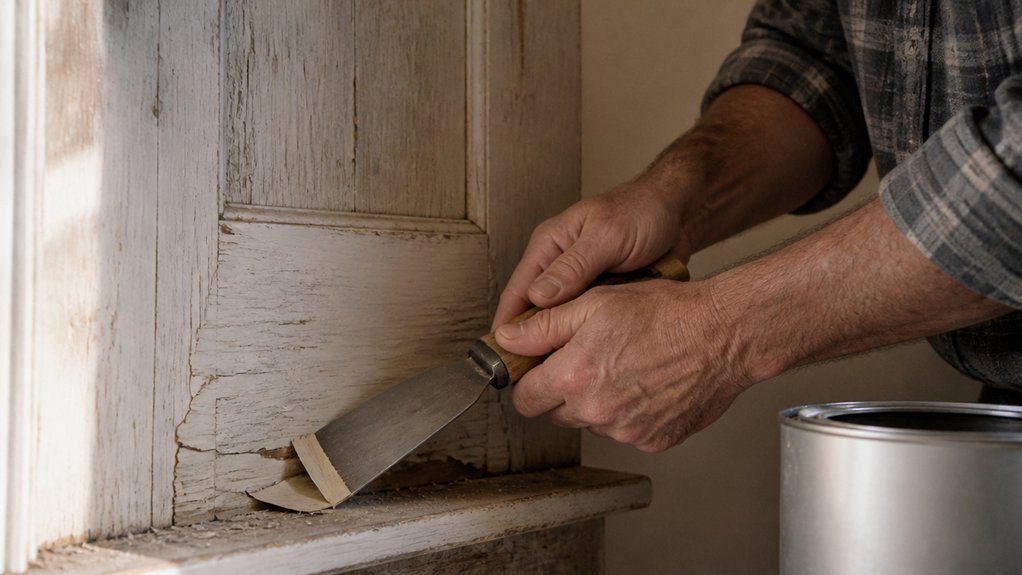
Hold the blade at 30 to 45 degrees. That angle is the difference between a clean peel and a gouged mess.
You are lifting paint, not chiseling wood. Keep the blade shallow so it slides under the coating without digging into the fibers.
If you go steeper, you will leave scars that take an hour to sand out. Use a fine grit like 120 or 150 if you need to smooth those mistakes.
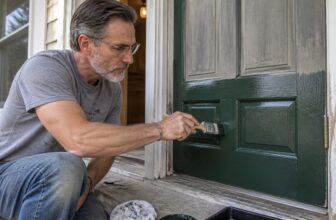
Follow the grain direction, and I learned this the hard way on a cedar door. Scraping cross-grain tore out splinters like a bad haircut.
Work with the natural lines in the wood. Use short, controlled strokes of a few inches, and let the blade do the pulling.
Push with steady pressure, not brute force. Your wrist will thank you, and so will the trim.
If you hit a stubborn spot, warm the surface with a heat gun first, then scrape again.
Before you prime or topcoat, wipe the wood clean with a tack cloth to remove dust and paint chips.
A satin or matte finish hides small imperfections better than gloss, so choose your sheen with that in mind.
And always lay down a drop cloth and use painter’s tape on edges you want to protect.
The right angle and grain direction keep your prep work smooth, so the primer and final coat go on without brush strokes or lap marks.
After scraping, clean your tools and brushes with a universal brush cleaner.
Soften Stubborn Oil-Based Paint With Heat or Chemical Stripper
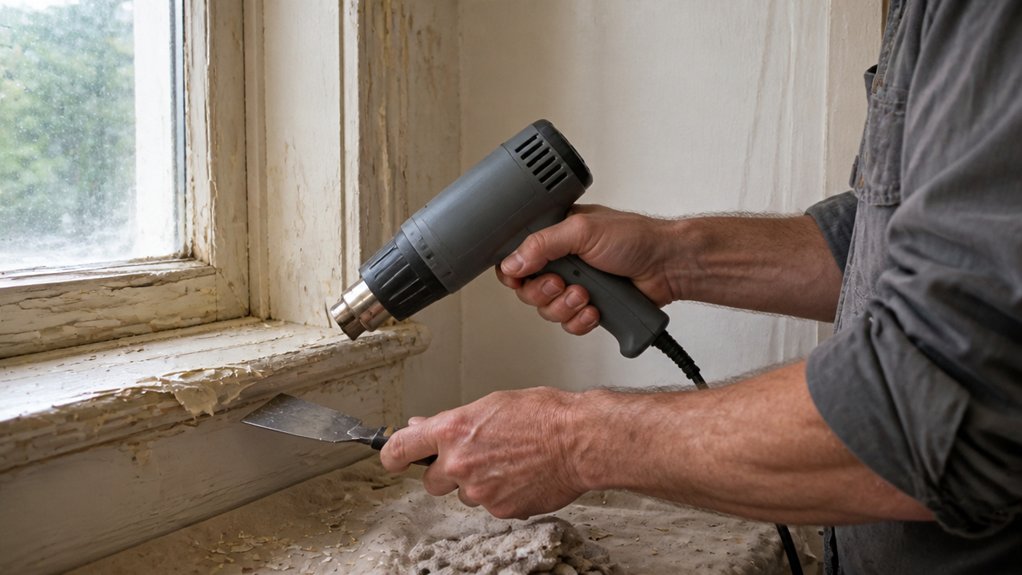
Cured oil-based paint puts up a fight, lifting in strips instead of flaking off like latex. Soften it first with a heat gun or a chemical stripper, and the work gets easier.
Heat works fast, but you have to keep the gun moving a few inches off the wood. Let it sit too long and you’ll scorch the surface, so stay patient. Look for a model with an auto-off feature, which activates at a safe temperature to prevent overheating.
Chemical stripper needs ventilation, no exceptions. Open every window and run a fan, because those fumes hit hard in a closed room.
My routine stays the same every time. Apply the stripper thick, or sweep the heat in slow, steady passes.
Wait for the paint to bubble or wrinkle, that’s your cue to move. Scrape warm, following the grain, and work in small sections.
One tool, one section, one pass. It feels slower upfront, but you stop fighting the paint and avoid gouging the wood underneath.
After scraping, wipe down with mineral spirits to remove any leftover residue. Then sand with 120 grit, and you’re ready for a primer and topcoat.
Choose a flat or satin sheen based on the room, and keep a wet edge as you brush to prevent lap marks. Drying time is quick, but cure time for oil-based paint lasts a week, so allow for that before heavy use.
Use a drop cloth to catch drips, and painter’s tape along trim for clean lines. Trust the process, and the stubbornness disappears.
Feather the Edges, Dust Off, and Prime Bare Spots

Once the paint is gone, you will notice rough edges where the old paint meets the bare wood. Those edges will show through your new finish like a bad toupee, so you need to flatten them.
Grab 120-grit sandpaper and work the transition areas with light, circular passes. Keep sanding until the boundary feels smooth and gradual under your fingertip, not like a sudden step.
Sanding leaves dust everywhere, and that dust will ruin your primer’s grip. Wipe the entire surface with a tack cloth or a damp rag, and do not skip this step.
For priming, apply a stain-blocking oil-based primer to the bare spots. It seals the wood and stops tannins from bleeding through, while water-based primer works but is weaker on problem areas. B-I-N Advanced Synthetic Shellac Primer offers permanent stain blocking for severe tannin bleed and even seals smoke damage, making it a stronger option for stubborn spots.
Aim for a smooth, sealed base with no shiny spots or rough patches. Once the primer is dry, you are ready for the topcoat, and you can paint without worry.
Frequently Asked Questions
What Is the Best Way to Remove Paint From Curved Carved Wood?
The best way to remove paint from curved carved wood is to combine a heat gun or chemical stripper with a flexible scraper, then refine the details with carving tools. First, soften the paint with a heat gun set to around 600°F, but keep it moving to avoid scorching the wood, or use a citrus-based stripper for safer, slower work.
A combination scraper with a swivel head conforms to gentle curves, but for deep crevices, switch to a stiff nylon brush and a wooden pick to lift softened paint without gouging. After stripping, use a detail sanding sponge at 220 grit to smooth the carved surfaces while preserving their shape.
For stubborn residue in tight undercuts, apply a second thin stripper coat and wait 10 minutes before scraping. Patience matters, so work in small sections and wipe with mineral spirits to reveal any missed spots. Related search: try “gel stripper for carvings” if you need a thicker product that clings to vertical curves. Finish with a tack cloth and your chosen finish, knowing clean lines come from layering these steps, not rushing.
Can I Use a Wire Brush Instead of a Scraper for Loose Paint?
Yes, you can use a wire brush instead of a scraper for loose paint, but it is a poor choice for most surfaces. A wire brush is far too aggressive, acting like a sledgehammer where you need a scalpel, and it will gouge wood or create surface damage that ruins adhesion for your next coat. Scraping with a carbide tool is safer, gives you better control, and produces far less dust to manage.
For example, on a painted window sash, a wire brush will leave deep scratches that show through your new finish, whereas a scraper lifts only the failing paint. If you must remove rust or flaking paint from metal, use a nylon abrasive pad instead, it is a gentler alternative that cleans without scarring.
Stick to scraping, then sand with 120 grit to feather the edges. That prep ensures your primer and topcoat bond properly, so you avoid a premature repaint. Skip the wire brush entirely for paint removal tasks.
How Do I Prevent Rust on Scrapers During a Long Project?
To prevent rust on scrapers during a long project, keep the working edge dry and lightly oiled between uses. I wipe my scrapers dry after every use and store them in a dry spot.
For rust prevention during long projects, I keep a cloth with light oil nearby: a quick wipe, no fuss. That is my tool care ritual. Give the metal a thin coat of oil after each session and let it sit for a minute before storage.
This simple tool maintenance habit beats any fancy rust remover. A 3-in-1 oil cloth kept in your toolbox makes it a ten-second job.
Should I Wet the Paint Before Scraping to Reduce Dust?
No, you should not wet the paint before scraping if your goal is reducing dust, because the dampness method wrecks surface prep and creates a gummy mess. Wetting swells the wood fibers, which lifts the grain and dulls your scraper’s bite, leaving a rough patch that needs extra sanding later.
Dry scraping is faster and safer for both the wood and your lungs. Just mask off the area with plastic sheeting, wear an N95 respirator, and open a window for cross ventilation.
For a concrete tip, use a sharp carbide scraper at a low 30 degree angle, and collect debris on a drop cloth you fold inward. If you still worry about airborne particles, lightly mist the floor, not the paint, which binds dust without touching the substrate. This keeps your blade edge sharp and the wood grain intact, so you avoid a second pass with a belt sander.
What Do I Do if Paint Keeps Chipping off After Priming?
If paint keeps chipping after priming, you are almost certainly dealing with adhesion failure caused by inadequate surface preparation. You need to sand the surface back to bare wood, remove every trace of dust with a tack cloth, and then apply a dedicated bonding primer.
For raw wood, use 120-grit sandpaper to create a mechanical tooth, and always wipe down with a damp rag after sanding to eliminate fine dust that ruins adhesion. Skip this step and any topcoat will peel, regardless of primer quality.
Apply a thin first coat of primer and let it dry for at least 24 hours before sanding lightly with 220-grit. This extra sanding step between coats locks in the bond, especially on slick or previously painted surfaces.
Use a high-quality acrylic primer labeled for difficult substrates, and avoid oil-based primers on bare wood if you plan a latex topcoat. The right surface prep beats any paint brand, so budget more time for sanding than for coating.
Rounding Up
Applying paint scrapers takes patience and a sharp blade, not brute force. You will get the best results by keeping the scraper at a steady angle and letting the tool do the work.
Check the room for lead paint before you start, and always open a window for ventilation. Test your blade on a small patch to feel the right pressure and angle before tackling a larger area.
Dust off the surface and inspect it once you finish scraping, so you know it is primed and ready for paint. Respect the mess you make, but do not let it discourage you, because a steady rhythm will come with practice.
Read about paint strippers next to compare your options for tough surfaces.