How to Apply Paint Mixing Paddles: Step-by-Step Guide
Nothing ruins a fresh coat of paint faster than lumps, unmixed pigment, or bubbles left behind by a poor stir. If you have ever opened a can and wondered why the color looks streaky, the mixing paddle is your best friend.
This paint mixing paddles guide covers the exact method to get a smooth, even consistency before you ever touch a brush. You will learn which paddle matches which can size and how to avoid common mistakes that cost you extra coats.
By the end, you will mix like a pro in under two minutes and keep your drying time on schedule. Let us walk through the tools, the technique, and the simple fixes for stubborn paint.
Quick Answer
- Select a steel spiral paddle for heavy latex or epoxies; flat plastic suits thin acrylics under 3 liters.
- Attach paddle to a drill, starting at low speed to prevent splashing and paddle snapping.
- Mix for two full minutes, scraping can sides and bottom to eliminate lumps and sticky streaks.
- After mixing, rest paint five minutes to release air bubbles before rolling or brushing.
- Clean paddle immediately with water or solvent before paint cures, ensuring reuse without damage.
Prep the Paint Tin and Check the Paint Condition
Check the paint before you commit to the job.
Dip your stir stick in and lift it out to test the flow; the paint should fall off in a steady ribbon, like warm honey.
If it comes off in clumps, curdles, or looks stringy, do not try to mix it back to life.
That texture means the paint is too old or has been through a freeze, and no amount of stirring will fix it.
A fresh quart or gallon costs about twenty bucks, and it beats wasting an afternoon with a roller full of ruined paint.
Once you confirm the paint flows well, scrape off any dried skin that formed around the rim or on the surface.
That dried film will break into bits and leave bumps in your finish if you leave it in there.
Use a putty knife to lift it out carefully, then give the paint a thorough stir for a full minute. For heavy epoxies or resins, a drill attachment mixer with a helix paddle will reduce bubbles and handle the thick viscosity far better than a manual stick.
A clean tin and smooth paint give you a better shot at an even topcoat without brush strokes or lap marks.
Keep your wet edge moving when you roll, and check the drying time on the label so you know when the next coat can go on.
For a wood project, consider whether you want a satin or matte sheen on top of the primer.
If you need extra protection, a clear polyurethane over the paint will hold up better than just a gloss alone.
Work on a drop cloth and keep painter’s tape handy for crisp edges.
A little prep now sets the stage for a smooth finish, and you will not be fighting the material later.
Choose the Right Paint Mixing Paddle for Your Can
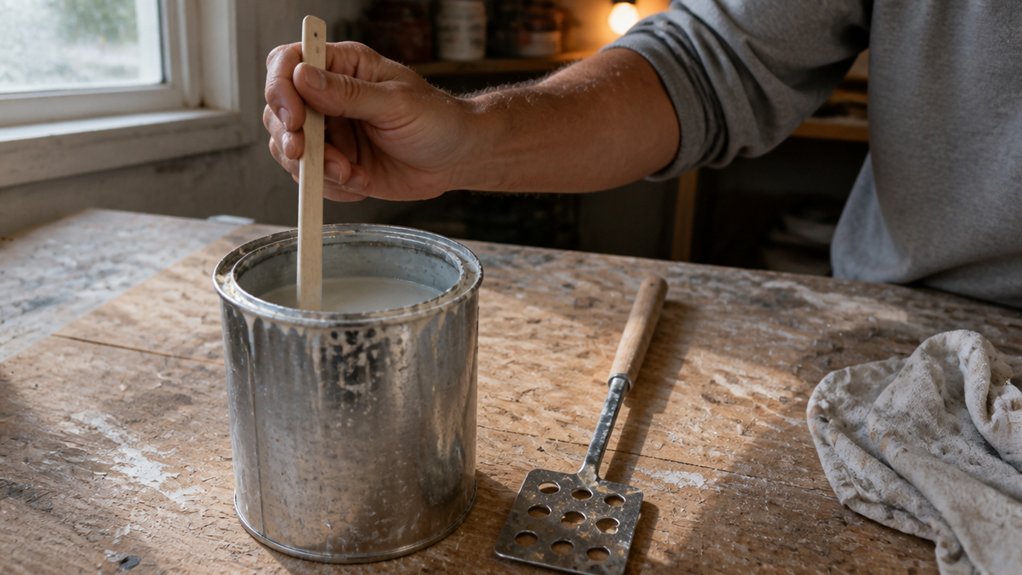
Once you’ve confirmed the paint is in good shape, grab the right paddle for the job. Using the wrong one is like eating soup with a fork, it works but makes a mess and wastes time.
Match the paddle to the can size and the paint thickness. A flat plastic paddle works fine for 1 to 2 liter tins with thin acrylics, but a spiral steel paddle handles 4 liter cans and heavy latex much better.
| Paddle Type | Best For |
|---|---|
| Flat plastic | 1L–2L tins, thin acrylics |
| Spiral steel | 4L+ cans, heavy latex |
| Drill-compatible | Rapid, large-volume work |
| Professional steel | Daily trades, thick epoxies |
Steel beats plastic for durability, especially if you reuse your gear. I have bent cheap plastic paddles on stiff paint, so stick with steel for anything over 3 liters.
Look for a paddle with a storage clip hook on the handle. That hook lets you hang the dirty paddle on the can rim, so you avoid dripping paint on your drop cloth or painter’s tape.
For thick epoxies or a high-gloss topcoat, a professional steel paddle will hold up without bending. Just remember to clean it right after use, before the paint cures, or you will be scraping varnish or polyurethane off later.
Helix and spiral designs prevent air bubbles for uniform color and texture.
When you mix a satin or matte finish, stir slowly to avoid air bubbles that create brush strokes or lap marks. A drill-compatible paddle speeds up large batches, but keep the speed low to keep the wet edge even.
For a beginner, start with a spiral steel paddle for any can over 3 liters. It handles primer, stain, and paint well, and it will last you through many projects without needing a replacement.
Mix Paint by Hand or Use a Drill for Fast, Even Results

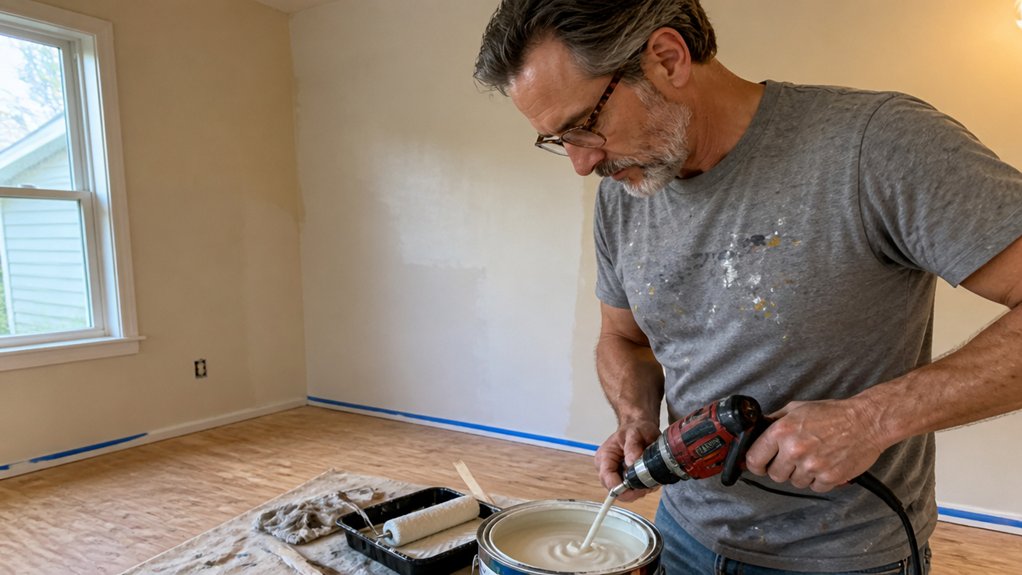
For anything more than a quart, I skip the wrist pain and use a drill with a steel paddle. Plastic paddles snap mid-stir and leave shards in your paint, so steel is the only option.
Hand mixing works for small tins, but it is slow and leaves the bottom corners untouched. A drill gives you full speed control, so I start low to avoid splashing and then run it for two minutes.
>Hand mixing works for small tins, but it’s slow and misses the corners. A drill gives you speed control—start low, run two minutes.
Even color and no lumps, every time. My rule is simple: drill for gallons, hand stir for quarts.
Steel paddles cost about ten dollars and last for years. If you value your elbow, buy one and keep the speed moderate, because too much speed aerates the paint and creates bubbles that ruin the final sheen.
When you are mixing, remember that the primer and topcoat need the same treatment for consistent gloss or satin finish. A smooth mix also helps you keep a wet edge and avoid lap marks when you apply the paint.
For larger batches, you can even add a bit of tint and stir again to match the color precisely. This method works for stain, varnish, and polyurethane too, as long as you scrape the sides and bottom of the can once before you start.
Keep a drop cloth and painter’s tape nearby, and you are ready to work. This approach saves your hand and your finish, and it cuts down on drying time issues later. Low-speed, high-torque motors run smoother with less noise if you ever decide to switch to a mechanical shaker.
Fix Common Mixing Mistakes and Store Your Paint Properly

Sticky streaks mean the paint wasn’t mixed long enough. Fix it by running your drill paddle for another two minutes and scraping the can edges thoroughly.
Thick paint needs thinner only if the label allows it, then remix slowly to avoid air bubbles. If you see bubbles from over-whipping, let the paint rest five minutes before rolling or brushing.
Clean your paddle right after mixing, since dried paint ruins it faster than a dropped tin. For plastic disposable trays, check local disposal rules; most go in regular trash, but steel trays you wash and reuse.
Store paint by pressing plastic wrap under the lid before tapping it shut, which keeps a skin from forming for months. Rubber ring gasket seals provide a reliable barrier against oxygen, just like the tight-fit lids on metal cans. Keep the can in a cool, dry spot away from direct sun and freezing temps.
A smooth mix keeps your wet edge consistent and prevents lap marks in the topcoat. Use satin or gloss finishes only after the primer is fully dry, and follow the label’s drying time, not just cure time.
If you’re working with stain or varnish, stir gently instead of shaking to avoid bubbles, and wipe up drips with a drop cloth or painter’s tape nearby. A clean paddle, tight lid, and short rest period keep your paint ready for the next coat.
Frequently Asked Questions
Can I Use a Paint Mixing Paddle With a Cordless Drill?
Yes, you can use a paint mixing paddle with a cordless drill, but only if you respect the tool’s limits. Match the paddle’s shank size to your drill’s chuck, typically 10mm or 1/2 inch, and tighten it securely before starting.
Keep the drill’s torque setting on a low number and use a slow speed, around 300 to 500 RPM. This prevents splatter and avoids burning out the motor, especially with thick paint or joint compound. For a five gallon bucket, work in short bursts and lift the paddle slightly to pull material from the bottom.
Never run it continuously for more than 30 seconds. A heated motor is a dead motor. If you need to mix heavy spackle, consider a dedicated mixing drill, which has lower RPM and higher torque. For routine latex paint, your cordless unit works fine. Also search paint stirrer attachment for compatibility notes, but remember: slow and steady wins the mix.
How Do I Prevent Air Bubbles From Forming When Mixing Paint?
To prevent air bubbles when mixing paint, use a slow drill speed and keep the paddle fully submerged to avoid drawing in air. I also recommend stirring gently with a smooth, circular motion rather than a vigorous whipping action.
Stop mixing as soon as the paint looks uniform, because overmixing creates microfoam that’s hard to remove. For a quick test, lift the paddle and check for a steady, thin ribbon of paint falling off; if it’s splattering, you’re going too fast.
Let the mixed paint sit for 5 to 10 minutes before use, which lets most trapped bubbles rise and pop naturally. For thicker coatings like varnish or enamel, add a few drops of defoamer if you’re still seeing bubbles after resting.
Is It Safe to Mix Paint in a Plastic Container?
Yes, it is generally safe to mix paint in a plastic container, but only for water-based products like latex or acrylic. For solvent-based paints, stains, or varnishes, the solvents can degrade the plastic over time and leach chemicals into your mixture, so switch to steel or glass.
Plastic is fine for a quick mix, but avoid reusing non-food-grade buckets because residual polymers can contaminate your finish. A concrete tip: for oil-based polyurethane, mix in a clean metal paint tray or glass jar; this prevents softening and keeps your coat smooth and free of pinholes.
Also, check the recycling number on the container; HDPE (#2) plastic is far more resistant to chemical attack than #5 or #7. If you’re doing a large batch, pour mixed paint into a glass mason jar for storage, which is inert and won’t affect the pigment or drying time.
What Is the Best Way to Clean a Paint Paddle Between Colors?
The best way to clean a paint paddle between colors is to scrape off the bulk, then wipe it with a solvent matched to your paint type. For oil-based products, use mineral spirits; for latex, warm soapy water works best.
A stiff wire brush or a scraper removes stubborn dried bits from the grain. Follow up with a clean, lint-free rag to catch any remaining residue.
For a quick change mid-project, keep two paddles rotating so one can dry while you use the other. This avoids contamination and saves time.
Always dry the paddle completely before storing, especially if it’s wood, to prevent swelling or mildew. A five-minute air dry on a sunny spot usually does the trick. Try a plastic paddle if you want a fast rinse and wipe option.
Can I Mix Paint That Has Been Frozen and Thawed?
Yes, you can mix paint that has been frozen and thawed, but only if it passes a strict consistency check. Thawed paint texture often turns clumpy, so stir it thoroughly for at least two full minutes with a clean stir stick. If you still see lumps or a rubbery, jelly-like separation, the binder has broken down and the paint will never level properly. A smooth, creamy texture after stirring means it is likely usable, but test it on a scrap board first. Fresh paint is a safer bet for final coats, so use revived paint only for primer or first coats where minor texture won’t show. When in doubt, strain it through a paint filter; if it clogs, toss it. Check the sheen too, since frozen latex can dull gloss permanently. For best results, store cans in a heated garage to avoid this issue going forward.
Rounding Up
Apply paint mixing paddles by choosing one that fits your can, then attach it to a drill for smooth, fast results.
Scrape the bottom corners with the paddle as you stir, since pigment settles there and creates lumps if missed. Check the paint’s consistency by lifting the paddle and watching it fall in a steady ribbon.
Test your mix on a scrap board before painting, and compare the color to your expectation. Store the can tightly after stirring, and label it with the date you opened it.
A $10 plastic mixer works fine for most cans, so you do not need expensive gear. Read next about how to strain paint for a flawless finish.