How to Clean Walls Before Painting: Sugar Soap vs TSP
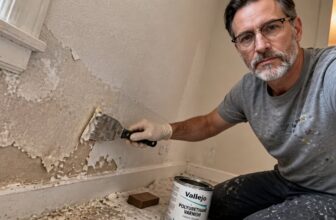
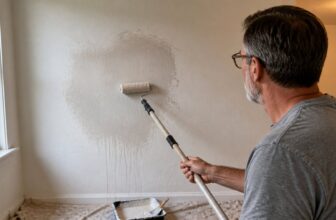
You scrub the walls, you rinse, you paint, and it still peels. That is usually a prep problem, not a paint problem.
Cleaning walls before painting with sugar soap vs TSP comes down to the mess you are facing and the sheen you want to keep. Sugar soap handles everyday grime with one rinse, but greasy kitchens and glossy trim call for TSP to knock down the surface properly.
Skip washing only if the walls are dust free and not tacky to the touch. Otherwise, a quick wipe saves you from failed adhesion and wasted coats.
Stick with me, and I will show you exactly which cleaner to pick, how to apply it, and when to rinse for a flawless finish.
Quick Answer
- Sugar soap handles everyday grime gently; TSP tackles heavy grease and gloss.
- TSP costs less per box but requires extra rinsing, raising total labor cost.
- Always rinse TSP thoroughly; leftover film ruins paint adhesion.
- Identify grime type first—grease, dust, crayon—to choose the correct cleaner.
- Skip washing only in low-traffic, clean rooms; otherwise, TSP remains best prep.
Sugar Soap vs TSP: Which Wall Cleaner Do You Need?
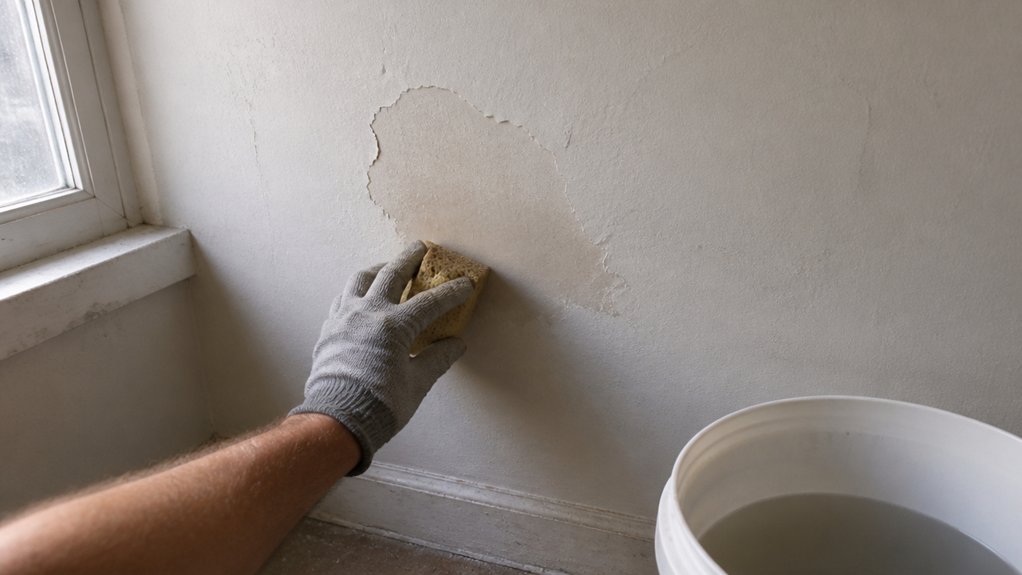
Sugar soap and TSP both prep walls for paint, but you likely need only one. I’ve used both on real jobs, and sugar soap handles everyday grime fine, while TSP wins when grease is heavy or the old gloss needs a rough etch for primer.
For most DIY work, sugar soap is gentler and safer. I reach for it unless the kitchen looks like a fry-up exploded, then I switch to TSP with gloves and a good rinse.
Cost shakes out simple: sugar soap runs about $8 a bottle and dilutes for several rooms. TSP costs roughly $10 a box, but you mix it stronger and rinse twice, so the extra labor adds up.
Sugar soap’s $8 bottle covers several rooms; TSP’s $10 box costs more in labor with its double rinse.
Sugar soap cleans mild soiling with one rinse and is easy on your skin. TSP strips stubborn buildup and glossy sheen, but it needs gloves and a second wipe-down with clean water.
Start with sugar soap and a damp sponge, wiping in one direction to avoid brush strokes on the existing finish. If grease or old gloss laughs at that first pass, then move up to TSP, scrub with a coarse pad, and rinse before you prime.
That primer coat matters most after TSP, so let it dry fully, check the cure time, and sand lightly with 220 grit before your topcoat.
A satin or matte topcoat hides minor flaws, but gloss shows every lap mark, so keep a wet edge while rolling.
When working around mold-prone areas, sugar soap can remove surface mold spores but won’t eliminate mold growing inside the drywall, so fix the moisture source first.
The Fastest Way to Identify Grime: Grease, Dust, or Crayon

Angle a flashlight low against the wall to spot the difference fast. A slick, shiny film means grease, while a dull, powdery haze is dust, and waxy, colored streaks point to crayon.
Run your fingers over the spot you can’t identify. Grease feels slick, dust feels gritty, and crayon feels waxy, so your hand tells you a lot before you grab a cleaner.
To confirm, dab a bit of sugar soap on a cotton swab in a hidden corner. If the liquid beads up instead of soaking in, you’ve got grease, not just everyday grime.
Once you know what you’re dealing with, choose your cleaner and protect the surface with painter’s tape and a drop cloth. For grease, use a degreaser and wipe with a soft cloth, keeping a wet edge to avoid lap marks on your topcoat. A 5–10% TSP solution in warm water is suggested for cutting heavy grease before painting, but rinse it thoroughly to prevent residue that can cause paint blistering.
For dust, a dry microfiber cloth lifts the haze without smearing. For crayon, rub a dab of mineral spirits on a rag, then rinse with sugar soap and let the area dry completely before you prime or repaint.
Always check the sheen of your existing paint, whether it’s matte, satin, or gloss, because harsh scrubbing can dull it. If you’re refinishing wood, sand with 120-grit first, then 220-grit, and apply stain or varnish according to the drying time, not just the cure time.
Work in small sections and keep your brush strokes even to avoid streaks. Low-VOC primers and topcoats are easier on your lungs, and they still bond well over cleaned surfaces, so you can finish the job safely and quickly.
Lighting & Angle Checks
Before you grab any cleaning supplies, set up a work lamp or use your phone’s flashlight and angle it low, skimming the wall. That low light acts like a glare detector, so grease will bounce back shiny while dust stays dull and flat.
Move the light side-to-side and crouch down to check the surface from a steeper angle. Smooth, sticky patches will look wet and reflect light, while texture shows up as small bumps or shadows.
Don’t trust a straight-on look, because it hides the shiny spots. Use the light to find exactly where the grime sits, then mark those areas with painter’s tape if you need to.
This check works before you sand or prime, and it saves you scrubbing the whole wall. Once you spot the glossy zones, you know your topcoat will fail there unless you clean or sand those spots first. For a thorough sweep, use a tripod work light that rotates 360° to keep the beam skimming at the correct angle across larger sections.
For a quick test, run your fingers across the surface after the light check. Grease feels slick, while dust feels gritty, and that tells you whether you need a degreaser or just a dry wipe.
Keep the light moving as you work, and check every few feet as you go. That way, you catch the problem areas before your primer or satin finish goes on, and you avoid lap marks from uneven cleaning.
Grease vs. Dust Feel
Shine a light across the surface to spot the trouble zones, but your fingertips will give you the real answer. Run a fingertip across the wall; if it glides smoothly, you’re dealing with plain dust, which wipes away easily.
If the finger drags or feels tacky, that’s grease or kitchen residue, and sugar soap alone won’t break it down. You’ll need a degreaser before you even think about primer or topcoat. For stubborn grease, a mineral spirits wipe-down can help, though you must ensure the wall is fully dry and residue-free before priming. Crayon marks feel waxy and slick, a stubborn film that laughs at plain soap. Clean feels like nothing: a dry, smooth surface with zero drag.
Grease feels sticky, like a film that stays even after you try to wipe it off. Dust feels gritty, similar to fine sandpaper rubbing against your skin. Crayon feels waxy, smooth but present, and it won’t budge without a solvent. Clean feels neutral, just a flat, dry wall ready for a coat of satin or matte finish.
Don’t guess at the contaminant, since guessing leads to peeling paint and a wasted weekend. Feel first, then choose your cleaner; this simple test saves you from sanding grit and repaint headaches. For grease, use a trisodium phosphate wash, then rinse and let the drying time fully pass. For dust, a damp cloth and a quick wipe down is enough to keep your wet edge clean when you roll on the first coat.
Hidden Spot Testing
A closet door or the spot behind a bookshelf might hide the truth about your walls, but that’s exactly where I head first when I’m testing for grime. I grab a few corner swatches, small inconspicuous spots, and press on a piece of painter’s tape.
If the tape peels off clean, you’ve got dust. If it leaves a sticky, greasy residue, that’s oil.
Crayon shows up as waxy streaks clinging to the tape’s edge. That’s my fastest trick: the tape test tells me the enemy before I mix a single solution.
Sugar soap handles dust and light fingerprints, but grease and crayon demand TSP’s heavy hand. So don’t guess, test first.
Thirty seconds saved me a botched paint job more than once, and it also tells me whether I need to sand down to bare wood or just wipe with a damp cloth.
Once I know the enemy, I pick the right primer and topcoat sheen, whether that’s satin for a bathroom or matte for a low-traffic hallway.
I keep a drop cloth down and a wet edge going so lap marks and brush strokes stay invisible.
And I always respect drying time versus cure time, because rushing a second coat can lift the first one.
VOC levels matter too, so I open windows and use low-odor products when I’m working inside a tight space.
That’s the whole job: test, match the cleaner to the grime, then prep and finish with the right tools.
For tougher grime on textured or semi-rough walls, choose a tape with medium-tack adhesive that grips firmly without lifting fresh paint.
5 Conditions That Let You Skip Washing Walls Before Painting
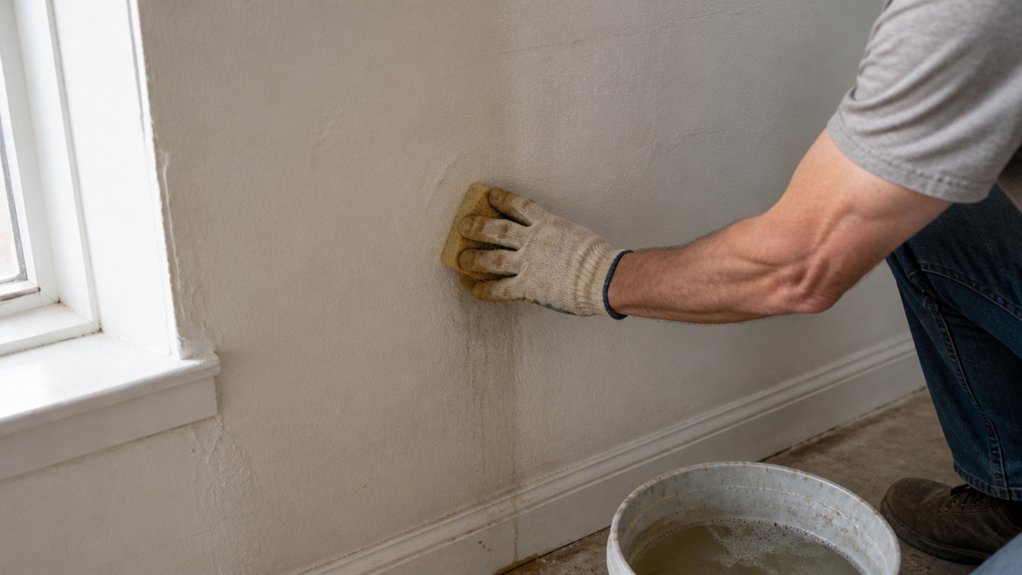
You can skip washing walls, but only when the surface is truly clean and the room stays low-traffic. A living room with light dust and no kids, pets, or cooking nearby is safe to paint over as is.
Wipe down anything with grease, crayon marks, or heavy hand contact first, or you’ll get paint that peels like sunburned skin. For those clean walls, just brush off loose dust with a dry cloth or a vacuum brush attachment.
If you do skip washing, still check for glossy spots or sticky residue, since those will reject the topcoat. A quick sanding with 120-grit paper over any shiny areas helps the primer bite in.
Use a quality primer on bare patches or stains, then apply your topcoat in a satin or matte sheen for easy touch-ups. Keep a wet edge while rolling so you don’t leave lap marks, and work in small sections.
Remember that drying time for paint is a few hours, but cure time takes a week or more before the finish hardens fully. Drop cloths and painter’s tape are still essential, even if you skip the washing step. Using a paint shield on the roller or trim work can catch drips and splatter, reducing the need for meticulous cleanup on those untouched surfaces.
Clean Vertical Surfaces
You can skip washing vertical walls when three conditions are met. I have used all of them to save a Saturday for something better.
First, the last paint job is under a year old, and you have kept dust off it. A fresh topcoat that hasn’t seen heavy wear holds new paint fine.
Second, a low flashlight sweep shows no sticky fingerprints or grease splatters. If the surface feels smooth and not tacky, you are clear.
Third, you have no pets or smokers in the house. Their residue clings like a bad habit, so washing is the only fix there.
Your wall inspection only shows light dust, not grime. That dust wipes off dry with a microfiber cloth, no soap needed. A 300 GSM microfiber cloth efficiently grabs dust without leaving fibers behind on vertical surfaces.
The surface feels smooth, not tacky, which means the old topcoat is still sealed. A tacky wall would grab new paint unevenly and cause brush strokes.
You are painting same-color over same-color, so the adhesion risk drops. Matching sheen and gloss means the new coat blends without lap marks.
Any patches are dry, primed, and untouched by soap before. Soap residue on bare primer can cause fish eyes, so keep those patches clean and dry.
Skip the wash, but do not skip vertical prep. Wipe with a dry microfiber cloth to remove dust and keep the surface ready for paint.
This saves an hour and keeps your sanity. Just do not tell your perfectionist neighbor, because they will still scrub every inch with TSP.
Low-Activity Rooms Only
Why does the living room get a free pass while the kitchen gets the full scrub-down? Simple: low-activity rooms don’t earn the grime.
If there’s no cooking grease, no pet dander, no fireplace soot, and minimal handprints, you can skip washing entirely. I’ve painted plenty of tidy dens where a quick dusting with a dry cloth was all the prep needed, and honestly, that’s my favorite kind of job.
Here’s my rule of thumb: recently painted walls, vertical surfaces only, and zero sticky fingers touching them. That’s it.
Modern paint bonds beautifully to clean, dry walls, so why risk water damage or soap residue? You’ll save an hour and a bottle of cleaner, and the topcoat will lay down smooth without lap marks or brush strokes. For truly dusty but grease-free walls, a dry cloth can also remove loose particles, but remember that porous or textured surfaces can reduce paint coverage by 10 to 20 percent, so ensure they are free of debris before skipping a wash.
Skip washing only if the room’s been boringly quiet. Any doubt? Wash it.
Use a damp sponge with a mild cleaner, rinse with a clean wet cloth, and let the wall dry fully before you roll on primer or paint. Your paint job will thank you, and you’ll avoid the headache of a patchy sheen or a dull spot from leftover soap film.
How to Wash Walls With Sugar Soap for a Gentle Clean
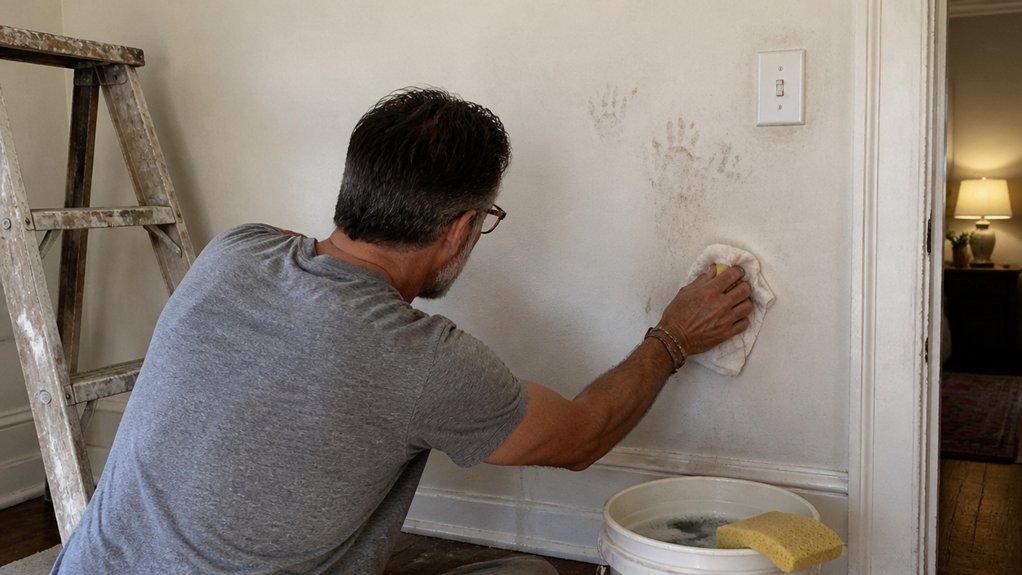
Sugar soap is the gentlest way to wash lightly soiled walls, and it works better than you might expect. For everyday dust, fingerprints, and kitchen film, it cuts through grime without risking your paint.
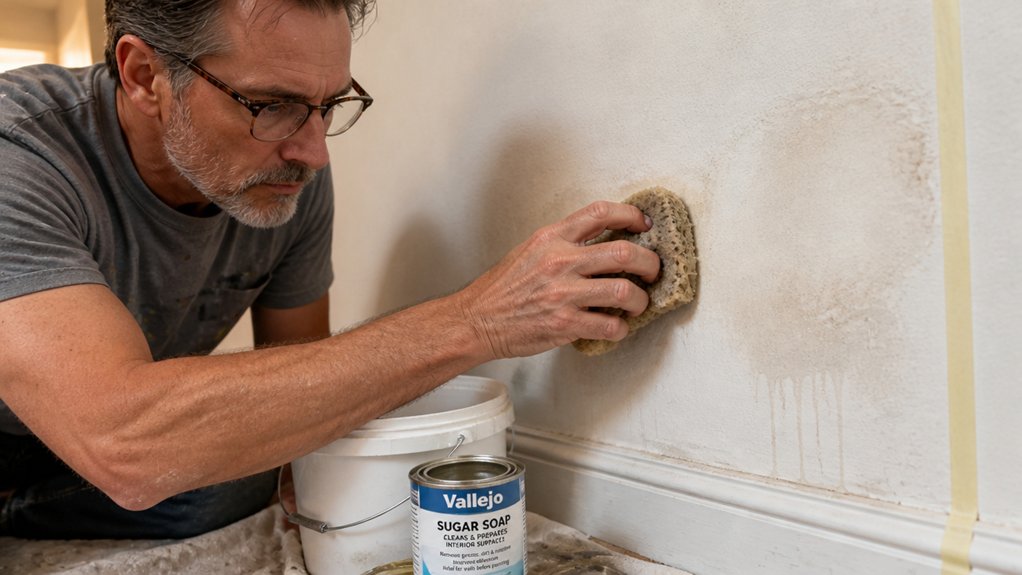
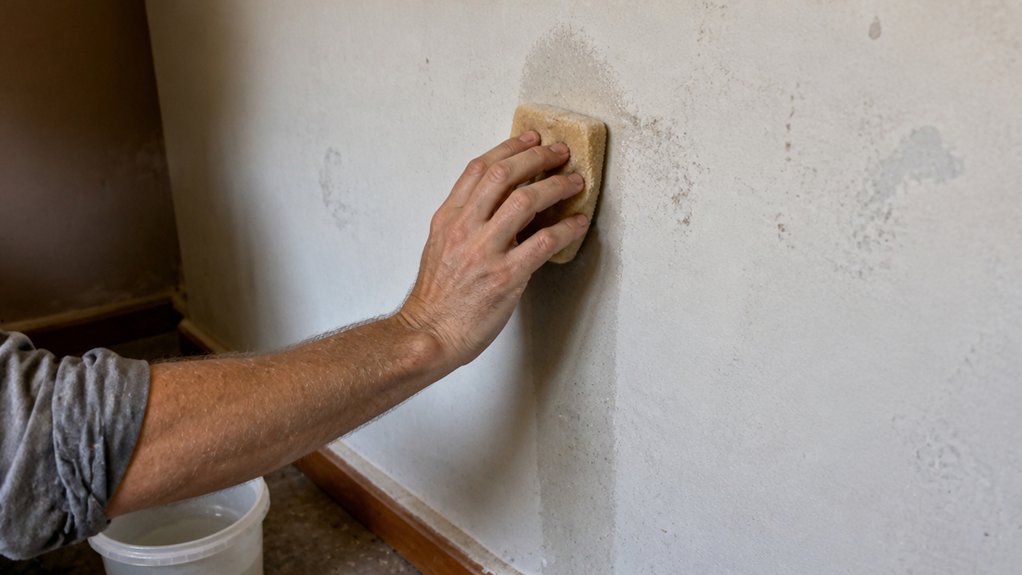
Mix the solution according to the label, using warm water in a bucket. Use a soft sponge or microfiber cloth, and wring it until it is damp, not dripping. A soaked sponge leaves streaks and can soften the paint, so keep that wet edge under control.
Work from the bottom of the wall upward, using smooth, overlapping strokes. This prevents drips from running down onto clean areas and keeps you at a consistent sheen. Rinse your sponge often in clean water to avoid redepositing dirt.
The best part is that sugar soap has low VOC levels, so there’s no harsh fume headache while you work. You can breathe normally and even open windows only slightly for fresh air. Your paint stays intact, saving you from having to repaint or touch up with primer and topcoat.
After washing, give the walls a solid few hours of drying time before you do anything else. Rushing this step causes blisters, especially on satin or matte finishes, and I’ve learned that mistake the hard way. Patience here means you keep the original gloss and avoid sanding and recoating.
For a deeper clean, you can lightly sand the surface with fine grit before washing, but only if the paint is in good shape. Sugar soap alone handles the regular stuff without needing drop cloths or painter’s tape. It’s a simple, calm process that feels methodical rather than rushed.
Use it on interior walls that just look dull or tacky to the touch. It won’t strip varnish or stain, and it won’t harm your topcoat. Just keep your strokes even and let the walls breathe before you move furniture back or hang anything. Avoid fabric softeners when washing your sponges or cloths afterward, as they clog fibers and reduce absorbency.
How to Use TSP on Grease, Gloss, and Stubborn Stains
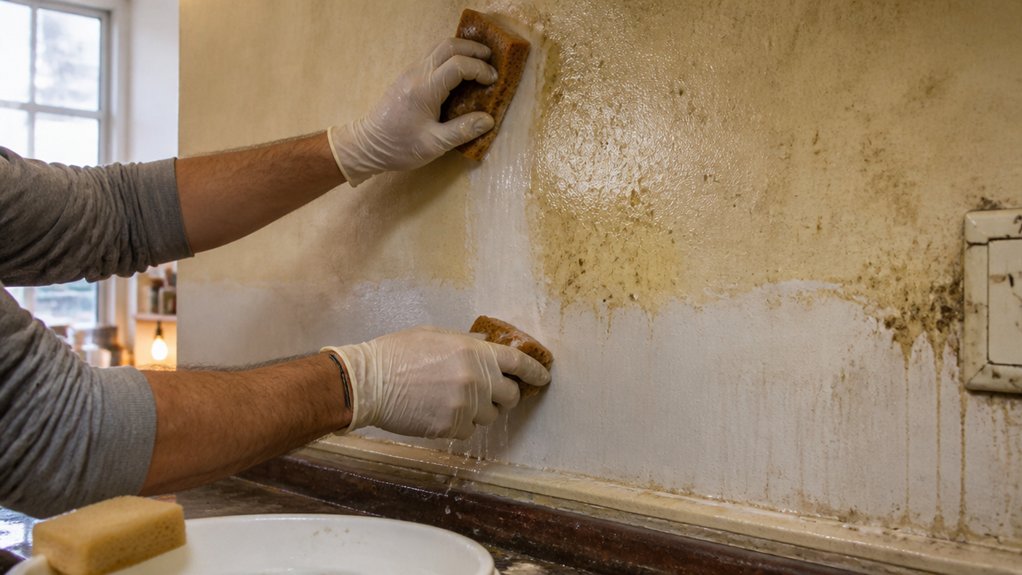
When sugar soap stops cutting it, switch to TSP, or trisodium phosphate. This heavy-duty powder dissolves grease and etches glossy surfaces so fresh paint can bond.
Mix it according to the label, usually half a cup per gallon of warm water. Scrub in small sections, and you’ll watch kitchen oil lift and shiny paint dull down to a sandable tooth.
The critical step is rinsing, and you can’t skip it. Leftover TSP leaves a slick film that ruins adhesion, so flush every surface with clean water after scrubbing.
Use pH test strips to confirm the rinse is neutral, around 7. If it still reads alkaline, rinse again; that residue is a ticking time bomb under your primer or topcoat.
Wear gloves, open a window, and test a hidden corner before committing. For stubborn stains on trim or cabinets, use a stiff nylon brush and let the TSP sit for a few minutes before scrubbing.
Wipe down with a damp sponge, then dry with a lint-free cloth. Once the surface is clean and neutral, you can move on to sanding with 120 grit and applying a stain or polyurethane.
On gloss or semi-gloss paint, TSP knocks down the sheen enough that a new satin or matte coat won’t show lap marks. Just remember to keep a wet edge when brushing, and give the primer full drying time before topcoating.
Spread drop cloths to catch drips, and use painter’s tape on edges you want crisp. Work in manageable sections; TSP dries fast, and you don’t want a crusty film before you rinse.
If you’re stripping old varnish, TSP helps break the surface, but follow with a proper stripper for heavy buildup. For everyday grease and grime, it’s your best first move before sanding or priming, and a proper prep is as critical for metal surfaces, where rust-preventing paints require a clean, degreased base to form a durable, weatherproof barrier.
Mistakes That Ruin Paint Adhesion After Washing
You scrub every inch of the wall until it squeaks, but one small mistake can still make your fresh paint peel like a bad sunburn. Adhesion failure is rarely the paint’s fault.
It’s usually mine, or yours, when we skip the residue removal step after washing.
Rinsing with dirty water leaves a soap film behind, and that film quietly kills your new topcoat. Painting too soon traps dampness in the wall, which later bubbles up like regret.
Sugar soap feels gentle, but it cannot cut through old grease on glossy trim, so that stubborn stain laughs at your effort. I have also ignored TSP residue, then wondered why the roller drags across the surface.
Trust me, I have learned this the hard way on real jobs. Rinse twice with clean water, dry the surface completely, and test a small patch before you commit.
Trust me, I’ve learned this the hard way. Rinse twice, dry fully, and test a patch first.
That routine is the difference between a fresh start and a peeling nightmare. Use a primer on bare patches, match your topcoat sheen to the room, and respect drying time versus full cure time before you sand with fine grit or apply a varnish or polyurethane.
Keep a drop cloth down and painter’s tape on the edges so you never fight brush strokes or lap marks later. Water alone does not clean a wall.
Use a degreaser or TSP, then rinse with a sponge and fresh water until no suds remain. Let the wall dry overnight, not just for an hour, and check a corner with your palm for any cool dampness.
A dry, residue-free surface is the only surface where primer and paint will bond for years. Skip these steps and you will be back with a scraper and sandpaper, wondering why the new coat failed.
Take the extra pass with the rinse bucket and the dry time. Your paint will stick, your finish will stay smooth, and you will not have to redo the job.
Frequently Asked Questions
Can I Mix Sugar Soap and TSP Together for Cleaning?
No, you should not mix sugar soap and TSP together for cleaning, because the residue from the sugar soap reacts with TSP’s alkaline chemistry and leaves a sticky, gummy film that is harder to rinse off.
For preparing walls before painting, choose one cleaner based on the soil level. Use TSP for greasy kitchen or bathroom surfaces, or sugar soap for light dust and general grime.
If you already mixed them, rinse the surface twice with clean water and wipe with a damp sponge, then let it dry completely for at least 24 hours before priming.
Stick to a single product per session; switching mid-job risks leaving incompatible residues. A related term you might search is “wall prep degreaser” for product options.
Test your chosen cleaner on a small patch first, and always wear gloves and eye protection when working with TSP.
How Long Should Walls Dry After Washing Before Painting?
Walls should dry for at least 24 hours after washing before painting, but the actual time depends on humidity, temperature, and how much water you used. Never trust the clock alone, because a damp wall will reject primer and cause peeling or blotchy finish.
Use a dampness meter to check the surface; it should read below 15% moisture content before you break out the paint. In a humid bathroom or basement, expect the timeline to stretch to 48 or even 72 hours, so plan accordingly.
If you don’t have a meter, tape a small square of plastic sheeting to the wall and leave it for 12 hours; condensation underneath means wait longer. I also suggest wiping the wall with a dry microfiber cloth after washing, then running a fan on low to speed evaporation.
For a quick sanding touch-up, use 120 grit on any rough spots, and remember that primer acts as both a stain blocker and a moisture barrier for the topcoat. When in doubt, give it one extra day before you roll.
Do I Need to Prime Walls After Cleaning With TSP?
Yes, you do need to prime walls after cleaning with TSP, because even a perfect rinse can leave microscopic alkaline residue that destroys paint adhesion. Skipping primer is a gamble, and a patch test only tells you about that one spot, not the entire wall.
Instead of rolling on a full coat, cut in with a quality bonding primer on a 12-inch patch, let it dry overnight, and then press a strip of duct tape over it. Yank the tape off sharply: if any primer lifts, the whole wall needs it. For a thorough rinse after TSP, use a damp microfiber cloth and change the water every 10 square feet, then wipe again with plain water.
If you opt for a primer like a shellac-based sealer, one coat is enough, but a latex primer may need two over high-porosity drywall. Related term to search: alkali-resistant primer. Drying time for TSP is typically 24 hours, so do not rush the process.
Can Sugar Soap Be Used on Unsealed Wood Surfaces?
No, sugar soap should not be used on unsealed wood surfaces because its alkaline chemistry will raise the grain and can leave a chalky residue that ruins the finish. Instead, clean unsealed wood with a dry brush or vacuum, then wipe with a barely damp cloth, and let it dry fully for at least 24 hours.
If you must remove grease or grime, test a small, hidden spot with diluted sugar soap, but expect the fibers to swell and roughen. For a safer approach, sand lightly with 120 grit paper after cleaning to smooth any raised areas, then proceed with your stain or varnish.
The better alternative is a pH-neutral wood cleaner, which won’t trigger swelling or residue. I’ve seen too many projects ruined by this mistake, so always check the wood’s seal first by dropping water on it: if it beads, it’s sealed; if it soaks in, skip the soap entirely.
Is TSP Safe to Use Around Children and Pets?
No, TSP is not safe to use around children and pets. Exposure risks real harm if they ingest it or get it on their skin, so you must treat it like any other hazardous finish remover.
For everyday cleaning, swap in sugar soap or a vinegar and water solution, which cut grease without the caustic bite. Rinse every surface twice with clean water and let it dry completely, at least 4 hours, before allowing kids or pets back in the room.
If you must use TSP for heavy prep, wear gloves, keep everyone out, and vacuum up any powder residue before rinsing. A safer related option is trisodium phosphate substitute, which works similarly but with far lower toxicity. Always wipe down baseboards and floors afterward, since pets lick those areas most.
Rounding Up
To clean walls before painting, match the cleaner to the crud: sugar soap for dust and grime, TSP for gloss and crayon. A clean wall is the real canvas, and skipping this step paints over a film of grease that leads to peeling.
Check your walls by running a damp cloth over them to see if grime or gloss is present. Write down which cleaner you need based on what you find, then test it on a small patch before committing.
Compare the gentle, cheap option of sugar soap against the heavy artillery of TSP for tougher marks. Ask your local paint supplier which one suits your specific surface and finish best.
Read next about paint adhesion and surface preparation.