How to Clean Paint Brushes and Rollers: Water vs Oil-Based
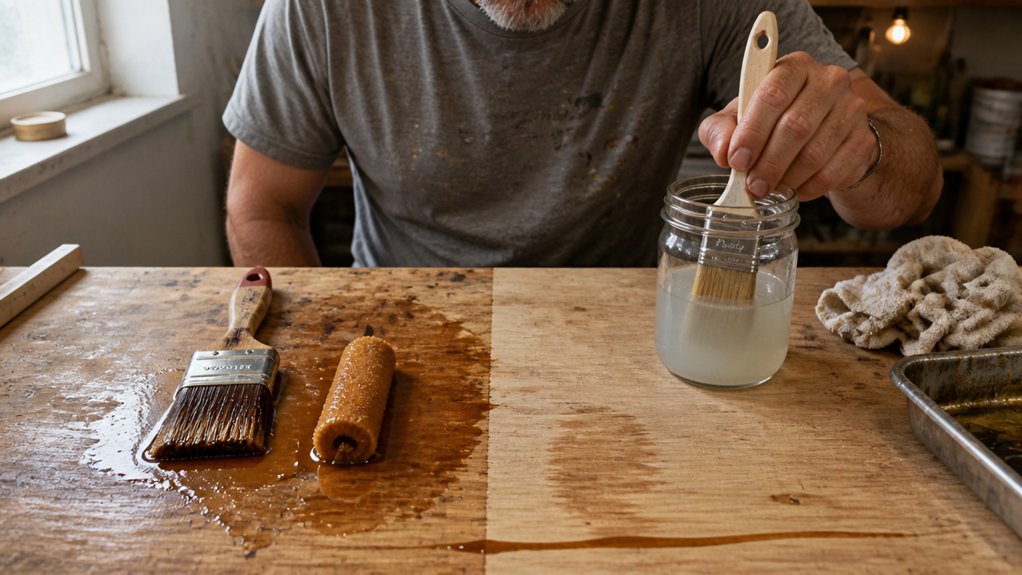
Cleaning paint brushes and rollers: water vs oil based paint is a decision you will face the second you put down the brush.
There is nothing worse than watching a good brush turn into a stiff, ruined mess because you used the wrong cleaner. Water based paint just needs soap and water, but oil based paint demands mineral spirits and patience.
Getting this wrong means wasted money and a frustrating trip back to the store. This guide covers the exact steps for both, including how to save your plumbing and avoid toxic fumes.
Let me walk you through the simple routine that keeps your tools ready for the next coat.
Quick Answer
- Use three buckets for water-based brushes: soapy, clean, and rinse to prevent paint buildup.
- Soaking brushes in one bucket ruins bristle flexibility; always clean immediately after use.
- Dry water-based paint sludge in cat litter or sawdust, then trash—never pour down drains.
- Clean oil-based brushes with mineral spirits in ventilated areas, soaking 5–10 minutes.
- Reuse solvents by settling solids overnight; label sludge jar hazardous waste before disposal.
Clean Water-Based Brushes With a Three-Bucket Method
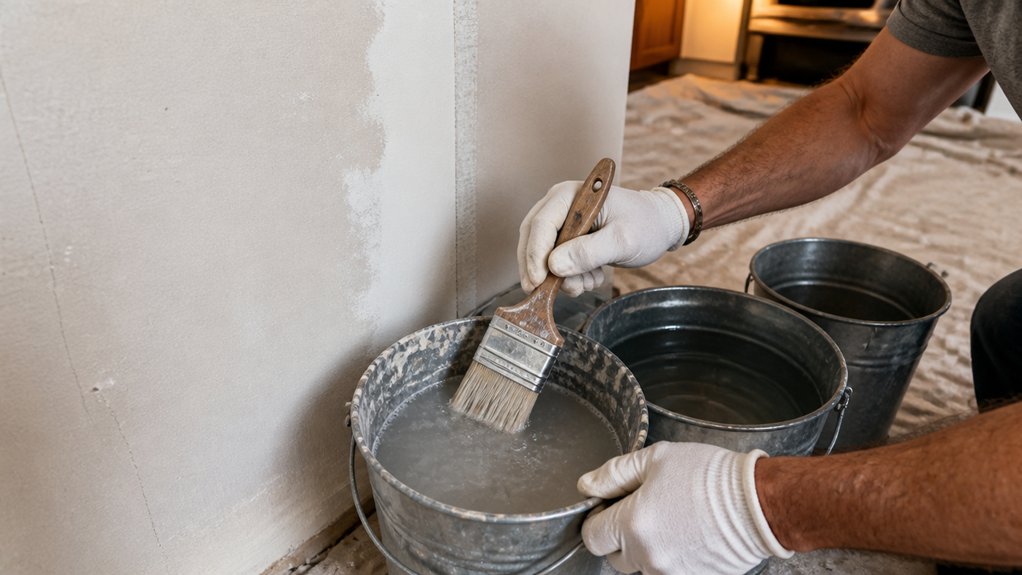
Water-based paint washes out with soap and warm water, but one bucket will leave pigment trapped deep in the bristles. Three buckets give you a simple rinse cycle that keeps your brushes alive for many projects.
Start with a bucket of warm, soapy water. Submerge the brush and work the bristles against the bottom to release the absorbed paint. Move to the second bucket of clean water, squeeze the excess soap out, and repeat the scrubbing motion. Finish in the third bucket for a final rinse, then wring the bristles dry with your fingers and lay the brush flat to dry.
Start with warm, soapy water, work the bristles, then rinse through two more buckets.
This method cuts paint waste and reduces the amount of pigment you send down the drain. You also avoid the mess of swirling color into your plumbing, which can stain fixtures and build up over time. A three-pack of 5-gallon buckets costs about $15 at any hardware store, and it protects a $12 brush from turning stiff after one afternoon.
I learned this the hard way after ruining a good brush because I left it sitting in a single bucket of water. The paint dried in the heel, and no amount of solvent could soften the bristles back to their original flex. With three buckets, you get a wet edge on every stroke because the brush stays clean and loaded with fresh paint, not old residue. If your brush does stiffen despite this routine, a surfactant-rich restorer can break down dried acrylic residue without harming natural bristles.
The same discipline applies when you switch between primer and topcoat, or between a satin finish and a gloss. Keep your brush free of dried bits, and you will see fewer lap marks and brush strokes in your final coat. The water rinse also removes most of the water-based acrylic, so you can follow up with a final wipe of mineral spirits only if you used an oil-based polyurethane or varnish.
For sheen levels like matte or satin, a clean brush is even more critical, because any leftover pigment changes how light reflects off the surface. Use a drop cloth and painter’s tape to protect your work area, but the bucket method does the real heavy lifting for brush care. Drying time for the brush is just a few hours, but cure time for the finish on your project is a separate matter, so hang the brush up and let the paint air out fully.
Grab three buckets, label them rinse one, rinse two, and final rinse, and get into the habit. Your bristles will stay flexible, your drains will stay clear, and your next coat of varnish or stain will go on smooth without streaks. That is the whole trick.
Dispose of Water-Based Paint Waste Without Harming Drains
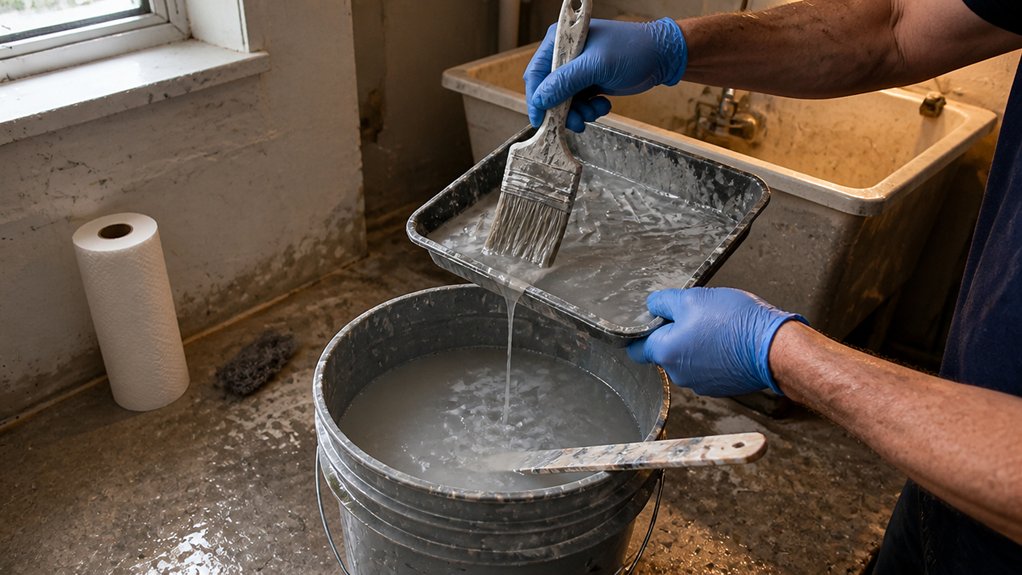
Paint water from cleaning brushes or rollers is a problem.
It coats your pipes and starves the bacteria in your septic tank, which leads to expensive repairs.
Let the buckets sit overnight so the solids drop to the bottom.
Pour the clear water on top down a toilet or sink, slowly.
For the sludge left behind, mix in cat litter or sawdust until it feels dry.
Scoop that into the trash, not the drain.
Check your city’s rules on hazardous waste before you toss anything.
Some areas will ask you to bring dried paint to a drop-off center instead.
Never rinse paint outside or into a storm drain.
That sends pigment and VOCs straight into local waterways.
Work with a drop cloth and painter’s tape to keep cleanup light.
Keep a wet edge when you roll or brush to avoid lap marks, and wait for full cure time before you wash tools.
Settle, dry, discard, and your plumbing and the water supply stay healthy.
You will sleep better knowing your primer, topcoat, and sheen choices didn’t ruin the pipes underneath.
For solvent-heavy work, a silicone funnel and a 190 micron mesh strainer can filter dried bits before you reuse thinner or wash water.]
Clean Oil-Based Brushes With Solvents in a Ventilated Area
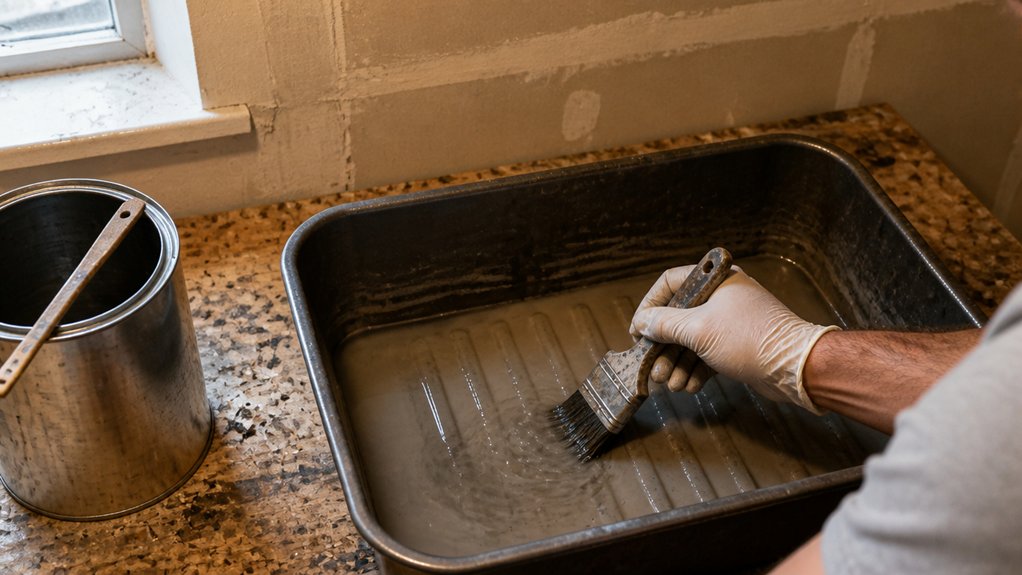
Oil-based paint resists water, so you need mineral spirits or paint thinner to break it down. Always work in a ventilated area, because solvent fumes build up fast and can overwhelm you in minutes.
Oil-based paint needs solvent power—mineral spirits or thinner—so always ventilate, because fumes can overwhelm fast.
Open windows and wear gloves before you start. Pour a small amount of solvent into a metal or glass jar, just enough to cover the bristles.
Let the brush soak for 5 to 10 minutes so dried paint softens. Then swirl the brush and press the bristles against the jar sides to work the solvent through the brush.
Wipe the brush clean on a rag, then set it on a drop cloth to air dry for about 30 minutes. This routine keeps your brush soft and ready for the next coat.
Solvents have high VOCs, so never rush the drying step indoors without airflow. For a smoother finish later, you can follow up with a quick rinse in warm soapy water, but only after the solvent step is done.
Cure time matters more than drying time when you store brushes, so let the bristles fully dry before you wrap them. If you leave wet solvent on the brush, it can soften the ferrule and ruin the handle.
Choose a product with a low-odor formula to reduce fume buildup while still effectively breaking down the dried paint.
Reuse Solvent and Dispose of Paint Waste Safely After Cleaning
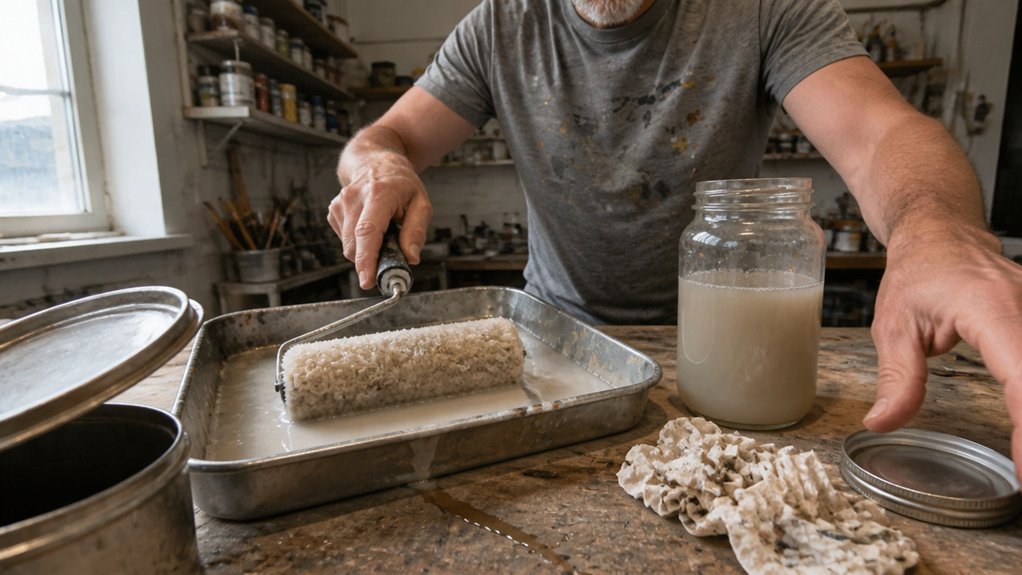
Reusing solvent is mostly about waiting, not chemistry. After cleaning oil-based brushes, don’t throw away the murky mineral spirits.
Pour them into a sealed jar and let it sit overnight. The paint solids sink to the bottom, leaving clear solvent on top.
Carefully pour that clean liquid into a fresh container, then cap the old jar. Grab a permanent marker and write “HAZARDOUS WASTE” on the sludge jar.
This label protects you and anyone who finds the jar later. Never pour the leftover muck down a drain or outside, it’s toxic.
Let the solids dry completely, then toss them in the trash. This keeps your solvent reusable and your plumbing safe, no need for special additives.
A little patience saves you money and keeps your brush cleaning routine low-stress. You also avoid wasting primer or topcoat from dirty brushes later on.
VOC levels stay lower when you reuse solvent this way. Just keep the jar sealed between uses to slow evaporation.
For tough finishes like varnish or polyurethane, the same trick works fine. The drying time for the sludge is usually a day or two, depending on humidity.
You don’t need to worry about lap marks or brush strokes here, since you’re just cleaning tools. Once the solids are dry, they’re harmless in regular trash.
Keep a drop cloth under your work area to catch spills. Painter’s tape on the jar lid adds extra security against leaks.
For oil-based paints, this method works best with odorless mineral spirits that clean brushes with minimal residue and help preserve bristle integrity.
Frequently Asked Questions
Can I Use Vinegar to Clean Oil-Based Paint Brushes?
No, you should not use vinegar to clean oil-based paint brushes because it will not break down the alkyd resins in the paint. A vinegar soak only softens the handle or glue, leaving the bristles stiff and gummed up with pigment.
Mineral spirits are the correct solvent for this job, as they dissolve the oil binder effectively. Pour enough spirits into a glass jar to cover the bristles, then work the brush against the bottom for two to three minutes. Follow with a warm, soapy water rinse and a final dip in fresh spirits to neutralize the residue.
Turpentine also works as a natural alternative, though it dries slower and has a stronger odor. For a quick daily cleanup, wipe the brush on a rag soaked in mineral spirits immediately after use, then hang it to dry overnight. This habit prevents paint from curing in the ferrule, which is the main cause of splayed bristles.
How Do I Clean a Paint Roller With Dried Paint?
To clean a paint roller with dried paint, soak it in warm, soapy water for latex paints or the appropriate solvent for oil-based paints, then work the softened paint free with a brush comb. Leave the roller submerged for at least 30 minutes, and for stubborn crust, let it soak overnight in a bucket of hot water with a few drops of dish soap.
After soaking, scrape the roller firmly with the comb, rinsing it under running water between passes to lift the loosened paint. For oil-based buildup, use mineral spirits in a sealed container, then wash the roller with warm soapy water to remove any solvent residue.
A concrete tip: always clean latex rollers within two hours of use, and for dried messes, try a pressure washer on a low setting to blast away softened paint without damaging the nap. Persistence beats the stubborn crust, but replacing a heavily caked roller with a fresh one is often more efficient for a pro finish.
Can I Wash Water-Based Paint Brushes in a Sink?
Yes, you can technically wash water-based paint brushes in a sink, but I strongly advise against it. Paint residue, even from latex or acrylic, will coat your pipes and create stubborn clogs that are expensive to fix. Instead, use a three-bucket system: first bucket for the bulk of the paint, second for a soapy wash, and third for a clean rinse. This keeps nearly all pigment out of your plumbing, and you can then dispose of the dirty water properly, like letting it evaporate in a lined tray. For a quick daily clean, wipe the brush on a rag and rinse only the bristle tips under a thin stream, then dry it flat for 24 hours. That tip alone will save your drain and extend your brush’s life, far better than risking a clogged sink.
How Long Can Brushes Sit in Solvent Before Cleaning?
Brushes can sit in solvent for up to overnight before cleaning, but no longer, because extended soaking degrades the bristles and the glue that holds them in the ferrule. I have watched natural bristles turn to mush after 48 hours, which ruins the brush’s spring and edge control.
For most varnishes and oil-based finishes, a 30 to 60 minute soak in mineral spirits or brush cleaner is plenty to soften dried paint. After that, wash with warm soapy water, rinse, and shape the tip with your fingers before laying flat to dry.
If you need to pause mid-job, wrap the brush in plastic wrap or a wet rag instead of submerging it. That keeps the solvent exposure minimal and extends the brush’s life far beyond any overnight soak. Always use a dedicated brush rest or hang it so the bristles never touch the bottom of the jar.
Is Latex Paint Waste Safe to Put in Compost?
No, latex paint waste is not safe to put in compost because its latex toxicity and additives can contaminate the pile and harm beneficial microbes. Even dried paint chips break down slowly and can leach biocides, which defeats the purpose of healthy compost.
Instead, dry the waste completely by leaving the can open in a ventilated area for 1 to 2 weeks until the paint forms a rubbery skin. Once it is fully solidified, you can safely toss the whole can in your regular trash, not hazardous waste.
For water-based acrylics, a related term is paint sludge from cleaning brushes; that also belongs in the bin, never the compost. Use a cat litter box or cardboard to speed up drying, and always check your local disposal rules for extra safety.
Rounding Up
Clean water-based paint brushes and rollers with buckets and patience, while oil-based ones need solvents and a stiff breeze.
Two worlds, one goal: a brush that doesn’t ruin your next project, and I’ve ruined plenty, so trust me.
Check your paint label before you start, then pick the right cleaner for that base.
Compare costs: a bucket runs five bucks, a ruined brush twenty, so spending a little time saves real money.
Test your brush in the bucket after a few minutes, and wipe it dry to see if paint still clings.
Write down which solvent you used for oil paints, and reuse it in a sealed jar for next time.
Vent the fumes, save the solvent, and you’re already ahead of most DIYers.
Read next about how to store wet rollers overnight to keep them fresh.