How to Paint a Wall With a Roller Like a Pro
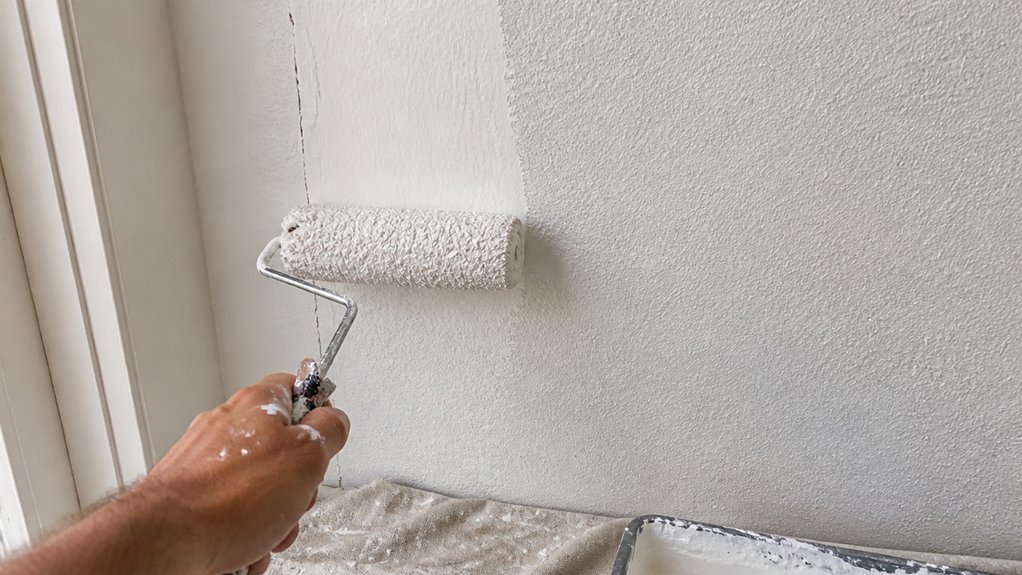
Roller marks and patchy color usually come down to technique, not talent. You can paint a wall with a roller like a pro once you fix your prep and pace.
Surface prep matters most: patch holes, sand smooth, and prime bare spots so the first coat grabs evenly.
I load a 1/2 inch nap roller fully, then work in three foot squares with a W pattern while the paint stays wet. That keeps a wet edge and prevents lap marks, which ruin flat and eggshell sheens.
Lightly sand with 220 grit between coats to remove specks, then apply the final coat.
Keep reading for the full step by step process, including drying time and cure time tips.
Quick Answer
- Prep walls: clean, patch holes, sand smooth, and prime stains or bare drywall.
- Use a 1/2-inch nap wool blend roller for most interior walls, with an extension pole.
- Load the roller with only half an inch of paint, then roll it over the tray ramp evenly.
- Apply in a loose “W” pattern, filling in with horizontal passes while paint stays wet.
- Let each coat dry fully, sand lightly with 220-grit, and wipe dust before recoating.
Prep Your Wall So the Paint Sticks
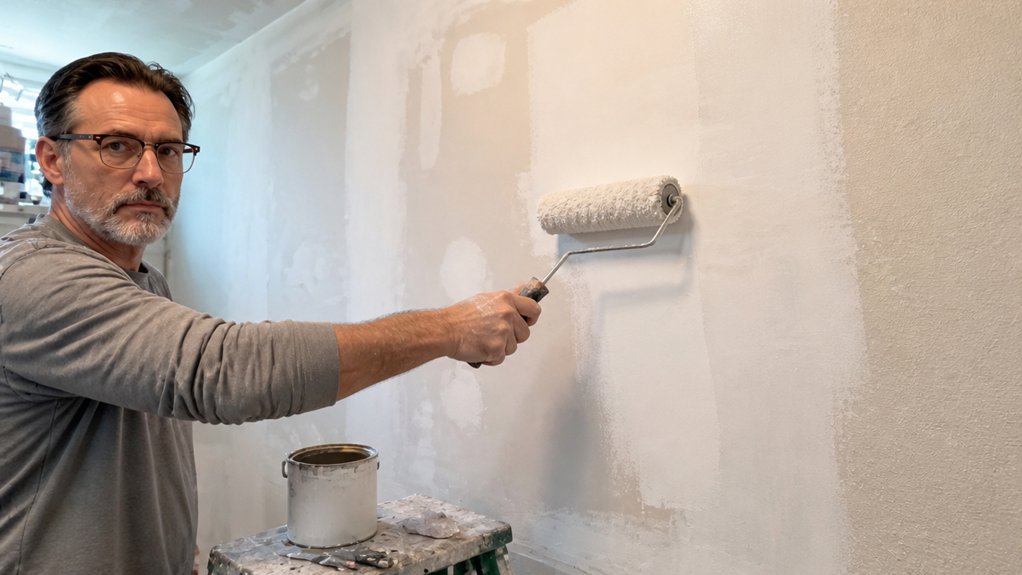
Prep the wall so the paint has something to grip. Paint won’t stick to dust, grease, or loose flakes, so clean and smooth the surface first.
Patch any holes with lightweight spackle and check the label for drying time, usually a couple of hours. Once dry, sand the patches smooth with 100-grit paper until they blend into the wall. If you have larger holes, a self-adhesive mesh patch can bridge the void before you apply filler.
Then run that same 100-grit over the whole wall to knock down old bumps and rough spots. Wipe away the sanding dust with a damp cloth or a shop vac, because a gritty surface will ruin the finish.
Tape off the trim and lay down drop cloths before you open the paint can. Use a primer if you’re covering stains or bare drywall, since it seals the surface and helps the topcoat bond.
Pick your sheen based on the room, like satin for walls or semi-gloss for trim, and stir the paint well before pouring. Keep a wet edge while rolling to avoid lap marks, and work in sections from top to bottom.
Let the first coat dry fully, then sand lightly with fine grit before the second coat for a smooth result. Drying time is a few hours, but full cure takes days, so handle the wall gently until then.
Skipping prep means peeling paint later, and that’s a headache you don’t want. Trust me, I’ve done this the hard way, so take the extra hour and do it right.
Pick the Right Roller and Gear for a Smooth Finish
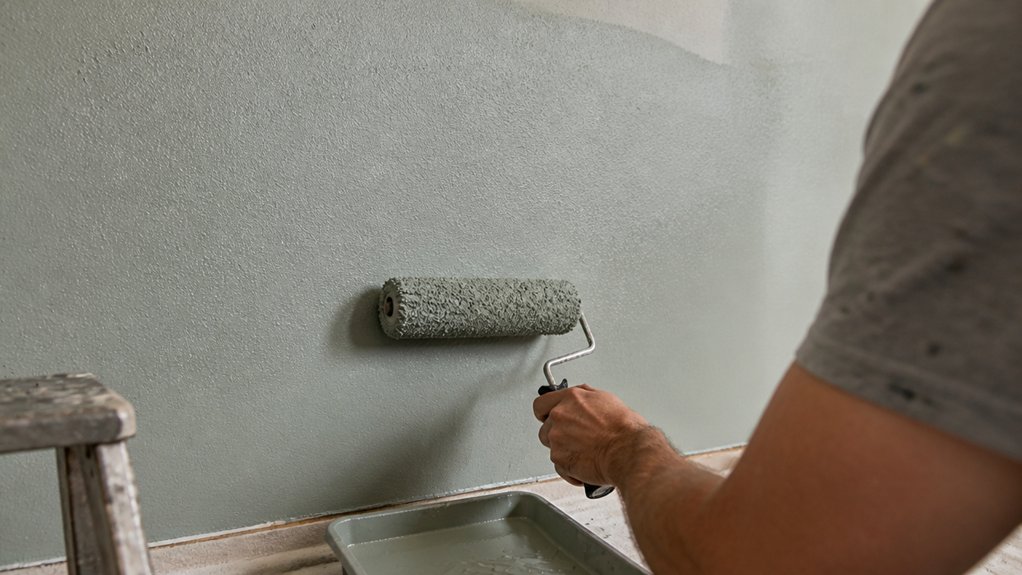
Once your wall is prepped and smooth, the roller and gear you pick control whether the paint looks professional or amateur. Skip the bargain-bin roller; a cheap cover holds too little paint and leaves patchy streaks that show up once the topcoat dries.
> Cheap rollers leave patchy streaks once the topcoat dries. Your roller choice determines a professional finish or an amateur one.
For most interior walls, a 1/2-inch nap wool blend cover is your best bet. Shorter naps leave a smoother finish, so avoid the fuzzy, long-nap rollers meant for stucco or rough surfaces.
Use an extension pole to roll from the floor and keep a wet edge as you work. This prevents lap marks, which are those shiny or dull bands that appear when paint dries unevenly between passes.
A paint tray with a ridged ramp is worth the few extra dollars. It loads the cover evenly, so you apply a consistent film thickness without overloading and dripping. To avoid drips on smooth surfaces, consider a 3/8-inch nap microfiber cover for a finer finish.
Work in sections, rolling from ceiling to floor and overlapping each pass by a few inches. Keep a wet edge by finishing a full wall before taking a break, and use a brush to cut in corners with the same topcoat and sheen.
Match your primer and topcoat sheen to the room’s purpose: flat or matte hides wall imperfections, while satin or eggshell resists grime in kitchens and bathrooms. Use low-VOC paints if you want less odor and faster re-coat times.
Let each coat dry per the label’s drying time, not just the touch-dry feel, before adding a second coat. Sand lightly between coats with 220-grit paper to knock down any drips or brush strokes, then wipe with a tack cloth.
Finally, lay a drop cloth before you start, and clean your roller cover immediately after use. A wool blend cover, a sturdy tray, and a consistent wet edge give you a smooth, even finish that looks like you’ve done this before.
Load the Roller Without Drips or Splatter
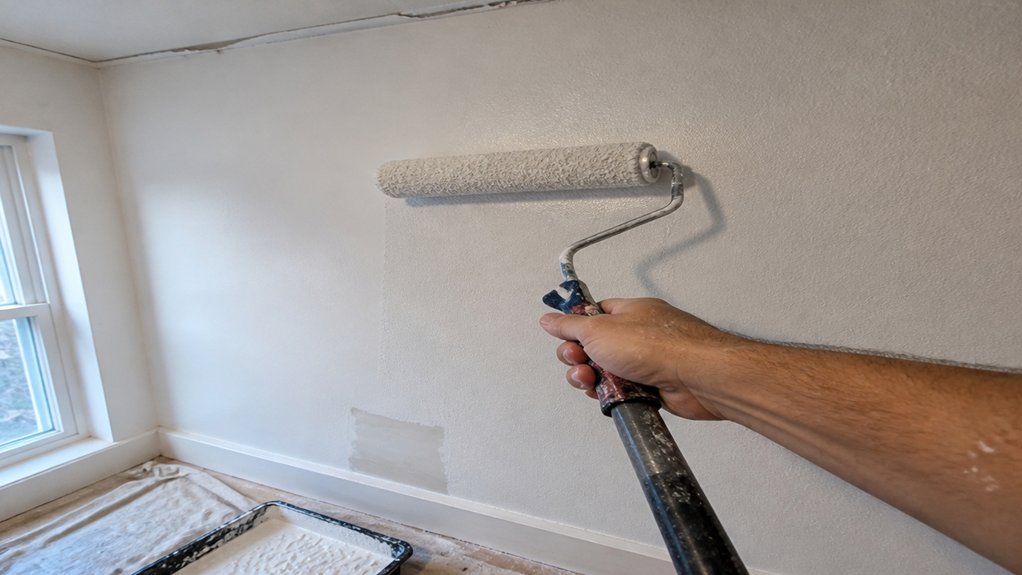
The sweet spot for loading a roller sits right between dipped and drowned. I have learned this the hard way, standing in a puddle of paint while the roller drips like a leaky faucet, so let me save you the cleanup.
You are chasing perfect roller saturation, enough paint to glide smoothly without splattering off the wall. The trick is loading depth: keep only about half an inch of the cover submerged.
Dip shallow, half an inch down, not full immersion. Roll slow across the tray’s ridged ramp, letting the paint soak evenly into the nap.
Lift gently. If it drips, you are overloading, so scrape one extra pass on the ramp.
A fresh, dry cover needs five or six dips to saturate properly, but a reload takes just two or three. Aim for heavy but not dripping, and you will avoid the mess.
Work with a wet edge as you roll, overlapping each pass before the paint starts to set. This keeps lap marks away, especially with satin or eggshell sheens, which dry slower than matte.
Use a drop cloth under the tray, because even a perfect load will shed a few drops. And if you are priming bare drywall, grab a thicker nap cover, but keep that same half inch depth so the primer does not run down the wall.
A deep well tray holds enough paint to minimize refill interruptions while keeping that half-inch submersion consistent across the whole project.
Master the “W” Pattern to Paint a Wall Without Lap Marks
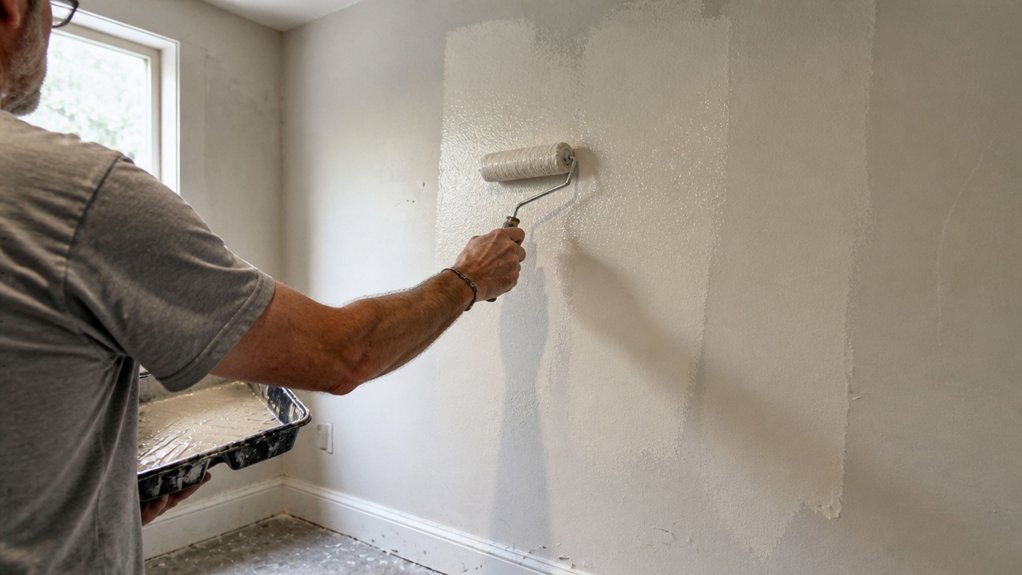
The “W” pattern is the most reliable way to lay paint on a wall without leaving lap marks. Start about six inches below the ceiling cut-in and paint a loose W shape, roughly three feet wide. Keep your roller speed steady so you don’t fling paint, then fill in the W with horizontal passes while the paint is still wet. Overlap each stroke by about a third, and keep the roller loaded evenly so the wet edge never breaks.
Work one section at a time, from top to bottom, and feather the edges with a light touch as you go. Lap marks appear when you roll over a dry edge, so don’t stop mid-wall or linger on any spot. If the paint starts to set up, stop and move to a fresh section instead of trying to smooth it out. Use a primer first on bare drywall, and choose a topcoat sheen like satin or eggshell that forgives minor roller texture. A drop cloth catches drips, and painter’s tape protects your trim, but the real win is maintaining a continuous wet edge across the whole wall.
Apply enough paint to cover without overloading the roller, and work in three-foot squares until the wall is done. Drying time matters more than cure time here, because you only have a few minutes before the finish starts to tack up. For a smooth result, use a 3/8 inch nap roller for flat walls and a 1/2 inch nap for textured surfaces. Sanding between coats with 220 grit knocks down any bumps, but only after the previous coat is fully dry. Check the sheen as you go, since a patchy finish often comes from uneven pressure or letting the roller run dry. Move fast, keep the paint fresh, and the wall will dry with no stripes or shadows. Choosing a cover with thermal-bonded seams prevents fiber shedding and ensures a smoother roll across the surface.
Frequently Asked Questions
How Do I Fix Roller Marks After the Paint Dries?
To fix roller marks after the paint dries, you must sand the surface smooth and then apply a fresh, thinner topcoat. Start by lightly sanding the affected area with 220 grit sandpaper, just enough to knock down the ridges without cutting through to the primer.
After sanding, wipe the wall clean with a damp cloth to remove all dust, then let it dry completely. Mix your paint with a small amount of Floetrol or water, about 10 percent by volume, to improve leveling and slow the drying time.
Use a 3/8 inch nap roller for smooth walls, as thicker naps can recreate the same stippled texture you are trying to eliminate. Apply one even, wet coat and avoid back rolling over semi dried paint, which pulls up the film and causes fresh imperfections. Let the coat cure for 48 hours before judging the finish, since the sheen will settle as it cures. Improving your application technique now will save you from sanding again tomorrow.
Can I Use a Roller Over Fresh Caulk?
Yes, you can use a roller over fresh caulk, but only after the caulk has fully cured. Rushing this step is the most common cause of peeling paint and ruined finishes.
If the caulk is still tacky or soft, the roller will drag and pull it, creating pits and uneven texture that destroy adhesion. Wait at least 24 hours for standard silicone or acrylic latex caulk, though high humidity can extend that to 48 hours.
For a reliable test, press your fingertip gently into a hidden spot. If it feels rubbery and doesn’t dent, you’re clear to roll. Before painting, also scuff the caulk with 220-grit sandpaper to give the paint a mechanical bond, then wipe off the dust with a tack cloth.
This prep works for both oil-based and water-based paints, and it applies to similar sealants like painter’s caulk or elastomeric compounds. Once prepped, roll on your first coat, let it dry per the paint label, and add a second coat if needed. That extra patience now saves you from a messy redo later.
What Temperature Is Too Cold for Painting Walls?
The practical cutoff for painting walls is 50°F, and going below that is asking for trouble. Cold air thickens the paint, making it drag under your roller and leaving obvious lap marks that ruin the smooth finish.
The curing process also stalls dramatically, so a coat that normally dries in two hours might stay tacky for two full days in a 40°F garage. That trapped moisture leads to blotching, poor adhesion, and eventual peeling once temperatures swing.
Wait for a stretch where the wall surface itself stays above 50°F for at least 24 hours after you finish. Use a cheap infrared thermometer on the plaster or drywall, not just the air, and sand any suspect spots with 120-grit before repainting. For latex paints, the same rule applies to primer and topcoat, so check the label’s minimum film temperature before you start.
How Long Should I Wait Between First and Second Coats?
You should wait between 2 and 4 hours between first and second coats, but that range is only a starting point. The real drying time hinges on humidity, temperature, and the specific product you are using, so never rely on the clock alone.
Instead, perform the recoat test by touching a corner of the painted surface with your fingertip. If it feels dry and not tacky, you are clear to apply the next layer; if it pulls or leaves a mark, wait another 30 minutes.
For latex paints in normal conditions, aim for the shorter 2 hour window, but for oil-based varnishes, push that to a full 4 hours minimum. One concrete trick: use a 220 grit sandpaper between coats on wood stains to improve adhesion, but only after the surface passes that dry touch test.
This careful approach also applies when switching between different brands of topcoats, a related term to remember. Always check the label’s recoat chart, because thick layers or poor airflow can easily double your wait time.
Should I Back-Roll Primer Before Painting Walls?
Yes, you should back-roll primer before painting walls because it forces the primer into the surface for a stronger bond. This step also evens out absorption, so your topcoat won’t flash or show dull patches.
Use a 3/8 inch nap roller for smooth walls or a 1/2 inch nap for textured drywall. Work in small sections, rolling immediately after spraying or brushing, and keep a wet edge to avoid lap marks.
Let the primer dry fully, usually about one hour, then lightly sand with 220 grit to knock down any raised fibers. This extra step creates a flawless base, and your final paint will go on smoother and last longer. Think of it as the difference between a good finish and a great one.
Rounding Up
To paint a wall with a roller like a pro, stick to the “W” pattern and trust the prep you did before the first coat dried.
Check the dried wall in harsh morning light to spot any streaks you missed.
Write down which spots needed a second pass, then test a small section with your roller to see if the texture matches.
Compare your coverage against the flat, even finish you expected from the “W” pattern.
Ask yourself if you let the first coat dry completely before judging, because that wait is the real verdict.
Grab a beer, step back, and wait for the light to tell you the truth.
Read next about cutting in around trim and corners.