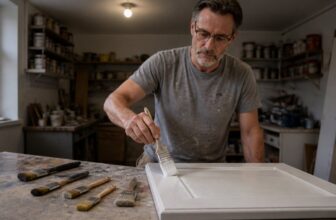
What Are Paint Mixing Paddles? Types, Uses and How to Choose

Streaky paint or clumps in primer often start before the brush touches the wall.
This guide answers what paint mixing paddles are and covers types, uses, and how to choose the right one for a smooth mix.
You will see which paddle suits paint, primer, mortar, or epoxy, plus simple sizing and drill speed guidance.
That means fewer bubbles, less mess, and a finish that looks even after it cures.
Read on for the practical picks and tips you need for your next project.
You will know exactly what to grab before you open the can.
Quick Answer
- Paddle size matches bucket diameter; one-third to one-half width prevents dead spots or strain.
- Helix paddles lift thick mortar; flat blades minimize air for paint and primer.
- Gate paddles mix plaster gently; propeller types handle epoxy at 300–350 rpm.
- Match drill torque to material; low speed high torque prevents burnout on thick coatings.
- Upward action folds heavy fillers; downward action reduces splash and foam in thin liquids.
How Paddle Diameter and Torque Prevent Air Bubbles and Tool Burnout

Paddle diameter and torque do more to keep your mix free of bubbles and your drill running than any other number on the box. Start with a paddle that fits the bucket and moves the whole batch without dragging air down the shaft.
A paddle that is too small leaves primer, stain, or topcoat sitting in dead spots. A paddle that is too big fights the sides of the tub and pulls air into the mix.
Torque is what gets the paddle through thick polyurethane, varnish, or heavy primer. When the drill slows and you keep pushing at high RPM, the motor works hard and can burn out.
Check the mixer’s torque rating for the thickness of the coating before you start. Mix slow enough to fold the material together and keep the sheen even from gloss to satin to matte.
Good mixing also helps you keep a wet edge, avoid lap marks, and lay down clean brush strokes on the final coat. Keep a drop cloth under the bucket and painter’s tape on nearby trim so a splash does not cost you extra sanding with 220 grit paper.
Let each coat follow its own drying time and cure time, and check the VOC label if you need a product with lower odor. Match the paddle to the bucket, confirm the drill can handle the load, and mix slow. Helix or multi-blade designs handle thin paints and heavy epoxy without creating bubble foam, so choose that shape for the smoothest result.
5 Paint Mixing Paddle Types and the Materials They’re Built For
The right paddle matches the blade shape to the material you are mixing. That saves time and keeps a half mixed bucket of joint compound from ruining your day.
A helix or spiral paddle suits thick mortar or screed because it pulls material upward with strong turning force. A flat blade paddle mixes paint and primer without whipping in too much air, so it splashes less.
A gate paddle runs slow and gentle for plaster or self leveling compound, which saves wear on your drill. A propeller paddle has three plastic blades and works well for thick liquids like epoxy at 300 to 350 rpm.
A twin propeller paddle has two blades that work side by side and gives low splash action for lighter coatings. Steel shafts handle heavy loads, while plastic blades suit delicate mixes.
Match the blade to the thickness of the mix and you will get a smoother batch with fewer surprises. A $25 paddle is cheaper than a ruined batch, so buy a good one.
Before you mix, lay a drop cloth and tape off edges with painter’s tape. When you move to finish work, keep a wet edge to avoid lap marks and brush strokes in the topcoat.
Low VOC paint still needs thorough mixing, especially after it has sat for a while. Check the label for drying time and cure time before you sand or recoat.
For primer, topcoat, stain, varnish, or polyurethane, use the right sanding grit and mix only what you need. Choose a sheen from matte to satin to gloss after you know how the finish will be used.
For heavy-duty jobs like driveway sealer, stainless steel construction resists abrasion and keeps the paddle from snapping under stress.
Which Mixing Action: Upward, Downward, or Horizontal: Fits Your Material?
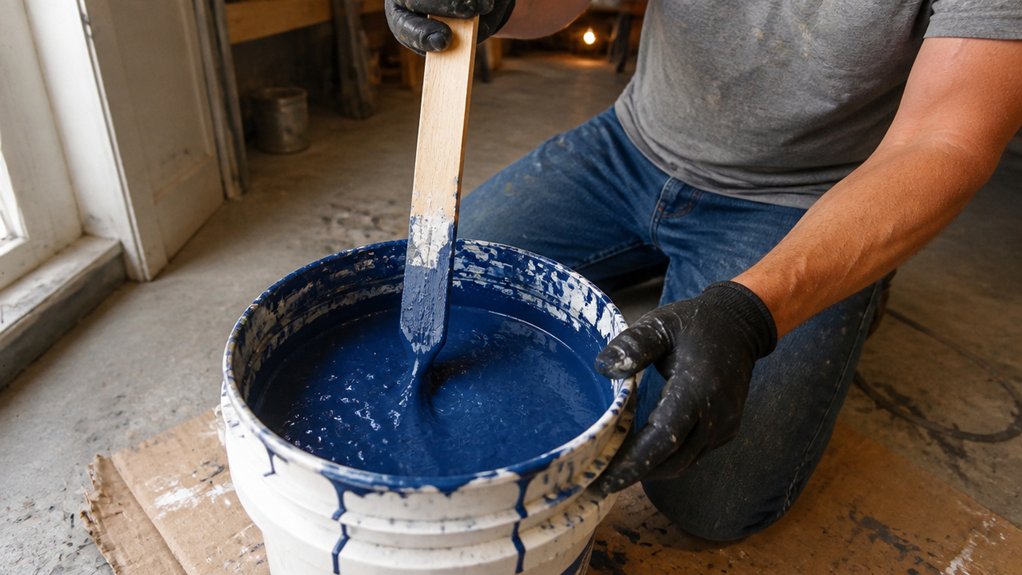
Which Mixing Action Fits Your Material?
Upward, downward, and horizontal are the three mixing actions you will see on a mixing paddle. Pick the wrong one and the material will still mix, but the job will fight you from start to finish.
Use upward action for thick mortar, screed, and heavy epoxy. Use downward action for thin liquids such as paint, primer, and gypsum.
Use horizontal action for thinset and self leveling compounds that tend to form lumps. For a primer or topcoat, downward mixing keeps splash down and helps keep air bubbles out of the finish.
The upward versus downward choice comes down to gravity and the weight of the mix. An upward paddle lifts heavy filler from the bottom of the bucket and saves your drill’s power for the thick parts.
A downward paddle pushes light material under the surface and reduces splash. That makes it a good fit for paint and primer, where foam and bubbles can leave brush strokes or lap marks in a gloss or satin sheen.
Horizontal action creates shear, which is a sideways cutting force that breaks up clumps. It breaks up thinset and self leveling compounds without making the mixer work as hard.
My rule is to match the action to how thick or thin the mix is. Thick material needs lifting, thin material needs pressing, and lumpy material needs the sideways cutting action of a horizontal paddle.
You will know the action is right when the mix flows smoothly and the paddle does not bog down. For heavily pigmented paints or settled epoxy, a mechanical paint shaker can also eliminate clumps and restore uniformity in seconds, though it relies on orbital or vortex motion rather than a paddle. Check the label for drying time, cure time, and VOC warnings before you add a topcoat.
Keep your drop cloth and painter’s tape ready for the finish work, and use the sanding grit your product label recommends between coats. For stain, varnish, or polyurethane, mix a small test batch before you commit to the full container.
A stain or clear finish may need slower mixing to avoid bubbles, and a wet edge helps brush strokes and lap marks blend out. A matte sheen hides small flaws better than gloss, so check the sheen before you pick the product.
Calculate Paddle Size From Tub Diameter, Then Match Drill Torque
Grab a tape measure before you grab a mixing paddle, because the tub opening sets the paddle width. Measure the inside diameter of the tub, then choose a paddle from one third to one half that width.
Measure the tub’s inside diameter first; pick a paddle one-third to one-half that width.
For a 10 inch bucket, look for a paddle from three and a half to five inches wide. A paddle that is too wide strains the drill, and a paddle that is too narrow makes you stir longer.
Size the paddle from the tub opening. The paint volume can change from job to job, so use the tub width as your steady measurement.
Set the bucket on a drop cloth before you mix primer, topcoat, stain, varnish, or polyurethane. This sizing rule works for all of those finishes.
Drill speed matters for paint work, so keep most paint mixing at 300 to 600 rpm. For thicker materials such as mortar, use lower speed and check the drill specs for enough torque.
Match the drill torque to the material before you start. A basic half inch drill at 8 amps handles most mixing jobs, and a corded drill gives steadier output for longer sessions. Inadequate continuous airflow can also cause a spray gun to starve mid-panel, so verify your compressor’s CFM matches the painter’s demands.
Frequently Asked Questions
Can I Use a Paint Paddle to Mix Non-Paint Materials?
Yes, you can use a paint paddle to mix many non-paint materials, but first verify your drill’s torque rating and the material’s viscosity.
For a safe test, mix a small batch at the drill’s lowest speed for 30 seconds and watch for stalling or heat buildup.
Thin paint gives easy results, while thick mortar can bog down a standard drill and ruin both the batch and the tool. Use a drill mixer with a low gear and keep the paddle submerged to reduce splashing.
If the material barely moves or the drill smells hot, stop and choose a heavier-duty mixer.
How Do I Clean Paint Mixing Paddles After Use?
Clean paint mixing paddles after use by wiping them down immediately and choosing the right solvent for any dried paint. For water-based paints, rinse and scrub with warm soapy water before residue sets.
For dried latex, soak the paddle in warm water for 30 minutes, then scrape it with a plastic putty knife. For oil-based paints, a mineral spirits soak works well, and remember proper disposal of paint waste.
Keep a labeled paint stirrer tray for dirty tools so cleanup stays quick. Clean tools save time and hassle later, much like a medieval knight shining his armor.
Can a Cordless Drill Handle All Paddle Types?
No, a cordless drill cannot handle all paddle types reliably. Its torque limits and chuck grip strength fail against screw spirals, where paddle material load plus shear force resistance demand a dedicated mixer.
High viscosity ranges likewise drain battery runtime fast and can overheat a compact drill. For a five-gallon bucket of high-viscosity latex, use a half-inch low-speed mixing drill at 300 to 600 rpm with a suitable paddle, not a cordless drill.
Save the cordless drill for small batches and thin finishes, and choose a mixing paddle matched to the product.
Why Does My Mixing Paddle Spin but Not Blend?
Your mixing paddle spins but does not blend because the paddle is slipping through the material or churning air instead of moving the full batch. This is paddle slip, often caused by high viscosity, too much speed, or worn shaft threads.
For a quick test, tighten the paddle, lower the speed, and push the head deeper before raising it slowly. For latex paint, run the drill on low speed for 2 to 3 minutes, then scrape the bucket and paddle and fold the settled material once.
If the shaft still wobbles or the head stops biting, replace the paddle or check for worn threads. A mixing paddle that spins but will not blend needs more grip and less air.
How Long Should I Mix Paint Before It’s Ready?
Mix paint for 2 to 3 minutes at moderate speed before it is ready. I watch for uniform color and smooth viscosity, then stop before the paint gets overworked.
If the mixer creates foam, slow to the lowest setting and pause for 60 seconds before checking again. For a quart of paint, 2 minutes is often plenty, while a full gallon usually needs the full 3 minutes of paint mixing time.
You will feel when it is ready because the paint moves smoothly off the stir stick. Do not keep mixing just to be safe, since extra air can lengthen drying time and cause unnecessary defects.
Rounding Up
Paint mixing paddles are tools you match to your tub’s diameter and run at low torque. Check your tub’s diameter before you compare paddle size.
Write down your drill size, then test a 4-inch paddle with a 1/2-inch drill on most paint. Keep torque low and stir slow.
Ask whether a $60 paddle makes sense before you buy. Compare cheap paddles carefully, because saving money can cost more when a drill burns out.
I have burned out two cheap paddles learning that. Buy smart and stir slow, then let the neighbors ask to borrow it.
Drill torque control.