How to Apply Paint Thinners: Step-by-Step Guide
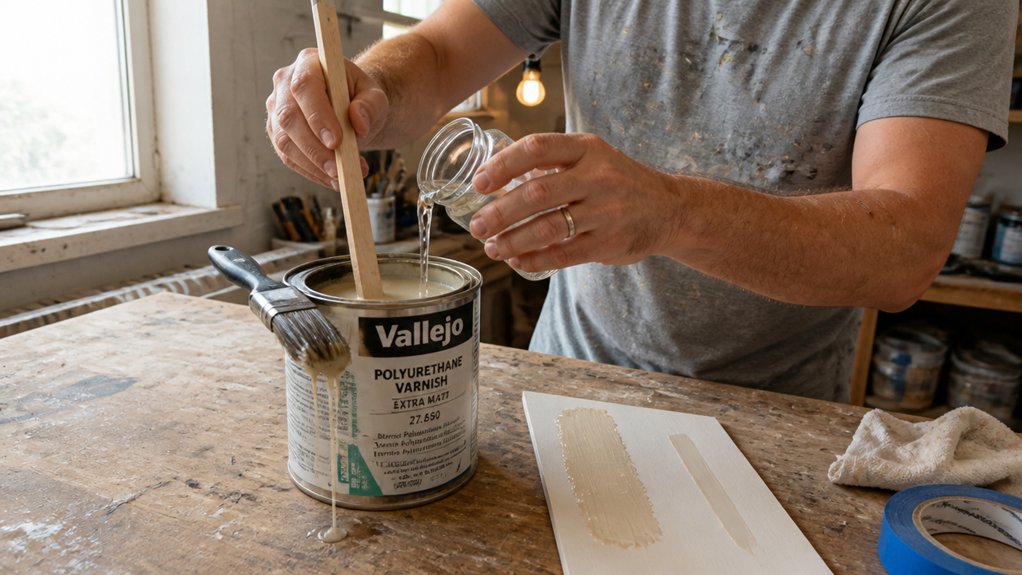
Thinning paint feels risky when you are not sure where to start. The classic 3:1 paint to thinner ratio works for brushing, but you must stir slowly, since over thinning cannot be undone.
Matching the thinner to your paint brand and the temperature is key, with fast evaporating options for cooler days.
Always test your mix on scrap wood first and adjust by teaspoons to protect your final finish. This guide covers temperature limits, wet edge techniques, and how humidity above 70 percent can ruin your project.
You will also learn how to avoid lap marks and keep drying time predictable.
Let us walk through the messy details so your next coat lays down smooth.
Quick Answer
- Start with a 3:1 paint-to-thinner ratio, adjusting in small tablespoon steps.
- Test the thinned mix on scrap wood before applying to the actual surface.
- Use fast-evaporating thinner on cool days; slow-evaporating above 80°F.
- Stir thoroughly, mix only 20 minutes of paint, and pour thinner slowly.
- Maintain a wet edge, sand between coats, and keep humidity below 70 percent.
Choose the Right Paint Thinner for Your Project
Pick a thinner that matches your paint, and you avoid turning a good gallon into a lumpy mess. For most oil-based enamels, mineral spirits works fine, but read the label before you buy.
Some solvents are toxic enough that you need a proper respirator, not just a cracked window. Check your state’s VOC rules too, because a banned thinner can mean a fine, not just a wasted afternoon.
On cool days, a fast-evaporating thinner helps paint flow, but it can dry right on your brush if you pause. Above 80°F, switch to a slow-evaporating option so you keep a wet edge and avoid lap marks.
Cool days call for fast thinner; hot days need slow. Match it to the weather, or your brush pays the price.
My habit is to buy the thinner from the same brand as the paint. It costs a few bucks more, but it stops me from guessing wrong and wrecking a project. Remember that some solvents are combustible or restricted in California, so confirm your local availability before committing to a purchase.
That little extra expense buys peace of mind, and you get a smooth topcoat with no brush strokes or sheen issues. For the best result, thin your stain or varnish in small batches and test on scrap wood first.
Keep a drop cloth down and painter’s tape on trim before you open the can. Remember that drying time is not the same as cure time, so wait the full period before you sand or add a second coat.
Mix Paint and Thinner in the Correct Ratio
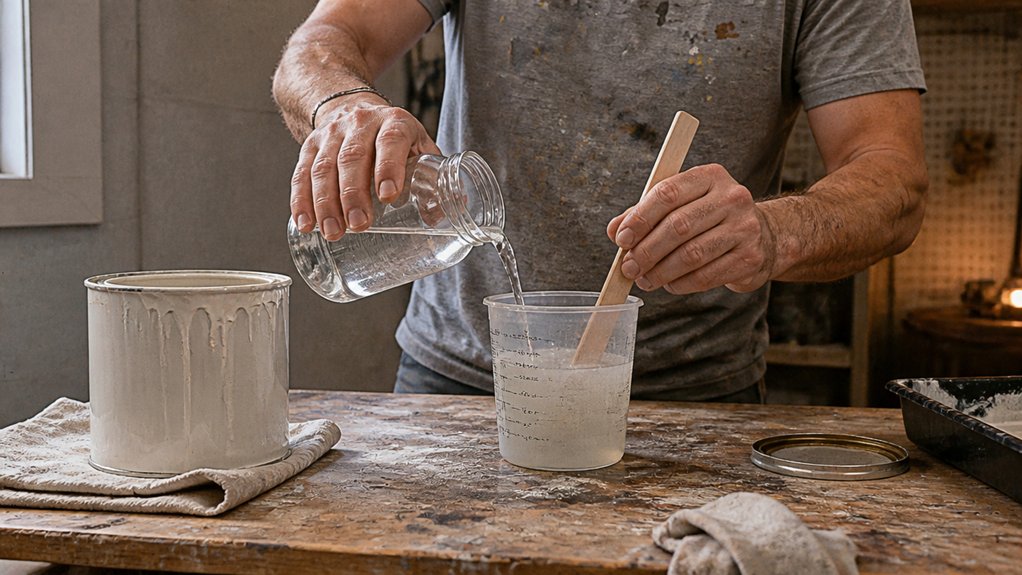
Getting the ratio wrong is the fastest way to ruin a good can of paint, so treat mixing like a recipe, not a free-for-all.
Start with a 3:1 paint-to-thinner ratio for brushing, then adjust from there.
Add thinner in small tablespoon steps, because you cannot undo an over-thinned mix.
Thinner evaporates fast, so mix only what you will use within twenty minutes.
If you are spraying, check your gun’s manual; it usually calls for a leaner mix, often 2:1.
Cold paint needs less thinner, not more, so factor in temperature before you pour.
I learned that the hard way, wasting a quart on a windy day.
Pour thinner slowly, stir thoroughly, and trust your gut over speed.
Keep a wet edge as you brush to avoid lap marks, and use a drop cloth under your work.
For a smooth topcoat, sand between coats with 220 grit, then wipe off the dust.
Remember that drying time is not the same as cure time, so wait a full day before light sanding.
Low-VOC thinners reduce fumes, but they still evaporate quickly, so seal your container.
A satin or matte finish hides minor brush strokes better than a high gloss.
Stain and varnish follow the same thinning logic, but check the label for their specific ratio.
Painter’s tape keeps edges crisp, and a primer coat helps the topcoat bond evenly.
Mix only what you need, and stop when the paint flows like heavy cream.
For tasks like degreasing hardware or prepping surfaces, a straight, undiluted mineral spirits application works better than a thinned paint mix.
Test, Apply, and Adjust for a Smooth Finish
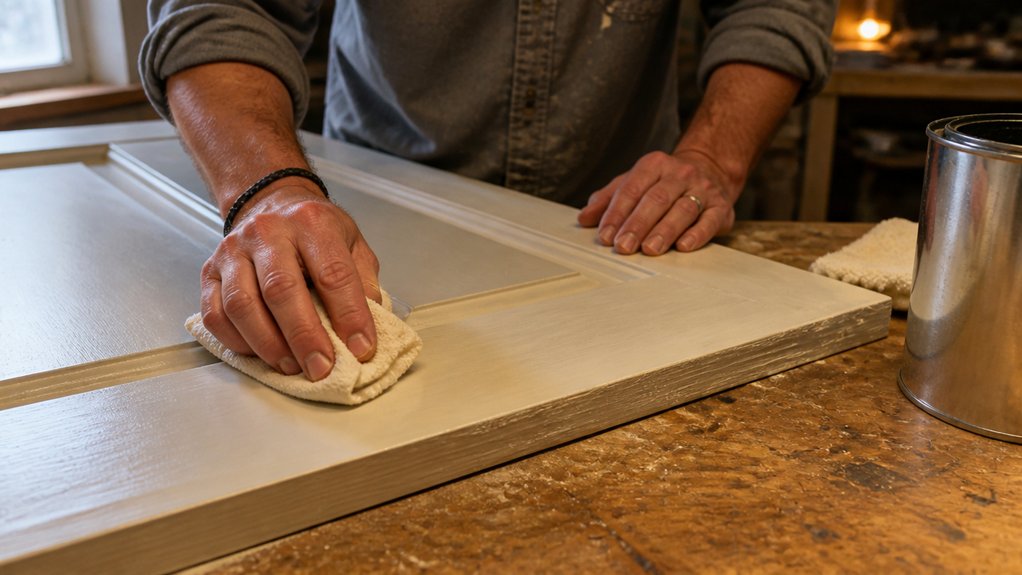
Paint thinner won’t fix bad paint, but it can fix a poor application. After mixing, test on scrap wood first, since surface prep matters more than any additive.
Brush a stroke, let it dry, and check for brush strokes or runs. If it’s gummy, drying time is too long, so add a splash of fast-evaporating thinner.
Apply thin, even coats and adjust as you go, because the mix changes with humidity and temperature. Too thick and it drags; too thin and it sags, leaving lap marks you’ll notice in the gloss.
Work fast, but don’t rush. Trust your eyes over the ratio, and start with 10% thinner, then tweak by teaspoonfuls.
Test again, because cheap insurance beats a repaint. My rule is simple: thin enough to flow, thick enough to cover, and you’ll hit the sweet spot between a satin finish and a messy sag.
Keep a wet edge while brushing to avoid overlaps, and use painter’s tape on edges for clean lines. A drop cloth underneath catches drips, and sanding with fine grit between coats smooths any raised grain before the topcoat.
For oil-based paints, always keep humidity below 70 percent to prevent blistering and ensure the additive levels properly.
Frequently Asked Questions
Can Paint Thinner Be Reused After Cleaning Brushes?
Yes, you can reuse paint thinner after cleaning brushes, so long as you separate the suspended pigment from the solvent. Let the dirty thinner sit in a sealed glass jar for several days until the residue settles into a firm sludge, then carefully pour off the clear liquid into a fresh container for thinner reuse.
The settled paint sludge can be dried out and disposed of as solid waste, or you can strain it through a fine mesh filter to attempt paint recovery, though the reclaimed color is rarely usable for topcoats. For a quick everyday method, use a two-jar system: a first jar for initial brush rinsing and a second for a clean final rinse, which keeps your reusable solvent far clearer between sessions.
Always label your storage jar with the thinner type and date, since mineral spirits and acetone behave differently when reused. A practical tip: keep a small coffee filter and funnel handy to strain the poured-off solvent, catching any lingering bits that could ruin your next varnish coat.
How Should Leftover Paint Thinner Be Disposed of Safely?
Left leftover paint thinner be disposed of safely by taking it to a household hazardous waste facility, never by pouring it down the drain or tossing it in the trash. Check your local municipal website or call the public works department for drop off days, as rules vary by county and state.
Once there, keep the thinner in its original labeled container with the lid tightly sealed, and ask staff if they accept it for recycling or fuel blending. Many facilities will take solvents like mineral spirits and acetone, but avoid mixing them with water or other chemicals beforehand, which can cause unsafe reactions.
For small amounts under a quart, you can also let it evaporate in a well ventilated area away from sparks, then dry the residue with cat litter or sawdust before binning it. Never speed evaporation indoors or near a pilot light, and always wear nitrile gloves and goggles to protect your skin and eyes.
What Is the Shelf Life of an Opened Thinner Can?
An opened thinner can will last for years when stored properly, but oxidation and moisture are the main threats to its solvent quality. You can dramatically extend its life by sealing the lid with a layer of plastic wrap before tightening, which blocks humid air from getting in. Keep the can in a cool, dark spot, like a basement shelf, away from direct sunlight and temperature swings.
If you follow these storage steps, you will avoid the gummy residue that forms when thinner absorbs water. Always test the thinner on scrap wood before heavy use to confirm it still dissolves finishes cleanly. As a practical tip, pour what you need into a small jar and keep the main can closed, since repeated opening accelerates evaporation.
For a quick check, a fresh coat of thinner should flash off in under two minutes; if it leaves a milky film, it has picked up moisture. This also applies to mineral spirits, a common synonym, which benefits from the same airtight routine.
Can I Mix Different Brands of Thinner and Paint?
Yes, you can mix different brands of thinner and paint, but I strongly advise against it, because nearly 90% of paint failures trace back to mixing mismatches. Different manufacturers use unique resin systems and solvent blends, so the thinner ratio and brand compatibility aren’t guaranteed to work together.
Instead, stick with matched products from the same line, since the manufacturer has tested that exact pairing for proper flow and adhesion. I’ve seen ruined finishes, like blush or uneven sheen, from ignoring this rule, especially with lacquers and urethanes.
For a practical example: if you’re spraying a two-part polyurethane, always use the reducer from the same brand, and test dry time on scrap first. A wrong thinner can double cure time or leave a soft film, so verify compatibility before you commit. Search for “solvent substitution” if you need a general guide, but trust the factory recommendation for critical work.
Is Paint Thinner Safe to Use on Plastic Surfaces?
Using paint thinner on plastic surfaces is not safe, as it can cause chemical damage, melting, or warping. I’ve seen solvent-based thinners soften polycarbonate and acrylic within seconds, leaving a sticky mess that ruins the part.
For a quick test, apply a drop of thinner to a hidden area, like the underside of a lip or edge, and wait 60 seconds. If the surface turns cloudy, tacky, or dull, stop immediately and switch to a gentler cleaner like denatured alcohol or a mild degreaser.
When in doubt, opt for water-based alternatives, such as soapy water or a dedicated plastic-safe polish, which won’t attack the substrate. Always check the plastic’s recycling code, as ABS and PVC may react differently, and a small test is your best safeguard before any full wipe-down.
Rounding Up
Applying paint thinners starts with matching the thinner to your paint and testing the mix on scrap, so you avoid finish failures before they start. Nearly half of all DIY finish failures trace back to improper thinning, so take that ratio seriously.
Check your paint label for the thinner type, then write down the exact ratio you plan to use. Test that blend on scrap wood first, and brush on a thin coat to see how it levels out.
Adjust your thinning for humidity, since moisture changes how fast the solvent evaporates. Walk away after your coat, and let the surface cure without fussing over it.
Measure twice, thin once, and you are done. Next, read up on brush cleaning for oil-based paints.