What Are Spirit Levels? Types, Uses and How to Choose
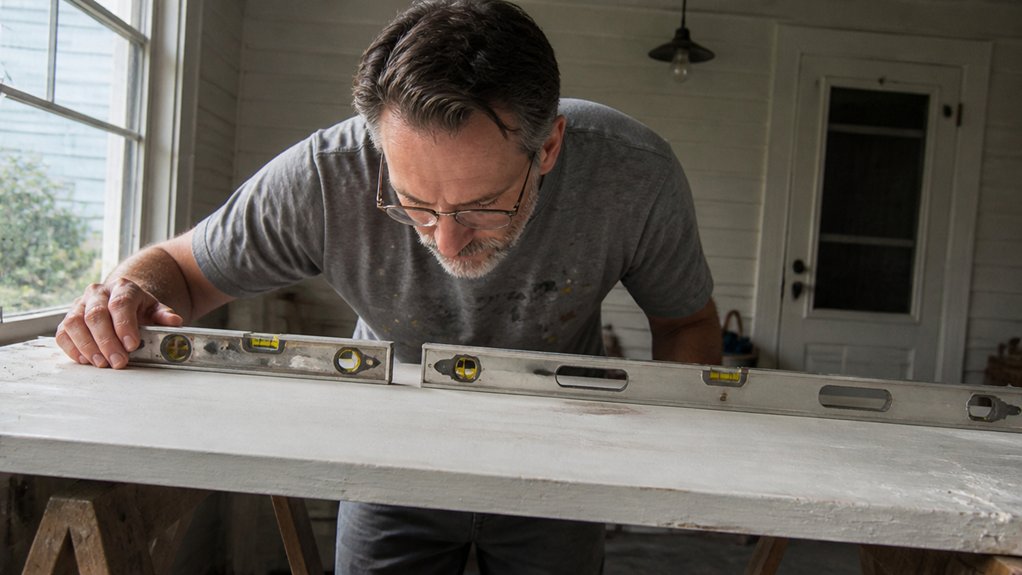
A wavy trim line or sloping shelf can make fresh paint look sloppy, so this guide on spirit levels, their types, uses, and how to choose one starts with surface prep.
You will learn the main styles, real jobs, and buying details that keep trim, cabinets, and primer work straight.
Length and accuracy matter, and calibration does too, because a false reading can waste drying time and extra coats.
Read on to pick the right level before your next coat.
That way your paint and sheen finish clean.
Quick Answer
- Spirit levels measure true horizontal or vertical within ±0.5 mm/m for trim and cabinet work.
- I-beam suits framing; box-beam resists twisting; torpedo with magnets grips pipes.
- Choose a level covering at least 80% of the checked surface length.
- Flip test detects errors: spin 180°, adjust vial screws by half the bubble shift.
- Typical kit pairs 600mm tight-spot level with 1.8m beam for walls and long runs.
Why Accuracy and Sensitivity Matter for Your Work
Longer levels make small errors easier to see. A 78 inch beam level will show a high or low spot that a 12 inch torpedo level can slide past.
For most trim, cabinet, and furniture work, aim for ±0.5 mm/m. Treat that like the care you take when you sand to 220 grit before primer, stain, or varnish: it is enough for a clean finish without paying for machine shop precision.
If a level reads finer than that, you are paying for precision you will not use on a topcoat, a door, or a shelf. Pick the level that suits the task and keep the work moving.
For instance, a set like the JORGENSEN 3-piece aluminum level set hits that ±0.5 mm/m accuracy across 12-, 24-, and 48-inch lengths, which covers framing, cabinet installation, and finish work without overbuying.
Which Spirit Level Type Fits Your Trade?
Once you know your accuracy target, decide which level body you want to carry all day. Trade features steer that choice, and your back will feel the difference.
For cabinet and trim work, an I beam level is light and stiff, so it checks studs, door slabs, and shelf lines before primer and topcoat. I keep painter’s tape and a drop cloth nearby and check the cabinet boxes before the finish goes on.
Construction crews do better with a box beam level because it resists twisting and survives drops on rough sites. Plumbers and electricians usually reach for a torpedo level with a magnetic base to grip pipe and panel steel.
Box beam levels stand up to rough sites, while torpedo levels with magnets grip pipe and steel.
Masons use longer box beam levels to check long courses fast and keep the work straight. For finish work, a clean level helps you spot a high spot before you choose a sanding grit, or before you lay down stain, varnish, or polyurethane. If you need to reach high spots while checking wall alignment, consider a design with stable footing and non-slip treads to keep you planted on the top step.
Aluminum levels are light but can dent, while composite levels resist rust and can crack on impact. I have dropped both, so I pick for the abuse my tools see each week.
Use the level to check shelf lines and door gaps before the topcoat, then confirm the sheen looks even in gloss, satin, or matte. Keep the tool clean so dust and finish do not hide lap marks, brush strokes, a wet edge problem, or a bad reading during drying time and cure time.
A low VOC primer still needs a clean surface, and a level cannot fix a twisted door. Match the body to the jobsite you work on every day.
Match Spirit Level Length to the Job (60mm to 10m)
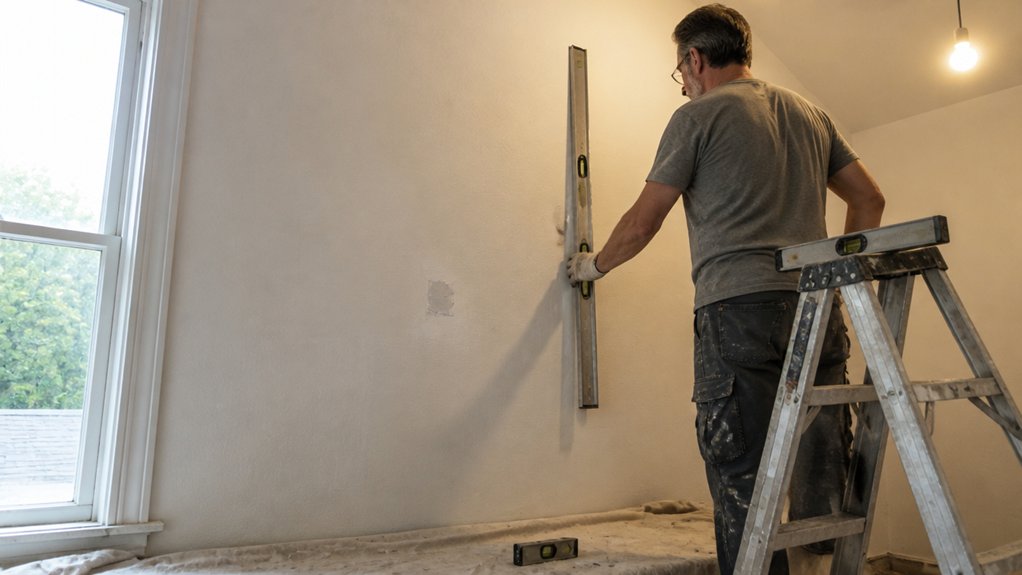
Two feet can feel like enough until you check a 10 foot wall track and see your bubble was fooling you. Use a level that covers at least 80% of the surface you are checking, because short levels miss dips that longer spans catch.
A 600 mm torpedo level fits tight spots like electrical boxes and cabinet gaps, but it can mislead you on a door jamb. A 1.2 m or 2 m beam level handles framing well, though it feels clumsy in a crawlspace.
On paint and finish work, check cabinet frames after sanding with 120 grit and before primer, then check door jambs before topcoat so the sheen stays even and brush strokes do not highlight a crooked edge. I keep a 600 mm level for tight pockets and a 1.8 m level for walls, plus a 10 m line level for long runs.
Match level length to the biggest job you do regularly, and rent or borrow for a rare project. A cheap 1.2 m box beam costs about 20 to 40 dollars, while an oversized level can run 150 dollars, so buy for the work you handle most weeks. For precision checks on shorter spans, the fraction markings on a 25-foot tape measure with alternating colors and heights make reading fine adjustments easier.
How to Test and Calibrate Your Level Before You Trust It
Before you trust a level, run the flip test. Set it on a flat spot, note the bubble, spin it 180 degrees, and compare the bubble again.
If the bubble shifts, the level is off. Before you reach for calibration tools, check the surface for grit or a dent, the same way you would check a panel before primer.
A bit of grit under the level can throw off a shelf you plan to stain, and a dent can do the same. Adjust the vial screws by half the error, then retest on the same spot.
The flip test on a known flat surface is cheap and instant, so use it before you hang cabinet doors or install trim. Vial screws let you tweak minor drift, and you should retest before you load the brush or spray the topcoat.
Some levels read fine in one spot and drift across a long span. Test at three spots along a 2 by 4, including the middle and near each end.
Use the level on a flat shelf before you apply the topcoat, especially with gloss, satin, or matte paint, because a small drift shows in the sheen. Keep the drop cloth clear of the level feet so the tool sits on the actual surface.
Recalibrate yearly, and use a torpedo level for quick checks. Wipe off dust after sanding with 120 grit, and check the level again before primer or varnish.
Frequently Asked Questions
Can a Spirit Level Be Used Underwater?
Yes, you can use a spirit level underwater, but only for rough checks. Buoyancy makes the bubble sluggish and water intrusion can cause calibration drift, so keep it out of flooded sumps when precision matters.
If you must dunk it, dry the frame and vial immediately with a lint free cloth, then seal it in a bag with silica gel for 24 hours before trusting it on finished work. For reliable elevation checks in wet areas today, use a water level and keep the spirit level for dry, precision layouts.
Do Digital Levels Work on Magnetic Surfaces?
Yes, digital levels work on magnetic surfaces, but you should test the magnetic pull before trusting the display. Stick the level to a clean steel offcut, zero it, then flip it end for end and compare the readings.
If the readings differ by more than one tenth of a degree, add a thin nonmagnetic spacer between the tool and the surface. A reliable digital inclinometer should repeat the same number when you slide it away and back.
For a quick check today, zero the level on a machined steel block, then confirm it repeats after you slide it away.
How Do I Clean Dirt off My Level?
To clean dirt off your level, wipe the frame and vial area with a damp cloth, but never soak the tool. Use a cotton swab with mild soap for vial cleaning, then dry immediately with a soft towel.
Let the level air dry for 10 minutes before storing it to prevent moisture creeping into the vial housing. Protect the edges because dings and burrs can kill accuracy.
Keep a dedicated clean rag in your toolbox for quick wipe downs after dusty jobs. For a related search, think “spirit level cleaning” and avoid abrasive pads that scratch the frame.
What Is the Lifespan of a Quality Level?
The lifespan of a quality level can be decades if you protect it from damage and check its calibration regularly. A spirit level is a precision tool, so treat it like one.
Store it in a dry case and wipe it clean after every job. Material fatigue and calibration drift are the real killers, not normal wear.
Check the vial against a known flat surface or reverse the level end for end; if the bubble shifts, it needs adjustment. Use a soft cloth and mild soap, never solvents or abrasive pads, and avoid drops that knock the frame out of true.
A good level can outlive three generations of rough use.
Are There Levels That Glow in the Dark?
Yes, some levels do glow in the dark. You will find luminous vials with a phosphorescent coating that charges in daylight, giving you a night mode on job sites.
For a practical test today, charge the vial under a bright work light for 10 minutes, then check it in a dark closet before relying on it. These are handy for quick checks without a flashlight, though do not expect lasers.
Look for a phosphorescent level if you want this feature, and confirm the coating recharges after each use. Keep the vial clean so the glow stays even and easy to read.
Rounding Up
To choose a spirit level, I match the length to the job and test it on a known flat surface. Check a cheap level on that same known flat surface before you trust it for hanging pictures, because a level that lies is worse than no level at all.
Write down whether you need a basic 24-inch torpedo level or a magnetic, shock-proof model that survives your toolbox and your bad habits. Compare the level you can justify buying against the work you do and the length of your job.
Spirit level types.