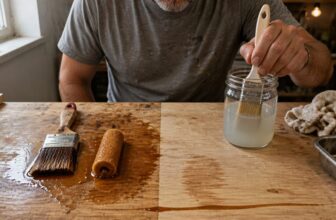
Paint Brush for Cabinets: How to Choose and Use It
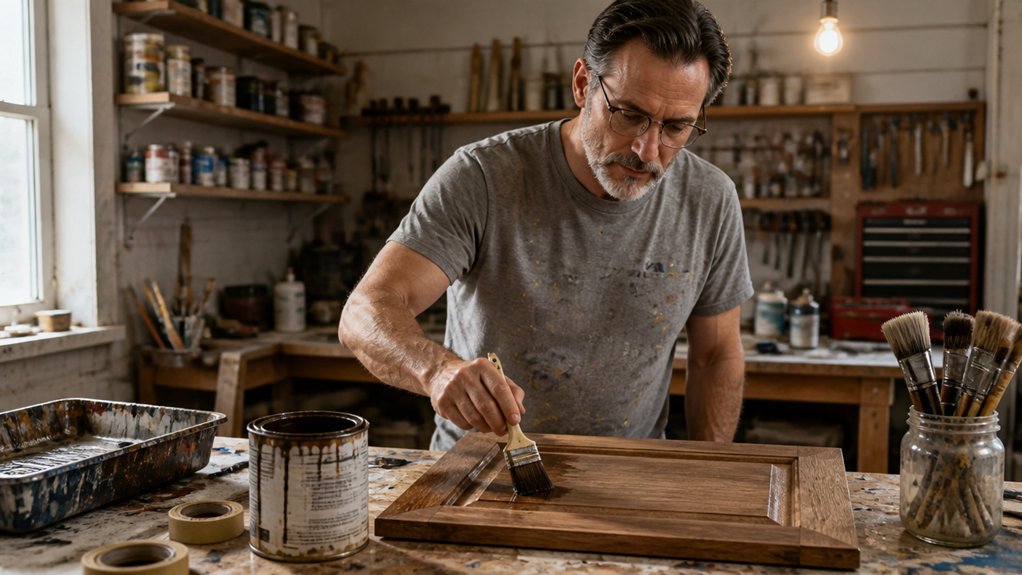
A wrong brush or sloppy loading can leave cabinets with streaks that show for years. The good news is that the right brush makes the job easier, not fancier.
Paint Brush for Cabinets: How to Choose and Use It gives you the essentials, from picking the right size and bristle type to loading and laying paint so it dries smooth. You will learn which brush suits doors, frames, and tight corners, plus how to avoid drips without overspending. Let’s start with the brush that handles most of your cabinet doors.
Quick Answer
- Choose a 2½-inch angled sash brush for most cabinet doors; use a 2-inch brush for corners, narrow frames, and detailed edges.
- Select medium-firm synthetic nylon or polyester bristles for smooth application with water- or oil-based cabinet paint.
- Check for an even bristle edge, a secure ferrule, and a comfortable handle; match brush compatibility to the paint label.
- Load only the lower third of the bristles, then gently tap or wipe off excess paint to prevent drips.
- Apply thin coats with light pressure, maintain a wet edge, and finish strokes along the wood grain.
How to Choose a Cabinet Paint Brush
For most cabinet jobs, I choose a two and a half inch angled sash brush with medium stiff synthetic bristles. The angled tip reaches door edges and corners, so the brush feels like an extension of your hand.
A two inch brush gives you more control in tight corners. A three inch brush covers broad doors faster, but it’s harder to steer around trim and panel details.
Handle length and grip matter more than most beginners expect. A short, balanced handle suits narrow cabinet frames, and a comfortable grip keeps your fingers from cramping during long sessions.
Inspect the ferrule, the metal band that holds the bristles to the handle. It should feel firm, with no wobble when you twist the handle gently.
Look at the tip too, since a clean chisel edge helps you paint crisp lines along panel edges. Check that the bristles stay put, because loose hairs can settle into a fresh coat and leave bumps that show up in the sheen.
Tap off excess paint on the side of the can before each pass. Clean the brush thoroughly after every session so it keeps its shape for the next job.
Keep a wet edge as you work each panel so brush strokes blend and lap marks stay hidden. Give each coat its drying time before you recoat, and remember that cabinet paint needs much longer to cure before it can take heavy use.
My recommendation: buy a quality two and a half inch angled brush with a comfortable handle and sturdy construction. It handles doors and edges better than any other size for most cabinet work.
Natural vs. Synthetic Bristles for Cabinets
For most cabinet jobs, I would choose a synthetic brush. Nylon and polyester bristles work with latex paint and oil paint, and they hold their shape through a long job.
Natural bristles come from animal hair, such as hog or horse. They lay down oil paint smoothly, but they soak up water and lose their spring, which makes them a fussy choice for cabinets.
| Bristle type | What to expect |
|---|---|
| Natural | Soft feel, smooth on oil paint |
| Synthetic | Holds its shape, works with latex paint |
| Hybrid | Mixed feel, so check the label |
For a DIY project, I would buy a synthetic brush in the $10 to $20 range. It cleans up easily and works with either paint type.
Natural bristles cost about the same, and hybrid brushes vary too much to trust without checking the label. Foam brushes leave a smooth coat, but they wear out fast on cabinet doors.
Price does not guarantee quality, so check that the bristles come to a clean, even edge. Keep a wet edge as you work so each new stroke blends into the last and lap marks stay away.
Lay down a drop cloth and mask off hinges with painter’s tape before you start. Let the topcoat dry fully before you handle the doors, and remember that drying time is not the same as cure time, which can take weeks.
Use a synthetic brush for most cabinet work. If you like the soft feel of natural bristles, use them only with oil paint and clean them well after each session.
Cabinet Paint Brush Sizes for Doors and Trim

A 2½-inch angled brush is my go-to for most cabinet doors. It balances coverage with control, so you can paint a full door without fighting every edge.
For narrow rails and stiles, the frame pieces around a panel, I switch to a 2-inch angled sash brush. It reaches into corners cleanly and wastes less paint on nearby glass or wall.
On broad, flat doors, a 3-inch brush can speed up coverage with glossy paint. Keep it moving smoothly, and save it for open areas rather than tight trim profiles.
Match the brush width to each panel instead of reaching for the widest tool. Use a 2-inch brush for narrow rails and a 2½-inch brush for most full doors.
A 2-inch brush costs roughly $10 to $20, and it earns its keep on narrow rails and molding. Start with the 2½-inch brush, then add the smaller tool when trim needs extra care in tight corners.
Choose Cabinet Paint Brush Firmness
Choose a soft brush when you want a smooth finish with few visible brush strokes. Soft bristles lay the paint flat, and the marks fade as the paint levels out.
Pick a firmer brush when you want more control and a brush that holds its shape. It works well with satin and gloss topcoats because it spreads the paint evenly and avoids heavy lap marks.
For crisp edges along cabinet frames and panel lines, use a stiff brush. Press just enough to push paint into the corners, and let the brush do the work instead of your wrist.
Keep a wet edge as you paint each door so the new paint blends into the last stroke without leaving a ridge. Drying time tells you when you can touch the surface, while cure time tells you when the finish hardens fully, which can take several weeks.
Brush on a coat of primer before the topcoat, and lightly sand with fine sanding grit between coats for a smooth surface. Lay down a drop cloth and cover hinges and glass with painter’s tape before you start.
Soft For Smoothness
For the smoothest cabinet finish, use a soft bristle brush on the final coat. Visible brush marks can ruin an otherwise clean job, especially on doors you see at eye level.
Soft bristles bend easily and lay paint down with fewer visible strokes. A good soft brush costs about $12 to $25, so save it for thin final coats.
Load the brush lightly and keep a wet edge as you work across the panel. Dragging the brush hard leaves ridges and lap marks, so let the bristles release the paint onto the surface.
Check the finish in side light before the paint sets. A window or a flashlight held at a low angle will show ridges that overhead lights hide. For long stretches of work, consider a commercially resilient mat to reduce fatigue while you stand and paint.
Medium For Control
A medium firm brush gives you control without sacrificing a smooth finish. I reach for this firmness on cabinet doors and frames, where soft bristles flop around and stiff bristles demand extra pressure that tires your hand.
That middle ground lets the paint flow along a panel while you guide the brush. You won’t have to wrestle it to get clean edges.
When you shop, check two things. First, look at bristle resilience, which is how well the hairs spring back into shape after you press them.
Second, pay attention to handle feedback, the way the brush responds as you move it across the wood.
A two and a half inch synthetic brush suits most cabinet doors. Nylon blends work well with water and oil finishes, including primer, topcoat, and polyurethane.
Expect to pay about $10 to $25 for a dependable brush. Tap off excess paint before each pass, and let the bristles do the work instead of pressing hard.
Pressing hard splays the bristles and leaves brush strokes and lap marks. Work in short sections so you keep a wet edge, meaning each new pass blends into the last one before it dries.
Drying time tells you when the paint is dry to the touch, while cure time tells you when it reaches full hardness.
Protect your drop cloth and mask off hardware with painter’s tape so your cleanup stays simple.
Firm For Precision
A firm brush gives you the most control when you need a clean edge. I reach for firm bristles when I paint cabinet frames, trim, or a narrow wooden door panel, because they hold their shape and keep paint where I want it.
Firm bristles still need a light touch. Too much pressure bends them and leaves ridges, and those ridges show most on glossy surfaces.
For corners and tight edges, start with a sash brush about two inches wide with an angled tip. The angle lets you reach into corners and stop the paint right at the line.
For cabinet doors, choose a medium firm nylon or polyester brush. Synthetic bristles work well with water based paint and release it evenly.
Save the stiffest brushes for crisp cut ins where paint meets painter’s tape or another surface. Keep them off broad, glossy panels, where they leave brush strokes and lap marks that are hard to sand out.
Lay down a drop cloth and run painter’s tape along any edge you want to protect. Work quickly from one section to the next so you keep a wet edge and the line stays even.
Choose a Brush Shape for Clean Cabinet Edges
An angled sash brush is my first choice for clean cabinet edges, especially around door panels, corners, and trim. I use a brush about 2 inches wide for cutting in tight corners, and a brush about 2 and a half inches wide for coating most cabinet doors.
The slanted bristle tip lets me guide paint along a panel line without touching the flat center. That control matters, because a wandering brush can turn a crisp border into a mess of lap marks.
Look for a brush with chiseled edges, where the bristles form a sharp, shaped tip. That tip helps define trim and molding.
A flat sash brush works well on broad, open panels. It handles narrow borders with less precision.
Keep a steady hand and load the brush lightly. Too much paint can creep under the bristles and smear past your painter’s tape line.
Keep a wet edge as you work so the paint blends cleanly. Work in small sections so the edge doesn’t dry before you blend it.
Use primer on bare wood, then apply thin topcoats. Pick a sheen such as satin, which hides small brush marks and wipes clean easily.
For detailed edges, I choose a brush 2 inches wide with an angled sash shape. I switch to a flat sash only on broad surfaces.
Compare Purdy and Wooster Cabinet Paint Brushes
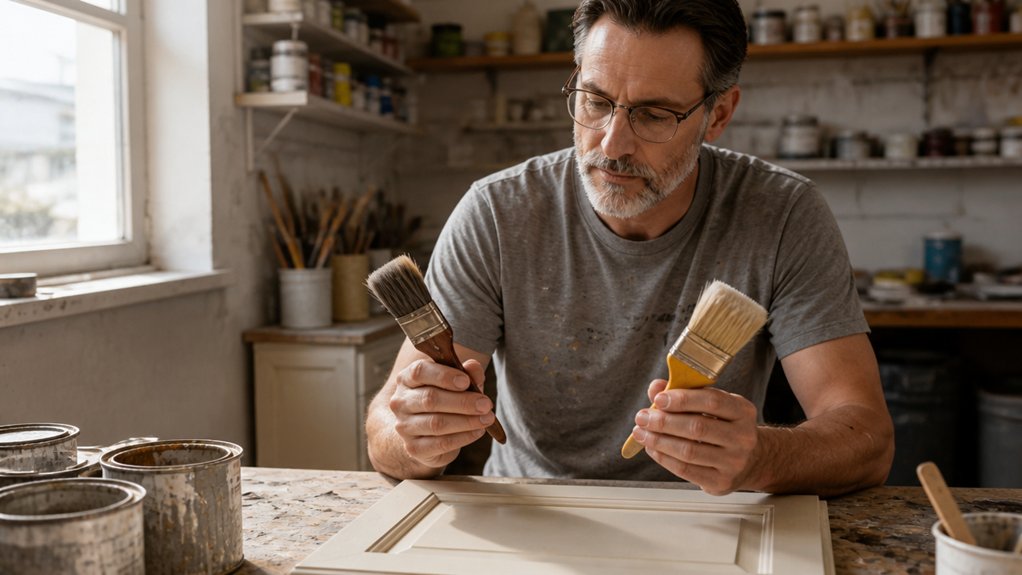
For most cabinet work, I pick the Purdy XL Cub. Its synthetic bristles are firm enough to push paint smoothly across flat doors.
The Wooster Shortcut is easier to steer in tight spots because its handle is short and compact. It fits into corners, around hinges, and along narrow frames where a longer brush gets in the way.
I reach for the Cub on broad door panels because it keeps a steady edge. Its nylon and polyester blend holds its shape over long sessions, so the brush strokes stay even.
The Shortcut feels less clumsy around hinges and narrow frames. Its short grip lets my fingers guide the brush, which keeps my wrist relaxed.
Purdy holds up well for regular cabinet jobs. A Cub usually costs about 10 to 15 dollars, depending on size and where you shop.
The Shortcut gives you control in cramped corners. The tradeoff is coverage, since it moves less paint on each pass and large doors take longer.
For doors, a 2½ inch brush works well. For trim, a 2 inch angled brush gives you a clean line and easy access to corners.
Both brushes use synthetic bristles, so they work with water or oil finishes. Set out your painter’s tape and drop cloth before you open the can.
Sand lightly with fine sanding grit between coats so the primer and topcoat bond well. Let each coat dry before you recoat, and allow the finish to cure fully before you rehang the doors, since cure takes much longer than drying.
I choose Purdy for all around use. I choose Wooster when reach and comfort matter most, and my wrist agrees.
Load a Cabinet Paint Brush Without Drips
Load the brush lightly, because a brush soaked with paint is a drip waiting to happen. Dip only the bristle tips into the paint, then lift the brush and let the extra paint fall back into the can.
Tap the bristles gently against the side of the can. Don’t scrape them across the rim.
This leaves enough paint in the bristles to spread smoothly and keeps the wet edge open as you work.
Keep a drop cloth under your work area and painter’s tape along nearby edges to catch stray drips.
Thin, even coats of topcoat show fewer lap marks and brush strokes than heavy ones. Check the drying time on the can before you recoat, since drying time isn’t the same as cure time.
Dip Bristles Carefully
Load only the lower third of the bristles. Then tap the brush gently against the inside of the can to knock off extra paint.
Keep your dip shallow, because deep loading pushes paint up toward the ferrule, the metal band that holds the bristles. Paint that reaches the ferrule is hard to clean out and can loosen the brush over time.
Dip the brush straight down, then lift it out with a steady hand. Keep the paint below the halfway point, especially on a small cabinet door brush.
Pause if the bristles look swollen. Avoid soaking the brush, since soaking can loosen the shape of the bristles.
Use a light dip for narrow edges and trim work. Use a slightly fuller dip on broad door panels, where steady control matters more than speed.
A shallow load also helps you keep a wet edge, so the new paint blends into the old without lap marks. It protects the ferrule and the bristles, which makes every later cleanup easier.
Remove Excess Paint
Start by tapping the loaded brush lightly against the inside of the can. This knocks off the extra paint without leaving the brush too dry.
Next, pause for a second and let the paint settle toward the bristle tips. Try not to flood the ferrule, the metal sleeve that holds the bristles to the handle.
If a bead forms at the tips, draw one face of the brush lightly across a grid or the ramp of a paint tray. Don’t squeeze the bristles, because that pushes paint into the handle and invites drips.
Too much paint on the brush leads to lap marks and uneven brush strokes on the wall. A paint grid costs about $5 and makes this step quick and easy.
Brush cleaning comes later, so focus only on removing the excess for now. Test on scrap before you paint the wall or trim.
If the test stroke leaves a blob, remove more paint. If it leaves dry skips, you have removed too much, so reload the brush.
Keep the paint below the ferrule to avoid drips. Use the grid, test first, then move to the wall.
Tap Against Can Side
Tap the loaded brush against the inside of the can to keep drips off a cabinet coat. Wiping the brush on the rim strips too much paint, and the next pass can leave lap marks.
A heavy load runs down the cabinet door and pools in the corners. Dip only the lower third of the bristles so the brush holds the right amount of paint.
Start by holding the brush over the can. Tap one side gently once or twice, then turn the brush and tap the other side.
Repeat the tapping only if paint still hangs from the bristles. Check the load before each pass so your brush strokes stay even and the wet edge stays open.
Keep the can close to the cabinet so you don’t have to carry a loaded brush far. Set the can on a drop cloth, because dents in the rim make pouring messy later.
I learned this the hard way after one drip found the floor before I did. Tap gently, check the load, and keep the can close.
Paint Cabinet Corners Without Leaving Marks
Use a two inch angled sash brush to paint cabinet corners without leaving marks. Its slanted bristles let you guide paint along the edges without flooding the surface next to the seam.
Start a little below each corner, then arc the brush up toward the edge. Use light pressure and only enough paint to cover the seam, so you keep a thin, even film instead of a heavy blob you can see from across the room.
Start below the corner and sweep upward with light pressure, using just enough paint for a thin, even coat.
Tap off the extra paint on the bristles before you start, and reload the brush before the bristles begin to drag. Working this way keeps a wet edge that blends into the last stroke and prevents lap marks.
Slow drying paint needs time to settle at each corner before you move on. Don’t brush back over a tacky patch, because that can pull up the paint and leave a second outline.
For tight frames, I prefer this two inch brush. A wider brush can bump the cabinet and leave a ridge along the edge.
Choose a medium stiff synthetic brush for better control. Synthetic bristles work well with water based and oil based paint.
Keep a clean cloth nearby to wipe away drips right away. I keep one in my back pocket for this exact job.
Follow the Wood Grain to Prevent Brush Marks
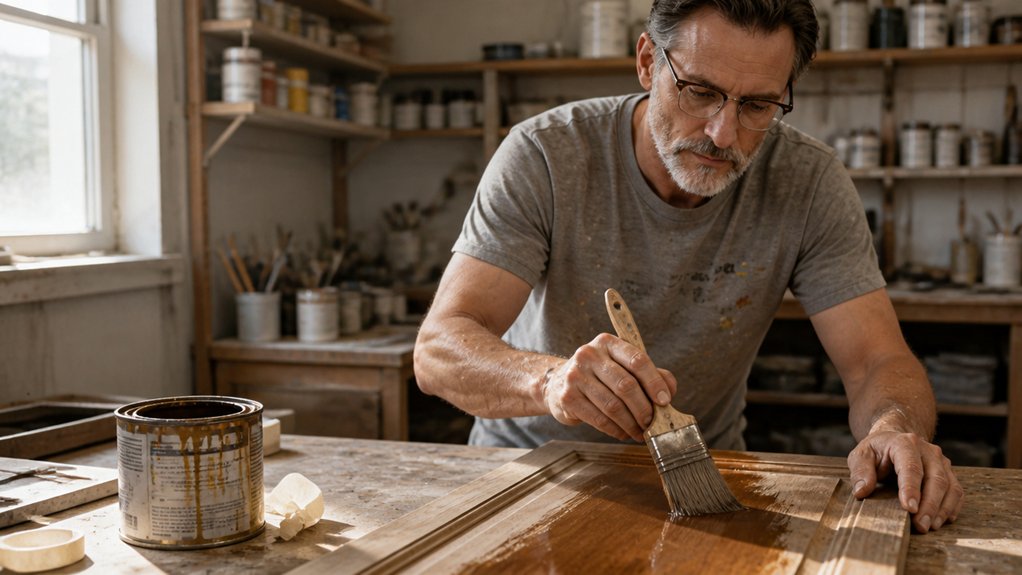
I follow the wood grain on every final pass. The grain is the lines running through the wood, and brushing along them hides brush strokes better than any other direction.
Keep every stroke moving the same way, and you’ll see fewer lap marks and streaks once the topcoat dries. Drying time isn’t the same as cure time, so a finish can feel dry to the touch and still show marks under a raking light.
I learned this the hard way. Years ago I made a quick cross stroke at the end of a polyurethane job to fix a thin spot, and the mark stood out under the sheen.
A late change like that rarely saves time. It usually means sanding with fine grit and recoating the whole panel.
Keep a wet edge as you work so each stroke blends into the one before it. Tape off the edges with painter’s tape and lay a drop cloth under the project so drips don’t ruin the floor.
Follow The Wood Grain
Brush your final strokes along the wood grain. This keeps brush marks from standing out on the finished surface.
Before you start, look closely at the wood to find the grain direction. Long fibers show which way the grain runs.
I once painted a cabinet door across the grain, and the stripes made it look like a bad sketch. Painting with the grain would have hidden those marks.
On door rails and stiles, follow the fibers along the horizontal and vertical pieces of the frame. On wide panels, follow the grain you can see on the surface.
Keep each pass steady and lift the brush cleanly at an edge. Work fast enough to keep a wet edge, so the paint blends without lap marks.
Switching directions while the paint is wet creates overlapping ridges that dry into visible tracks. This matters most on satin and gloss finishes, which show brush strokes more than matte.
Finish with a steady hand and stroke along the fibers. Extra brushing adds more lap marks, so one clean pass usually looks better than several.
Finish With Grain
The cleanest cabinet finish comes from final brush strokes that run with the wood grain. The grain is the direction of the wood’s long fibers, so brush each panel from one end to the other.
A brush about two and a half inches wide suits most painted cabinet doors. Before you start, check the can label to confirm that the brush and the coating work together.
Load the brush lightly and use a gentle touch around edges and raised details. Heavy pressure leaves ridges, drips, and lap marks that show up once the paint dries.
On a flat door, follow the visible grain so the dried surface looks calm from normal viewing distance.
Work in long, steady strokes to keep a wet edge, so fresh paint blends into the area you just covered.
Do not press hard to force the paint into place. Let the brush glide and let the paint level itself.
Protect the floor with a drop cloth and mask hinges and glass with painter’s tape before you begin.
Allow the paint to dry fully before you handle the doors, and give it longer cure time before heavy use.
Follow the grain for a smoother, more natural looking cabinet finish.
Keep Final Strokes Consistent
For the cleanest finish, brush every final stroke with the wood grain in one steady direction. This matters most on cabinet doors, because light shows crosswise marks clearly.
Check the stroke direction before each pass, and keep your brush pressure light. Pushing harder doesn’t make paint lay flatter.
First, load only the lower third of a 2 1/2 inch brush, then tap off the extra paint. Next, lay paint on in small sections, and blend each wet edge before it starts to tack.
Finish each section with long, gentle strokes that follow the grain. Avoid scrubbing back and forth, since that leaves lap marks and an uneven sheen.
A softer brush hides brush strokes well, while a medium stiff one gives you more control. Make one final pass, then leave the surface alone.
Keep Cabinet Paint Strokes Smooth and Even
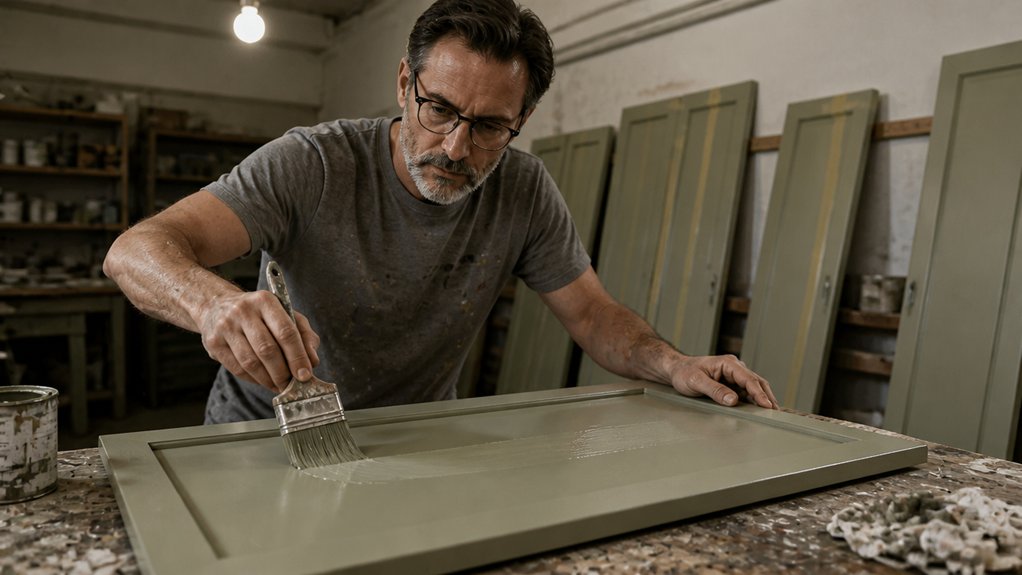
Lay a drop cloth under the work area and tape off hinges and glass with painter’s tape. Apply a primer to bare wood first so the topcoat grips evenly.
I get the smoothest cabinet finish with a synthetic brush of medium stiffness, a light load of paint, and final strokes that follow the wood grain. This setup gives me control without pressing hard, and pressing hard is what leaves ridges.
Next, check the paint consistency. It should flow off the brush smoothly, like honey poured slowly, and never drip like a leaky faucet.
Tap the brush on the side of the can to remove extra paint. Spread a thin coat over one manageable section at a time so the paint stays wet at the edges.
Keep each pass right beside the last one so the lap marks blend in. Don’t scrub back and forth over the same spot, because that turns smooth paint into a rough, bumpy surface.
For doors, I use a brush about 2 and a half inches wide. While the paint is still wet, I lightly pull the bristle tips along the grain to soften the brush strokes.
Clean bristles matter too. I treat brush care as part of every coat, rinsing and wiping the brush before I reload it.
Drying time and cure time are different. The paint may feel dry to the touch within a few hours, but it can take a week or more to cure fully, so handle the doors gently during that period.
Finally, let the paint level before you walk away. Leveling is when the brush marks flatten out on their own, and that’s why less pressure leaves fewer marks.
Frequently Asked Questions
How Should I Clean a Cabinet Paint Brush After Use?
To clean a cabinet paint brush after use, rinse water-based paint with water and remove oil-based paint with mineral spirits. Work the paintbrush bristles under running water or in a jar of solvent until the rinse runs clear.
Squeeze out the excess and reshape the bristles with your fingers. Hang the brush bristles-down so moisture cannot pool in the ferrule.
For a deeper clean, wash the brush with warm water and a few drops of dish soap after the solvent step. Let it dry flat for at least 24 hours before storing it.
How Long Should Cabinet Paint Dry Before Applying Another Coat?
Cabinet paint usually needs 4 to 6 hours to dry before you apply another coat, but the label on your can should have the final word. Recoat timing shifts with temperature, humidity, coat thickness, and ventilation. Cool, damp rooms can stretch that window, while warm, airy spaces may shorten it.
Before recoating, test an inconspicuous spot, such as the inside of a cabinet door. Press a strip of painter’s tape lightly on the surface.
If it lifts paint or feels sticky, wait longer. Apply thin coats with a foam roller for smooth, durable results. Two or three coats usually suffice.
How Can I Store a Paint Brush Between Coats?
To store a paint brush between coats, wrap the bristles tightly in plastic wrap or aluminum foil so air cannot reach them. This keeps the paint from skinning over and the bristles from drying out.
Shake out the excess paint, then smooth the bristles into their natural shape before wrapping. Press out any trapped air so the wrap sits snugly around the brush head.
For latex paint, a sealed wrap keeps a brush workable for up to 24 hours at room temperature. For oil-based paints, seal the wrapped brush in a zip-top bag and keep it in a cool spot for up to two days.
When Should I Replace a Cabinet Paint Brush?
You should replace a cabinet paint brush when the bristles bend, split, or lose their shape, or when the brush starts shedding hairs into your finish.
A worn brush deposits paint unevenly, which leaves streaks on cabinet doors and makes crisp edges around panels and rails much harder to achieve.
Test your paintbrush on a scrap board before each coat. If it drops fibers or leaves ridges, retire it.
For cabinet enamel, wash your angled sash brush in mild soap, then hang it bristles down to dry for 24 hours before the next session.
Should I Sand Cabinets Between Paint Coats?
Yes, you should sand cabinets between paint coats to get a smooth, durable finish. Light sanding knocks down dust nibs and brush marks so the next layer bonds well.
Use 220-grit sandpaper on a sanding sponge or fine pad, and work just enough to dull the surface rather than cut through it. This scuff sanding is faster than full sanding and keeps the edges of your cabinet doors intact.
Wipe away all dust with a tack cloth, then let the first coat dry for at least 4 hours before applying your next layer. Apply thin coats for the smoothest result, since most cabinets need two or three.
Rounding Up
The right paint brush for cabinets is a quality synthetic model, and a 2-inch angled brush handles most doors and edges. Before you buy, check that the bristles are synthetic, since they work with water-based paint, leave fewer marks, and clean up easily.
Spend $10 to $20 on a brush, since that buys cleaner edges with less fuss. Today, load the brush lightly, follow the grain, and keep strokes smooth on a scrap piece to practice.
Keep a smaller brush ready for corners, since patient work beats scrubbing and repainting. Next, read about Choosing Cabinet Paint.
References
- https://www.bobvila.com/articles/best-paint-brushes-for-cabinets/
- https://www.purdy.com/en/painting-resources/painting-faqs/how-to-choose-a-paintbrush
- https://www.benjaminmoore.com/en-us/interior-exterior-paints-stains/how-to-advice/painting-101/choosing-the-best-paint-brush
- https://www.sherwin-williams.com/homeowners/how-to/painting/interior-painting-how-tos/interior-planning/choosing-the-right-brush