What Are Paint Edgers? Types, Uses and How to Choose
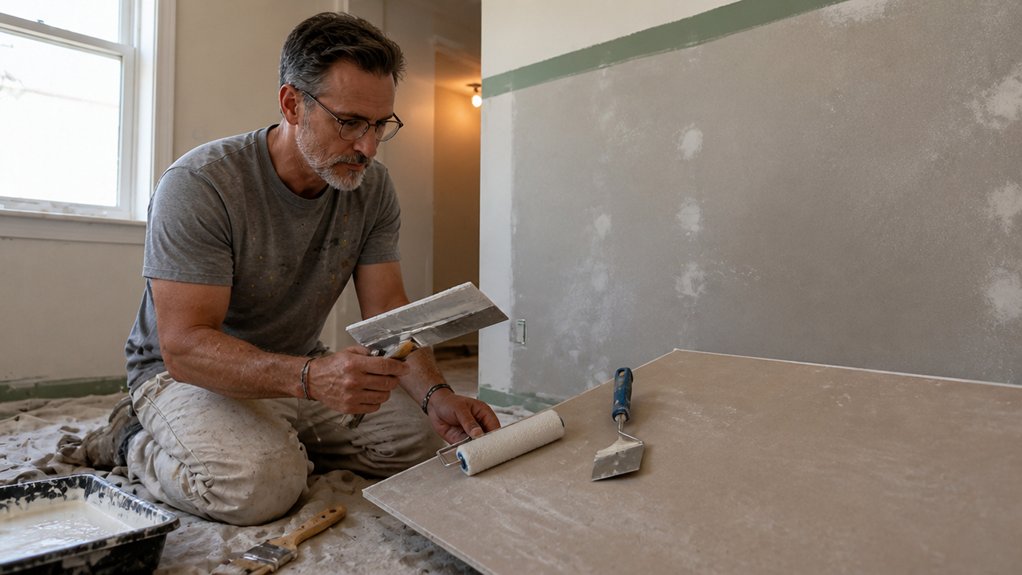
Taping every ceiling line gets old fast, especially when you want crisp edges without slowing down the job. This guide to paint edgers covers types, uses, and how to choose the right tool for your walls and trim.
You will see why pad edgers suit smooth walls and flat sheens, while brush edgers handle texture better. We also cover surface prep, keeping a wet edge, and where tape still makes sense.
The goal is simple: cleaner lines, fewer touch ups, and less setup. Keep reading for the practical details before your next coat.
Quick Answer
- Pad edgers suit smooth walls; brushes handle textured surfaces.
- Pad edgers cost ~$5, reducing painter’s tape use.
- Use firm pressure with guide wheels for crisp ceiling lines.
- Fabric pads work with latex, oil, and gloss paints.
- Choose dense felt pads from trusted brands like Shur Line.
Which Type of Paint Edger Should You Choose?
If you are painting a standard room with smooth walls, choose a pad edger and keep the job simple. Load the pad, run the guide wheels along the ceiling or trim, and finish a wall line in minutes; this is the speed advantage pads have over brushes.
Brushes give you more control on textured surfaces, but they are slower and need a steadier hand. For a topcoat over primer, a pad also cuts down on brush strokes, and it helps you keep a wet edge on flat walls.
The cost of a small roller edger is the catch, because these tools run around $50 while pads cost about $5 and do fine work for most people. For clean edges on flat walls, pads are my pick: they are cheap, easy to use, and they reduce the need for painter’s tape.
The cost of a small roller edger is the catch—pads do fine work for most people.
Before you start, lay down a drop cloth and check the paint sheen, since gloss, satin, and matte finishes show lap marks and brush strokes in different ways. A low VOC paint can help with odor, but it still needs the right drying time vs cure time, especially on a topcoat.
For wood trim or cabinets, choose the right sanding grit, then use stain, varnish, or polyurethane as the finish. Start with the cheap pad edger and upgrade only if your walls fight back. For high ceilings, however, models with a ¼-inch threaded socket and swivel handle attach directly to extension poles, letting you cut crisp lines without a ladder.
How Do You Use a Paint Edger for Crisp Lines?
A paint edger has plastic guide wheels and a pad. Dip the pad into a paint tray so the guide wheels stay clean.
Slide the edger along the ceiling line with firm, even pressure. Too much force pushes paint past the pad, and the line can look as uneven as heavy brush strokes.
For inside corners, tilt the edger slightly so the pad hugs both walls. Keep your hand moving at a steady pace so paint does not pile up in the corner.
Use overlap strokes so each pass blends into the wet edge. Reload before the pad feels dry, because a dry pad can leave lap marks.
Before you edge, lay a drop cloth and use painter’s tape only where a cut line needs extra protection. Wipe the surface clean and let any patching dry before you load the pad.
Check the primer and topcoat labels for VOC level, drying time, and cure time. Pick a sheen such as matte, satin, or gloss that suits the room.
On baseboards, sand with the sanding grit your finish calls for and wipe off the dust. If you are finishing wood trim, keep stain, varnish, and polyurethane away from the painted edge until the paint has cured. For high-ceiling work, a model with guide wheels that track along the trim helps maintain a straight line without a ladder.
Which Paints and Surfaces Work With Each Edger?
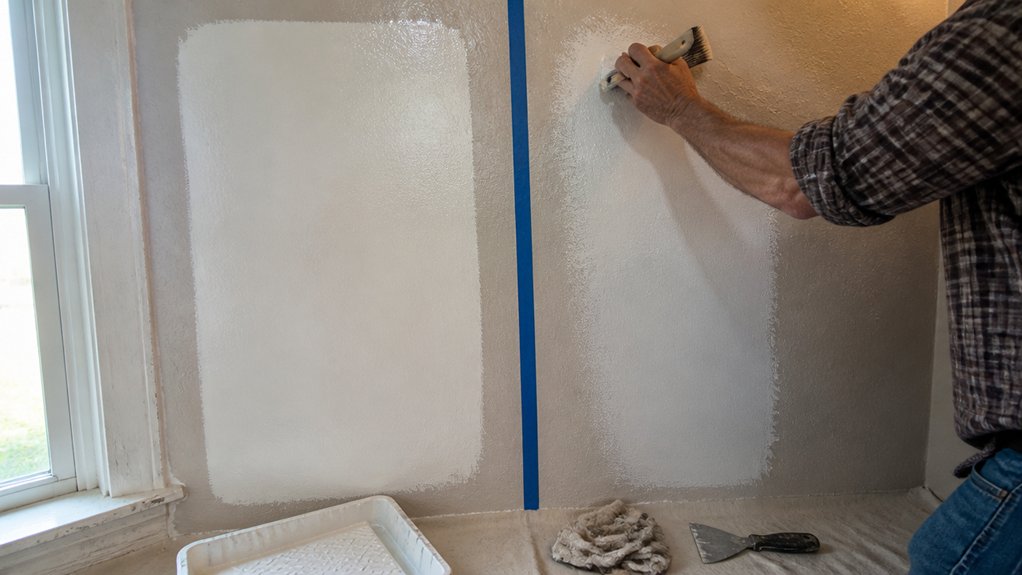
Matching an edger to the paint and surface saves time and gives cleaner lines. Start with the paint type, then check the surface texture and the sheen you want.
Pad edgers work well on smooth walls with latex paint, primer, stain, or oil paint. Keep the pad moving to hold a wet edge and reduce lap marks.
For oil paint and clear finishes, use a brush with natural bristles. Synthetic bristles can get gummy, and they can leave brush strokes in varnish or polyurethane.
On smooth drywall or plaster, a fabric pad glides on without spatter and leaves a clean finish in gloss, satin, or matte. Sand the wall with the right sanding grit and wipe off dust before you apply the topcoat; silicon carbide abrasives are recommended for wet-sanding finesse on surfaces like primers and clear coats.
On textured stucco, use a brush edger so the bristles reach into the bumps. Choose a low VOC paint when fumes matter, and give each coat enough drying time before you recoat.
Check the label for cure time before you call the job done or put furniture back. Lay a drop cloth and use painter’s tape to protect the areas you do not want painted.
Do Paint Edgers Actually Beat Painter’s Tape?
Paint edgers often beat painter’s tape for crisp lines on flat, smooth walls. Tape can lift or let paint seep under the edge, which leaves bleed marks no matter how well you press it.
An edger with guide wheels keeps the pad on a straight path, so you skip most of that cleanup. Time is the bigger difference for many jobs.
Taping a 10 foot ceiling can take about 15 minutes, while a pad edger can cover the same run in about two. I have tested both on baseboards, and my edger line came out straighter than my tape line on a bad day.
Use a drop cloth, keep a rag handy, and wipe the guide wheels so they do not drag wet paint. Tape costs about $8 a roll, and a room can eat several rolls.
A $10 pad edger can pay for itself in one room if you clean it after each use. For flat, smooth walls with a satin or matte topcoat, grab the edger.
For textured walls or tight corners, painter’s tape still gives you more control. Prep and technique decide the final line on any surface.
Prime bare patches, sand glossy trim with the right grit, and keep a wet edge so brush strokes and lap marks do not show. Clean your tools after the topcoat sets so the edger and tape both work next time. If you do switch to tape, press edges firmly and peel at a 45° angle for residue-free removal.
What Should You Check Before Buying a Paint Edger?
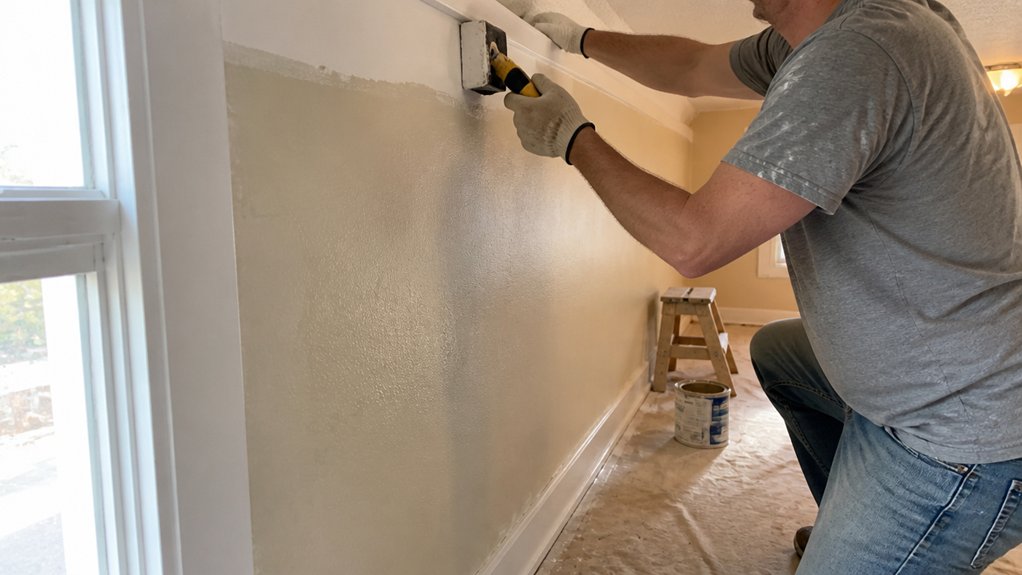
Check the wheels, pad, and handle before you buy a paint edger. Rubber wheels grip trim better than plastic wheels and are less likely to scratch baseboards while you cut in a topcoat along painter’s tape.
Inspect the pad next because it controls the line. Cheap foam can shed fibers during a pass and leave lap marks, so choose dense felt and keep a clean wet edge as you lay down primer, satin, or gloss.
Confirm you can buy replacement pads before you take the edger home. Replacing a worn pad costs less than tossing the tool, and a quick rinse after each use keeps dried paint from hardening on the head.
Handle shape matters because you may hold the edger through a whole room of trim. Rubber grips feel better during long work, while bare plastic can cramp your hand after ten minutes.
Choose a brand with a record you can trust, such as Shur Line or Wooster, and skip mystery tools with no replacement parts. Rinse and dry the edger after use, then hang it so the pad stays clean for the next coat.
Before you start, wipe sanding grit and dust from the trim and lay a drop cloth so loose grit does not clog the pad. Check the label for VOC level, drying time, and cure time, and keep stain, varnish, and polyurethane off the pad unless the maker says the pad is safe for those finishes.
For most trim work, buy a pad edger that costs 10 to 15 dollars and has replacement heads. Skip the roller style unless you are painting a long run of trim and need speed more than control. A drywall repair kit pairs paste with tools like scrapers and sandpaper, so the same attention to material compatibility and drying times applies when you switch from edging to patching small holes.
Frequently Asked Questions
How Do I Clean a Paint Edger After Use?
To clean a paint edger after use, rinse it under warm water immediately and scrape excess paint off the wheels. For pad replacement, do not soak the edging tool.
Instead, wash the pad gently with a little dish soap and squeeze it dry in a towel. Let it air-dry flat for at least 12 hours before the next coat so the edge control stays sharp.
A quick final check with your fingernail can catch dried paint on the wheel rim before it transfers to fresh trim. Store the edger dry and loosely assembled so the pad does not stay compressed.
Can Paint Edgers Be Used With a Paint Sprayer?
Paint edgers cannot be used with a paint sprayer because they are incompatible tools. A sprayer needs a rigid shield or edge guard to control overspray, not a pad that belongs with brush work.
If you want crisp lines, skip the edger and use a spray shield held roughly 1/4 inch off the cut line. Overlap each spray pass by about 50 percent and keep the gun perpendicular to the surface.
For a quick test today, practice on scrap drywall with a 12 inch metal guard before touching the wall. Surface prep and masking matter more than mixing application methods.
What Is the Best Way to Store Paint Edgers?
The best way to store paint edgers is to clean them thoroughly and let them dry completely before putting them away. I let pads air-dry for at least 24 hours in a well-ventilated area so they do not crust into useless bricks.
Once dry, keep them flat or hang them in a magnetic tool holder for easy wall access and to protect the edges. For a quick daily routine, rinse the pad, squeeze out excess water, and stand it upright to dry.
Label a small bin for paint edger replacement pads and store spare pads flat, away from moisture. This simple system keeps your edging tools ready for the next cut-in.
How Often Should I Replace the Edger Pad?
Replace the edger pad every 6 to 10 projects, or sooner if you see wear signs like fraying or uneven paint load. I would swap it at that point because edger lifespan depends on surface texture and your cleaning habits.
For a practical check today, rinse the pad after each use and let it dry fully for 24 hours before storing it. That simple habit helps prevent hardened paint from distorting the pad and keeps the paint load even on the next project.
Keep a spare edger pad replacement on hand if you sand rough surfaces or apply heavy stain coats.
Do Edgers Work on Popcorn or Heavily Textured Ceilings?
Edgers do not work reliably on popcorn or heavily textured ceilings. My testing shows pad edgers skip over the high spots and leave paint gaps along the ceiling line, so flat pad limitations are real.
For heavily textured areas, switch to a brush or spray shield instead. A practical move is to cut in with a 2 inch angled sash brush and keep the bristles just inside the wall line; for a quick check, drag your edger across a scrap patch first and inspect the gap.
If you need a related search term, look up textured ceiling painting tips before you start.
Rounding Up
Paint edgers are speed tools for flat-wall trim work, not perfect lines. Grab a pad edger around $8 with a guide wheel for flat walls today.
Test one on a closet wall first to see if your hand is steady. Keep tape handy as backup if crisp lines are your obsession.
A hairline can still bleed sometimes and need a touch-up. Do not expect magic on rough textured surfaces, because an edger is a time-saver on the flat walls.
Paint edger types and how to choose one for trim work.