How to Apply Anti-Mold Fungicidal Paints: Step-by-Step Guide
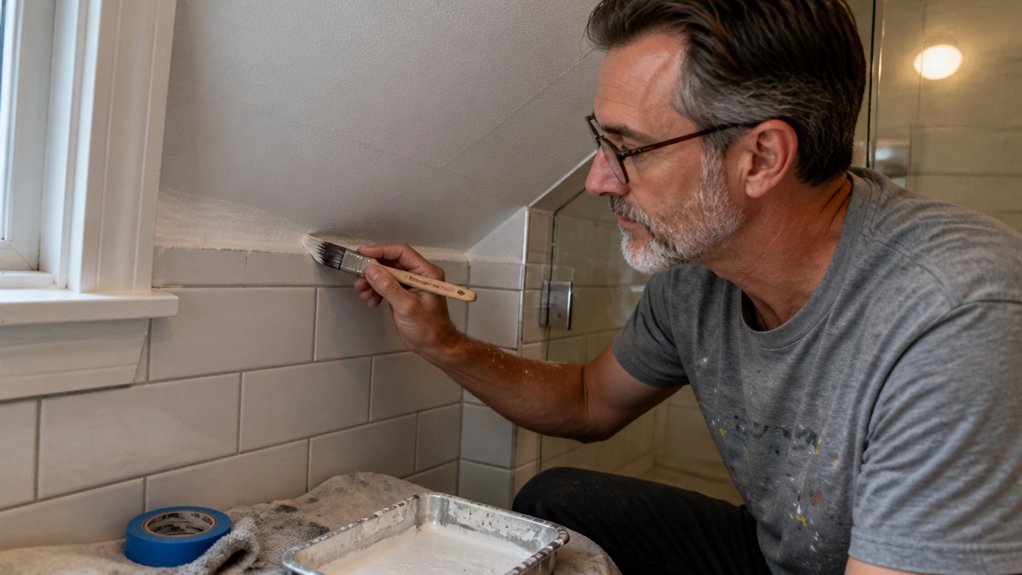
Applying anti-mold fungicidal paint starts long before the brush touches the wall. You cannot simply roll paint over existing mold and expect it to disappear. The secret is in the surface prep, including scrubbing every trace of growth and letting the wall dry completely.
A mold-killing primer seals the deal, followed by two topcoats within 72 hours for full protection.
Choose a satin or semi-gloss sheen to resist moisture and make future cleaning easier. Drying time and cure time matter just as much as the paint itself, so patience pays off.
This guide walks you through the full schedule, from prep to final coat, so the mold stays gone for good. Keep reading for the exact steps and timing you need.
Quick Answer
- Prepare surfaces by removing mold with a stiff brush, cleaner, and complete drying before priming.
- Apply a mold-killing primer; let it dry fully before applying the topcoat.
- Use satin or semi-gloss paint; flat finishes retain moisture and encourage regrowth.
- Maintain a wet edge and overlap passes during application to avoid lap marks.
- Keep relative humidity below 50% for 48 hours; wait a full hour before recoating.
Why You Must Remove Mold Before You Paint
Painting over mold is a waste of your time and money. The mold stays alive under the new topcoat, and it will keep releasing spores into your air.
You are not hiding the problem, you are trapping it inside your walls. Mold toxins can irritate your lungs, trigger headaches, and make allergy or asthma symptoms worse.
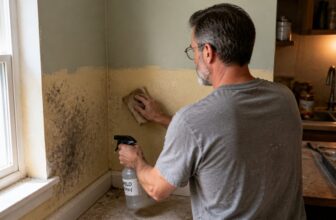
Before you roll on any primer or satin finish, you have to kill and remove every trace of the mold. Use a stiff brush and a mold-killing cleaner, then rinse and let the surface dry completely.
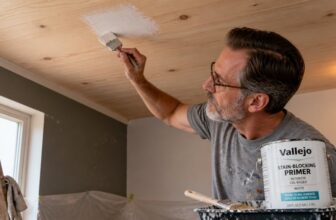
Once the area is clean and dry, sand it lightly with 120-grit paper to give the primer something to grip. Apply a stain-blocking primer made for mold and mildew, and wait for its full drying time before your topcoat. For example, an EPA-registered mold killer like Zinsser White Mold Killing Primer works without pre-cleaning or scrubbing, directly on dry surfaces.
Pick a paint with a sheen like satin or semi-gloss, since flat matte finishes hold moisture more easily. Keep a wet edge while you roll so you avoid lap marks and brush strokes.
Use a drop cloth and painter’s tape to protect the floor and trim, and open windows for airflow. The goal is a clean, dry surface that lets the primer and topcoat seal the job properly.
Do not rush the cure time between coats, even if the paint feels dry. A proper prep job now stops the mold from coming back, and your fresh coat will last years without a hidden enemy underneath.
Clean and Dry Surfaces for Primer Adhesion
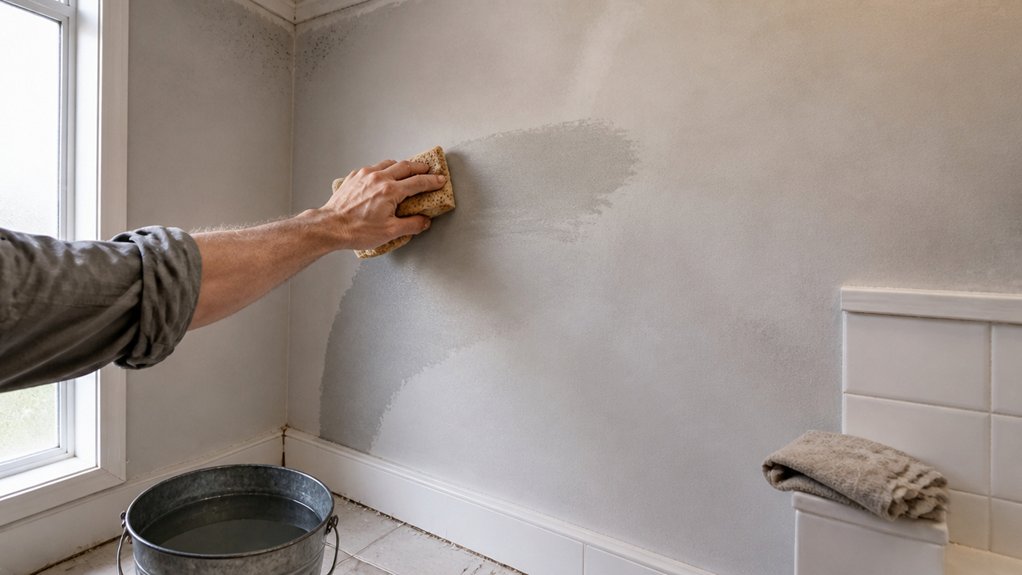
You can’t just slap primer onto a grimy wall and expect it to hold. Every bit of dirt, grease, or soap scum will ruin the bond, so strip it all away first.
Fill a bucket with warm water and a few drops of mild detergent, then scrub the surface with a sponge or rag. Rinse it thoroughly with clean water to remove any soapy residue.
Now the trick is to wait for the surface to dry completely before you even open the primer can. Moisture is your enemy here, since it blocks adhesion and can cause peeling under your topcoat later.
Touch the wall with the back of your hand to check for coolness or dampness, and give it extra time if the humidity is high. Once it’s bone dry, you’re ready to lay down your first coat of primer. For ongoing protection in moisture-prone rooms, consider a mold blocker spray applied after the paint cures to help prevent regrowth for up to three months.
Use a quality brush or roller and keep a wet edge as you work, so you don’t get lap marks or uneven sheen. After the primer cures according to the label, sand it lightly with 220 grit to smooth any raised fibers.
Wipe off the dust with a tack cloth, then move on to your paint or stain. This step pays off, because a clean, dry base means your topcoat will stick tight and last for years.
Removing All Contaminants
Don’t even think about opening that primer can until the surface is completely clean. Paint won’t stick to dirt, grease, or old mold, and it will peel off faster than a cheap sticker.
Removing contaminants is not glamorous, but it is the whole ballgame. I use a stiff brush, warm water, and mild detergent for general grime.
For stubborn mold, I switch to an EPA-registered mildew remover. Those products kill spores at the root so they don’t come back.
You have a few good options for mold removal: scrub it, scrape it, or treat it chemically. But no matter which method you pick, don’t skip the elbow grease.
Heavy soil, oily films, and loose crud all have to go before your primer goes on. I learned the hard way that skipping this step just doubles your work later.
So get in there, scrub like you mean it, and rinse well with clean water. Let the surface dry fully before you roll on that first coat of primer.
A clean substrate also helps your topcoat lay down evenly and keeps the sheen consistent. If you leave any residue, you’ll see dull patches or brush strokes that won’t go away.
Think about the drying time you’re buying too. A clean surface lets the primer cure properly, so you can sand with fine grit like 220 and get a smooth base for your finish.
That primer deserves a fighting chance, and so does your final coat of varnish or polyurethane. Put in the work now, and you won’t be redoing it next season. Water-based fungicidal primers hold their protective properties for 12–24 months under normal conditions, giving you a longer window before mold can re-establish itself.
Ensuring Complete Dryness
Moisture is the silent killer of paint jobs, and I’ve seen perfect primer lift because the surface felt dry but wasn’t. Don’t trust your fingertips; trust a moisture meter and your own patience.
Before you crack open that primer can, run through three checks to avoid adhesion failure. First, use a pin-type moisture meter on wood or drywall, and aim for readings under 15%.
Second, press plastic wrap against the surface and leave it for 24 hours. If you see condensation underneath, the surface is still releasing moisture, so wait longer.
Third, keep the room’s relative humidity below 50% for at least 48 hours after cleaning. Run a dehumidifier if needed, and check the humidity with a simple hygrometer.
Skipping this step is like brushing varnish over wet flour, it will crumble and peel. Give the surface its full drying window, and remember that drying time is not the same as cure time for your topcoat.
Patience here pays off in a bond that holds under sanding, staining, and gloss or satin finishes. Use painter’s tape and a drop cloth while you wait, and keep brush strokes wet to avoid lap marks later.
Cleaning With Mild Detergent
Once the surface reads dry on the moisture meter and passes the plastic-wrap test, it’s time to remove the invisible grime that blocks primer adhesion. I mix warm water with a squirt of dish soap in a bucket, since dish soap is a reliable mild detergent.
Use about one tablespoon of soap per gallon of water; too much leaves a film that ruins the bond. Scrub with a soft brush, working in small sections, and rinse thoroughly to wash away every trace of suds.
Wipe down with a clean, damp cloth, then let it dry completely again. Yes, again, because any leftover moisture will compromise your topcoat. This careful prep is essential since improper surface preparation directly impacts long-term durability and leads to peeling.
A clean wall is the foundation for a smooth, even satin or gloss finish. Skipping this step means your primer is sticking to dust, and that leads to peeling and brush marks later on.
Choose the Right Mold Killing Primer for Your Surface
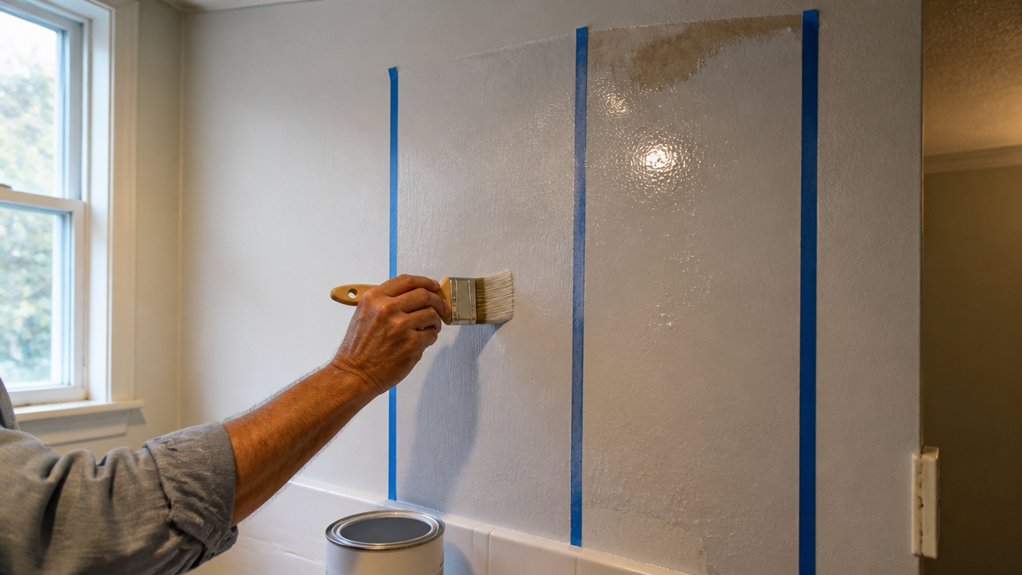
Choose the right mold-killing primer before you even think about color or sheen. That coating is where the fungicide actually does its work, so the surface you’re painting dictates everything.
Drywall is porous and soaks up a water-based mold killer like Zinsser, while slick tile needs extra scuffing and a different formula. EPA-registered fungicidal protection persists under any topcoat, so you need adequate coverage to ensure the active ingredients work at their precise thickness. Check the moisture level first, because damp surfaces reject any primer no matter how good it is.
Dry the area completely, then test the porosity with a drop of water. If it beads up, you’ll need to sand with 120-grit to give the primer a tooth.
For bare metal or vinyl, skip mold-killing primer entirely, since adhesion fails fast and you’ll get peeling within weeks. On rough, absorbent drywall, use a thick water-based primer that penetrates deep and locks in the spores.
On glossy surfaces, clean with a degreaser, sand lightly, and wipe off the dust before priming. I learned this the hard way after patching a basement corner twice, watching the topcoat bubble and flake.
Match the primer to the material, and you’ll save yourself a full redo. The sheen matters later, but the primer is your real first coat.
Always read the label for drying time versus cure time, since you can’t topcoat over a primer that hasn’t fully cured. Use a drop cloth and painter’s tape to protect the floor and trim before you roll.
One coat of mold-killing primer, then a proper topcoat with a satin or semi-gloss finish, gives you a surface that stays clean and resists moisture. Don’t rush this step, and you won’t have to come back to fix it.
Apply Mold Killing Primer: Brush, Roller, or Spray
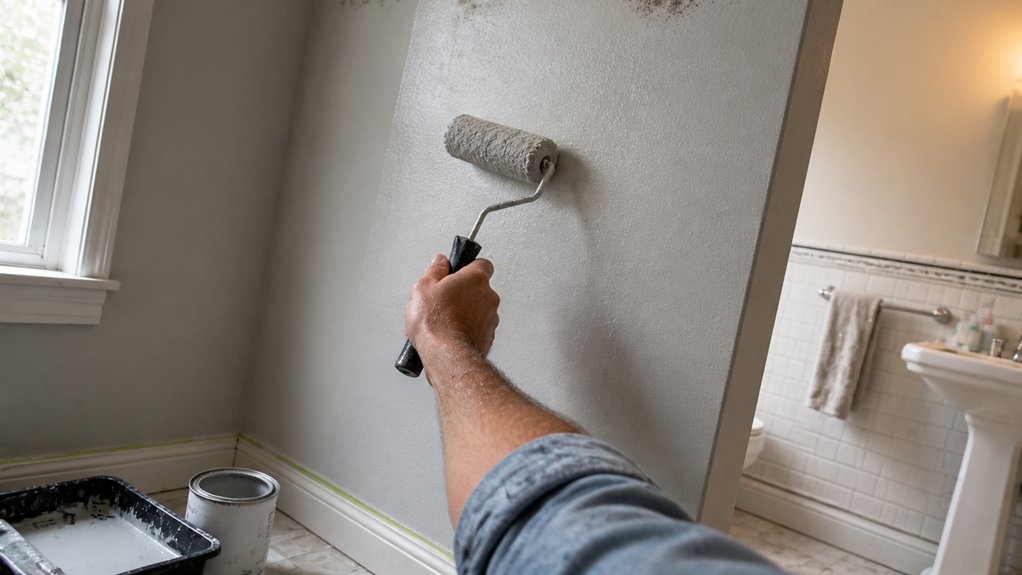
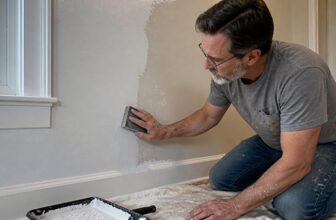
Now that the surface is scraped, scrubbed, and fully dry, pick your application tool. For most DIYers, a brush or roller works fine, just lay the mold killing primer on thick and even with no thinning needed.
If you choose to spray, use an airless rig with a 0.017 to 0.019 inch tip at 2000 to 2500 psi. Porous spots will soak up the primer fast, so keep the coat heavy and don’t miss any rough patches.
Watch your wet edge as you work, especially with a roller, to avoid lap marks in the finish. A brush helps you cut into corners and along edges where a roller can’t reach, so keep both handy.
Spraying gives you the fastest coverage on flat, open areas, but back-brush the primer if you can. That pushes the mold killer into the wood grain and guarantees better adhesion for your topcoat.
Use painter’s tape and a drop cloth to protect trim and floors before you start, since this primer can splatter. After the primer dries, check the recommended drying time versus full cure time before adding your stain, varnish, or paint topcoat.
Keep the room ventilated and check the can for VOC levels if you’re sensitive to fumes. A satin or matte topcoat will seal the primed surface, but a gloss or semi-gloss sheen holds up better in damp areas like bathrooms.
For especially porous drywall, reduce the manufacturer’s coverage claim by roughly 20% to ensure a heavy, sealing coat that prevents flashing and blotching before your topcoat.
Primer Prep Steps
With the surface prepped, dry, and smooth, you’re ready to bring in the primer. That’s where the actual mold killing happens.
Don’t grab the can yet. Primer prep steps are your last line of defense, and skipping them is like locking a door with no hinges.
I’ve made that mistake; you don’t need to.
First, do a final check on your work. You should’ve already done crack repair and surface sanding, but look again.
Missed fissures or rough patches will show through the primer like a bad toupee. Second, wipe everything down with a damp cloth to catch dust.
Third, stir the primer gently. Never shake it, or you’ll introduce bubbles.
That’s it. Ten minutes now saves you a recoat later.
For spray application, ensure the primer covers approximately 12–15 square feet per can.
Sprayer Pressure Settings
Getting the sprayer pressure right is simpler than it seems. You want to hit 2000 to 2500 psi, and your tip size matters just as much.
For this primer, use a 0.017” to 0.019” tip, and start your pressure low, then dial it up until the fan is even with no spitting or tails.
That steady fan shape tells you the pattern is under control before you lay down any material.
Set up the equipment with care: strain the primer to catch any lumps, keep the gun about 12 inches from the surface, and hold it perpendicular.
Don’t arc your wrist like you’re watering plants, because that creates uneven coats and lap marks.
Overlap each pass by about 50 percent so the coverage stays consistent, and move at a steady pace.
I’ve skipped this step and ended up with tiger stripes, so trust the numbers and check your pressure as you go.
The wet edge should stay glossy and even across each pass, which tells you the primer is flowing right.
After you finish, let the primer dry fully before you sand with 220 grit and move on to your topcoat, whether it’s satin, gloss, or matte.
Use a drop cloth and painter’s tape to protect the surrounding areas, and remember that drying time is shorter than cure time, so be patient before handling.
With the right psi, tip size, and a steady hand, the finish will come out smooth with no brush strokes or runs.
For spray equipment longevity, consider adding an inline air filter with a 5-micron rating to catch condensation and debris before it reaches your gun, keeping your spray pattern consistent.
Optimal Coverage Tips
Once the pressure is set and the equipment is ready, good coverage depends on how you work the primer onto the surface. Most people mess this up by spraying a thin, foggy mist instead of laying down a thick, even coat.
For sprayers, match the tip size to the primer’s thickness. A 0.017” to 0.019” tip at 2000 psi gives a solid wet coat, but don’t overspray or you’ll waste product.
Rollers work best with the right nap thickness: 3/8” for smooth walls, 1/2” for textured ones.
Use a brush to cut in corners first, then move to the open areas.
Load the roller or spray gun generously, since primer is meant to soak in. Work in small sections and overlap each pass slightly to avoid dry spots.
If you spray, back-roll the area while it’s still wet. That pushes the primer into the surface and evens out the penetration.
A thick, consistent coat seals the substrate and gives your topcoat a uniform base. Thin coats dry patchy and cause lap marks, which show up as dull stripes once you paint over them.
Watch the wet edge as you go, and always keep a wet edge so each pass blends into the one before.
Check the drying time versus full cure time before recoating, and use painter’s tape and a drop cloth to protect trim and floors.
Always aim for a heavy, even layer. It will save you from extra sanding and touch-up later. Choose a dense fiber cover with uniform nap density to stop stippling and ensure an even primer release.
Wait Times: Recoating and Topcoating Schedule
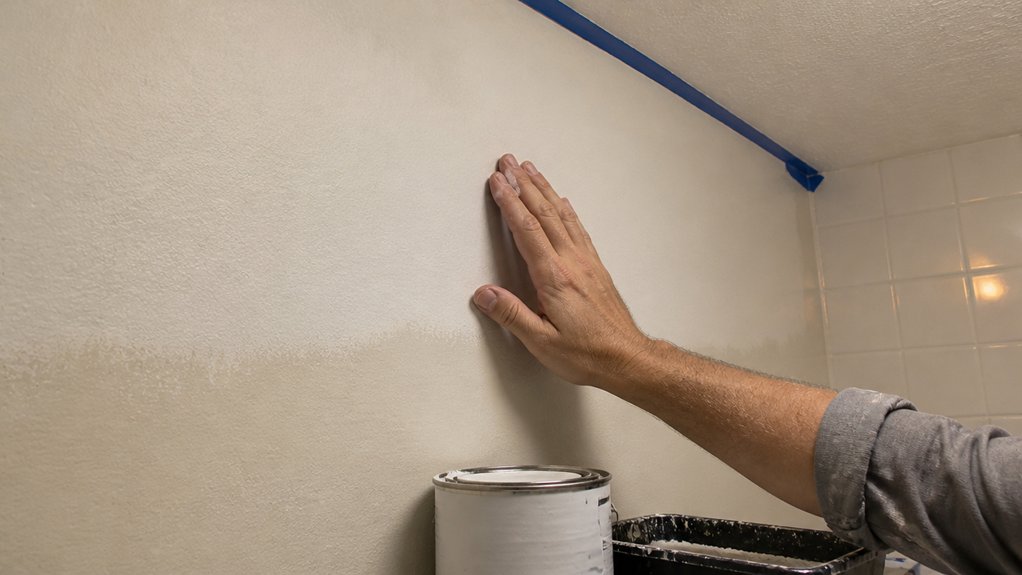
Just applied Mold Killing Primer? You can finish the job without ruining your work if you follow the timing. It dries to the touch in 30 minutes, but wait a full hour before recoating.
Don’t rush that first hour. You have a 72‑hour window to apply your topcoat, so you are not chained to the clock.
Stir the primer gently, not with frantic whisking, or you will trap air bubbles that show up as tiny pinpricks in your finish. Check the can’s storage life too; old, clumped primer will not cure predictably, and I have learned that the hard way on a trim job.
Stir gently, not frantically, or trapped air bubbles will pinhole your finish. Old, clumped primer won’t cure predictably.
Trust the schedule and respect the chemistry, and you will get a bulletproof base for your paint, varnish, or polyurethane. One hour to recoat, three days to topcoat, and seven days to full hardness.
Apply Two Coats of Perma-White for Mold Protection
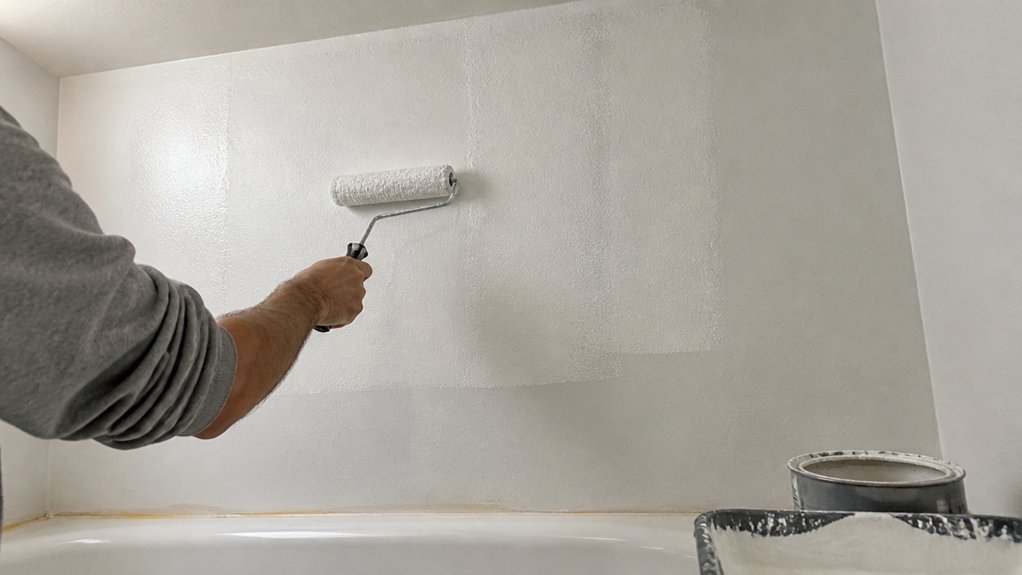
Two coats of Perma-White is the minimum for mold protection, not a suggestion. I’ve watched people skip the second coat and then wonder why mildew shows up again within months. A single thin film just can’t hold up against persistent dampness, no matter how good the primer underneath is.
The first coat bonds tightly to the primed surface and seals off porous gaps in the drywall or wood. The second coat builds a thicker, more uniform shield that smooths over tiny imperfections and gives you a tougher, washable topcoat.
That’s the layer that takes scrubbing and cleaning without wearing through. The mold-killing fungicide in Perma-White also needs full, even coverage to work consistently across the whole wall.
A patchy single coat leaves weak spots where spores can settle and grow. Ventilation helps, but it won’t fix a coating that’s too thin to do its job.
So plan for two coats every time. Roll on the first coat, wait two hours for it to dry, then roll on the second.
Keep a wet edge as you work to avoid lap marks, and use a roller with a 3/8-inch nap for a smooth satin finish. Your bathroom walls will stay cleaner and resist mildew far longer than if you tried to get away with one pass.
Frequently Asked Questions
Can I Use This Primer on Previously Painted Surfaces?
Yes, you can use this primer on previously painted surfaces, but the old paint’s condition is the deciding factor for adhesion. If the existing coating is chalky, peeling, or flaking, you must scrape and sand those areas down to a sound base before priming.
For glossy or semi-gloss finishes, always scuff-sand with 120 to 150 grit to create a mechanical tooth, which prevents the primer from beading up or delaminating. Wipe away all sanding dust with a tack cloth, then apply one even coat of primer. This step also helps with coating compatibility, especially when you are switching from an oil-based to a water-based topcoat. A practical tip: test a small patch first, let it dry overnight, and check for any solvent popping or wrinkling before committing to the full surface. For extra insurance on slick surfaces, use a bonding primer designed for difficult substrates.
What Is the Shelf Life of an Unopened Can?
An unopened can of paint or finish will typically remain stable for about 5 years from the date of manufacture. This shelf life assumes you keep the lid sealed tightly and store the can in a cool, dry place, away from direct sunlight.
Avoid extreme temperature swings, since freezing can permanently ruin the binder in latex paints and cause separation in oil-based products. As a handy tip, write the purchase date on the can lid with a marker, so you know exactly when that 5 year window starts. For solvent-based varnishes, stirring thoroughly after long storage often brings them back to usable consistency if they pass the smell test.
If the paint smells sour or rancid, that is a clear sign bacteria have taken hold, so dispose of it properly. You can also check the consistency by running a stir stick through it; a smooth, uniform flow means it is still good to go.
Can I Paint Over the Primer With Oil-Based Paint?
Yes, you can paint over primer with oil-based paint, provided the primer is fully cured and compatible. Check the primer can label for an oil-based topcoat recommendation, since water-based primers sometimes need a different approach.
Wait the full manufacturer’s drying time, typically one hour, then apply the oil-based paint within 72 hours. This window ensures proper adhesion without the primer becoming too hard or contaminated. For best results, lightly sand with 220-grit sandpaper if you exceed that 72 hour limit.
You will get durable protection that resists moisture and wear, especially on trim or cabinets. Use a high-quality synthetic brush for smooth flow, and apply two thin coats rather than one thick one. Oil-based enamel is a related term to search if you want a tougher, glossy finish.
How Do I Clean Brushes and Rollers After Using?
To clean brushes and rollers, wash them with warm, soapy water immediately after use, working the soap through the bristles and nap. Rinse thoroughly until the water runs clear, then shake out excess moisture and reshape the brush ferrule.
For latex paints, a drop of dish soap is enough, but for oil-based finishes you will need mineral spirits before the soapy wash. Lay rollers on their side to dry, never standing on end, or the nap will flatten and create uneven coats.
Proper brush cleaning and roller maintenance extend their life and prevent hardened paint buildup. A quick tip: spin rollers in a bucket or use a roller cleaner tool to fling out water, then let them air dry for 24 hours before storage.
Is This Primer Safe to Use Around Pets and Children?
Yes, this primer is safe to use around pets and children, provided you follow strict ventilation and timing rules. The solvent fumes are the main risk, so I recommend opening windows and running a fan for at least 48 hours after application.
Keep pets and kids out of the room until the primer feels dry to the touch, then wait an extra 12 hours for off-gassing to drop. A water-based acrylic primer is a safer alternative if you need faster re-entry.
For a concrete guide, use a low-VOC primer and test dryness with your fingernail: if it dents, it’s not ready. Target a full 72 hours before letting anyone sleep in that space, and keep the room aired out for a week.
Check the label for “zero VOC” claims, and consider a sealing topcoat to lock in any residual odor. Always keep the lid on when not pouring, and store leftovers outside the living area.
Rounding Up
Apply anti-mold fungicidal paints by cleaning and killing the mold first, then priming, waiting, and topcoating.
Skip the paint and kill the mold before anything else. Check your bathroom walls today for any spots that need scrubbing with a fungicidal cleaner.
Prime with a mold-resistant primer, then wait the full drying time before you topcoat. Write down the product label’s cure time so you don’t rush it.
That $40 method for 100 square feet covers the primer plus topcoat and saves you a redo next spring. Test a small corner first if you’re unsure about adhesion.
Ask your paint supplier for a mold-killing additive if you want extra insurance. Your walls stay white and your sinuses stay happy.
Read next about how to choose a moisture-resistant paint for humid climates.