How to Apply Stain-Blocking Primers: Step-by-Step Guide
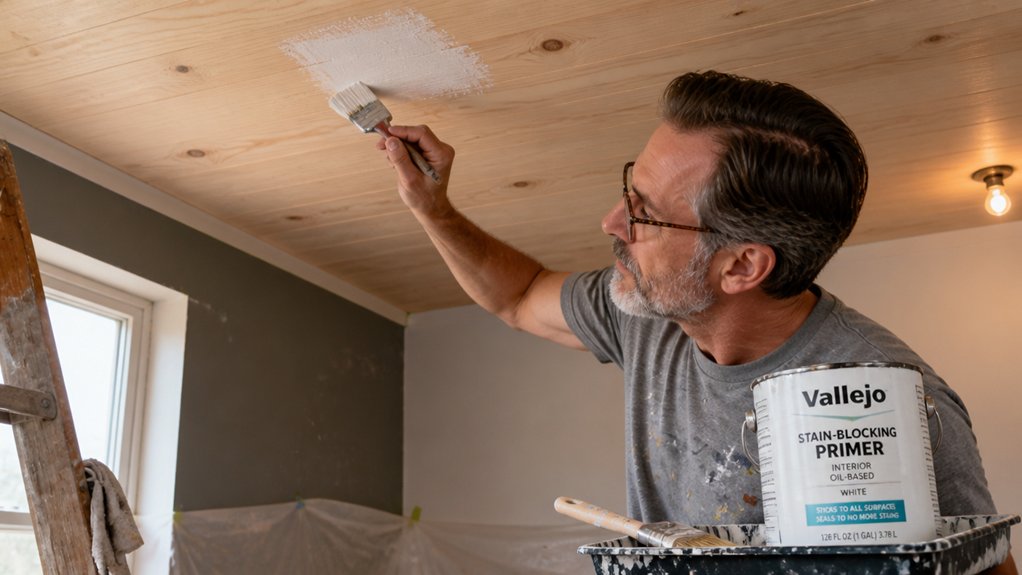
Applying stain blocking primers sounds straightforward until a water stain bleeds through your fresh topcoat. That is exactly why prep work wins this battle, and I have learned that lesson the hard way.
Clean with degreaser, rinse, dry 24 hours, sand glossy spots, patch cracks, and vacuum dust before you even open the primer can.
Match your primer to the stain type: shellac for smoke, solvent for water marks, then roll thin coats with a wet edge.
Give it a full day to cure before your final sheen, or expect to repaint that wall twice.
This guide walks you through each step, including exact drying times and mistakes that cost you $200 in do overs. Start with the prep checklist, then we will break down the primer selection and application techniques that keep stains sealed for good.
Quick Answer
- Select primer by stain type: shellac for smoke/ink, solvent-based for water stains.
- Prep surface: clean, sand, and dry; moisture under 15% and temperature 50–90°F.
- Apply primer with brush or roller, maintaining a wet edge to avoid lap marks.
- Allow primer to dry fully, then sand with 220 grit before recoating or topcoating.
- Ventilate area and wait full cure time before heavy use or final topcoat.
Why Stain-Blocking Primers Fail (and How to Prevent It)
Stain-blocking primer fails most often because of user error, not the product itself. I have seen plenty of DIY folks blame the can when they ignored the temperature limits.
Most primer failures are user error, not the can’s fault—temperature limits ignored, then the product gets blamed.
If it is below 5°C or above 30°C, you are fighting physics. The primer will not cure properly, and bleed-through will win.
That is on you, not the chemistry. Dampness is the other big killer.
You cannot slap primer over a damp wall and expect miracles. I check with a moisture meter, which costs around $30, and if it reads above 15%, I stop.
Dry the wall first. Before you roll on the primer, let the surface sit for a few days and recheck.
For the best bond, use a solvent-based stain blocker on water stains, and a shellac-based one for smoke or ink.
Topcoat selection matters too. A flat matte sheen hides uneven spots, but a satin or gloss will show every missed patch.
When you apply the primer, keep a wet edge and work in full strokes from top to bottom.
If you stop mid-wall, you get lap marks that will show through the topcoat, even with a quality paint.
Use a 180 to 220 grit sanding on the dried primer to knock down any raised fibers. Wipe the dust off with a tack cloth before the topcoat.
Respect the drying time versus cure time. Primer dries to the touch in an hour, but it needs a full day to cure before you paint over it.
And always ventilate the room. Low VOC primers are safer, but solvent-based ones still need airflow.
Some formulas, like a synthetic shellac primer, offer permanent stain blocking for severe stains such as smoke damage and pet odors.
Lay down a drop cloth and tape off edges, because fixing a bleed-through later costs more than a careful start.
Follow these steps, and the primer will do its job. Skip them, and you will be recoating in a month.
Prep Your Surface the Right Way in 5 Steps
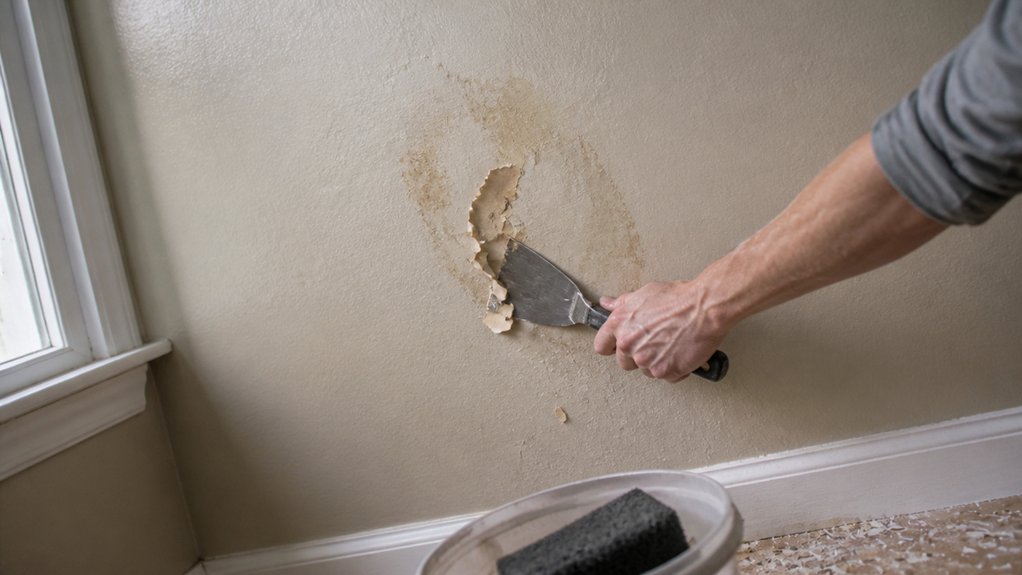
Before you open that can of primer, the real fight is won or lost on the surface itself. I’ve repainted more times than I care to admit because I rushed this step, so trust me when I say it matters.
Good preparation comes down to five steps, and skipping any one of them means your primer and topcoat will fail. Start by washing the surface with a degreaser, then rinse it clean and let it dry completely. Spot primers require bone-dry surfaces ideally 24 hours after washing to prevent solvent trapping.
Next, scrape and sand away loose paint, rust, and chalk until the surface feels solid. Dull any glossy areas with 120-grit sandpaper so the primer can bite and hold.
Vacuum up all the dust, then wipe everything down with a tack cloth to catch what the vacuum missed. Patch any cracks with spackle or wood filler, and let them cure fully before you move on.
Keep the room between 50 and 90 degrees Fahrenheit, with humidity under 85 percent, or your drying time and cure time will go sideways. Get these conditions right, and your primer will seal stains evenly without lap marks or brush strokes.
If you skip any step, you’ll see the damage later, like peeling paint or rust bleeding through your finish. Use a drop cloth and painter’s tape to protect the floor and trim, and you’ll keep the job clean from start to finish.
That extra hour you spend prepping saves you a full weekend of sanding and repainting later. Choose a low-VOC primer for better air quality, and match your topcoat sheen, whether satin, matte, or gloss, after the surface is ready.
Choose the Right Stain-Blocking Primer
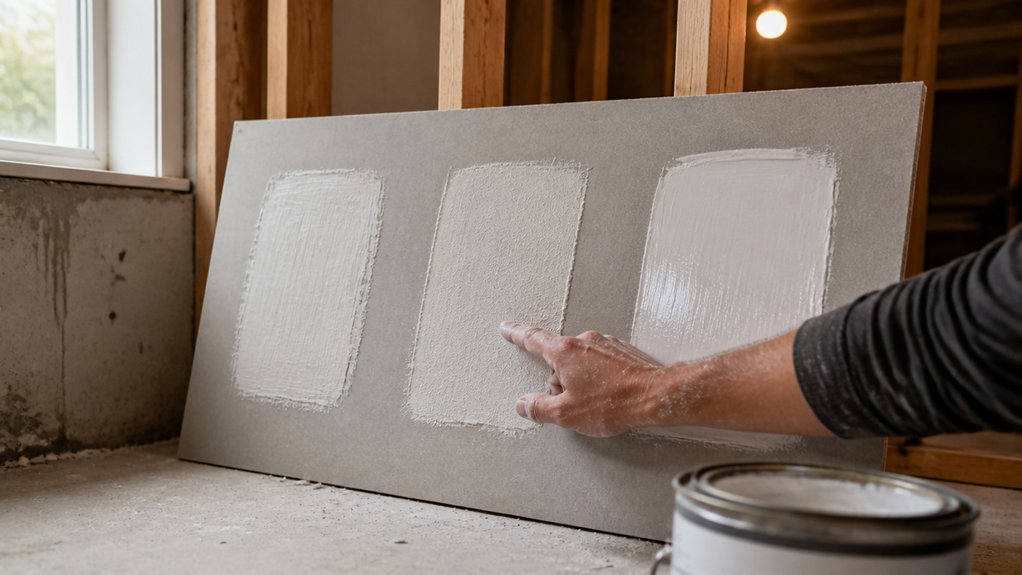
Picking a stain-blocking primer is a chemical decision, not a color choice. If you grab the wrong one, your ceiling will look like a coffee spill crime scene. Start by sizing up the stain: light tannin bleed calls for a water-based latex primer. For nicotine or crayon, you need synthetic shellac, which works like a nuclear option and smells like it too.
Choosing a stain primer is chemistry, not color—grab wrong, and your ceiling screams coffee crime.
That shellac odor means the stain’s worst nightmare is in play. Water-based latex gives you easy cleanup, but it folds against oily grease. Oil-fortified primer acts like a chameleon, sticking to finished wood the way a stubborn mole stays put. For particularly stubborn pet or smoke odors, a shellac-based primer blocks stains permanently while also neutralizing the source of the smell.
Check the can for priming temperature effects before you start. If the air is below 50°F, the primer won’t bond to the surface. Two coats are always safer, unless the stain disappeared after the first pass.
Skip tinting the primer, because that’s just sabotage. For severe stains, shellac wins every time. Match the primer to the stain’s personality, not your hope, and you’ll get a clean topcoat.
Use a drop cloth and painter’s tape to protect your trim before you roll. Sand any glossy spots with 220 grit, then wipe the dust off with a tack cloth. Keep a wet edge while brushing, so you avoid lap marks and brush strokes in the final sheen.
Remember that drying time is not cure time, so wait the full cure before adding your satin or matte topcoat. Low-VOC primers are easier on your lungs, but they won’t outperform shellac on tough stains. Test a small patch first, then commit to the full coat.
Brush, Roll, or Spray: Best Application Methods
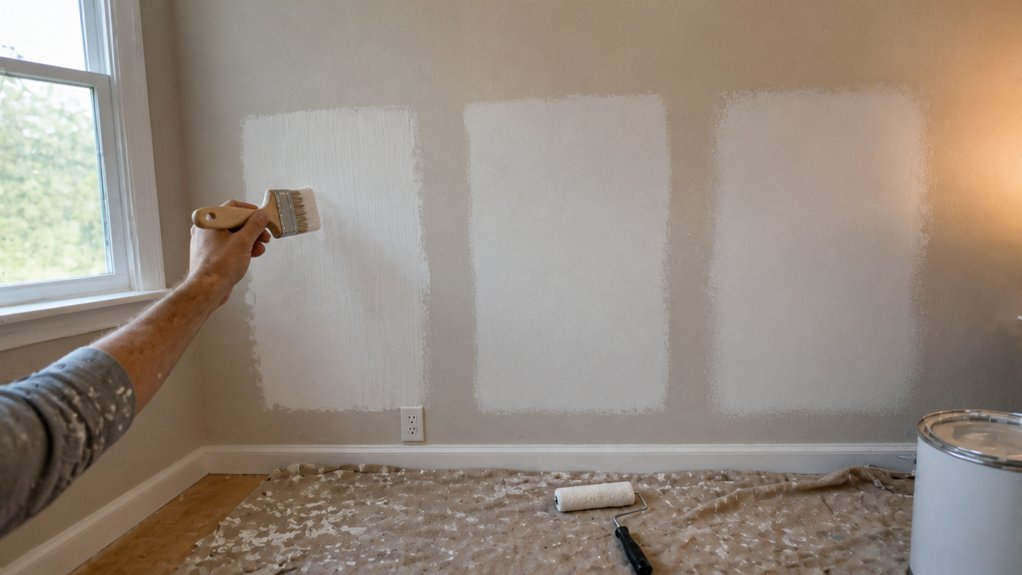
Choosing your application method comes down to speed versus control. Spraying wins on speed, no contest.
With an airless spray tip around 0.015 to 0.017 inches, you can cover a wall in minutes, but you will spend extra time masking everything. Control suffers, so I back-roll with a roller to work the primer into the surface properly before the topcoat.
Rolling gives you the best middle ground for most jobs. Pick a 3/8-inch roller nap for smooth, even coats that block stains without leaving stipple you will regret later.
It is slower than spraying, but it is forgiving and lets you keep a wet edge to avoid lap marks. This method works well with satin or matte sheens and low-VOC paints.
Brushing offers maximum precision for edges, knots, and tight corners. I use it for the final touch on trim and woodwork, though it is tedious for large flat areas.
For stain and varnish work, brushing lets you control the direction of the grain and avoid brush strokes if you lay off lightly.
My honest verdict is this: for big jobs like walls or ceilings, spray and back-roll. For anything else, grab that 3/8-inch nap and roll.
Your shoulders might ache, but your stain coverage and topcoat finish will be solid. Keep a drop cloth and painter’s tape handy, and always respect drying time before you sand between coats with 220 grit.
For best results on glossy surfaces, no sanding is required when using oil-based primers like Zinsser Cover-Stain, which bonds directly and blocks water, smoke, and nicotine stains effectively.
Dry and Recoat Primer Without Ruining the Finish
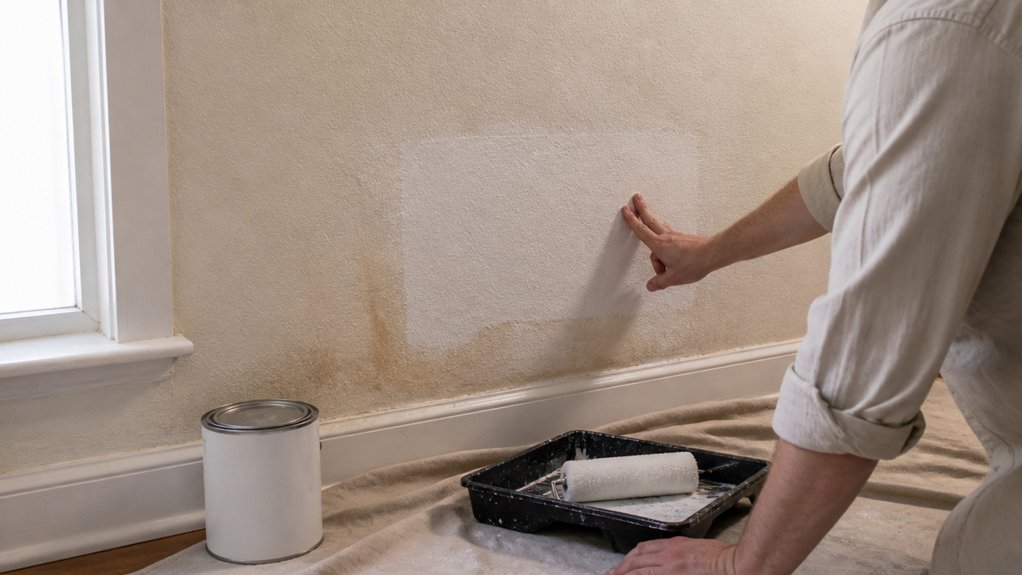
Drying primer too fast ruins the finish, and I’ve watched it happen on my own projects. Rushing the wait lets stain bleed through the topcoat like a stubborn shadow you can’t erase.
Patience with drying time comes down to temperature, humidity, and coat thickness. Cooler than 70°F adds hours, and humid air stretches the wait even longer.
The label’s touch-dry time, like 25 minutes, is rarely true for your real schedule. Knotted pine needs a full two hours before its second coat so the stain stays put.
Test the surface with a knuckle, not a finger. If it feels tacky, it’s not sealed, so give it more time.
Oil-based primer over water-based stain needs a full 24 hours before recoating. Water-based primer over oil-based stain needs 72 hours, and there are no shortcuts.
After the primer dries, the cure time matters too. Wait 21 days before setting heavy furniture on it, or the finish will dent and stick.
Use a drop cloth and painter’s tape to keep edges clean, and check the wet edge as you roll. Brush strokes disappear when you keep a steady pace and don’t let the primer dry mid-section.
Pick a satin or matte topcoat for a forgiving sheen, and sand with 220 grit between coats to smooth out dust nibs.
Watch the clock, not your mood. That simple habit keeps the finish ghost-free and ready for furniture, foot traffic, or whatever comes next. For severe peeling edges, Peel Stop bonding primer glues down chalking paint so you can topcoat without risking future flakes.
Frequently Asked Questions
Can I Tint a Stain-Blocking Primer to Match My Topcoat?
No, you cannot safely tint a stain-blocking primer to match your topcoat, because the tint disrupts the stain-blocking chemistry and compromises adhesion. I have seen this cause peeling and bleed-through within months, so it is not worth the risk.
Do not tint that primer; instead, apply two separate coats of the untinted stain-blocking primer, letting each dry fully per the label’s recoat time. Then sand lightly with 220-grit before your topcoat to ensure mechanical bite.
For a closer color match, use a gray or white primer shade that already exists from the manufacturer, which preserves the barrier while reducing topcoat coats needed. Search for “stain-blocking primer tint limits” to see specific product warnings, as most brands clearly forbid custom colorants.
Your topcoat will adhere better and the stain won’t ghost through, saving you a repaint down the line. Stick with the clear rule: primer’s job is sealing, not matching.
How Do I Clean Primer off Brushes and Rollers?
To clean primer off brushes and rollers, start by identifying the primer type, then use warm soapy water for latex or shellac formulas, or mineral spirits for oil-based ones. For latex primer, rinse the brush under warm running water, then work a drop of dish soap into the bristles with your fingers, and repeat until the water runs clear.
For oil-based primer, soak the brush or roller in mineral spirits for five minutes, then comb out the residue with a brush tool; this solvent breaks the bond quickly. Always wear nitrile gloves to protect your skin, and work in a ventilated area to avoid fumes.
After cleaning, spin the roller sleeve in a bucket or wrap it in a towel to remove excess liquid, then reshape the bristles and lay the brush flat to dry. A concrete tip: dry latex brushes overnight, but oil-based ones need 24 hours before reuse. Finally, store clean tools in a sealed bag to keep dust off, and they’ll be ready for your next coat. Solvent choice matters, so check the primer can label for the right cleaner.
Can I Apply Water-Based Topcoat Over Oil-Based Primer?
Yes, you can apply a water-based topcoat over an oil-based primer, provided the primer has fully cured. Wait at least 72 hours, not just until it feels dry to the touch, because solvent entrapment can cause peeling or blistering later.
The key is to test adhesion by lightly sanding the primed surface with 220-grit sandpaper and wiping off the dust. This mechanical bite helps the water-based finish grab hold, especially on slick oil-based surfaces.
Keep the recoat window in mind: a full seven days is even safer for thick builds. For a practical tip, use a water-based acrylic enamel as your topcoat; it bonds well and cleans up easily, unlike solvent-based varnishes. If you need a related term, think “hybrid coating system” when combining these film types.
How Many Coats of Paint Go Over Primer?
You typically need two coats of paint over primer, though a porous surface can push that to three. Primer coverage, paint thickness, and the substrate’s absorbency all play a role in the final count.
Check your surface after the first coat dries. If you see bare patches or uneven sheen, apply a second coat. For heavily stained or raw drywall, use a stain-blocking primer and expect three coats for full hiding.
Wait at least 4 hours between primer and the first paint coat, then 2 to 4 hours between paint coats. A quick trick: lightly sand the primer with 220-grit before painting to improve adhesion and smoothness. This step also helps when using a high-build primer or a flat finish, which needs more coverage on rough textures.
Will Primer Stop Knots From Bleeding Resin Through?
Yes, primer stops knots from bleeding resin through, but only if you choose the right type of primer. Standard water-based primers won’t block resin, so you must apply a shellac-based sealer first to lock in the sap.
For severe resin, use a synthetic shellac primer and give it at least 30 minutes to dry before sanding with 220 grit. This creates a barrier that prevents the resin from migrating into your topcoat, whether you’re using latex or oil-based paint.
You can also use a dedicated knotting agent, which is a related sealer that works well on pine and cedar. Apply two thin coats for stubborn knots, letting each dry fully, then proceed with your regular primer. Always test on a scrap piece first to confirm the resin is fully sealed before committing to the final surface.
Rounding Up
Apply stain-blocking primers by covering every stained spot fully, then waiting the full dry time before your topcoat.
That dry time is where most people trip, so set a timer and leave it alone for the entire 24 hours.
Test your dry surface with a light touch before painting, and if it feels tacky, give it more hours.
Write down your primer brand and cost now, so you can compare coverage on a spare board before committing to the wall.
Use a quality shellac primer like Zinsser’s BIN, around $25 a gallon, and measure how far it goes on your first coat.
Check for any remaining bleed through with a flashlight once dry, then recoat any faint patches before the topcoat.
Next, read about how to choose the right topcoat sheen for high-moisture rooms.