How to Apply Concrete Repair Compounds: Step-by-Step Guide
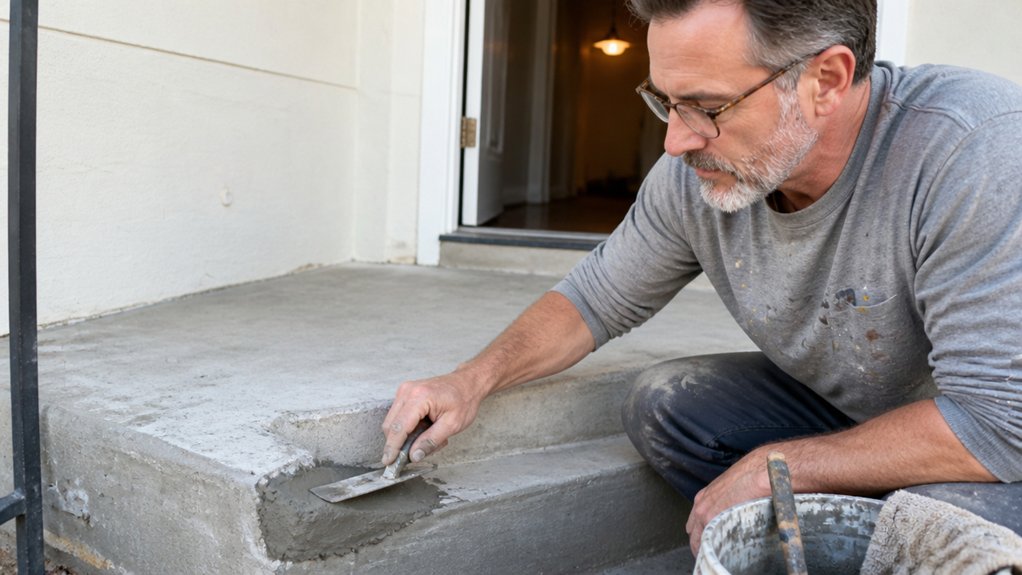
Applying concrete repair compounds is simpler than it sounds, but only if you respect the prep and cure time. Skip those steps, and your patch will pop loose right along with the primer on a bad paint job.
The trick is to chip away loose concrete, pressure wash until the rebar is bare, then mix your mortar to the right consistency. You’ll want to apply it in thin 1/8 inch coats, letting each one dry a full 24 hours before the next.
Finish with a three day cure under plastic, just like you’d protect a fresh coat of paint.
This guide covers the full process, from surface prep to final sheen, so your repair blends in and lasts.
Quick Answer
- Chip away loose concrete until solid, stable material is reached.
- Test pH with phenolphthalein; pink confirms proper bonding conditions.
- Pressure wash and abrasive blast for a rough, clean, rust-free surface.
- Apply mortar in thin 1/8-inch layers, waiting 24 hours between coats.
- Keep patch damp and covered for 3 days to ensure full curing.
Test, Demolish, and Clean the Surface and Rebar
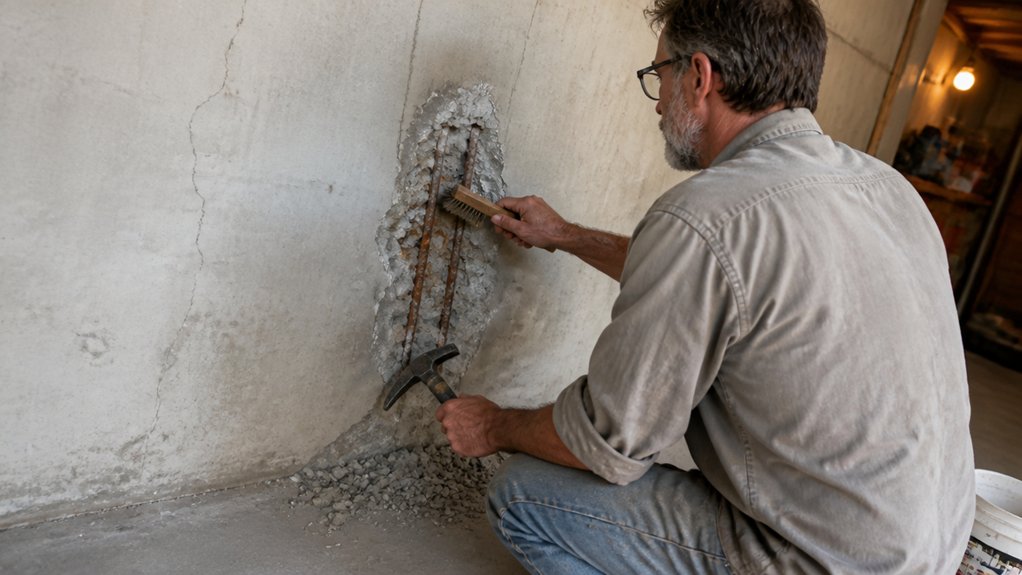
Before you mix any repair compound, take a hard look at the concrete underneath. Chip away every loose or delaminated piece until you hit solid, stable material.
Then use a spray bottle with phenolphthalein testing solution. If the concrete doesn’t turn pink, it’s still carbonated, and your patch won’t bond for long.
Keep hammering until you get a clean test. Next, check the rusty rebar for serious cross-section loss.
If it’s badly corroded, call an engineer instead of winging it. I pressure-wash at 3,500 psi, then abrasive blast to remove all scale and rust.
A rough, clean surface gives your patch something to grab, like sanding wood before applying primer. Skip this step, and you’re just covering a wound with paint.
You want a surface that’s ready for a proper topcoat, not a hidden failure. Use a drop cloth to catch debris, and keep your work area tidy as you go.
For deeper structural damage, select a fast-setting cement-based mortar that can be applied in thicker layers without slumping.
Mix and Apply Repair Mortar in Thin Layers
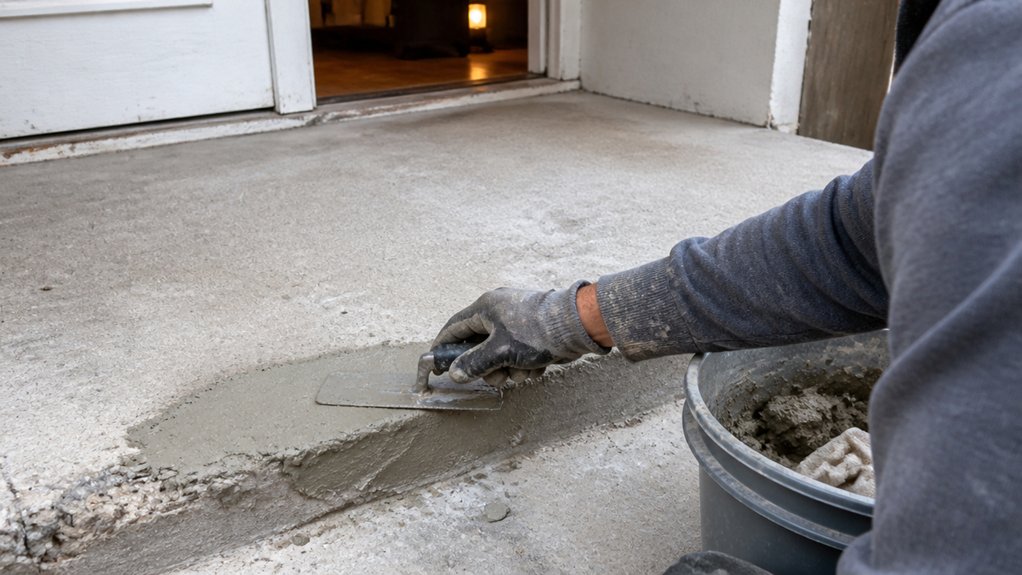
Once the surface is clean and the rebar is solid, you are ready to mix the repair mortar. This step rewards patience, so take your time and measure the water precisely.
Use a slow drill to mix, avoiding air bubbles that weaken the mix. I learned that lesson the hard way, so trust the process here.
Mix with a slow drill—air bubbles weaken the mix. I learned that the hard way, so trust the process.
Check the substrate saturation first. It must feel damp to the touch, not dripping wet, before you apply anything.
Scrub a thin bond coat of the same mortar into the surface, pressing hard to fill every pore. This acts like a primer for concrete, gripping the old material so the patch holds. For projects needing extra flexibility against temperature swings, consider a clear industrial formula adhesive as an alternative bonding layer.
Watch your bonding agent timing closely. Apply the patch while that tacky coat is still fresh, just like keeping a wet edge with paint.
Build each layer at 1/8 inch maximum, then wait a full 24 hours between coats. This is not like varnish where you can recoat quickly; the mortar needs its own drying time.
Do not rush the job. Thin layers beat one thick, cracked mess every time, much like a few light sanding passes beat one heavy gouge.
I would rather apply three patient coats now than redo a slab next spring. Treat each layer like a smooth satin topcoat, even and consistent, and the final surface will stay solid for years.
Cure, Protect, and Wait: When Is the Patch Safe to Use?
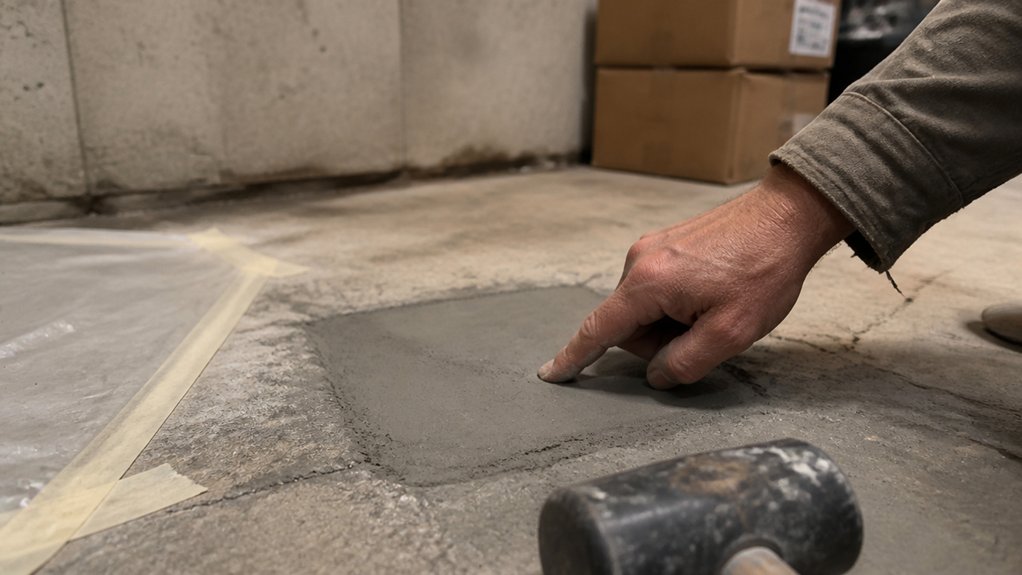
The last coat is on and the patch looks smooth, but the real work is waiting. The skin forms in 20 to 40 minutes, and the surface hardens in 4 to 6 hours.
Full cure time stretches about 3 days, and longer in cold, damp weather. I learned that the hard way when I stepped on a patch too early and left a heel print that never fully disappeared.
Weather is the biggest threat to a fresh patch. Rain, frost, or intense sun can crack or soften it before it sets.
Cover the area with plastic or burlap, but keep the cover light so it doesn’t press into the surface. Avoid deicing salts, heavy foot traffic, and parking anything on top of it.
Mist the patch lightly with water once or twice a day during the cure period. Then walk away and let the material do its job.
Think of cure time like the drying time for a topcoat. You can touch a polyurethane finish after a few hours, but you shouldn’t sand or recoat until it’s fully hard.
The same patience applies here. Rushing this step means sanding out a mistake later, and that takes more time than waiting.
Keep your tools clean and off the patch. A stray drop cloth or painter’s tape stuck to the wet surface can leave a texture that won’t blend with the surrounding area.
Once the patch is fully cured, give it a light sand with fine grit, then apply a matching primer and topcoat if needed. That seals the repair and blends the sheen with the rest of the surface.
For now, mist it and leave it alone. Your future self will thank you when the patch stays flat and invisible.
If you want a durable, professional-grade finish, consider using a polycuramine formula that is resistant to peeling.
Frequently Asked Questions
Can I Repair Concrete in Cold Weather?
Yes, you can repair concrete in cold weather, but I strongly recommend waiting if temperatures are near freezing. Cold weather curing slows down the hydration process, and your patch risks frost damage if it freezes before gaining strength.
Keep the surface and mixed material above 40°F for at least 48 hours after application. Use a concrete heater or insulated blankets to hold that temperature, and avoid working when the forecast calls for overnight dips below 35°F.
For a quick repair, choose a fast-setting cement mix labeled for low temperatures; it develops early strength to resist ice formation. Also, warm your mixing water to about 90°F, but never exceed 100°F, as that can cause flash set. Plan your pour for midday when the sun is strongest, and monitor the patch closely for the first week.
What Causes the Patch to Crack After Application?
Your patch cracks primarily from dampness loss, poor surface preparation, or an incorrect mix ratio. I have seen it happen most often when you skip the bonding agent or let the material dry too fast, especially on porous surfaces.
Always mist the repair area with water before applying, then follow the manufacturer’s mix guide exactly. For a standard patch, wait until the surface turns dull, then trowel it once more to close any early fissures.
If you are working in hot or windy conditions, slow the cure with a damp cloth or plastic sheet. A related term to search is “mud cracking,” which points to the same moisture and shrinkage issue. Never rush the job, because patience and precise steps beat any quick fix.
How Long Before the Patch Is Fully Cured?
A full cure for most patch compounds takes about 28 days to reach maximum strength. You can recoat or sand much sooner, usually within 24 hours, but the chemical hardening continues well past that first touch-dry stage.
Temperature and humidity are the biggest variables, so keep the room around 70°F with moderate airflow. If you paint or varnish over a patch before it’s fully cured, you risk shrinkage cracks or a dull blotchy finish later.
Use a moisture retention method like a curing compound or wet burlap for the first week to slow water loss. For a concrete patch, also check the mix design: fast-set products cut the 28-day window down to about 7 days, so read the bag.
One practical tip: before final sanding, press your thumbnail into the patch; if it dents, give it another 48 hours. Search for “concrete patch drying time chart” to match your exact product.
Can I Paint or Coat Over the Repair Patch?
Yes, you can paint or coat over the repair patch, provided the material has fully cured and the surface is properly prepared. I recommend waiting at least 3 days after application, though thicker patches may need up to a week for complete solvent evaporation.
Before you start, lightly sand the patch with 220-grit paper to knock down any gloss and create a mechanical tooth for the new coating. Then wipe it down with a tack cloth or denatured alcohol to remove all dust and oils.
Check the coating compatibility with your repair material, especially if you used an epoxy or polyester filler, as some primers can react poorly. For most water-based or oil-based paints, a high-quality bonding primer is your safest first coat.
As a concrete tip, apply two thin finish coats rather than one heavy layer, which helps prevent wrinkling or lifting. If you are using a spray can, keep it about 8 inches from the surface and use even, sweeping passes.
This approach works equally well for latex, acrylic, or urethane topcoats, so you are not limited to one product type. Just always test a small, hidden area first to confirm the finish adheres without any blistering.
What if the Repair Material Shrinks or Settles?
If the repair material shrinks or settles, it means you likely skipped a crucial mix adjustment step, so fix it before the patch becomes a permanent eyesore. I immediately re-level the surface while it is still tacky, using a straight edge to strike off any excess that has sunk below the surrounding area.
Control shrinkage by strictly following the manufacturer’s water limits, since adding even a splash extra can cause 3 to 5 percent volume loss as it cures. For settlement prevention, proper compaction is non-negotiable, so I tamp the material in thin layers, especially for deep fills over half an inch.
A concrete tip is to wait 20 minutes after mixing, then check for low spots and trowel in a fresh, stiff batch before it sets. This also helps with self-leveling on horizontal surfaces, and remember to wet the edges lightly to avoid a dry lip that cracks later.
Rounding Up
Applying concrete repair compounds means patching the damage with a mix that bonds and cures, then waiting for the full cure time before judging the result.
Check the manufacturer’s stated cure period on the bag, and mark your calendar for that exact day, not a week earlier.
Test the patch with a water drop: if it beads up, it is not ready; if it soaks in, it is safe to walk on.
Write down the date you applied the patch, and compare the surface color to the surrounding concrete after ten days to confirm an even match.
Trust the patch only when you stop checking it daily, which is the real sign of a lasting repair.
Next, read about sealing cured concrete patches to protect against future cracking.