How to Apply Concrete Floor Paints: Step-by-Step Guide
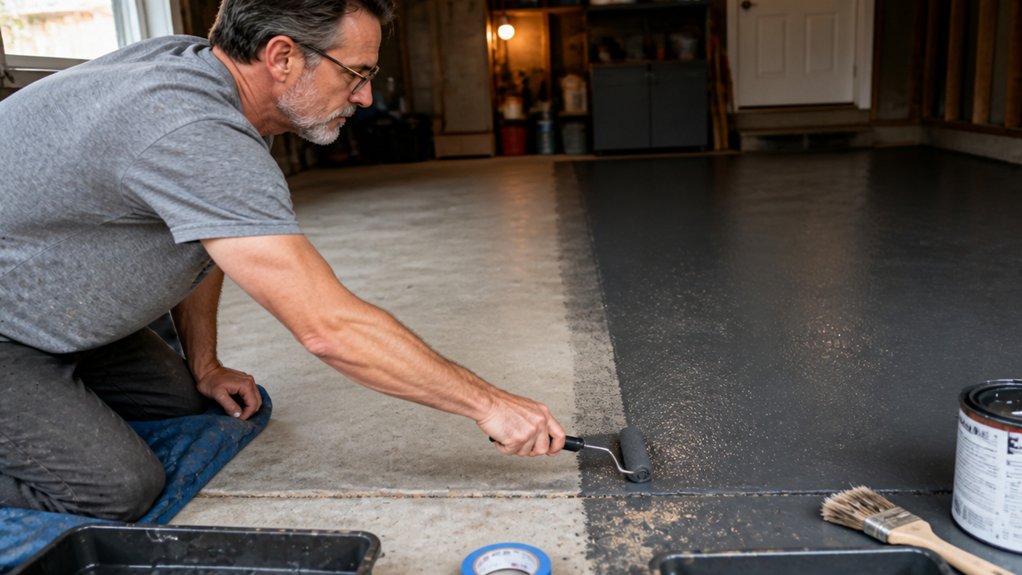
Concrete floors look easy to paint, but skipping moisture tests and primer is how you end up with peeling patches in a month. If your slab reads above 5% moisture, you are sealing in dampness, not prepping a finish.
Grab a solvent-based primer and match your topcoat brand for a bond that actually holds. Roll two thin coats with a proper dry time between them, and let the floor cure a full week before parking on it.
This guide walks through every prep step, timing rule, and rolling trick so your first painted slab stays tough. Keep reading for the surface test, coat schedule, and finish tips that make the job stick.
Quick Answer
- Test moisture and pH in multiple slab areas before priming or painting.
- Use solvent-based primer and same-brand epoxy topcoat for garage floors.
- Apply two thin coats with a short-nap roller, maintaining a wet edge.
- Allow 4–6 hours between coats and 3–7 days for full cure before traffic.
- Sand rough patches with 120 grit only after the first coat fully dries.
Test Your Concrete’s Moisture and pH First
Concrete paint jobs peel like a bad sunburn when the slab’s moisture or pH is off. You can’t skip the boring prep and expect the topcoat to hold.
Grab a moisture meter and check the slab in a few spots, not just one corner. If the reading is above 5%, stop right there and fix the dampness problem first.
Fresh concrete is highly alkaline, often around pH 12, which kills paint adhesion. Use a pH testing kit and aim for a range between 7 and 10 before you roll on any primer.
Test in several areas because one dry corner doesn’t tell you about the whole floor. If the numbers look good, you’re clear to move forward.
If they don’t, you’ll save yourself a full redo and a lot of sanding grit later. That surface prep is the difference between a satin finish that lasts and a matte mess that peels.
A wet slab will push moisture up through the paint, lifting it like a blister. A high pH will fight your bonding primer and leave you with brush strokes that don’t cure right.
Do the tests, wait for the drying time, and keep the wet edge when you finally apply the topcoat. That way you get a clean, hard finish without lap marks or a premature failure.
Optimal curing temperatures for epoxies sit between 70-85°F to speed up the chemical crosslinking process.
Choose the Right Primer and Concrete Floor Paint

Not all primers and floor paints are the same, and choosing the wrong pair means the coating will fail. I’ve peeled up enough failed coats to know that the primer is the foundation, not an afterthought.
Check the paint’s technical data sheet before you buy anything, then match the primer to your slab’s porosity and dampness. A porous garage floor needs a solvent-based primer, not a water-based sealer.
Check the technical data sheet first, then match the primer to your slab’s porosity and dampness.
For topcoats, think about traffic. Epoxy handles cars, oil drips, and heavy tools without flinching. Acrylic floor paint works fine for light foot traffic and a DIY budget, but it won’t hold up to hot tires.
Don’t grab a $40 gallon of “paint and primer in one” for a damp concrete slab. That product is a shortcut that skips the bonding layer, and it will peel within a season.
I’ve learned this by scraping off my own failed work with a putty knife and a bruised ego. The right system starts with the primer’s drying time and ends with the topcoat’s cure time, which can take a full week before you park on it. For maximum wear resistance, look for an industrial-grade kit with a 20-year durability rating and an aluminum oxide additive.
Ask your supplier directly: “Is this primer compatible with this epoxy, and what sheen do I need for a garage floor?” A satin or matte finish hides dust better than gloss, but gloss is easier to wipe clean.
Use a drop cloth and painter’s tape to protect the walls, and roll on the primer with a short-nap roller to avoid brush strokes. Keep a wet edge while you work, or you’ll see lap marks in the final finish.
Buy the primer and topcoat from the same brand, and read both labels for VOC limits if you’re working indoors. Match the whole system together, and your floor will last; skip that step, and you’ll redo it.
Roll Thin Coats, Follow Dry Times, and Let It Cure
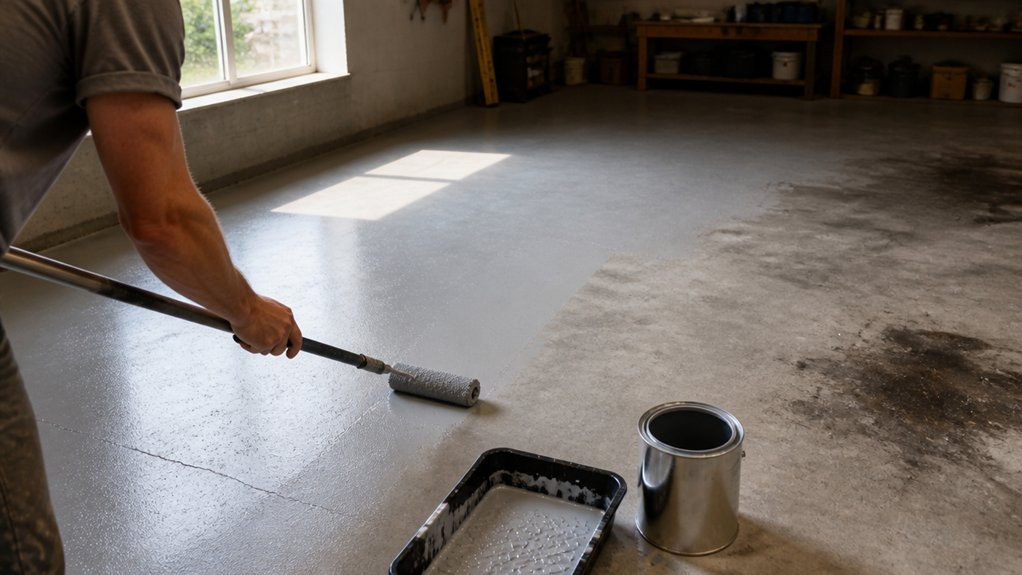
Roll thin coats are the whole game when you’re painting a concrete floor. A thick, heavy pass will wrinkle and bubble like old skin, so aim for two even, thin coats instead of one heroic layer.
That keeps you clear of drips, streaks, and lap marks that show up later. Paint dries from the surface down, and a thin coat lets moisture escape evenly.
Respect the dry time between coats, usually 4 to 6 hours for water-based paint, but check your can. Rush that step and the fresh coat will pull up the first one like peeling a sunburn.
After the final coat, the real patience starts. Full cure time runs 3 to 7 days depending on humidity, and that’s different from dry time.
Dry time means you can touch it without smudging. Cure time means the film has hardened all the way through, and that’s what makes it tough enough for foot traffic or a car.
Light walking is fine after 24 hours, but don’t roll a heavy cart or park a vehicle on it yet. Keep the drop cloths off it too, because anything trapped under the paint during cure can leave a ghost mark.
Use painter’s tape at the edges if you’re cutting in near walls, and keep a wet edge as you roll so the paint blends without streaks. A satin or matte sheen hides imperfections better than gloss, but gloss is easier to clean.
Go with a low-VOC product if you’re working indoors, and open windows anyway. Sand any rough patches lightly with 120 grit between coats, but only after the first coat is fully dry.
Stir your paint well before each coat, and don’t thin it unless the label says so. Roll thin, wait long, and let it harden fully.
Skimp on any of these steps and you’ll be stripping and repainting in six months. Trust me, I’ve made that mistake so you don’t have to. For added durability on aging or spalling surfaces, consider a densifier-based sealer that chemically hardens the concrete from within.
Frequently Asked Questions
Can I Paint Over Old Floor Paint Without Removing It?
Yes, you can paint over old floor paint without removing it, but only if the existing coating is firmly adhered and you prepare the surface correctly. Start by testing adhesion with a few strips of duct tape pressed down hard, then yanked up at a 90 degree angle.
If the tape pulls up flakes, you must scrape or power-wash those loose sections. After that, scuff the entire floor with 80 to 100 grit sandpaper to create a mechanical tooth for the new paint.
Clean the dust with a tack cloth, then apply a quality bonding primer like an acrylic urethane primer. Two thin topcoats of floor paint, each dried for 24 hours, will outperform one thick coat.
Skipping prep risks peeling within a season, so spend an hour now to save a full repaint later. For tricky surfaces, consider a floor paint specifically labeled for “recoding old finishes.”
How Do I Know if My Concrete Is Too Damp?
You can tell your concrete is too damp when a plastic sheet test traps condensation overnight, or a moisture meter reads above 4% on a dry setting. Don’t ignore concrete sweating, that surface dampness signals hydrostatic pressure pushing moisture up from below.
Without a proper vapor barrier, that trapped moisture will ruin your paint job by causing peeling and blistering. For a quick check, tape a 2×2 foot plastic square to the floor, seal the edges, and wait 24 hours. If water droplets form underneath, the slab isn’t ready.
Give freshly poured concrete at least 28 days to cure before testing, longer in humid weather. For existing floors, a moisture meter with a calcium chloride test gives the most reliable reading, aim for under 3 pounds per 1,000 square feet. Also, skim coat any damp spots with a dehumidifier running for a few days to dry out the surface before coating.
What Happens if I Apply a Second Coat Too Soon?
Applying a second coat too soon will ruin the adhesion between layers and compromise the entire finish. When the first coat hasn’t cured, the fresh top layer traps the remaining solvents, which then escape as gas and create bubbles, peeling, or a permanently soft film.
Wait for the full recoat window printed on the can, and don’t trust touch-dry as a signal; that only means the surface is dry to the finger, not that the solvent has evaporated deep down. For water-based polyurethane, a safe example is 2 to 3 hours at 70°F if you want a quick second coat, but for oil-based varnish, plan on 8 to 12 hours minimum.
If you’re unsure, sand the first coat with 220-grit before you recoat, but only after you’ve waited the full duration. This both checks cure and gives the next layer something to key into, improving the *intercoat bonding* and reducing the chance of failure.
Do I Need to Seal the Floor After the Paint Cures?
Sealing the floor after the paint cures is not strictly required, but I strongly advise it for lasting results. A quality sealer dramatically improves abrasion resistance and creates a moisture barrier that protects against everyday spills and foot traffic.
The key is waiting the full cure period, which for most latex paints means seven days, not just the two hour dry time. Once cured, apply a water based polyurethane in two thin coats, sanding lightly with 220 grit between each coat for a smooth finish.
This extra step will extend your coating’s life and make future cleaning much easier. Think of sealing as your final insurance policy. For related terms, look up “clear floor protector” when shopping for the right product.
How Long Before I Can Park a Car on It?
You can park on it after about 72 hours, but that is only the bare minimum for the coating to firm up. Don’t test it sooner, because the surface will still be soft enough to leave tire marks or imprints.
For a dependable cure, especially with heavy daily use, I recommend waiting a full seven days before regular parking. This gives the film time to reach its full hardness and chemical resistance, which is what actually protects against hot tires and standing weight.
As a concrete tip, keep light foot traffic off for the first 48 hours and use plywood boards to distribute load if you absolutely must walk across it early. The longer you wait, the better the gloss and durability, so think of this as a protective schedule, not just a countdown clock. Related terms to search for are “cure time for epoxy coating” to see manufacturer-specific charts.
Rounding Up
To apply concrete floor paints, you roll, wait, and cure, and the payoff is a sharp garage floor that can boost home resale value by up to 4%.
Check your recorded dry times before you walk on it, and if you skipped them, test the peeling spot to see if you need a patch. Write down the exact cure period, usually three days, and compare it to your schedule.
Ask yourself if you prepped the surface properly, since that determines whether the coating sticks. That statistic measured resale value increase from a properly coated garage floor.
You may want to read next about epoxy vs. polyurethane coatings.