How to Apply Plastic Paints: Step-by-Step Guide
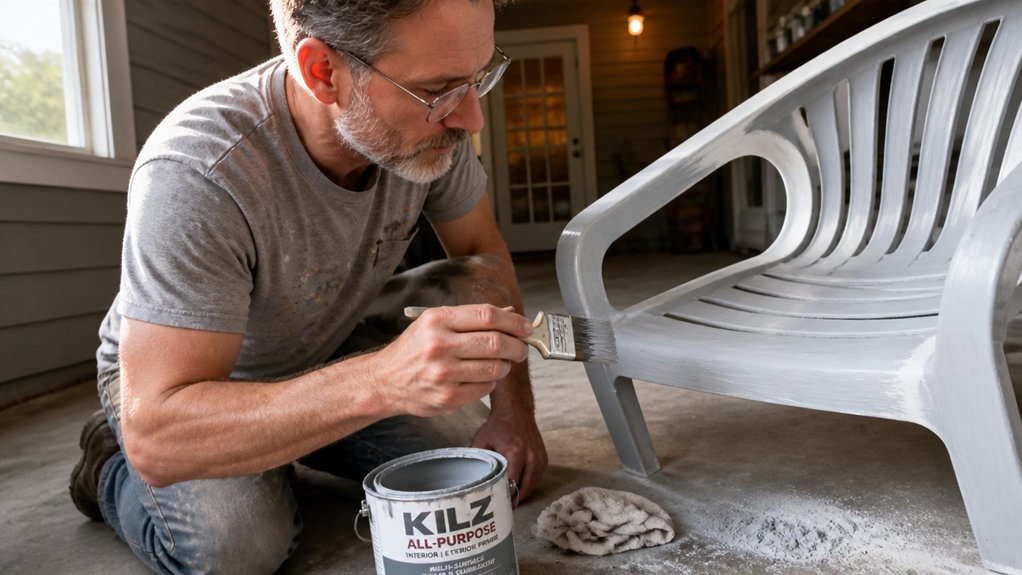
Plastic paint that peels is almost always a surface prep failure, not a paint defect. Applying plastic paints the right way starts with a clean, scuffed, and degreased surface, which is the difference between a lasting finish and a flaking mess.
You will need a chemical bonding spray like Krylon Fusion or Rust-Oleum, and you should plan for two to three thin coats with an hour of drying time between each. Full cure takes seven days, so resist the urge to handle the part early.
Prime, sheen, and humidity all play a role in the final result, and this guide walks through each stage in order.
Keep reading for the exact prep steps and spray technique that give you a smooth, durable coat.
Quick Answer
- Clean plastic with soapy water, then scuff using 220-grit sandpaper for paint grip.
- Wipe off sanding dust with rubbing alcohol and perform a hidden-spot adhesion test first.
- Use plastic-specific spray paint like Krylon Fusion; apply thin, sweeping coats without pausing.
- Wait the label’s recommended hour between two to three coats, then let cure fully for 48 hours.
- Add a clear sealer after cure for outdoor or heavy-use items; sand lightly between dried coats.
Prep Plastic for Paint Adhesion
Paint won’t stick to a smooth plastic surface, so you need to prepare it first.
A quick soapy water wash removes grease and grime, which are the main reasons paint peels later.
After rinsing and drying, scuff the plastic with 220-grit sandpaper to create tiny grooves for the paint to grip.
Wipe away the sanding dust with rubbing alcohol on a clean cloth.
Before you commit to the whole job, test adhesion on a hidden spot.
Before you commit to the whole job, test adhesion on a hidden spot.
Spray a light coat of primer, let it dry for a full day, then scratch it with a fingernail.
If it flakes off easily, the plastic is too non-stick for paint, so stop there and use a different product.
For plastic that passes the test, apply a bonding primer made for plastics before your topcoat.
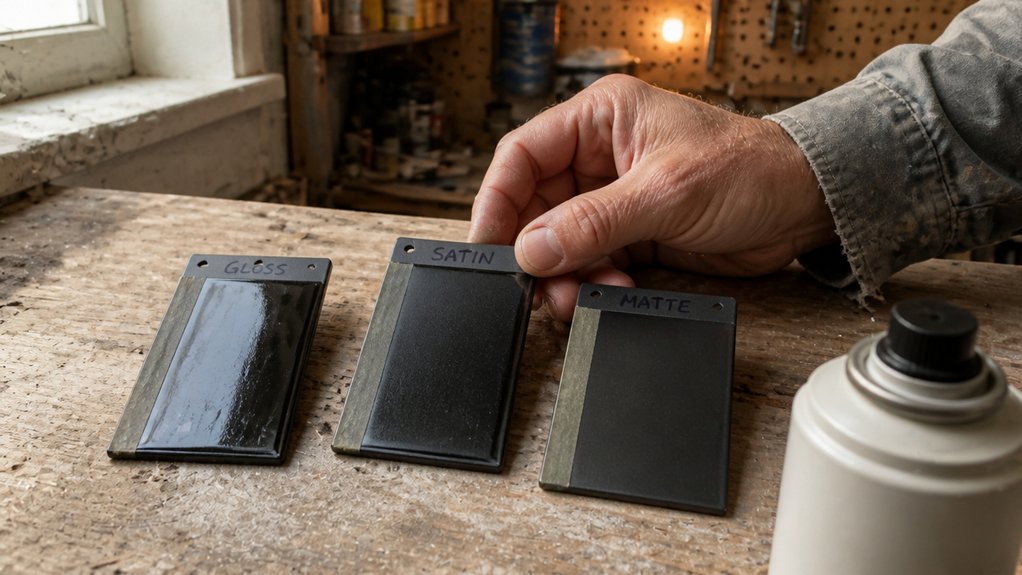
Use a spray paint with a satin or matte sheen for the least lap marks, and keep a wet edge while you work.
Remember that drying time is shorter than cure time, so handle the part gently for a few days.
I keep a drop cloth and painter’s tape handy to protect the surrounding area from overspray.
Sanding to a finer grit, like 320, can smooth brush strokes, but 220 is enough for grip.
Low-VOC paints are easier on your lungs, so work in a ventilated space or wear a respirator.
With a clean, scuffed surface and a test that passes, your paint will hold up far better than that cheap nail polish analogy.
For heavy-use plastic applications, a sealer is recommended to add durability after the topcoat has fully cured.
Choose the Best Spray Paint for Plastic
Choosing the right spray paint is where most plastic projects fail, and I’ve watched it happen more times than I’d like.
Stick with brands made specifically for plastic, like Rust-Oleum or Krylon Fusion, because general-purpose paint won’t bite into smooth surfaces.
Krylon Fusion All-In-One chemically bonds to plastic with an etching action, so it requires no primer and resists peeling.
Primer is non-negotiable for adhesion, even if the paint label claims it’s all-in-one.
Scuff the plastic with 220 grit sanding first, then wipe down with a tack cloth to remove dust before any paint touches it.
For other plastic paints, wash with mild detergent and rinse thoroughly to remove oils, then apply a thin plastic primer layer and wait 10 to 15 minutes before painting.
Check the label for drying time versus cure time, because full hardness takes five to seven days, not the dry-to-touch hour.
That initial feel is a trap; if you handle the part too soon, you’ll leave fingerprints or drag marks that stay forever.
Full bond requires roughly 48 hours for complete protection, but real stress should be avoided for 72 hours after painting.
For most jobs, grab Krylon Fusion All-In-One since it includes primer in the can, saving you a separate step.
Expect to pay $10 to $15 per can, which beats the cost of redoing a flaky job with cheap store-brand junk.
Use thin coats of two or three on flexible plastic to avoid runs and ensure durability, rather than one heavy layer.
I once bought a bargain can at a discount store, and it peeled like sunburnt skin within a week.
Now I only use trusted brands, read the cure time on every label, and spray in thin coats with a wet edge to avoid lap marks.
Ideal conditions are 55°F to 75°F with humidity under 60%, or the paint may turn gummy before it cures properly.
Work in a well-ventilated area, lay down a drop cloth, and keep the nozzle about ten inches from the surface for a smooth satin or gloss finish.
If you want a durable topcoat with low VOC, add a clear polyurethane spray after the base cures, but match sheens so the final look stays even.
Oil-based enamel formulas like Rust-Oleum Painters Touch bond better with plastic and may not require sanding, offering anti-chip protection.
Paint color matters, but brand reliability beats fancy shades every time, so spend the extra few bucks.
You’ll dodge the peeling and cracking misery I’ve lived through, and your plastic will hold up like it’s supposed to.
Master Spraying, Drying, and Sealing
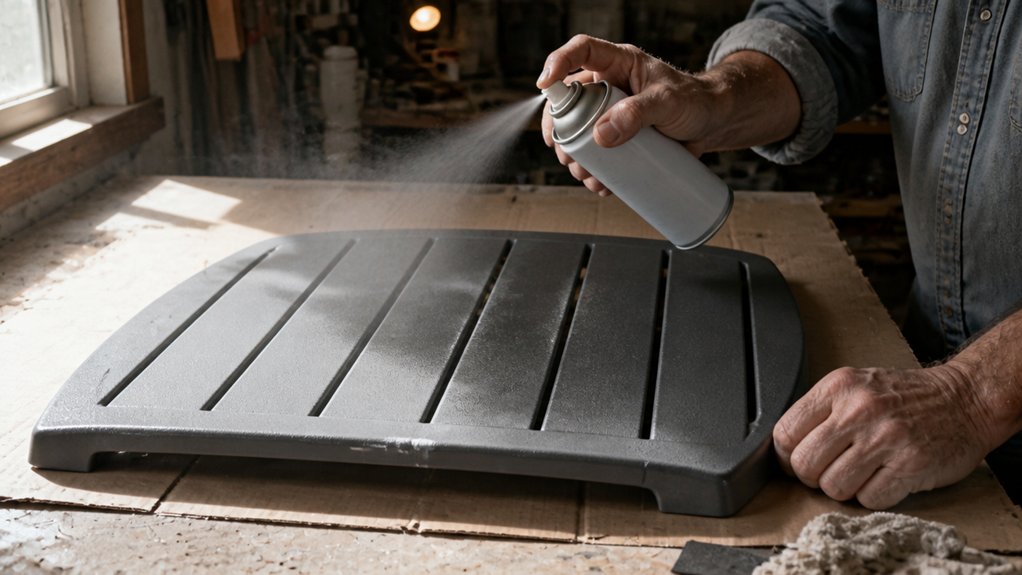
Spraying plastic rewards patience, so focus on thin coats and steady hands. Use smooth, sweeping strokes that carry past the edges, and never pause in the middle of a pass or you’ll get drips.
Plan for drying time between each coat, because rushing leads to peeling paint later. I apply two to three even coats, waiting the label’s recommended hour before recoating, then let it cure a full day before handling.
For outdoor pieces like a birdbath or patio chair, add a sealer coat as cheap insurance. A can runs about $8, and it protects against rain and sun damage when applied the same way: thin, overlapping passes with 30 minutes between coats.
Wait 24 hours after the final sealer coat before you touch the piece. Use a drop cloth and painter’s tape to shield nearby surfaces, and check the sheen you want, whether satin or gloss, before you buy.
Drying time is not the same as cure time; the label’s hour between coats means touch-dry, but full hardness takes a day. Sanding lightly with 220 grit between coats helps adhesion, but only after each coat is fully dry.
Keep a wet edge while spraying to avoid lap marks, and work in a ventilated area to keep VOC fumes down. Primer isn’t always needed on plastic, but a light scuff with sandpaper improves topcoat grip. Any-angle spray tips help reduce wrist strain during overhead applications, especially when coating large plastic panels.
For varnish or polyurethane on wood, the same rule holds: thin layers and patience beat one thick sloppy coat. Brush strokes show less when you lay down a smooth, even film and don’t go back to fuss.
Frequently Asked Questions
Can I Paint Plastic Without Sanding First?
Yes, you can paint plastic without sanding first, provided you use a quality adhesion promoter. These liquid primers chemically etch the slick surface, creating a bond that sanding would otherwise provide. I’ve found that a spray-on promoter works best on smooth polypropylene and polyethylene, which are notoriously difficult to coat.
Apply two thin, even coats and let each dry for about 10 minutes before painting. This step is your sanding alternative, but it is not a substitute for cleaning. Wash the part with warm, soapy water and a degreaser, then wipe it with a tack cloth to remove any residue.
For the best result, follow the promoter with a plastic-specific primer and finish with two light coats of enamel. The bond is reliable for indoor items like planters or decorative pieces, though outdoor parts exposed to weather may still benefit from a light scuff with 220 grit. Test on a hidden spot first, since some plastics react differently to chemical adhesion. You can also search for “plastic etching primer” as a related option.
How Long Should Spray Paint Cans Be Shaken Between Coats?
Spray paint cans should be shaken for a full 60 seconds between coats, not just a quick few seconds. This ensures the pigment and solvent stay perfectly blended, giving you a smooth, even finish every time.
If you skimp on shaking, you risk clumps and sputtering, which ruins the surface and forces you to start over. I always set a timer on my phone, because guessing leads to thin, patchy coverage.
For a typical project, wait about 10 to 15 minutes between coats, then give that can another full minute of vigorous shaking. This also helps prevent nozzle clogging, a common issue with enamel paints.
What Happens if I Paint in High Humidity?
Painting in high humidity will likely cause adhesion problems, extended drying times, and a blotchy, cloudy finish. Moisture in the air gets trapped in the wet paint film, preventing it from curing properly and weakening its bond to the surface.
To avoid this, check the relative humidity before you start. If it’s above 70%, wait for a drier day, or use a dehumidifier in the space for a few hours. For latex paints, the air temperature should be at least 10°F above the dew point, which is a safer gauge than just the humidity percentage.
If you must paint, choose a fast-drying alkyd or shellac-based primer, and apply thin coats. Even then, expect the recoat time to double from 4 hours to 8 or more, and sand lightly with 220-grit between coats. Humidity effects are not worth the risk of peeling later.
Can I Use a Brush Instead of Spray Paint on Plastic?
Yes, you can use a brush instead of spray paint on plastic, provided you choose the right materials and method. Switch to a high-quality synthetic brush, like nylon or polyester, because natural bristles can leave streaks and shed on slick surfaces.
Apply thin, even coats and avoid overloading the brush, since excess paint will pool and create runs on nonporous plastic. For best adhesion, lightly sand the plastic with 220 grit sandpaper and wipe it down with isopropyl alcohol before you begin.
Let each coat dry for at least two hours, and plan on three total coats for full coverage and durability. This brushing approach works especially well for small parts, like model kits or furniture trim, where spray overspray is a hassle.
Remember to use a self-etching primer first if the plastic is glossy, as this creates the tooth needed for the paint to grip. One related term to search is “acrylic enamel for plastics,” which often brushes on smoother than standard latex paints.
How Do I Fix Runs or Drips in Spray Paint?
To fix runs or drips in spray paint, you must wait for the paint to fully cure, then wet sand the affected area smooth. Give it a full 24 hours before attempting any repair, or the softer paint beneath will gum up and create a worse mess.
Use 220-grit wet sandpaper with a little soapy water as lubricant. Sand the run until it’s flush with the surrounding coat, wiping the area clean with a tack cloth between passes.
Once the surface feels perfectly level and dry, respray with two light coats, not one heavy one. Keep the can moving and about 20 cm from the panel to avoid reintroducing drips.
Patience is your best tool here, since rushing leads to orange peel or a new run. If you’re dealing with lacquer, also check your thinner ratio, as a slow evaporating reducer often causes sagging in the first place.
Rounding Up
To apply plastic paints, prep, spray, and seal the surface in that order. A $6 can of Krylon beats a $50 pro job if you follow the steps.
Check your plastic for dirt, grease, or mold, then wash it with soapy water and let it dry fully. Write down the paint type you choose, like Krylon, and test a light mist on scrap plastic first.
Spray in thin, even coats, keeping the can moving to avoid drips and runs. Compare your finish to the melted crayon gnome example, then seal with a clear topcoat once dry.
Patience is cheaper than repainting. The bottom line is do it right once, and you will never fear plastic again. Read next about how to fix paint runs on vertical surfaces.