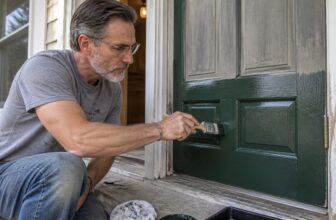
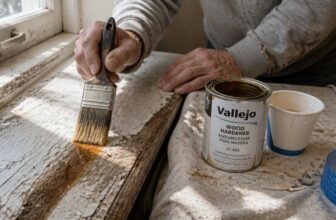
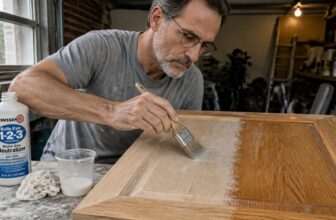
How to Apply Polyurethane Varnishes: Step-by-Step Guide
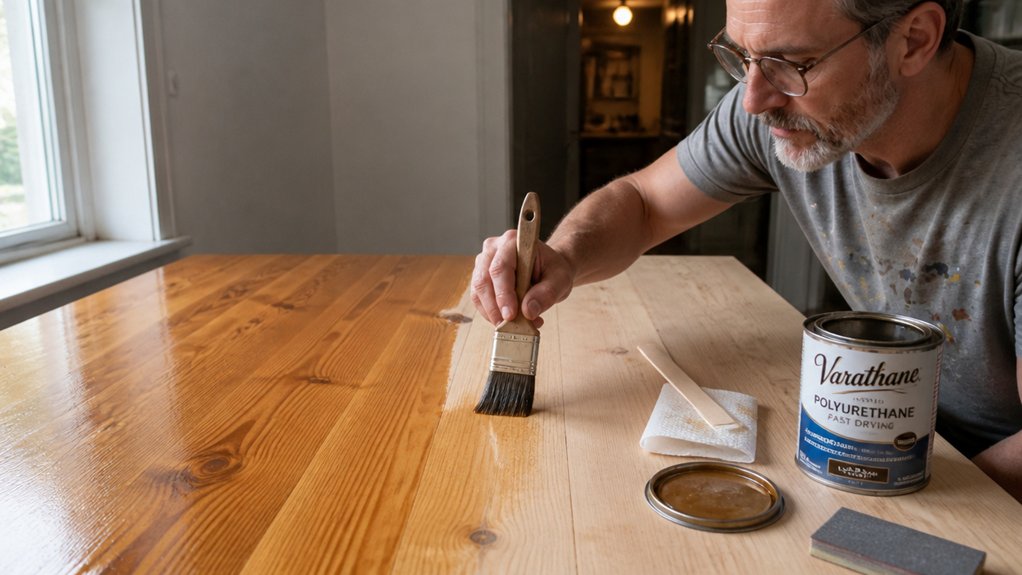
Getting polyurethane to look glassy and smooth isn’t about luck, it’s about layering thin coats with the right prep.
If you’ve ever dealt with brush marks or a sticky finish, the problem is usually sanding between coats or rushing the drying time.
You don’t need a spray booth to get professional results, but you do need a simple system for surface prep and cure time.
This guide walks you through the exact order, from sanding to 220 grit to protecting the sheen after the final coat.
We’ll cover how to apply each layer without bubbles and when to wait before heavy use.
By the end, you’ll have a durable, bar top finish that feels like it came from a factory.
Quick Answer
- Prepare and sand the surface with 120-, 150-, then 180-grit, removing dust with a tack cloth between grits.
- Test the existing finish with denatured alcohol or nail polish remover to determine if stripping or light sanding is needed.
- Use a natural-bristle brush for oil-based polyurethane, applying thin, long strokes along the grain while maintaining a wet edge.
- Apply three to four brush-on coats, sanding lightly between coats and using a tack cloth before each new layer.
- Allow polyurethane to cure a full week before heavy use, regardless of dry time between coats.
Oil-Based or Water-Based Polyurethane: Which to Choose?
Choosing the right polyurethane comes down to how much abuse the piece will take. Oil-based is my pick for anything that needs to survive real life, because it forms a harder, tougher film than water-based. That warm amber tone it develops over time looks rich on wood, not yellow, and it hides minor sanding imperfections better.
Oil-based polyurethane wins for toughness, forming a harder film and a warm amber tone that hides sanding flaws.
Water-based polyurethane dries fast and has low odor, which makes it great for indoor projects. But it scratches more easily and stays crystal clear, so every flaw in your sanding prep shows up in the final topcoat. If you skip fine grits like 220 before the final coat, you will see every swirl mark.
For a coffee table that gets cups, elbows, and the occasional dropped remote, I would pay extra for oil-based every time. The finish wears like armor, and you get a deeper, warmer sheen that ages gracefully. On a white bookshelf, though, water-based wins because it stays clear and won’t amber the paint.
Match the finish to the abuse, plain and simple. Floors, heirloom furniture, and any piece with heavy use get oil-based, period. My own novice mistake was choosing water-based for a kitchen table, and now it wears like a cheap sweater after just a few months.
When you apply oil-based, work in thin coats and keep a wet edge to avoid lap marks and brush strokes. Use a good brush and a drop cloth, and open windows for ventilation because the VOC level is high. For water-based, you can recoat in about two hours, but remember that drying time is not cure time. Give either finish a full week before heavy use, regardless of what the can says. Oil-based formulas typically carry higher VOC content than their water-based counterparts, so plan your ventilation accordingly.
Prep Wood Without Stripping: Clean, Sand, and Test First
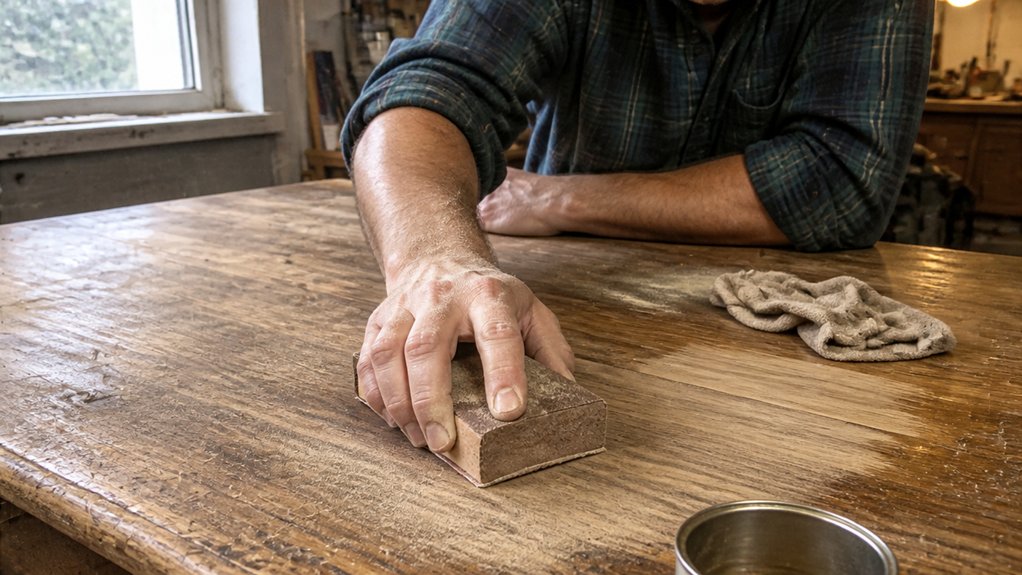
Before you crack open that can, let’s get the wood ready without turning into a sandpaper-psycho. I’ll walk you through cleaning off the grime, testing the old finish, and then sanding with a progressive grit pattern.
Skipping this prep is like rolling fresh paint over a dirty wall: you’ll just seal in problems you’ll have to fix later. Start by wiping the surface with a mild degreaser and a damp rag to remove dust, wax, and grease.
Let it dry completely, then do a quick compatibility test. Rub a small rag soaked in denatured alcohol on an inconspicuous spot; if the finish softens or comes off, it’s shellac or lacquer, and your new topcoat needs to be compatible. If it stays hard, you’re likely dealing with varnish or polyurethane, which can take most new finishes.
Now sand with a progressive pattern, starting at 120 grit to knock down any rough spots, then move to 150, and finish with 180 for a smooth base. Use a washable sanding sponge to help rinse away dust and keep the abrasive cutting cleanly. Always sand in the direction of the grain to avoid visible scratches that show up under a satin or gloss sheen.
Vacuum the dust, then wipe with a tack cloth before you prime or stain. If you’re staining, use a pre-stain conditioner on soft woods like pine to avoid blotchy patches, and remember stain needs drying time before you apply a clear topcoat. Plan for full cure time, not just drying time, before heavy use.
Clean and Test Finish
The finish you apply is only as good as the prep work underneath. Skipping the cleaning step traps dust and grease under the topcoat, which ruins the look and shortens the finish’s life.
Wipe every surface with a tack cloth first. That sticky rag grabs the crud a regular cloth just pushes around. For best results, choose a wax-free and silicone-free option to avoid leaving any residue that could interfere with the new polyurethane topcoat.
Next, test what’s already on the wood before you sand or strip. Dampen your finger and touch the surface, or use a water drop and a bit of nail polish remover.
| Test | What Happens | Verdict |
|---|---|---|
| Water drop | Beads up after 10 min | Wax, strip it. |
| Water drop | Soaks in, wood darkens | Raw wood, good to go. |
| Nail polish remover | Softens finish | Lacquer, strip it. |
| Nail polish remover | Nothing happens | Shellac or varnish, sand lightly. |
If water turns white on the surface, you have wax, and stripping is non-negotiable. Otherwise, a light sanding with 220-grit paper preps the wood for bonding.
Always wipe off the sanding dust with a fresh tack cloth before you apply primer or stain. Ten minutes of testing beats a ruined table, and a clean, dry surface ensures your polyurethane topcoat cures properly.
Progressive Sanding Method
Think of 120-grit as the muscle for knocking down rough spots, while 220-grit gives you that smooth, silky base that polyurethane loves. Your sanding block keeps the pressure even, so you avoid turning the wood into a wavy mess.
You do not need to strip the old finish if it is compatible, which saves you a ton of time and harsh chemical exposure. Always sand in the direction of the wood grain, or you will leave scratches that show up right through your topcoat.
Start with 120-grit and use light pressure, letting the paper do the work instead of bullying the surface. Then move to 180-grit, and finish with 220-grit to create a toothy base that helps the varnish or polyurethane grip properly.
Between each grit, wipe the dust off with a tack cloth, because tiny dust nibs can ruin a smooth finish if they get trapped under the next coat. Always test your method on a scrap piece first, especially if you are unsure if the old finish will react with the new primer or stain.
The key is to sand smart and check your progress often, keeping the block flat and your strokes even. Wet sanding can help reduce airborne particles during this process, though it requires a block rated for wet/dry use. If you follow these steps, you will avoid the stripping mess and get a professional-looking result without the extra elbow grease.
Brush-On Application: Use Long Strokes and Tipping-Off
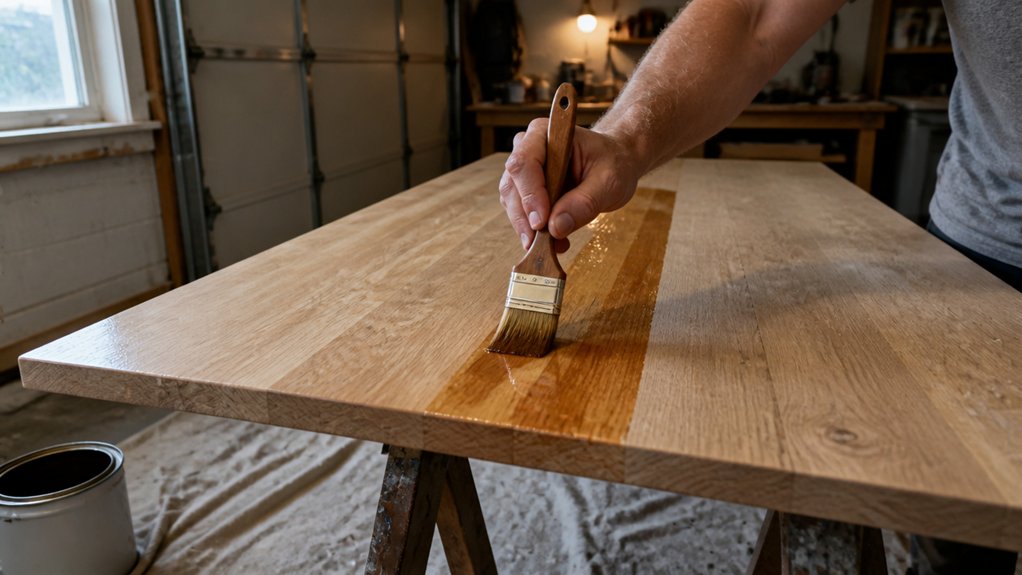
Dip the brush about an inch into the polyurethane, then tap it against the inside of the can. Avoid the rim, or you will stir up bubbles that ruin the finish.
This method keeps the bristles loaded but not dripping, so you get a clean, even coat. A soaked brush only makes a mess, so keep the loading consistent.
Use long strokes that follow the grain, and overlap each pass slightly to avoid gaps. This keeps the wet edge alive and prevents lap marks from forming on the surface.
Here is the key step: after laying down the polyurethane, unload the brush and drag it lightly over the wet surface. Those tipping-off strokes flatten ridges and pop stray bubbles, leaving a smooth topcoat.
Pick a natural-bristle brush for oil-based poly, since synthetic bristles can leave brush strokes. Work fast but stay calm, and keep a steady rhythm across the whole piece.
Do not press hard into the wood, because pressure is where brush marks live. For floors or tabletops, this method gives you a glossy or satin sheen without sanding between coats.
Let each coat dry per the label’s drying time, not the cure time, before you recoat. Sand lightly with 220 grit between coats to knock down dust, then wipe clean with a tack cloth.
Use a drop cloth and painter’s tape to protect edges, and check the VOC level if you are working indoors. White China bristle is recommended for gloss varnish applications. This approach is simple, reliable, and it gets you a professional finish every time.
Wipe-On or Spray-On for Curves and Tight Spots
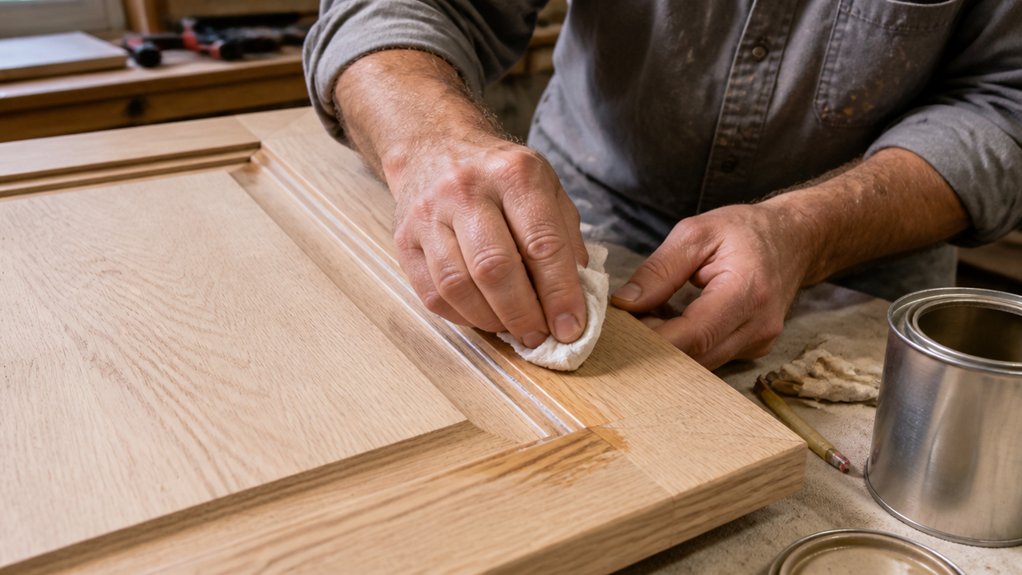
When brush strokes struggle on round spindles, fluted trim, or wicker, switch to a different application method. Wipe-on finishes give you control on curved surfaces without drips, while spray works best for tight spots like shutter louvers. Neither method will save a flat tabletop, so choose based on the shape you’re finishing.
When brushes fail on curves and spindles, wipe on for control, spray for tight spots.
For delicate profiles, use the wipe-on technique. Pour a nickel-sized puddle of varnish or polyurethane onto a lint-free cloth, rub with the grain, and let thin coats build slowly. This avoids brush strokes and lap marks, and you can sand lightly with 220 grit between coats for a smooth topcoat. Water-based formulas allow recoating multiple times per day without sanding, which speeds up the process on intricate turnings.
For nooks and crannies, spray is your friend. Hold the can or gun 6 to 8 inches back, sweep fast, and keep a wet edge to prevent uneven sheen. Work in a well-ventilated area, and lay down a drop cloth because overspray drifts with any breeze.
Always test on scrap wood first. This lets you check drying time, coverage, and whether the gloss or satin sheen matches your goal before you commit to the real piece. You’ll save yourself from a frustrating redo.
These tips trade speed for precision, which matters when you’re chasing curves that mock a brush. Pick wipe-on for control on rounded profiles, and spray for reach into tight spots. Keep the finish thin and build in layers, and you’ll get clean results without drips or missed patches.
Coats and Sanding: 4–6 Coats, 220-Grit Between Each
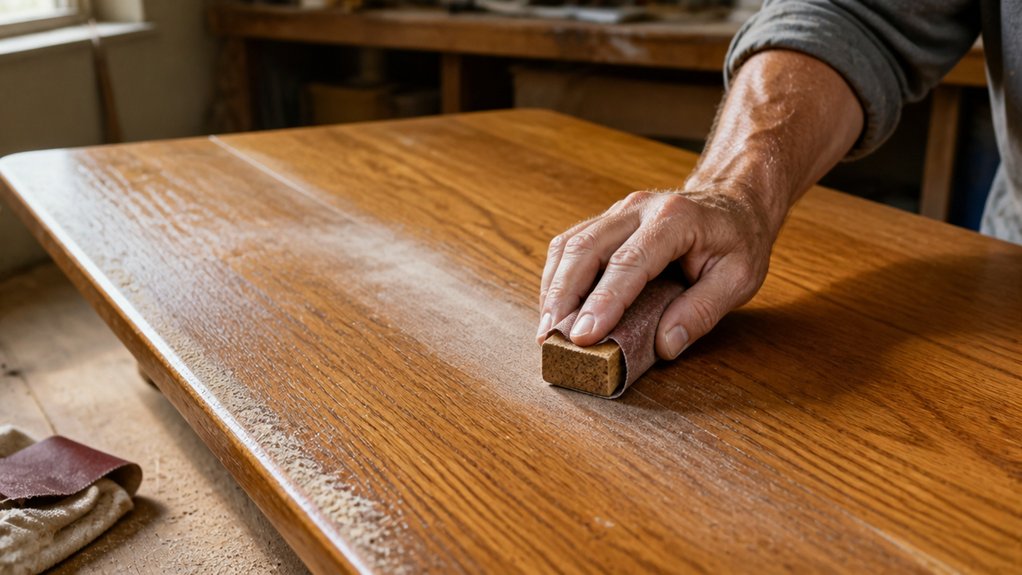
You need four to six coats of polyurethane for a finish that will hold up. That range is your target, and it’s not something to cut corners on.
Between each coat, sand with 220-grit sandpaper. This step removes dust nibs and smooths out any brush marks, so the next coat bonds properly.
The sanding takes about five minutes per pass. It feels repetitive, but skipping it leaves a bumpy surface that looks like a rash under the finish.
I learned that the hard way once, and I had to strip the whole topcoat and start over. Stick with the 220-grit and you’ll get that smooth, glass-like feel without any drama.
Use a clean tack cloth after sanding to wipe away the dust. You want a bare, clean surface before each fresh coat goes on.
Keep a wet edge while brushing to avoid lap marks. Work in full passes from one end to the other, and lay the polyurethane on evenly.
Let each coat dry according to the label, but remember that drying time and cure time are different. The finish can feel dry in hours, yet it needs days to fully harden. Strict attention to recoat windows is required to avoid adhesion problems between layers.
Your final coat can be left as satin or gloss, depending on the sheen you picked. Just make sure the last sanding pass is light and even, and you’re done.
Protect your work area with a drop cloth and painter’s tape on edges before you start. Low-VOC polyurethane is easier on your lungs, so open a window or wear a mask.
Number of Coats
You’re going to need four to six coats of wipe-on polyurethane, but brush-on varnish only takes three to four coats.
Each coat is thin, so you’re building the finish layer by layer for real protection.
Why so many coats? Let’s break it down.
A single coat won’t hold up to a coffee mug, let alone kids running around, so extra coats give you deeper wear resistance.
Thin coats self-level better, which means you avoid streaks, brush strokes, and blotches that ruin the final look.
Each layer adds a warm, glassy depth, especially on oak or walnut with a satin or gloss sheen.
Start with clean bare wood, sand to 220 grit, and use a drop cloth and painter’s tape before you begin.
Stir the polyurethane gently, never shake it, to keep air bubbles out and avoid a cloudy finish.
Apply with a foam brush in long, even strokes, keeping a wet edge so you don’t get lap marks.
Wait for the recommended drying time between coats, and remember full cure time is longer, often two weeks before heavy use.
If you rush and skip coats, you’ll see wear within a year, and you’ll have to sand it all down and start over.
Work in a well-ventilated area, use low-VOC products if you can, and spread each coat thinly.
The final surface fix is your payoff, so take your time and let the finish harden properly.
Keep a clean brush, wipe off any dust between coats with a tack cloth, and you’ll get a smooth, even result.
Four to six coats sounds like a lot, but it’s the difference between a finish that lasts and one that fails fast.
For a more durable alternative that resists peeling or flaking, some finishes offer water-repellent protection suitable for high-traffic areas.
Grit Between Coats
Why 220-grit between coats? Skipping this step leaves dust nibs and tiny bumps locked into your finish, and you will see them forever. I have learned the hard way that picking the right grit is about control, not just a number on a label.
Coarser grits like 120 dig too deep and scratch the polyurethane, while finer grits like 320 don’t bite enough to knock down those annoying specks. For my work, 220 is the sweet spot because it removes the bumps without cutting into the film.
My sanding technique is light and circular, like I am buffing a small cloud. You are not trying to strip the finish, just roughen the surface slightly so the next coat can grip. Anti-clogging, resin-coated belts help keep the abrasive from loading up with polyurethane dust, so you maintain a consistent cut during this step.
Use a sanding block or a folded piece of paper and keep the pressure even. This avoids creating low spots or burn-through that show up as dull patches under a satin or gloss topcoat.
| Grit | Purpose Between Coats |
|---|---|
| 180 | Too coarse, leaves visible swirls |
| 220 | Perfect balance, removes bumps |
| 280 | Smooths but risks burn-through |
| 400 | Overkill, wastes time |
Stick with 220, and you will get a flawless finish without the headache of re-sanding after a failed coat. It is the practical middle ground for any DIY project where you want a smooth, durable surface.
Curing Time: 24 Hours for Light Use, 30 Days for Heavy
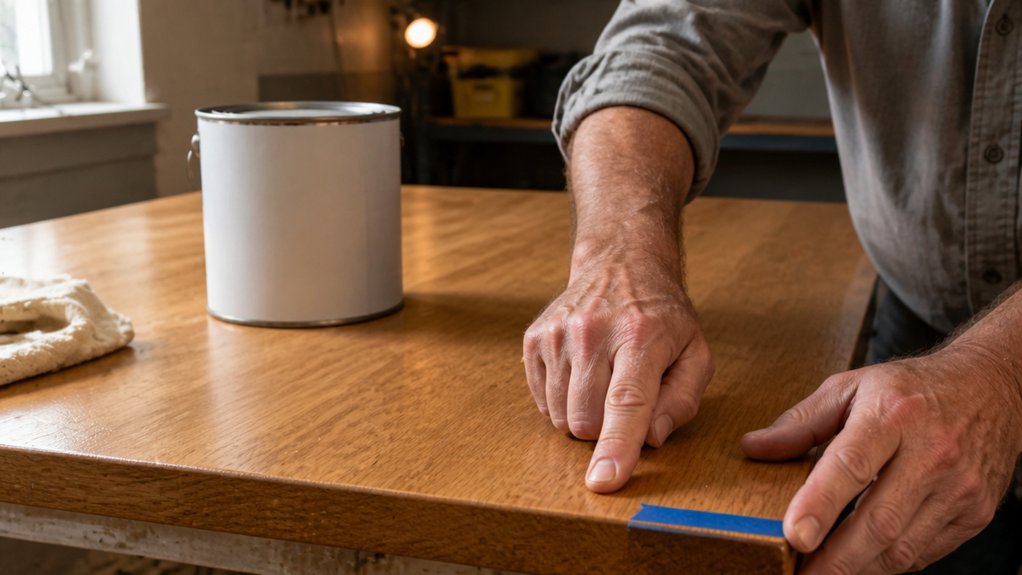
Dry doesn’t mean cured, so resist the urge to use that table right away. I’ve ruined a finish this way, and the dents taught me to wait.
For the first 24 hours, keep it to light contact, like setting down a coffee mug gently. Your topcoat is still soft, and anything heavy or abrasive will leave permanent marks.
Here’s the timeline I follow on every project.
From 0 to 24 hours, only light use, no sliding items, no pressure.
From day 1 to day 7, you can handle it carefully, but skip scrubbing, hot pans, or any solvent cleaners.
At 30 days, the varnish or polyurethane reaches full cure, giving you maximum hardness and chemical resistance. Water-based formulas allow easy soap-and-water cleanup during application, but once cured, avoid exposing the film to strong solvents for the same full period.
During that early window, avoid lacquer thinner or any solvent that can soften the film. Even wiping with mineral spirits on a fresh spill can disrupt the surface, so use a dry cloth and wait.
A satin or gloss sheen needs the full cure time to resist scratches and stains.
Prime the wood well before finishing, and use painter’s tape and a drop cloth to protect the area while you work.
Wet edge matters too, because brush strokes and lap marks show up fast if you rush.
Stay patient, and your furniture will hold up for years without regret.
Frequently Asked Questions
Can I Apply Polyurethane Over Existing Paint?
Yes, you can apply polyurethane over existing paint, provided the surface is fully cured and clean.
Let the paint dry for at least 7 days before coating, then scuff it with 220-grit sandpaper to create a mechanical bond. Wipe away all dust with a tack cloth so the finish adheres evenly.
A water-based polyurethane is the safer choice over light colors because it will not yellow. Apply two thin coats rather than one heavy layer, and sand lightly between coats for a smooth result.
Proper preparation is everything here: skip the sanding or coating too early, and you risk peeling or poor adhesion down the road.
What Temperature Should the Room Be During Application?
Aim for a steady 65 to 75°F room temperature during application, as this range is the sweet spot for most paints, varnishes, and stains. Outside that band, you are fighting slower drying times, which lets dust settle into the wet finish and creates bubbles or tackiness that feels like painting in quicksand.
Keep the climate stable for the entire cure period, not just while you roll or brush. If you can’t control the whole house, work in a single room with a space heater or a portable AC unit, and close the door to block drafts.
For a practical example, oil-based polyurethane at 70°F usually dries to the touch in 6 to 8 hours, but at 55°F that can stretch to 12 or more, inviting flaws. Use a thermometer on the work surface, not the wall, and check it twice during the job to confirm consistency. The goal is a clean, uniform film, so avoid sudden temperature swings that cause blush or poor adhesion between coats.
How Do I Fix Bubbles or Drips After Drying?
To fix bubbles or drips after drying, you need to sand them out and apply a fresh, thin topcoat to level the surface. Start with 220-grit sandpaper on a sanding block, working gently until the imperfection is flush with the surrounding film.
Wipe away all dust with a tack cloth, then inspect the area under raking light to catch any remaining low spots. For deeper scratches left by aggressive sanding, step up to 320-grit and then 400-grit before you recoat.
Apply one thin re coating, no more than a light pass, and let it dry fully for 24 hours before assessing if another coat is needed. Avoid brushing back over a drying edge, as this pulls paint and creates new drips; keep your strokes continuous.
For stubborn drips on vertical surfaces, lightly shave them with a razor blade before sanding, a trick that speeds up leveling without gouging the wood. Always test your finish on scrap first to confirm the recoat times match your chosen varnish or enamel.
Is Polyurethane Safe for Food-Contact Surfaces Like Cutting Boards?
Standard polyurethane is not a safe choice for food-contact surfaces like cutting boards, since it lacks food safety certification and can chip into your food after repeated use. Even fully cured, standard varnish formulations are too brittle for knife blades, and chips can harbor bacteria.
Instead, apply food-grade mineral oil or a dedicated board conditioner. Wipe on a generous coat, let it soak for 20 minutes, then buff off the excess.
Reapply weekly or whenever the wood looks dry. For a quick refresh, sand with 220 grit before the next oil coat.
A related term is “butcher block finish,” which often uses mineral oil and wax. This approach stays repairable and fully non toxic, unlike any cured film.
Can I Mix Oil-Based and Water-Based Polyurethane?
No, you cannot mix oil-based and water-based polyurethane in the same can, but you can successfully use an oil-based primer or stain under a water-based topcoat with proper prep. The key is to let the oil layer cure fully, usually 24 to 48 hours, then scuff it with 220-grit sandpaper before applying the water-based finish.
This hybrid system gives you the warm amber tone of oil with the crystal-clear, low-odor durability of waterborne polyurethane. Always test adhesion on a scrap piece first, because a fast-drying oil formula can react poorly with some water-based products.
If you skip the sanding or rush the cure time, you risk peeling and costly rework. One practical tip: apply three thin water-based coats, waiting two hours between them, and your floor or furniture will hold up beautifully. Searching for “waterborne polyurethane over oil-based” will yield more specific product pairings.
Rounding Up
Applying polyurethane varnishes means committing to thin coats and patient drying times.
Rushing the process ruins the finish, so sand between coats and wait the full 30 days before heavy use.
Check your current project’s schedule today and write down the date for that 30 day mark.
Test a small area with a light sand between coats to feel the surface before adding the next layer.
Compare your drying environment to the label’s temperature and humidity range, then adjust if needed.
Your reward is a surface that shrugs off scratches and looks great doing it.
Apply thin, wait long, and you win.
Read next about sanding techniques for final coats.