How to Apply Penetrating Sealers: Step-by-Step Guide
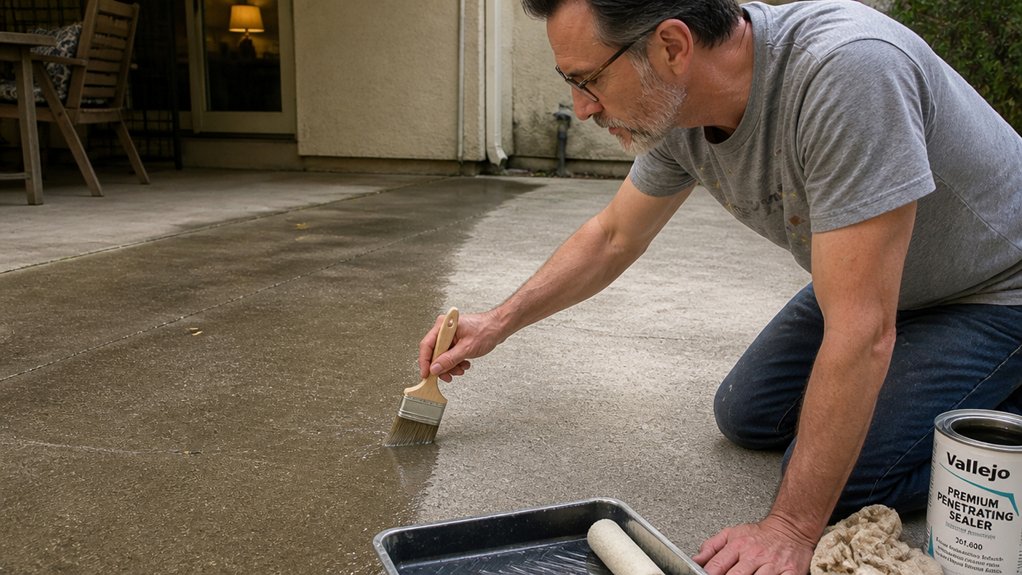
Applying a penetrating sealer looks easy, but the real work happens before the sprayer ever comes out. If you skip the prep and apply it over a dirty slab, you are just sealing in grime and dust for good.
The moisture test is your best friend here. Sprinkle water on the concrete; if it beads up, the surface isn’t ready, but if it soaks in fast, you are clear to start.
You will learn how to mist on a wet film with a low-pressure sprayer, then use a roller to smooth out puddles before they dry into blotchy spots.
We also break down the difference between dry time and full cure time, since your driveway needs three days before it can handle a car.
Stick with this guide and you will know exactly when to walk away and when to call the job done. Next, we will cover the tools you need and how to prep the concrete for a flawless finish.
Quick Answer
- Ensure concrete is bare, scraped clean of paint, grease, and old sealers before applying.
- Flush slab with water and scrub; surface must be clean enough for a drop cloth.
- Test porosity: water should soak in within 1–2 minutes, not bead or pool.
- Apply sealer with a low-pressure sprayer (under 40 psi) as a thin, glistening film.
- Remove puddles with a foam roller; wait 24 hours to walk, 2–3 days for vehicles.
Get the Concrete Clean and Bare Before Sealing
Concrete has to be completely clean and bare before any sealer will do its job. Treat it like a surface that needs a fresh start, just like sanding wood before a primer coat.
Concrete needs a bare, clean slate before any sealer—think sanding wood before primer.
Start by scraping off paint, grease, or old sealers with a stiff brush or scraper. If you see white, chalky powder on the surface, that’s efflorescence, so scrub it away with a wire brush or a mild muriatic acid solution. The acid works well, but it leaves a film behind, so always follow up with a baking soda and water rinse to neutralize it. For a gentler alternative on acid-sensitive stone, consider a non-acidic, biodegradable formula that requires no neutralizer and is safe near landscaping.
Flush the whole slab with water using a garden hose and push the water around with a shop broom. You don’t need a pressure washer for most garage floors or patios, just a solid rinse and a good scrubbing motion. My standard is simple: if I wouldn’t want to set a clean drop cloth on it, it’s not ready.
Skipping this step means you’re sealing in dirt, dust, and old residue that will show up as blotchy spots under the finish. That’s the same mistake as applying varnish over a dusty table, and it never ends well. Once the surface is dry and clean, you can move on to the primer or sealer with confidence.
Test Porosity and Drying With a Water Drop
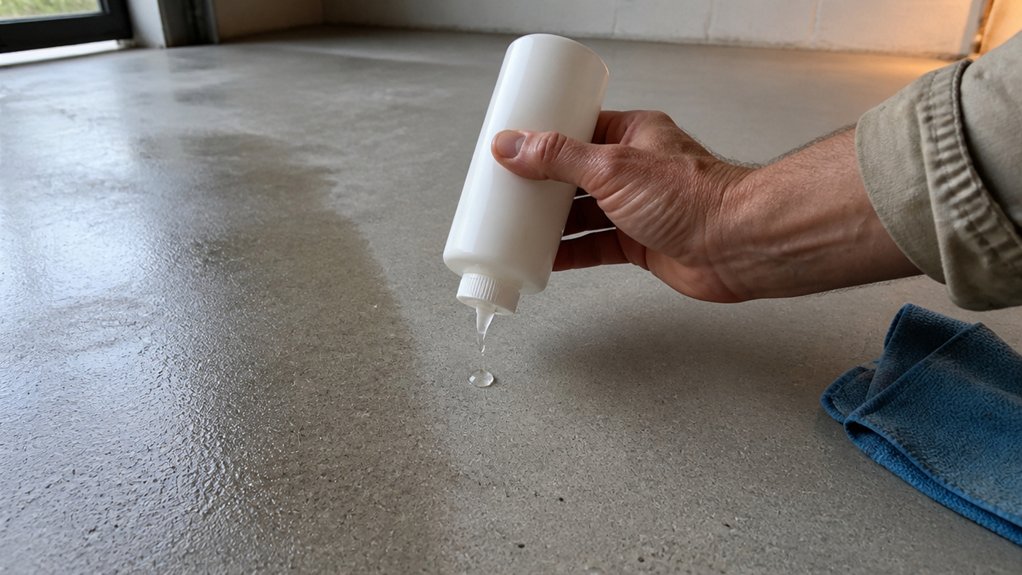
Once your slab is clean and bare, run a simple water test to see if it’s ready for sealer. Pour a small amount of water onto the surface and watch what happens.
If the water beads up and stays pooled, the slab has low porosity and trapped vapor emission. That means sealer won’t penetrate properly, so you need to fix the surface first.
If the water soaks in within a minute or two, you’re good to go. That absorption is your green light for applying a stain or topcoat.
For a second opinion, use a moisture meter and aim for a reading under 5%. A damp slab will reject sealer just like a wet brush rejects paint, so don’t rush it.
Think of it like sanding with the right grit: you don’t move to a fine finish until the surface is ready. Trust the test, not your schedule, and you’ll avoid peeling, blushing, or uneven sheen later.
A dry slab is your primer, so to speak. It’s the foundation for every coat of varnish or polyurethane you plan to lay down.
Take your time here. A few extra minutes of drying now saves you from stripping and redoing the whole job.
For materials like concrete or masonry that pass the test, remember that a silane-siloxane blend provides deep penetration and long-term freeze-thaw protection.
Use a Low-Pressure Sprayer and Roll Out Puddles
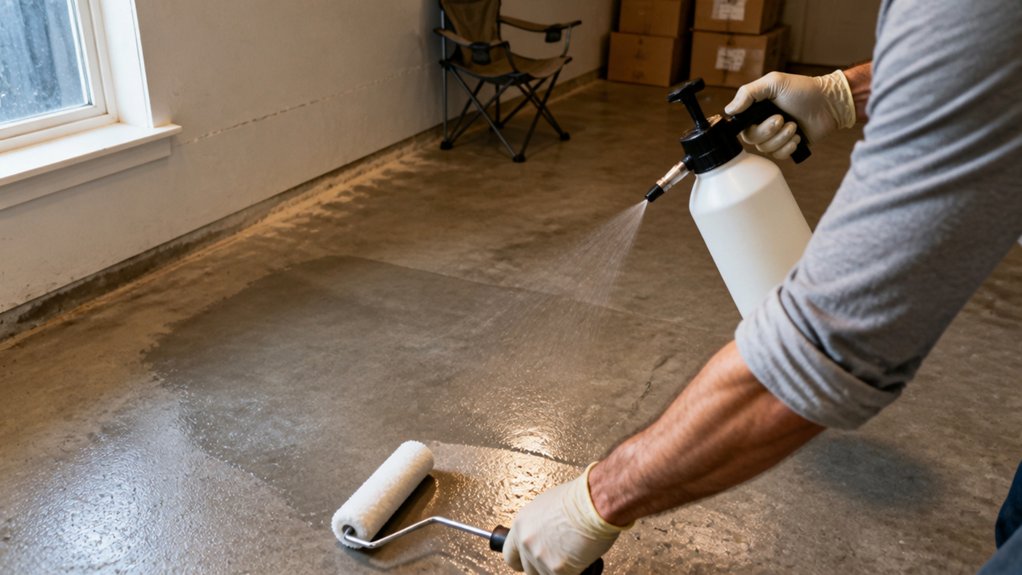
Most applicators grab a pump sprayer without thinking, but low pressure is the whole game here. I set mine to under 40 psi, fit a fan‑tip nozzle, and let the sealer mist out instead of hosing it on.
That keeps you from driving the liquid too deep or blasting it into the air. The goal is a wet, glistening film, not a flood, so think of it like laying down a thin topcoat rather than a heavy wash.
Watch for puddles constantly, especially in low spots, and keep your eyes moving as you work. They dry into blotchy, glassy patches that ruin the sheen, and you’ll end up with lap marks that are hard to fix.
Rolling them out is instant, thankless labor, but it’s the difference between a smooth satin finish and a mess you’ll have to sand down. If you skip it, you’re looking at re‑applying the stain or worse, breaking out the polyurethane and grinding the whole surface.
Keep a small roller handy, like a 3‑inch foam one, and sweep over any shiny pool right away. That keeps your drying time even, so the varnish cures flat without brush strokes or uneven gloss. HEA atomization creates ultra-fine particles of 50-100 microns that reduce overspray by over half.
How Long Until Penetrating Sealer Dries and Cures?
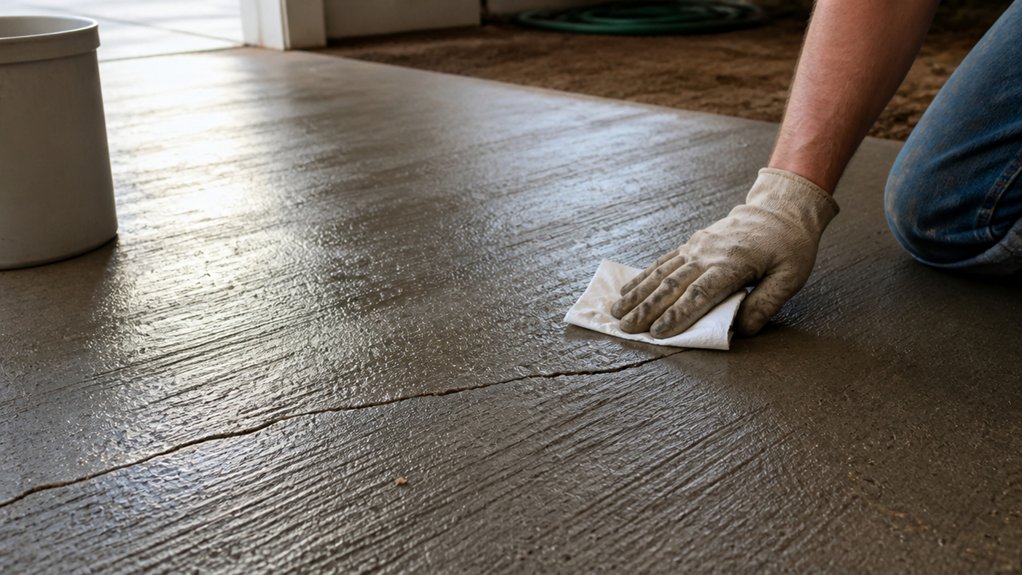
The drying time for your penetrating sealer depends on what’s crossing it. If you’re walking on it, wait until the surface feels dry to the touch, which usually takes about 24 hours.
For vehicles, hold off for at least 2 to 3 days, since tire weight and turning can smear the wet sealer into lap marks. That means you’d have to strip and recoats the whole driveway, which is a waste of time and product. Treat this like a fresh coat of varnish or polyurethane: the surface may feel dry, but the cure time is what locks in the durability. Patience now, with a drop cloth down and painter’s tape on edges, prevents a messy reapplication later.
To speed up the wait, ensure the wood is dry before application, since ASTM D-4446 compliant waterproofing prevents moisture absorption.
Frequently Asked Questions
Can I Apply Sealer to Concrete That Was Previously Sealed?
Yes, you can apply sealer to concrete that was previously sealed, but only after removing the old coating and preparing the bare surface. Slathering a fresh penetrating sealer over an existing one rarely bonds correctly, and peeling or blotching is almost guaranteed.
Compatibility is the first thing to test, or you risk wasting time and product. Sprinkle water on the slab: if it beads up, the old sealer is still active and must be stripped. For film-forming sealers, use a concrete stripper or grind with a 40 to 60 grit diamond disc until you see clean, porous stone.
After stripping, rinse thoroughly and let the concrete dry for at least 24 to 48 hours. Only then apply your new sealer in thin, even coats, typically two for penetrating formulas. If you skip removal, reapplication will fail, so clean bare concrete is your only certain bet for a durable finish. Search for “concrete sealer removal” to find the right chemical or abrasive method.
What Happens if It Rains Before the Sealer Fully Cures?
If rain hits before the sealer fully cures, you risk blotching, white residue, and even complete cure failure as the water washes the film out before it bonds. The coating needs an uninterrupted, dry window, so always check the forecast for at least 24 hours after application, ideally 48 for acrylics.
For oil-based sealers, a light mist after six hours might just leave hazy spots, but a hard rain within the first four hours often means stripping and recoating the entire surface. A practical habit is to apply sealer only when the overnight humidity stays below 70% and no precipitation is predicted.
Use a moisture meter on wood decks or concrete to verify surface dryness, not just feel, and remember that “dew point” is your related search term for predicting condensation risk. If rain does hit, wait for full drying, then lightly abrade with 220 grit sandpaper before applying a fresh, even second coat.
How Long Must New Concrete Age Before Sealing?
New concrete must age a full 28 days before sealing to reach its maximum strength and accept a coating. Rushing this cure traps moisture and leads to peeling or blush, which is a whitish haze.
For a quick check, after seven days you can confirm the slab is hard, but do not seal it early. For most garage floors, I recommend a penetrating sealer that allows the concrete to breathe, while films need that full cure. Wait for a dry stretch with temperatures above 50°F, and test with a plastic sheet taped to the surface for 24 hours: if water beads underneath, it’s still too wet.
Sealing too soon also locks in alkaline salts that cause blotchy stains later. This initial curing period is your safety window, so plan your project around it. Related term: moisture vapor transmission is what you are really managing with patience.
Can I Walk on the Sealer Once the Surface Looks Dry?
No, you cannot walk on the sealer once the surface looks dry, because that dry-to-touch state is only the solvents flashing off, not the film hardening. The actual cure time for most water-based sealers is 24 hours for foot traffic, while solvent-based polyurethanes often need 48 to 72 hours before they resist scuffs.
To test readiness without risking damage, press your thumbnail into an inconspicuous corner; if it leaves a mark, wait another full day. For a concrete garage floor, even light walking after 12 hours can embed dust or shoe grit into the soft film, so place plywood boards as a walkway if you must enter the space.
A related term to search is “full cure time sealer,” which clarifies the difference between dry and hardened. On a warm, low-humidity day, you can cut that 24 hour window down to about 18 hours, but never rely on a fan or heater to accelerate the chemical crosslinking. Protect the finish for the entire specified period, not just until it looks passable.
Will One Coat Provide the Same Protection as Two?
No, one coat will not provide the same protection as two coats when it comes to sealer durability. You are not simply adding thickness; you are filling more microscopic pores for deeper penetration into the substrate, which is the real key to long term defense.
The first coat acts as a primer, soaking in and bonding, while the second pass seals the surface uniformly. I always apply that second saturation coat to concrete or wood, because it dramatically reduces the chance of moisture wicking through thin spots later.
For a practical example, wait the manufacturer’s recommended recoat time, often 2 to 4 hours, before applying the second layer to avoid blushing. This extra step, sometimes called a sacrificial coat, is what separates a yearly maintenance job from a five year finish.
Rounding Up
Apply penetrating sealer by spraying it evenly across a clean, dry slab and rolling it out for uniform coverage. The sealer clings best to dust-free concrete, so sweep and dry thoroughly before you start.
Check the weather forecast and confirm no rain is due for at least 24 hours. Write down your exact coverage rate from the label, then compare it to your square footage to estimate how much you need.
Test a small corner first to see how the slab absorbs it, then adjust your spray pattern. A 5-gallon pail costs about $150 and covers 1,500 square feet, measuring your sealer’s cost efficiency.
Don’t rush the cure time, or you’ll be recoating early. Read next about curing compound vs. sealer differences.