How to Apply Spirit Levels: Step-by-Step Guide
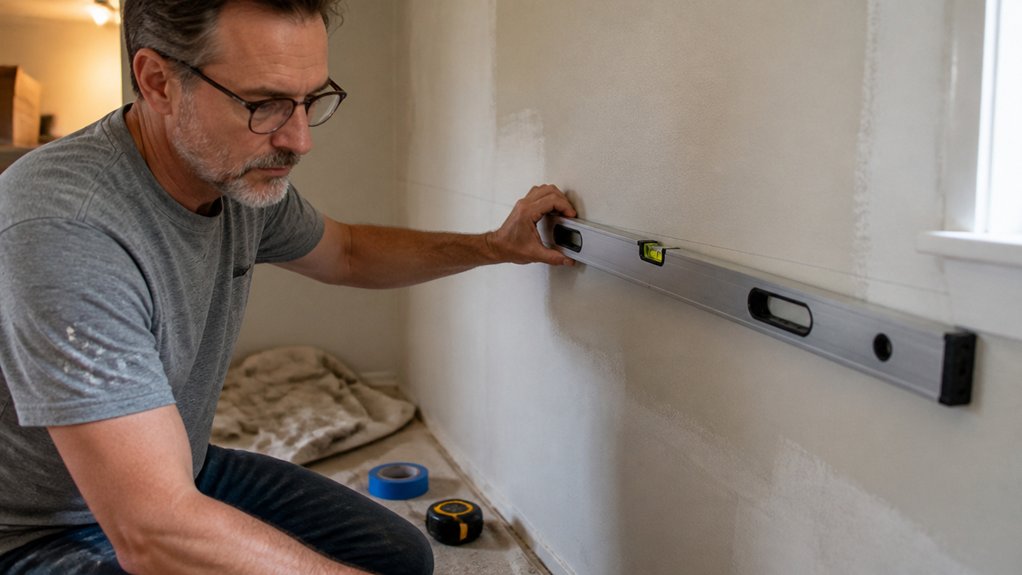
If your paint job looks off, it is rarely the paint. It is almost always a level line that you swore was straight. Before you pick up a brush, primer, or roller, you need to know how to apply spirit levels correctly for flawless trim and crisp edges every time.
A 6-foot wall needs a 4-foot mason’s level, not a tiny torpedo that lies to you. Squat down, center that horizontal bubble, then flip the level 180 degrees to confirm your work before the first coat.
For vertical corners, shim the base until the vertical vial centers, and your sheen will catch the light evenly without ugly shadows.
You do not need a fancy digital gadget; a basic analog level beats it if you calibrate it properly. We will show you the calibration secrets and surface prep tricks that make your finish look professional on the first pass.
Quick Answer
- Place the level on the surface and align the bubble between etched lines at eye level.
- For vertical checks, press the level against the frame and center the bubble in the vertical vial.
- Rotate the level 180° on a flat surface; a shifted bubble means recalibration is needed.
- Use magnetic edges on steel studs to keep the level hands-free for marking.
- Check top, middle, and bottom points on tall surfaces to verify true plumb throughout.
Pick the Right Spirit Level for the Job
Choosing the right level starts with the surface you’re working on, not the price tag. For a 6-foot wall, a torpedo level will just have you chasing your tail, so grab a 4-foot mason’s level instead. That size covers most framing jobs and keeps your lines true.
Magnetic edges are a real lifesaver on steel studs, since they clamp tight and free both hands for marking. STABILA’s professional set offers water-, dirt-, and impact-resistant construction for pro framing and tiling. Digital readouts with beeps help when your eyes get tired, but they cost around $50 versus $20 for a solid analog. For most DIY work, a basic 2-foot level and a torpedo handle 90% of what you’ll face, and they hold up fine.
Keep in mind how the level fits your finishing routine, too. If you’re checking a primer coat or a topcoat sheen on a cabinet door, a smaller level lets you get close without touching the wet edge. For setting a long run of trim before varnish or polyurethane, the longer level prevents uneven gaps that turn into brush strokes later.
Start with the 2-foot and torpedo, and add a 4-foot only when you hit bigger surfaces. Buy for the surface, not the gimmick, and you’ll avoid wasted trips and sloppy lines.
Read the Spirit Level’s Horizontal Vial
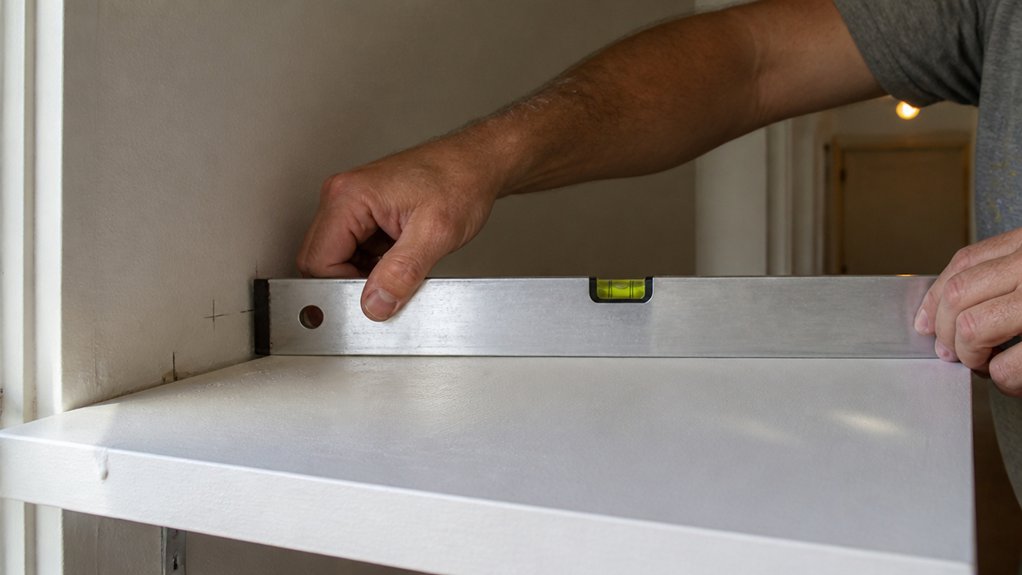
The horizontal vial is the one you’ll reach for most, so let’s get it right. Place the level on your surface, then squat down so the vial sits at eye level, not above it.
Squat down so the horizontal vial sits at eye level—not above it—for the most accurate read.
Close one eye and line up the bubble between the two etched lines. If it drifts left, the left side of your surface is high, so shim or sand that end before you lay down primer or topcoat.
You’ll feel a small win when the bubble lands dead center. You’ll curse when it teeters one hair off, but that’s the signal to check your sanding grit and re-level the base.
After centering, flip the level 180° and check again. If the bubble stays centered, your surface is true; if it shifts, you have a low spot that needs a skim coat or a bit more patience with the block. Store extra steel wool bone-dry in a sealed bag to prevent rust from contaminating your sanding area.
Keep the vial clean, because a smudge can throw off your read, and rush jobs lead to lap marks or uneven sheen. Trust the bubble over your eye, and let the level’s verdict settle before you roll on that satin or gloss finish.
Drying time matters, but cure time matters more, so recheck with the level after the first coat dries. A quick flip check before you varnish saves you from brush strokes you’ll regret later.
That’s the whole trick: patience beats muscle, and a clean vial beats a clever guess. Use it on your drop cloth setup, and you’ll get a flat, even surface every time.
Check Plumb With the Spirit Level’s Vertical Vial
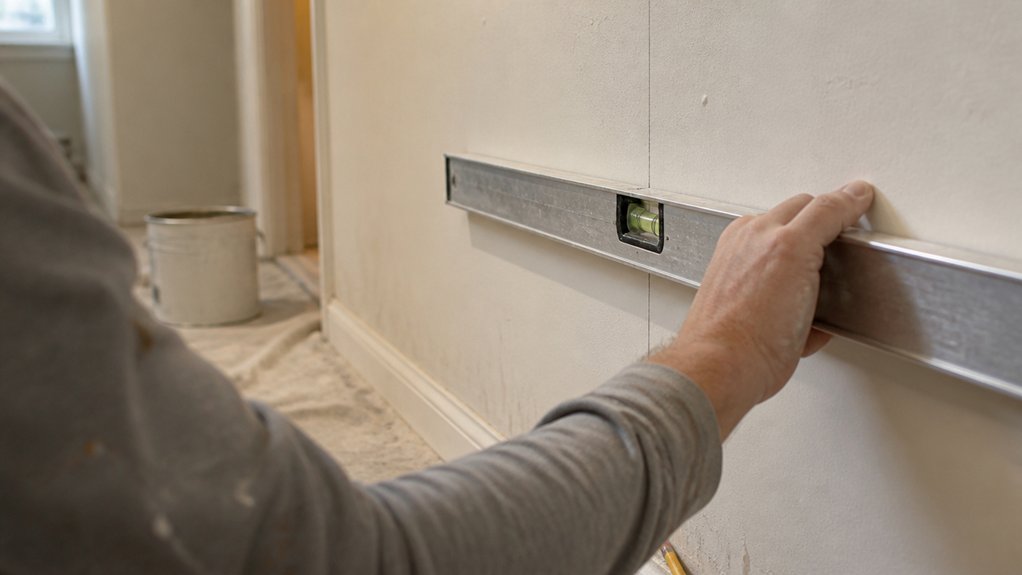
Once the horizontal vial feels easy, the vertical one works the same way, just turned sideways. Press the level’s edge against your door frame or stud and watch the bubble.
If it’s off-center, your surface leans forward or backward. Shim the top or bottom until the bubble sits dead center, and that’s your plumb fix.
A surface can look square from across the room, but the bubble will always tell the truth. On tall runs, I check the top, middle, and bottom because one straight spot can fool you.
A good 48-inch level costs $20 to $40, which is cheap compared to ripping out a crooked shelf later. Think of it like checking your paint’s wet edge before it flashes over, you catch the problem while you can still fix it.
For finishing work, the same rule applies. A door that’s slightly out of plumb will show a gap you can’t hide with primer or topcoat, no matter the sheen.
Trust the bubble, adjust the tilt, and you’re golden. For heavy-duty jobs like fence posts, a 32 oz brass plumb bob settles reliably even in a breeze and offers a more precise check than a level’s vertical vial alone.
Test and Calibrate Your Spirit Level’s Accuracy
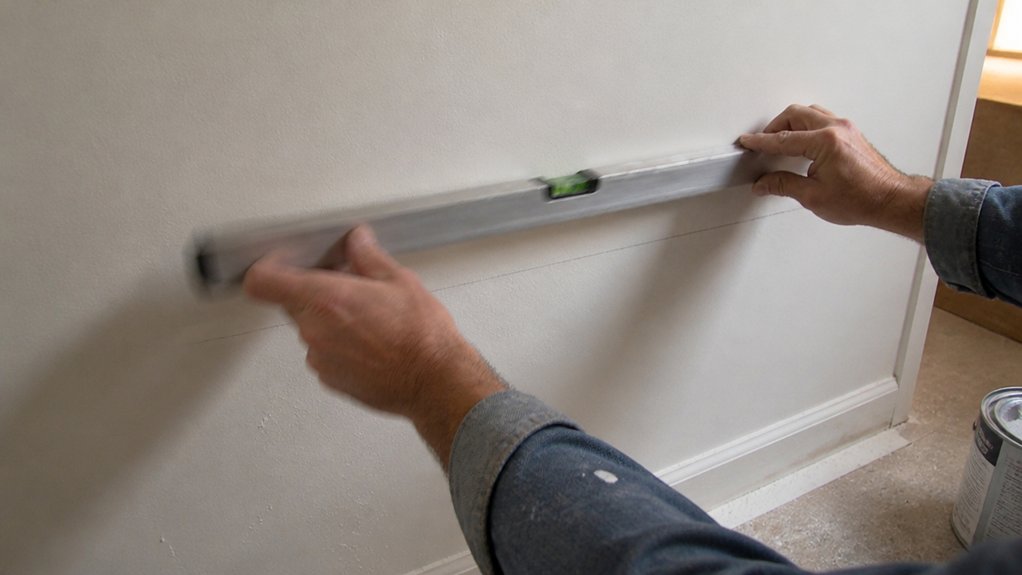
You trust the bubble, but trust needs proof. Set the level on a truly flat surface, like a granite countertop, and note where the bubble sits.
Rotate it 180 degrees. If the bubble moves, the vial is off. The surface has to be dead flat, so avoid wood that might have a slight twist.
Before you touch the adjustment screw, run a few quick checks. If your level has a magnetic edge, stick it to a steel beam and compare readings on at least three spots.
For an electronic level, set it next to a trusted analog level on the same surface. A 0.1° difference means it needs a tweak.
Check the vertical vial against a plumb door frame. Flip the level 180 degrees again; the bubble should sit in the same spot both times.
When you find a mismatch, turn the calibration screw slowly until both directions agree. I’ve done this five times after dropping my level on a concrete floor.
It’s a tedious job, but a wrong level will ruin a finish. Think of it like sanding with the right grit before a smooth topcoat.
It’s a tedious job, but a wrong level will ruin a finish. Think of it like sanding with the right grit before a smooth topcoat.
A bad bubble means your primer line wobbles, your satin sheen shows lap marks, and your varnish gets brush strokes you can’t fix.
Use painter’s tape and a drop cloth when you finally start the real job, because a level that reads true will keep your wet edge straight. Flexible polystyrene material bends around corners without affecting your readings.
And remember, drying time is not cure time. Let the polyurethane set fully before you trust the wall again.
If you ever drop the level again, redo this test right away. It only takes a few minutes, and it beats tearing out a crooked shelf later.
Fix and Maintain Your Spirit Level
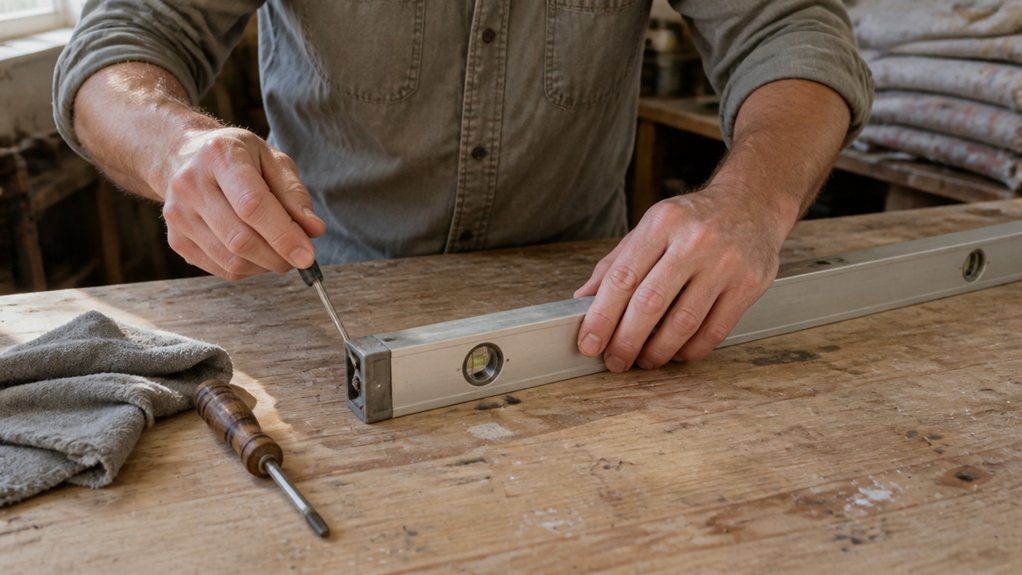
Keep your spirit level honest by cleaning it first. Wipe the edges and vials with a soft cloth, because grit hides errors like a bad paint job over an unprimed wall.
Check the vial caps for looseness, and tighten them gently if the bubble wobbles. A shaky bubble is as useless as a brush with dried polyurethane in the ferrule.
Drop prevention is your best repair, trust me on this. I dropped mine once, and now it lies about flat surfaces until I recalibrate it.
Store the level in a padded case and treat impacts like wet edge on a hot day, you have one chance to get it right. A basic torpedo runs $15, but a good one senses betrayal before you do.
Finish with a rotation test: set it on a known flat board, note the bubble, spin it 180 degrees, and compare. If it reads the same, it is still true; if not, clean or adjust until it agrees.
That is the whole job: clean it, cushion it, and verify it. No magic, just the same care you give a topcoat before the next coat goes on. For a rough reference, many retractable tape measures list an accuracy of ±1/16 inch, which shows how precise even basic tools can be.
Frequently Asked Questions
Can I Use a Spirit Level on a Curved Surface?
Yes, you can use a spirit level on a curved surface only if you first bridge the curve with a straightedge or a leveling attachment. Placing the level directly on the curve will make the bubble float erratically and give you a false reading, so always create a flat reference plane.
For example, set a rigid aluminum straightedge across the curve’s high points, then place your level on top of it. This works well for checking a bowed shelf or a rounded rail before you mark your cutting line.
A laser level is a better alternative for long, uneven spans, since it projects a true horizontal line without needing physical contact. Remember to shim the straightedge with a thin wedge if the curve is severe, which prevents rocking and ensures a repeatable measurement.
Finally, verify your setup by rotating the level 180 degrees; if the bubble stays centered, your bridge is trustworthy. This quick check saves you from marking a crooked cut, especially when you’re finishing a curved cabinet face or a vaulted trim piece.
What Does It Mean if the Bubble Touches the Line?
If the bubble touches the line, the surface is borderline and should not be trusted as level. You need the bubble perfectly centered between the two marks to guarantee a precise reading, especially before pouring a self-leveling compound or hanging cabinets.
A touching bubble often signals calibration drift, so do not assume your tool is accurate. Set the level on a known flat surface, like a granite countertop, and confirm the bubble rests dead center before every critical job.
If it drifts, replace the level or have it re-calibrated; a cheap torpedo level can check your main one quickly. For finish work, always use the same edge of the level on the same spot twice, then rotate it 180 degrees to confirm. That method, called a two-way check, eliminates tool error from your layout.
How Do I Measure a Slope With a Digital Level?
To measure a slope with a digital level, you place the tool directly on the surface and press the tare or zero button to establish your reference point.
Then, read the angle offset displayed on the screen, which gives you the slope in degrees or percent, depending on your unit’s setting.
For a practical example, if you are setting up a shed base, tare the level on a flat board, then place it on your graded pad and aim for a 1 to 2 percent slope so water drains away cleanly.
Remember to check the level’s calibration on a known flat surface first, since even a small error throws off drainage and finish work.
This method works equally well for checking a patio pitch or a ramp, and it beats a carpenter’s bubble level for accuracy because you get a precise numeric readout.
Just keep the level’s base clean of paint drips or sawdust, and you will get a repeatable measurement every time.
Will a Level Work in Freezing Temperatures?
Yes, a level will work in freezing temperatures, but its accuracy can drift as the cold thickens the internal liquid and shrinks the vial’s dimensions. That thermal contraction often makes the bubble sit off-center, so your plumb and level readings can be off by a noticeable fraction.
Warm the level in your coat or truck cab for ten minutes before critical work, especially if you’re setting posts or rails. For a quick field fix, keep a digital level as a backup, since digital units rely on sensors rather than liquid and stay reliable down to very low temps.
If you must use a spirit level outdoors, store it upside down overnight to reduce stress on the vial’s seals. Related to this, look up cold weather tool care for tips on protecting other liquid-filled instruments. For most framing or trim tasks, a few minutes of warming beats fighting a sluggish bubble.
Can I Repair a Cracked Spirit Level Vial?
Yes, you can repair a cracked spirit level vial, but only by replacing it, not by sealing the crack.
That tiny glass or acrylic tube is precision sealed, so any crack ruins its internal bubble accuracy.
Skip the glue and tape entirely. Instead, buy a matched replacement vial from a hardware supplier that fits your level’s frame.
After swapping the vial in, place the level on a truly flat surface, like a granite countertop or a straight 2×4.
Adjust the vial’s mounting screws until the bubble sits dead center, then rotate the level 180 degrees to check it stays there.
For a quick calibration tip: use a feeler gauge under one end to fine-tune if the surface isn’t perfectly flat.
Honestly, if the level is cheap, replacement is cheaper than the headache. Search for “replacement bubble vial” to match your size.
Rounding Up
Applying spirit levels starts with choosing the right tool for the job, then testing it for accuracy before you ever mark a wall. Test your level against a known flat surface, rotate it 180 degrees, and compare the bubble position each time.
A cheap level can drift, so spend the extra money on a decent four foot level around twenty-five bucks, which earns its keep. Keep the vials clean with a soft cloth, and store the tool safely to prevent damage to its accuracy.
Trust the bubble, not your gut, and always measure once, then check twice before driving a single nail. Hang that shelf straight by repeating your checks at both ends and in the middle.
Read next about laser levels for long distance layout work.