How to Apply Spackle and Wall Fillers: Step-by-Step Guide
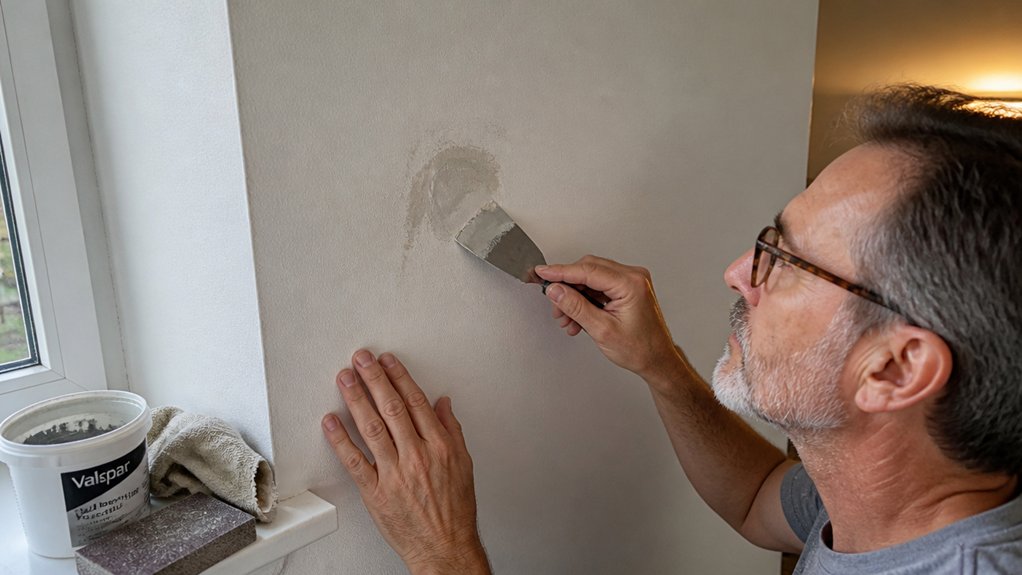
You are staring at a hole in your drywall and wondering if spackle will actually fix it without cracking again.
Applying spackle and wall fillers is a straightforward job, but the technique matters more than the product.
Thin coats, proper sanding, and a good primer are what turn a patch into an invisible repair.
This guide walks you through every step, from picking the right filler to the final topcoat.
Follow it and you will avoid the shrinking cracks that ruin most DIY patches.
Get ready to sand, dust, and finish like a pro.
Quick Answer
- Match hole size: use spackle under 1/2 inch; mesh patch or drywall for larger holes.
- Slice loose paper, rake cracks, and degrease walls so the filler keys properly.
- Apply spackle in thin layers (max 5mm), pressing firmly to avoid air bubbles.
- Wait full cure time between coats, then sand from 120-grit up to 220-grit.
- Prime over high-gloss paint only; flat or eggshell finishes bond fine to cured spackle.
Match the Spackle Type to Your Hole Size (Under 1/2 Inch vs. Larger)
Pick the filler by measuring the hole first.
For anything under a half inch, like a nail pop or a screw divot, use spackle.
It shrinks very little as it dries, so it won’t crack or sink much.
You can finish that kind of repair in one coat, and it’s a quick five minute job.
I’ve patched dozens of small dings this way, and you don’t even need a sanding grit finer than 120 for the final pass.
Just wipe off any dust, then prime the spot before your topcoat so the sheen stays even.
For a hole larger than a half inch, like from a doorknob or a heavy knock, spackle won’t hold up.
Use a self-adhesive mesh patch with joint compound, or cut a drywall piece to fit.
For bigger holes, a self-adhesive mesh patch with joint compound is your best bet—or cut a drywall piece to fit.
Those methods handle the depth without shrinking, and they’ll take real abuse later.
After the patch dries, sand it smooth and apply a primer to seal the area before your finish coat.
A satin or matte paint will hide the repair better than a high gloss, and you avoid lap marks by painting the whole wall section in one wet edge.
Use a drop cloth and painter’s tape to protect the trim while you work.
Small hole, spackle. Big hole, patch it properly.
For a quick fix on a deeper spot, a nozzle extender can help you reach the bottom of the void so the filler bonds fully before you scrape it flat.
Prep the Repair Area: Remove Loose Paper, Rake Cracks, and Degrease
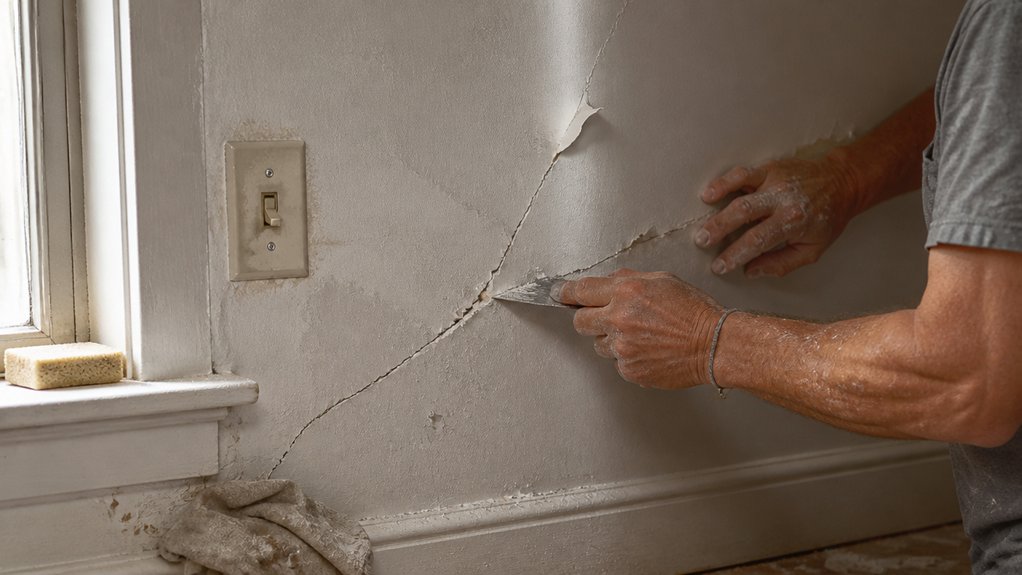
Before you open the spackle, give the damage a fair shake. I grab my utility knife and slice away every bit of loose paper around the hole.
If you skip this, your filler will peel right off like a bad Band-Aid. Then I rake cracks with a shave hook, widening them just a hair so the spackle can really key in.
You are not digging a trench, just roughing up the edges. Degreasing walls matters more than you think, especially near kitchens or light switches.
I have watched perfect patches fall off because someone skipped this step. I wipe the area with sugar soap, let it dry completely, and then I am finally ready to mix.
A hollow-ground blade provides the right flex for controlled spreading without gouging the surface.
Five minutes of prep saves you an hour of sanding later. Take the time now, and your patience pays off in a flush, invisible repair.
Once that patch is dry, hit it with 120-grit sandpaper before priming. A quality primer seals the repaired spot so your topcoat, whether satin or matte, dries evenly without flashing.
Keep a wet edge while you paint to avoid lap marks, and wait the full drying time before a second coat. Cure time matters too, so don’t rush a polyurethane or varnish finish if you’re working wood nearby.
Mix and Apply Spackle in Thin Layers (5mm Max Per Coat)

The repair area is prepped and dry, so now comes the part where most people screw it up. They pile on one giant, gloppy mound of spackle, and that is a mistake.
Apply thin layers only, with a maximum of 5mm per coat. Anything thicker will crack as it shrinks during drying.
Press the knife firmly and bend the blade slightly as you work. This forces spackle into every crevice and prevents trapped air from forming bubbles later.
Wait the full curing time, usually one to three hours, before adding another coat. Two thin coats beat one thick, doomed blob every time.
For a 10mm hole, that means two passes instead of one heroic fill. Patience here saves you a sanding nightmare later.
Scrape, press, wait, and repeat until the surface is level. After the final coat dries, sand with 120-grit, then 220-grit for a smooth base.
Dust the area clean with a tack cloth before priming. A high-quality primer seals the spackle and gives your topcoat a uniform surface.
Use a satin or eggshell sheen for walls, since flat paints show every imperfection. Keep a wet edge when painting to avoid lap marks and brush strokes.
Check the drying time versus full cure time on the spackle label. Rushing this step ruins the finish, so let it sit overnight before sanding for the best result. For interior applications, opt for water-based, low-VOC pastes that cure quickly and sand smoothly.
Finish the Spackle Patch: Decide If You Need to Sand, Prime, or Paint

Run your hand across the dried patch before you grab a sander. Your palm will feel ridges that your eyes might miss.
Run your hand across the dried patch first—your palm catches ridges your eyes miss.
For tiny nail holes or hairline cracks, skip sanding entirely because they are usually flush straight from the tub. For bigger fills, sand proud edges with 220-grit on a sanding block while wearing a dust mask, and stop before you hollow out the spot. Choose a washable, reusable sponge block for wet sanding to keep dust out of the air and cut cleanup time.
If the surface feels smooth, leave it alone. A damp sponge works faster and cheaper than sandpaper for feathering down rough edges.
Prime only when you are painting over high-gloss paint, since flat and eggshell sheens stick fine to cured spackle. If your wall color matches exactly, painting is optional, but a topcoat still adds durability.
Wait for the full dry time, and check that the purple tint fades to white before you do anything else. Sand only when the patch is raised, prime only for gloss, and paint when you want the repair to last.
Use a drop cloth and painter’s tape to protect the surrounding wall before you start. Keep a wet edge while painting to avoid lap marks, and apply thin coats of primer and topcoat for a smooth finish.
Frequently Asked Questions
Can I Use Spackle on Wood or Tile Surfaces?
Yes, you can use spackle on wood or tile, but it’s not a durable fix. The adhesion on those slick or porous surfaces is weak without aggressive sanding and a bonding primer, and it will crack under movement or moisture. For wood, grab a latex-based wood filler that flexes with the grain, and for tile, use a two-part epoxy patch meant for masonry.
Leave spackle for drywall only, where it’s designed to shrink minimally and sand easily. If you attempt it on tile, scuff the glaze with 120-grit sandpaper, clean with denatured alcohol, and apply a thin coat, then expect a brittle joint. A better concrete tip: for wood, apply the filler with a putty knife, let it dry fully for two hours, then sand to 150 grit before priming. This saves you from a cracked seam that needs redoing. Try searching “sanded caulk” for gaps in tile trim, as it handles movement better than any spackle.
What Happens if I Apply Spackle in Freezing Temperatures?
Applying spackle in freezing temperatures risks compromising its chemical cure and structural integrity. The water in the compound freezes before it can evaporate, leaving a soft, chalky patch that never hardens properly.
Wait for consistent temperatures above 50°F, and check the forecast for at least 24 hours after application. If you must proceed, use a fast-drying lightweight spackle and warm the tube in your pocket for 15 minutes beforehand.
Even then, thermal shock from a sudden cold snap can crack your repair, so apply only a thin 1/8 inch coat and sand with 120 grit once fully dry. Remember that drying time stretches from 1 hour to overnight in cold conditions, so patience is your only ally. For related advice, search for “joint compound cold weather application” to see how pros handle drywall mud in winter.
Why Does My Spackle Keep Cracking Despite Thin Layers?
Your spackle keeps cracking despite thin layers because thin coats cannot bridge the underlying structural movement, so the crack returns as the substrate shifts. Check the crack depth first: if it exceeds 10mm, you must apply a base coat of setting-type compound before any finish layers.
For seams and corners, skipping joint tape is the real culprit. Paper tape embedded in a thin bed of mud creates the reinforcement that flexes without tearing, while bare spackle simply fails. Apply the tape on the first pass, then let it dry fully for 24 hours before your next coat.
Sand with 120-grit only after each coat is completely dry, not just touch-dry, and never apply more than 1.5mm per pass. For a quick test, press a fingernail into the surface; if it leaves a mark, wait longer. This same logic applies to drywall patching, where flexible caulk along the crack edge can help absorb movement before you ever lay down spackle. Keep coats thin, but always let the base and tape do the heavy lifting.
How Do I Remove Dried Spackle From My Tools?
To remove dried spackle from your tools, soak them in warm water until the compound softens, which usually takes 15 to 20 minutes. Once the spackle rehydrates, it will release its grip on metal and plastic surfaces far more easily.
Use a stiff brush or an old putty knife to scrape away the softened residue, working from the edges toward the center. For stubborn chunks, apply a little white vinegar to the brush, as its mild acidity breaks down the binder without harming your tools.
After cleaning, dry everything immediately and wipe a thin coat of oil over metal blades to prevent rust. This cleaning method works best when you tackle it while the spackle is still damp, so always rinse tools right after use for faster cleanup.
Is Spackle Safe to Use Around Children or Pets?
Yes, spackle is safe to use around children or pets once it is fully dry. Keep them away from the area while you are applying it, and open windows or run a fan to maintain good indoor air quality during the process.
After 24 hours, the compound should be completely cured, so you can let kids and pets back into the room without worry. For a quicker project, use a lightweight spackle that dries in about 30 minutes, then sand with 120 grit paper before priming.
If you are still concerned, choose a non toxic, zero VOC joint compound for extra peace of mind. This alternative behaves the same as standard spackle but emits far fewer odors, which is helpful in a nursery or a space where your dog likes to nap.
Rounding Up
Applying spackle and wall fillers means spreading thin layers with a putty knife, not loading on one thick glob. Check your work after each coat dries, and sand lightly between layers to keep the surface flat.
Compare your first patch to the surrounding wall texture before priming. Test a small area with a 3 inch knife to see how the filler skins over, then add another thin coat if needed.
Primer seals the repair and hides your sanding marks, so treat it as a mandatory step. Use a $5 tub and finish the job before your coffee cools, because thin coats dry fast.
Read next: sanding drywall seams.