Brush for Chalk Paint: How to Choose and Use It
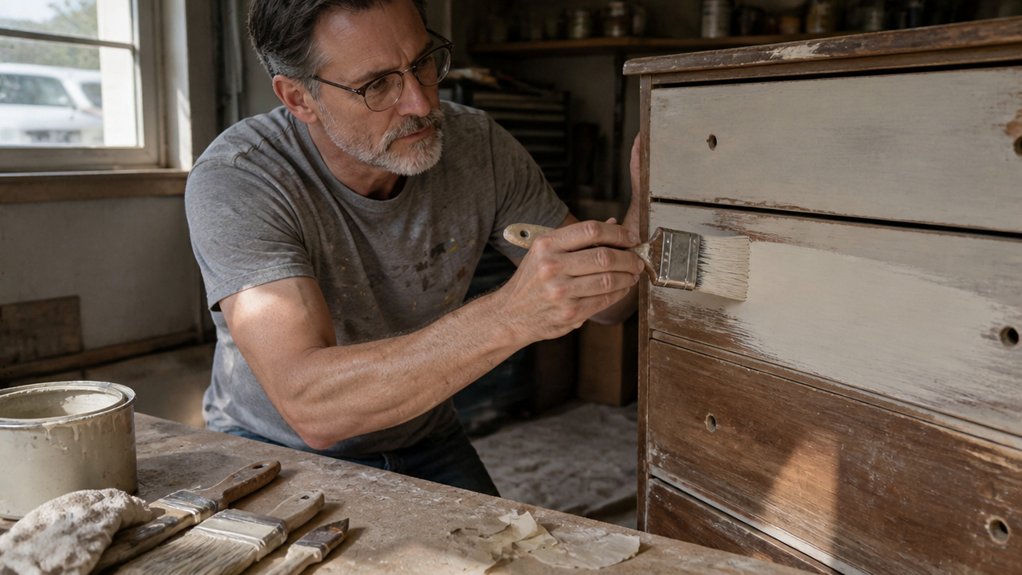
Choosing the wrong brush can ruin a chalk paint project before you even open the can. Streaks, brush marks, and clumpy edges usually come down to the tool in your hand, not the paint itself. This guide on brushes for chalk paint walks you through which brush fits each part of your piece, from chair legs to tabletops. You will also learn when natural bristles add a bit of texture, when synthetic ones give you a smoother finish, and how to keep your coats thin for better results. Think of it as a quick shopping list and technique guide in one place. Once you know your brush, the rest of the project gets a lot easier, so let’s start with the basics.
Quick Answer
- Choose a round brush for versatile furniture painting, a wide flat brush for large panels, and a small pointed brush for corners and trim.
- Match brush width to the surface: use about two inches for chairs and two to three inches for broad panels.
- Pick firm, springy bristles that hold their shape; use natural bristles for texture or synthetic bristles for a smoother finish.
- Prepare furniture by cleaning, lightly sanding, filling flaws, and priming glossy or stained surfaces before painting.
- Apply two or three thin coats with long, light strokes, maintaining a wet edge and letting each coat dry fully.
Choose a Chalk Paint Brush That Fits
Start with a round chalk paint brush if you don’t have a specific job in mind. Then choose the brush that fits your project.
For a chair, a medium brush about two inches wide gives you control without turning every leg into a long job. Check the bristles too.
Firm bristles work well on furniture because they push paint into the wood and leave clean edges. Soft, flexible bristles spread paint smoothly and help you avoid visible brush strokes and scratchy marks.
Firm bristles push paint into wood for clean edges, while soft bristles smooth the finish and help minimize brush marks.
Handle comfort matters as much as size. Look for a balanced handle that stays secure when paint gets on your fingers.
A comfortable grip is most important on a big job like a dresser, since a cramped hand makes neat work harder. Pick a brush small enough to reach corners and edges, yet wide enough to cover flat panels quickly.
Keep a wet edge as you paint by working quickly across each panel so the paint blends and lap marks stay away. Lay down a drop cloth and use painter’s tape on any trim you want to keep clean.
Choose a brush that feels good in your hand and suits the job in front of you.
Compare Round, Oval, and Flat Brushes
Choose a round brush first for most furniture. It handles curves, edges, and flat spots, so it works on chair legs, trim, and the awkward corners of a drawer.
A round brush won’t cover a tabletop as fast as a wide flat brush. Still, one good round brush lets you start without juggling several tools.
An oval brush has a domed head that spreads paint smoothly. Use it on curved cabinet doors and rounded table legs, where it lays even brush strokes and still reaches nearby edges.
A flat brush has a wide face that covers doors, shelves, and walls quickly. Pick a tapered flat for molding, and expect the tight inside corners to take patience.
For your first set, buy a round brush for detail work, a flat brush for large panels, and an oval brush for rounded pieces. Lay down painter’s tape and a drop cloth before you start, and keep a wet edge as you move from one section to the next.
Pick Bristles for Your Chalk Paint Brush
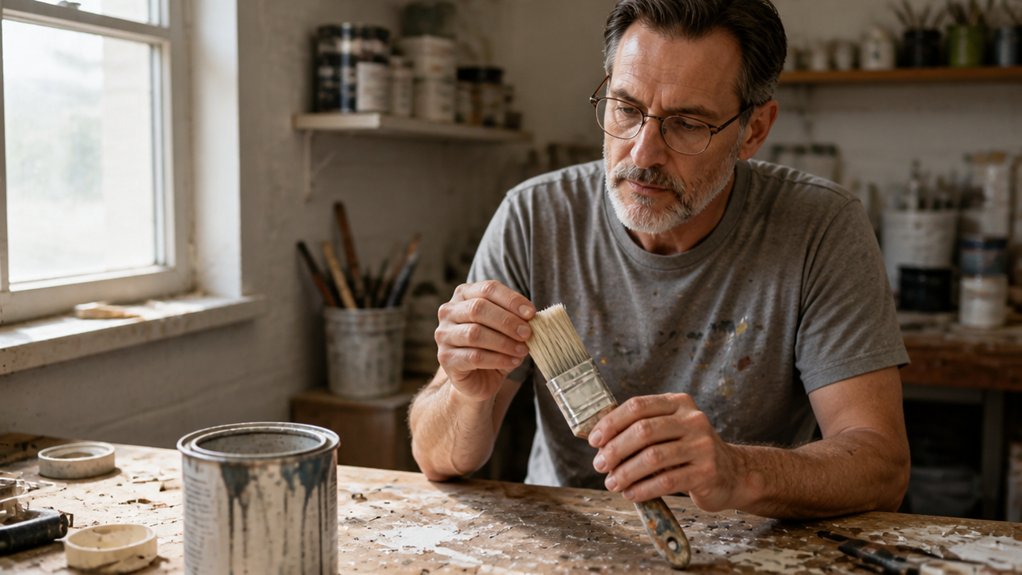
Once you pick a brush shape, choose the bristles based on the finish you want. Natural bristles, often made from boar hair, hold plenty of paint and have a firm snap.
Synthetic bristles spread paint smoothly because they contain no animal hair. Use natural bristles when you want texture, and use synthetics when you want a smooth coat.
Firm natural bristles help you work paint into carved details and leave a textured, hand painted look. Choose them for a rustic finish or sturdy furniture, and brush lightly, because stiff bristles can leave brush strokes if you press too hard.
Synthetic bristles suit a smoother coat, especially on cabinets or trim. Their flexible fibers glide across the surface and leave fewer marks, which helps you keep a clean wet edge.
Pick synthetics if you avoid animal products. Whichever type you buy, choose bristles that are firm and springy.
Bend a bristle gently and check that it snaps back into shape. Floppy bristles make the paint hard to control and can leave lap marks where you don’t want them.
Synthetics give you an even finish, while natural bristles give you texture and the power to hold more paint. Test your brush on scrap wood before you start the real project.
Choose the Right Brush Size for Coverage
Choose a brush size that fits the surface. A wide brush covers large flat areas faster, while a small pointed brush gives you control in corners and along molding.
I use a 2 to 3 inch brush on broad panels such as tabletops and cabinet sides. It covers ground quickly and still lets you steer the paint. A tiny brush dragged across a dresser top leaves visible brush strokes and takes all afternoon.
Use a 2 to 3 inch brush on broad surfaces for faster coverage without giving up control.
For narrow rails, trim, and drawer edges, I switch to a 1 inch or 1.5 inch brush. Its smaller head holds less paint, so you waste less and avoid drips along thin edges.
Before you start, lay down a drop cloth and tape off nearby surfaces with painter’s tape. Clean tape lines keep the sheen even on the surfaces you want to protect.
To pick the right size, measure the face you’re painting. Multiply its width by its height to get the area, then choose a brush that spans much of that face in long, steady strokes.
Keep a medium brush nearby for transitions between sections. Staying with one brush through a section keeps the wet edge intact, so you avoid lap marks where the paint dries unevenly.
Do not buy the widest brush just because the project looks big. Corners and recesses need a smaller tool. Choose the widest brush you can guide with comfort, and add a pointed brush for detail work.
Prep Furniture Before Applying Chalk Paint

Lightly sand the furniture before you paint. Chalk paint covers a lot, but it won’t hide bumps or raised knots.
Use medium grit sandpaper, then wipe away the dust with a damp, clean cloth that doesn’t leave lint. This quick pass smooths rough spots without stripping the finish, and it gives you a better surface to inspect.
Next, clean the furniture with a mild cleaner. Pay extra attention to handles, drawer fronts, and kitchen table edges, where fingerprints and cooking oil build up.
Let the piece dry fully before you move on. Any moisture trapped under the paint can cause bubbling or poor adhesion.
Next, repair surface flaws. Fill dents and holes with wood filler, and check the label for its cure time, since curing takes longer than drying.
Sand the filler until it sits level with the surrounding wood. Level means flush with the wood around it. Run your fingertips across the spot to check for any bump or dip.
Next, remove the hardware, such as knobs, pulls, and hinges, so you can paint each surface evenly. If a hinge must stay on, cover it with painter’s tape. Lay a drop cloth under the piece to catch drips.
Check the piece for wax, loose paint, or peeling spots. Scrape away any loose bits, but you don’t need to chase every old mark.
Prep carefully before you pick up your brush. A smooth, clean surface helps you keep a wet edge and avoid lap marks later on.
Apply Thin Chalk Paint Coats Without Streaks
Thin coats give you the smoothest chalk paint finish. A thick coat holds more brush strokes and takes longer to level, so it often dries with ridges and lap marks.
Before you start, cover the floor with a drop cloth and mask off trim with painter’s tape. Use a primer if the surface is glossy or stained, so the chalk paint grips well.
If you spot ridges after a coat dries, sand lightly with fine sanding grit, around 220.
Sand just enough to smooth the ridge, then wipe away the dust with a dry cloth before you add the next coat.
Dip about a third of the bristles into the paint and tap off the extra on the side of the can. This keeps the paint from dripping and helps you spread it thin.
Brush in long, even strokes along the grain, and work quickly so the paint stays wet. Paint into the section you just finished to keep a wet edge and avoid visible lap marks.
Drying time is how long the paint feels dry to the touch, usually one to two hours. Cure time is how long the paint takes to harden fully, often two to four weeks.
Seal the piece with a topcoat of wax or polyurethane once the paint has cured enough to handle. A satin topcoat adds a soft sheen and wipes clean more easily than a flat finish.
Thin Coats, Smooth Finish
Thin coats give chalk paint its smoothest finish.
Resist the urge to cover everything in one heavy pass.
Apply a light, even layer, then let it dry fully before adding another.
Rushing the drying time leaves a surface that snags on the sanding block and creates extra work later.
If the paint feels thick, add water one teaspoon at a time and stir well after each addition.
Water should loosen the paint, but too much turns it runny and shows lap marks and brush strokes.
Test on a scrap board first.
Two or three thin coats beat one heavy coat, especially on tabletops and drawer fronts, where lumps and drips show up right away.
Let each layer dry to the touch, and follow the timing on the paint can if it differs.
Cool or damp rooms slow the drying time, so give the paint extra hours before the next coat.
Keep a wet edge as you brush by working from one section into the next.
Once the paint dries, sand lightly with fine sanding grit, such as 220, to knock down any bumps.
Drying time and cure time are different.
Drying time tells you when to recoat, while cure time tells you when the paint reaches full hardness, which can take a few weeks.
Wait for the cure before you seal the piece with wax or a polyurethane topcoat.
Preventing Brush Streaks
A clean brush with soft, flexible bristles and a light hand will prevent brush streaks better than any expensive tool. I keep the brush slightly damp, never dripping, and load only the lower third of the bristles with paint.
Brush streaks usually come from three causes: thick paint, a dry brush, and pressing too hard. You can fix all three without spending extra money.
Start by thinning the paint if it drags across the surface. Stir in a small amount of water, then test the paint on a scrap piece of wood or cardboard before you touch the project.
Lay long, overlapping strokes with light pressure, and let the brush do the work. Once the paint starts to set, stop going back over it, because each extra pass leaves lap marks behind.
Sand between coats after the paint dries. Use fine sandpaper, about 220 grit, then wipe away the dust with a tack cloth or a dry rag so the next coat goes on smooth.
When you troubleshoot streaks, check overload and timing first. Overloaded paint leaves raised ridges, and recoating before the paint reaches its drying time can leave the same lines.
Choose the brush to fit the job. A round brush suits chair spindles and rungs, while a wide flat brush works best on tabletops and large panels.
Thin coats, light pressure, and patience will give you a smooth finish. These habits cost far less than repainting.
Use a Tapered Brush on Corners and Molding
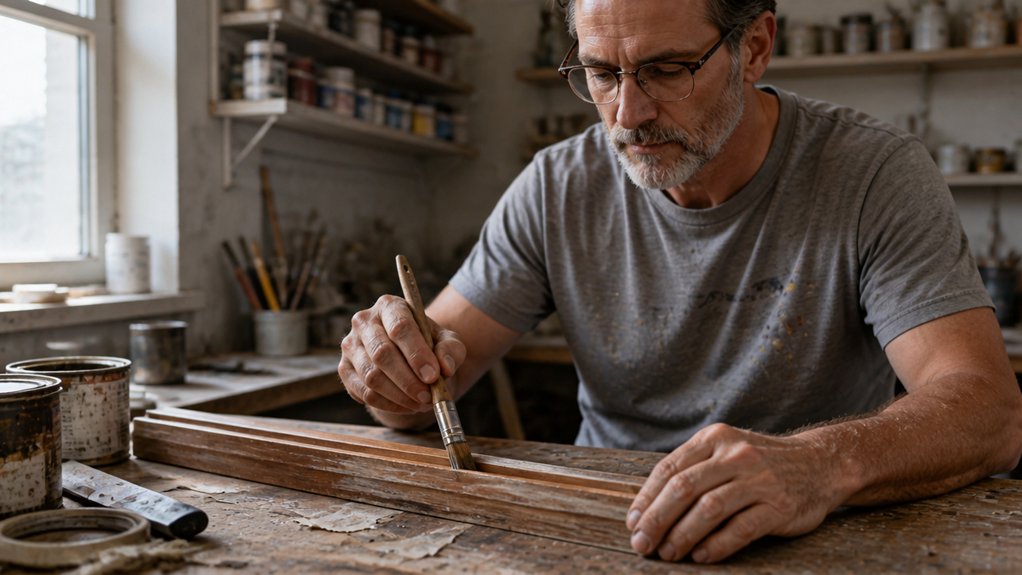
A tapered brush works better than a wide flat brush for corners and molding.
For corners and molding, a tapered brush offers better control than a wide, flat brush.
The narrow tip follows the shape of the trim where it meets the wall, so you can reach grooves and edges without wrestling the brush.
This matters on cabinet frames, chair rails, and tight inside corners, where a wide brush puts paint on the wall and misses the spots you need.
Choose a brush about one to 1.5 inches wide with a tapered or pointed end.
That size gives you good reach and control.
For corner detailing, angle the brush slightly and trace the edge with the tip.
Then load the fuller part of the bristles to cover the flat strip.
Work in short sections so you keep a wet edge and your brush strokes blend before the paint dries.
An angled sash brush also works well on window trim.
For carved details, a pointed furniture brush gives you more control.
Good ones often cost less than $15.
Save the wide flat brush for broad panels, where it spreads paint fast and leaves fewer lap marks.
Run painter’s tape along the wall line for a clean edge, and spread a drop cloth on the floor.
Choose a satin or semigloss topcoat for trim, since it shows fewer flaws than high gloss.
Prevent Brush Shedding and Thick Paint Layers
Choose a brush that holds its shape. Apply two thin coats, since one heavy coat leaves thick layers and visible brush strokes.
Look for a snug ferrule, the metal band that joins the bristles to the handle. Firm bristle retention matters most on furniture edges, where loose hairs tend to collect.
A cheap brush that sheds can leave little hairs in your finish. You may not see them until the paint dries, and by then the damage is done.
A firm brush with a tight ferrule is worth the extra cost. Brushes may shed a few bristles now and then, but loose bristles or thick ridges aren’t normal.
To keep paint layers even, follow three habits. First, dip only the lower third of the bristles into the paint.
The brush still carries plenty of paint, and it won’t drip. Second, stir the paint gently and check how it flows.
It should slide off the brush slowly and steadily. Third, wipe the excess on the rim of the can and reload before the brush feels dry.
Pressing harder doesn’t improve coverage. It only squeezes out extra paint and creates heavy ridges.
Work from a wet edge so each stroke blends into the last and you avoid lap marks. Keep a rag nearby to wipe up drips before they dry.
Use painter’s tape on any edges you want to protect, and lay a drop cloth under your work. Sand lightly between coats with fine sandpaper, around 220 grit, to remove dust and bumps.
Drying time is how long the paint takes to feel dry to the touch. Cure time is how long it takes to reach full hardness, and a polyurethane topcoat can need several weeks.
A satin sheen hides small flaws and cleans up easily on furniture. A high gloss shows every bump, so it demands a smoother surface underneath.
Clean and Store Your Chalk Paint Brush

Clean your brush as soon as you finish painting. Dried chalk paint is stubborn, and it takes far more effort to scrub out than a few minutes of rinsing now.
Rinse the bristles under running water until the water runs clear. Work the water deep into the base of the bristles, where paint tends to hide.
Reshape the bristles with your fingers while they’re still damp. Straight tips give you cleaner brush strokes and a sharper wet edge on your next coat.
If you used the brush for an oil based polyurethane or varnish, wash it with mineral spirits first. Then rinse it with warm soap and water to remove the rest.
Let the brush dry completely before you store it. Water trapped near the metal band can loosen the handle and weaken the bristles over time.
Store the brush without crushing the bristles. Lay it flat in a drawer or hang it by the handle so nothing presses on the tips.
A squashed brush splays out and leaves lap marks on your next project. Store it with care, and your next coat will go on smoothly.
Clean After Painting
Wash your chalk paint brush right away once the last coat is on. Dried paint in the bristles becomes a stubborn mess that can shorten the brush’s life.
You don’t need fancy cleaner for chalk paint. Lukewarm water and a mild soap work well, and you should skip a long soak because it can loosen the bristles.
Start by rinsing the bristles under running water. Work from the ferrule, the metal band where the bristles meet the handle, toward the tips until the water runs clear.
Put a dab of soap on the bristles and massage them gently with your fingers. Avoid bending them hard against the sink, since that can splay the tips.
Rinse the brush again to remove all the soap. Squeeze out the water with a clean cloth, then reshape the head with your fingers so the bristles dry in a neat, flat edge.
If paint has dried near the base, repeat the washing cycle and work gently. Pulling at it can damage the bristles.
A clean brush gives you a smooth wet edge on the next coat. It also helps you avoid lap marks and uneven brush strokes.
Store Brushes Properly
Let your chalk paint brush dry fully before you store it. Keep the bristles in their original shape, because a brush that dries bent or splayed will leave lap marks and uneven brush strokes the next time you paint.
Store the brush in a dry spot, away from damp sinks and direct heat. Heat can warp the handle, and moisture can weaken the bristles over time.
Once the brush is dry, slip on its cover or wrap the head loosely in paper. This keeps the bristles from getting crushed in a drawer.
Store the brush flat or hang it up. Never stand it on its bristles, since that bends the tips out of shape.
Keep this brush separate from your wax brushes. Wax residue can transfer to your chalk paint and leave spots that show up in the finish.
You don’t need a fancy rack to do this well. After making enough messes, I can say a simple hook works and costs almost nothing.
Decide When a Premium Chalk Paint Brush Pays Off
A premium chalk paint brush pays off when you paint furniture often or tackle detailed pieces that need a brush holding its shape.
I would spend up to $35 on a quality brush before trusting a cheap one that sheds bristles or goes limp halfway through a dresser.
The payoff shows up in steadier brush strokes, fewer loose hairs in the finish, and a head that keeps its curve around table legs and trim.
These benefits matter most when you paint more than one project.
Chalk paint dries fast, so a good brush helps you work in small sections and keep a wet edge.
Choose a stiff brush for cabinets, chair spindles, and carved details.
Its firm bristles push thick chalk paint into grooves and corners without going limp.
For broad, flat panels like tabletops and dresser sides, pick a wide flat brush.
A wider head covers more ground and leaves fewer lap marks, so speed matters more than tiny brush marks.
Skip the premium price if you’re painting one small shelf.
A basic synthetic brush handles a single small project well, so save your money for good paint and a drop cloth.
For repeat work, buy one good brush and treat it well.
Wash it with warm water and mild soap right after each session, before the paint hardens.
Then lay it flat or hang it so the bristles dry straight and keep their shape.
Frequently Asked Questions
Can I Use a Roller Instead of a Brush for Chalk Paint?
Yes, you can use a roller instead of a brush for chalk paint, and it often gives a smoother, faster result on flat furniture surfaces. Choose a 3/8-inch nap roller for smooth wood or laminate, and a 1/2-inch nap for lightly textured pieces.
Foam rollers work well for a streak-free finish on cabinets. Rollers can load more paint than brushes, so apply thin coats to avoid drips and pooling.
Work in small sections, then back-roll lightly while the surface is still wet. Plan on two coats, allowing about two hours between them, and check coverage after the first coat since dark colors may need an extra pass.
Why Might a Roller Use More Chalk Paint Than a Brush?
A roller often uses more chalk paint than a brush because its nap soaks up a larger load and releases it across the surface. Chalk paint is thick, so you may apply a heavier coat to cover the surface evenly.
To reduce waste, load your roller lightly by dipping only the lower third of the nap and rolling it off on the tray ridges. Work in thin coats rather than one heavy layer to avoid drips.
Let each coat dry for about one hour before recoating, and plan on two coats for most projects. A short-nap microfiber roller suits smooth furniture and gives a consistent finish.
Should I Use Separate Brushes for Painting and Waxing?
Yes, you should use separate brushes for painting and waxing, since dedicated waxing brushes keep silicone and wax residue out of your paint. Even good brushes shed a small percentage of bristles, so careful handling matters.
Label each brush with tape marked “WAX” or “PAINT” and store them in separate containers. After cleaning, wash brushes in warm water with mild soap, rinse until the water runs clear, then lay them flat to dry for at least 24 hours before reshaping the tips with your fingers.
Wax residue is the main reason to separate them, because even a trace on a paint brush can cause fisheyes in a fresh coat of finish.
Can a Foam Brush Create a Stroke-Free Chalk Paint Finish?
Yes, a foam brush can create a stroke-free chalk paint finish when you control the load and the coats. Load the foam lightly by dipping only the outer third of the pad so paint does not pool in the sponge. Press gently and use long, even passes in one direction.
Apply two to three thin coats rather than one heavy layer, and let each coat dry for about two hours before recoating. Chalk paint dries quickly, so work in small sections to keep a wet edge. For a smoother chalk finish, lightly sand between coats with 220 grit sandpaper, then wipe away the dust with a damp cloth. Finish with a clear wax or topcoat to protect the surface.
Are Synthetic Chalk Paint Brushes a Good Option for Avoiding Animal-Derived Bristles?
Yes, synthetic chalk paint brushes are a good option for avoiding animal-derived bristles. They hold chalk paint well and release it smoothly onto furniture when you use the right technique.
Choose a polyester or nylon brush with tapered, flagged tips, since these leave fewer brush marks in thick chalk-based coats. Look for a brush labeled vegan or synthetic, and avoid cheap brushes that shed fibers into wet paint.
For a practical start, load the brush about one-third deep, then work in thin coats with long, even strokes. Let each coat dry for two hours, and lightly sand with 220 grit before the final coat for a silky finish.
Rounding Up
The best brush for chalk paint is a medium oval with synthetic bristles. It covers flat panels, then turns into corners, so you can skip switching tools.
Today, clean and lightly sand your piece before you open the can. Load your brush sparingly and keep a cloth nearby for drips.
Apply thin coats, because they beat a lumpy masterpiece, as I learned the hard way. After each session, rinse the brush, reshape the bristles, and let it dry flat.
Buy a brush you will clean and reuse, because that is the verdict I stand by.
Related topic to read next: waxing chalk-painted furniture.
References
- https://www.vintagetonality.com/chalk-paint-brush-guide/
- https://frenchicpaint.co.uk/blogs/frenchic-world/applying-chalk-paint-to-furniture
- https://acrylicpaintingschool.com/chalk-paint-brushes/
- https://www.rainbowchalk.com/do-you-need-special-brushes-for-chalk-paint/