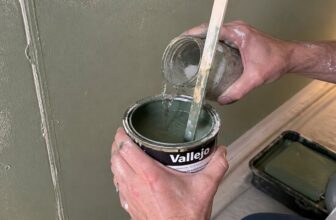
How to Apply Acrylic Lacquers: Step-by-Step Guide
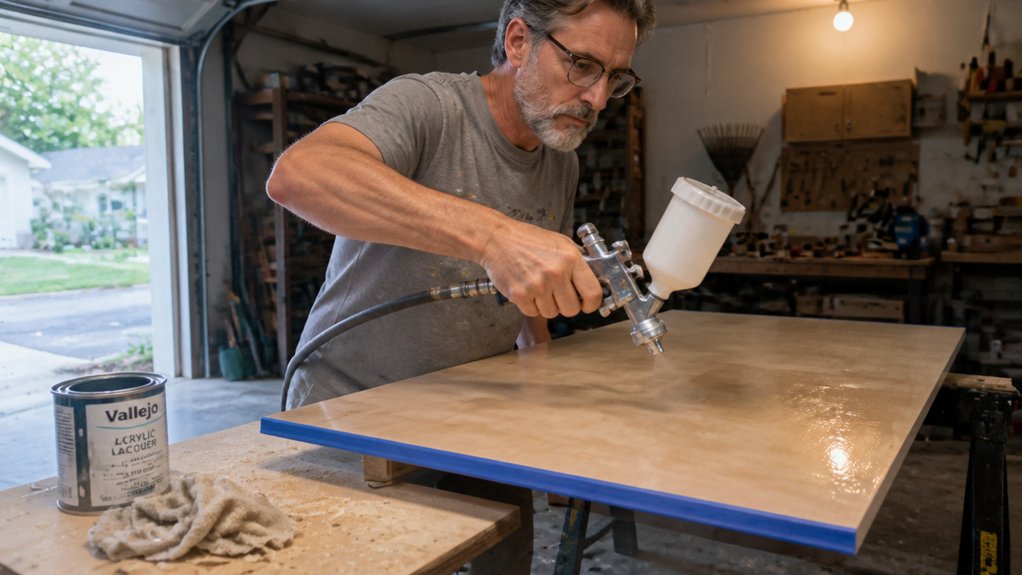
Applying acrylic lacquer can feel like a gamble when your finish ends up blotchy or full of drips.
The secret is in the surface prep and spray technique, not just the paint itself.
In this guide, we’ll walk through the exact steps, from cleaning and sanding to controlling your spray pressure and humidity.
You’ll learn how to manage drying time between thin coats and fix any runs after the cure time.
Stick with this process, and you’ll get a smooth, glossy sheen without the frustration.
Let’s start with the prep work that makes everything else easier.
Quick Answer
- Prepare surface by cleaning with denatured alcohol, sanding, and ensuring it’s contaminant-free.
- Mix lacquer and thinner at 4:1 ratio; adjust to 3:1 for hot, dry conditions.
- Apply a tack mist coat, then a wet coat; wait 10–15 minutes between coats.
- Overlap passes by 50% using a 1.8–2.0mm nozzle at 28–30 PSI for even coverage.
- Fix runs after 24 hours by wet-sanding with P800; polish after full week cure.
Preparing Surfaces and Spray Equipment for Acrylic Lacquer
Surface prep decides how the whole finish behaves, so treat it like the most important step.
Wipe the surface down with denatured alcohol and let it dry completely, then scuff it with P800 wet sandpaper.
Any oil, dust, or old grit will show up as fisheyes in the lacquer later, and that’s a tough mistake to fix.
You want a clean, dull surface so the topcoat can bite in and lay down smooth.
Spray equipment setup is just as critical for a good result.
Use a 1.8mm or 2.0mm nozzle for acrylic lacquer, and run 28 to 30 PSI on a conventional gun, or 15 to 20 PSI if you are using HVLP.
Strain the paint through a paper filter before pouring it into the cup, because clogged tips cause spitting and a patchy coat.
Set your pressure and filter right, and the lacquer will flow with a wet edge that levels out without lap marks.
A drop cloth and painter’s tape protect the surrounding area, and remember that drying time is shorter than cure time, so give the coat a full cure before sanding or polishing.
Keep temperatures between 60–80°F for smooth curing and to prevent blush or uneven film formation.
Mixing and Thinning Acrylic Lacquer for a Flawless Spray
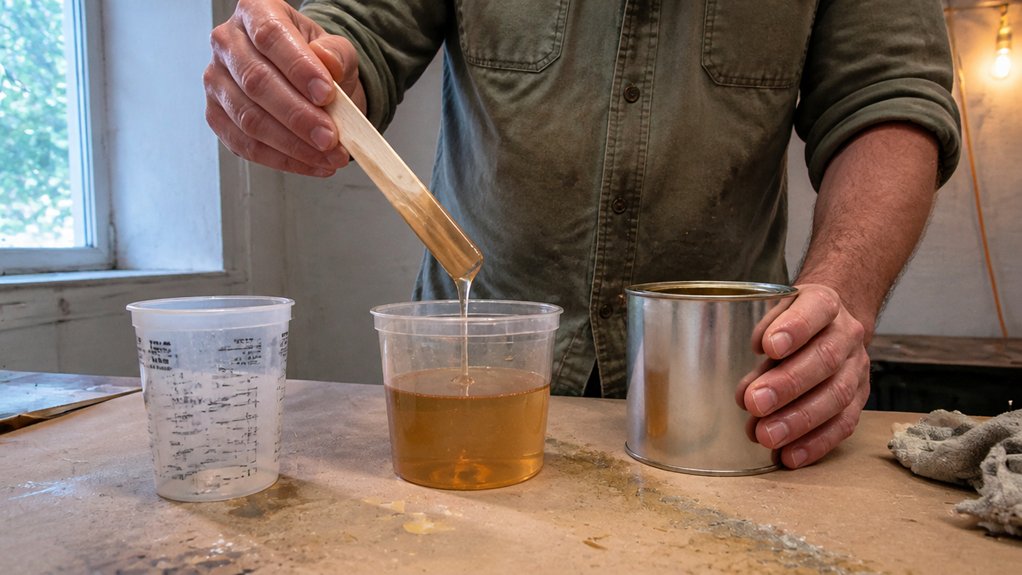
Mixing acrylic lacquer is about matching your thinner ratio to the conditions in your shop. Check the humidity gauge before you start, because that reading matters more than any recipe.
Mixing acrylic lacquer is about matching your thinner ratio to the conditions in your shop. Check the humidity gauge before you start, because that reading matters more than any recipe.
I’ve ruined plenty of coats by ignoring that needle, so trust me on this. In normal weather, between 65 and 80°F with humidity under 65%, start with a 4:1 ratio of lacquer to thinner.
For hot, dry days or a porous substrate like raw wood, drop to a 3:1 ratio. That extra thinner keeps the finish from drying before it levels out, which prevents a rough, sandy texture.
Use a test spray on a scrap board first, then adjust. If the spray spits or runs, you’re too thin; if it sags or looks pebbly, you’re too thick.
Fit your spray gun with a 1.8mm or 2.0mm nozzle tip, because that size handles the viscosity without clogging. Strain the mixed lacquer through a fine mesh filter to catch any dried bits.
After stirring, let the mix sit for five minutes so the bubbles settle, or they’ll show up as pinholes in your topcoat. Shaking creates foam, so always stir slowly with a clean stick instead.
Keep a wet edge while you spray, moving the gun in even passes and overlapping each stroke by half. This avoids lap marks and brush strokes, even though you’re spraying, because the finish flows together smoothly.
Remember that drying time is not cure time; you can recoat in about an hour, but wait a full day before sanding with 320 grit or applying a satin or matte clear coat. Use a drop cloth and painter’s tape to protect the surrounding area, and work in a well-ventilated space because lacquer has strong VOC fumes.
If you see orange peel, that’s a sign your ratio was off or your passes were too far apart. Fix it by sanding flat with 400 grit, then respray with a slightly thinner mix.
For a smooth, glossy finish free of defects, measure your ratios twice and adjust based on the test spray. That habit saves you the headache of stripping and starting over. Professional-strength lacquer thinner can help when standard mixes leave the lacquer stubborn or prone to clogging, so keep a dedicated solvent on hand for those tougher jobs.
Spraying Acrylic Lacquer: Wet Coats, Flash Times, and Blush Prevention
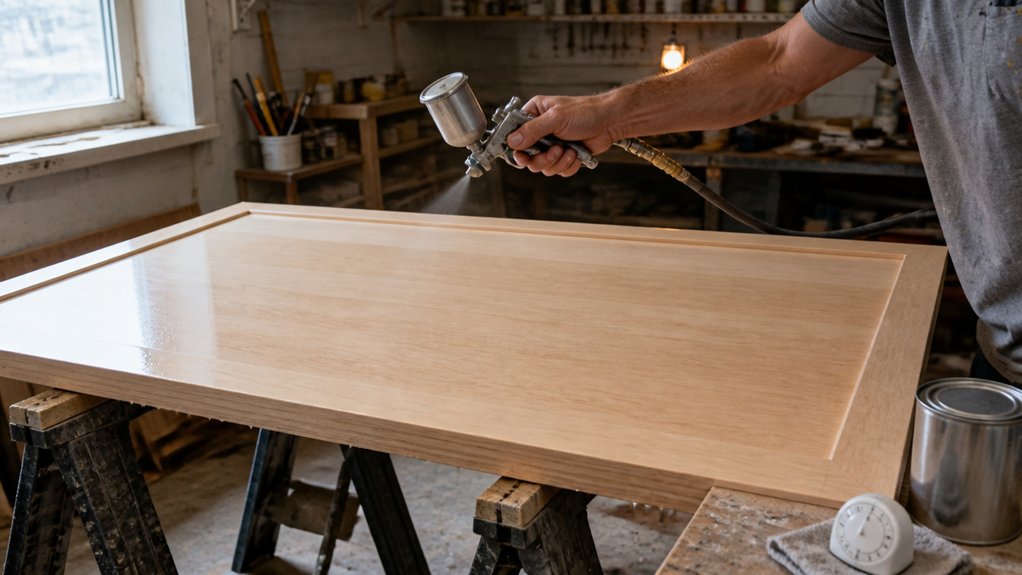
Treat the spray gun like a brush, and the wet coat like your final pass for a glossy finish. Skip the dusty spritz; you want a full, even layer that flows out smooth.
First, get the surface tacky with a quick mist, then lay down a wet coat without flooding it. Wait 10 to 15 minutes between coats when the shop is between 65 and 85°F, or you’ll trap solvent and cause peeling later.
Keep humidity below 65 percent, or you’ll get a milky haze, which is the classic blush problem. That haze comes from moisture landing in the lacquer, so check the weather before you mix. Wet-film readings can predict the final dry-film thickness by dividing by the solids ratio.
Use a 1.8 to 2.0mm tip on your gun at 28 to 30 PSI for even atomization. Strain the paint through a mesh filter first, because a clogged tip leaves dry spots and lap marks.
Rushing the flash time means the next coat sinks in and wrinkles, which is a sanding nightmare. Waiting too long between coats means the lacquer stops bonding, so you get poor adhesion and have to scuff it with 320 grit.
I have made both mistakes, and the fix is always more work. Patience pays off, and remember that drying time is not the same as cure time, so let the piece sit a full week before heavy use.
For a beginner, set up a clean area with a drop cloth and painter’s tape to protect anything nearby. Keep the gun moving parallel to the surface, and overlap each pass by half to keep a consistent wet edge.
Lacquer dries fast, so work in sections and keep your rhythm steady. Finish with a gloss or satin topcoat if you want extra depth, but let each layer dry fully before sanding between coats with 400 grit.
Fixing Runs and Orange Peel, Then Polishing Acrylic Lacquer to High Gloss
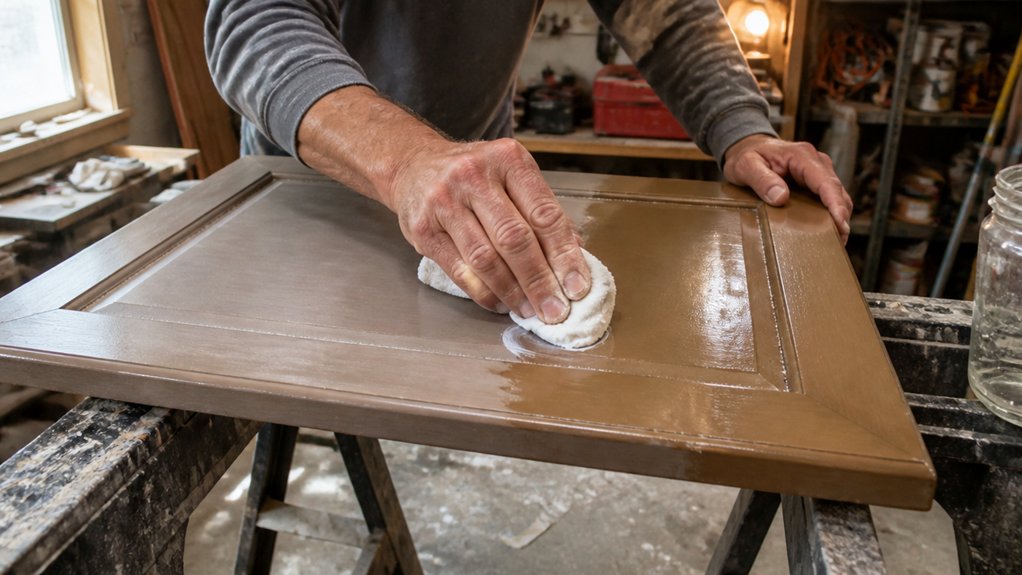
Runs and orange peel are the two most common acrylic lacquer flaws, and both are fixable with patience and methodical sanding.
Wait a full 24 hours before touching a run, then wet-sand it flat using P800 grit on a rigid block, feathering the edges until the surface feels even.
For orange peel, let the paint cure for two hours, then knock down the texture with P1000 grit using light, circular strokes.
Switch to P1500 next, then move through the finer grits in the table below, keeping the paper wet and using almost no pressure at the final stages.
| Grit | Use | Trick |
|---|---|---|
| 800 | Run removal | Firm pressure, flat block |
| 1000 | Peel knockdown | Light, circular motion |
| 2000 | Final sand | Keep wet, no pressure |
| 3000 | Polish prep | Quick pass, then compound |
To reach a high gloss, sand to P3000, then buff with a medium compound, followed by a fine polish.
Each stage takes about five minutes, so do not rush, and keep the surface wet during every sanding step.
The result is a mirror shine that turns those early mistakes into a happy accident, but give the finish a full week to harden before you put any pressure on it.
Use a drop cloth and painter’s tape around the edges to protect surrounding paint, and work in a well-ventilated area to keep VOC levels in check.
Remember that drying time is not cure time; lacquer feels dry in an hour, but it stays soft for days.
Wet sanding too early will drag the film and create lap marks, so respect the clock.
When you reach the buffing stage, use a clean foam pad and keep the compound moving to avoid burning the clear coat.
Your brush strokes and any residual texture disappear once you hit P3000, so trust the process and let the polish do the final work.
This self-cleaning approach relies on rain-wash cycles to cut dirt buildup by 70–80%, but the lacquer’s hardened film still benefits from the same low-energy surface principles that let water bead and carry away grime.
Frequently Asked Questions
Can I Apply Acrylic Lacquer Over an Old Oil-Based Finish?
Yes, you can apply acrylic lacquer over an old oil-based finish, but only after proper preparation. I’d urge caution because acrylic and oil systems expand at different rates, so skipping prep often leads to cracking.
Start by cleaning the surface with a degreaser like TSP, then rinse and let it dry fully for 24 hours. Lightly sand with 220-grit paper to create tooth, wiping away dust with a tack cloth afterward.
Test compatibility on an inconspicuous spot first, applying two thin coats and waiting 48 hours to check for lifting or blushing. If adhesion holds, spray your lacquer in light, even coats, waiting 15 minutes between them for best flow.
Seal any bare wood with a shellac-based primer first, since raw spots won’t bond with lacquer over oil. This method works for trim or cabinets, though you might also search for “lacquer over alkyd” for related tips.
What Is the Shelf Life of Unopened Acrylic Lacquer?
The shelf life of unopened acrylic lacquer is typically 2 to 3 years, but I have personally sprayed perfectly good product from five-year-old cans that were stored properly. The main enemies are heat, air, and light, so keep your sealed cans in a cool, dark closet or basement, not in a hot garage.
Before you trust that old batch, do a quick inspection and open the lid. Look for gelling at the bottom, a thick skin on top, or a sour, rancid odor; these are clear failure signs. If the lacquer still pours smoothly and smells like fresh solvent, you can test it on scrap wood, spraying a light coat to check for proper flow and gloss.
For a reliable test, stir gently with a clean stick, then apply two thin coats on a test panel. If it dries within 30 minutes to a tack-free state and hardens overnight, it is good. When in doubt, filter it through a mesh strainer to catch any lumps, and remember that unopened cans kept at 60 to 70°F will always outperform ones exposed to temperature swings.
How Do I Clean My Spray Gun After Using Lacquer?
To clean your spray gun after using lacquer, flush it immediately with lacquer thinner for solvent-based finishes, or water if you used a waterborne lacquer.
Start by emptying the cup, then run clean solvent through the gun until it sprays clear, which usually takes about 30 seconds.
Follow that with a tip soak: remove the fluid tip and needle, and let them sit in a small jar of lacquer thinner for 10 minutes to break down any dried residue.
For a stubborn clog, use a soft brass brush on the tip, never a metal pick, to avoid scratching the precision bore.
Always wipe the exterior with a solvent-dampened rag, and lubricate the needle packing with a drop of light oil before reassembly.
One practical habit: keep a dedicated cleaning bucket with fresh thinner ready before you start spraying, so you can flush within minutes of finishing.
If you’re switching between lacquer and another coating, do a final flush with acetone to ensure no cross-contamination.
This routine also works for HVLP and conventional spray guns, and it prevents the need for a full disassembly later.
Let the gun air dry completely for 15 minutes before storage to avoid solvent pooling in the air cap.
Can I Brush Acrylic Lacquer Instead of Spraying It?
Yes, you can brush acrylic lacquer instead of spraying it, provided you adjust your technique and the product’s flow. The key is to thin the lacquer slightly with its recommended reducer and add a commercial leveling agent to slow the drying time and eliminate brush marks.
Work in small sections, using a high-quality, fine-bristle brush, and lay down one wet coat without going back over it. Overbrushing pulls the finish and creates streaks, so commit to a smooth, single pass and move quickly across the panel.
Expect to sand with 400-grit wet paper after the lacquer has cured for 24 hours, then buff with polishing compound. This sanding step is essential because brushing rarely matches the atomized finish you get from a spray gun, and it removes any remaining texture.
For best results, apply two thin brushed coats rather than one thick one, allowing 30 minutes between coats. If you’re working on a small project like a picture frame, brushing is practical, but for large flat surfaces, consider a foam brush or consult guides on “lacquer application methods” to avoid frustration.
Why Does My Lacquer Finish Look Dull in Spots?
Your lacquer finish looks dull in spots because of uneven drying or trapped moisture beneath the film, which disrupts the surface’s natural gloss. To fix this, wetsand the affected areas with 400-grit paper, then apply a fresh, thin coat of lacquer to level the sheen.
Let the new coat dry for at least two hours in a warm, low-humidity room, as damp conditions will recreate the same cloudy patches. For stubborn dullness, use a burnish repair technique: polish gently with a fine rubbing compound and a soft cloth.
This works because the compound refines the lacquer’s surface texture without cutting through the finish. If the spots persist, check your spray gun’s air pressure, since too low a setting causes uneven atomization and poor leveling.
Rounding Up
Applying acrylic lacquers means you prep, you mix, you spray, you fix your mistakes, then you polish until the finish is right.
Check your wet coats for even coverage before the solvent flashes, and lay them down with deliberate, steady passes.
Compare your spray distance and air pressure against the manufacturer’s data sheet, then test a scrap panel first.
Fix any runs or sags immediately with a light sand and recoat, because patience is cheaper than a re-spray.
Polish only after the lacquer has fully cured, and own the shine by working in overlapping sections.
That deep gloss payoff comes from the routine itself, not from shortcuts.
Read next about acrylic lacquer vs. urethane clear coat durability.