How to Apply Acetones: Step-by-Step Guide
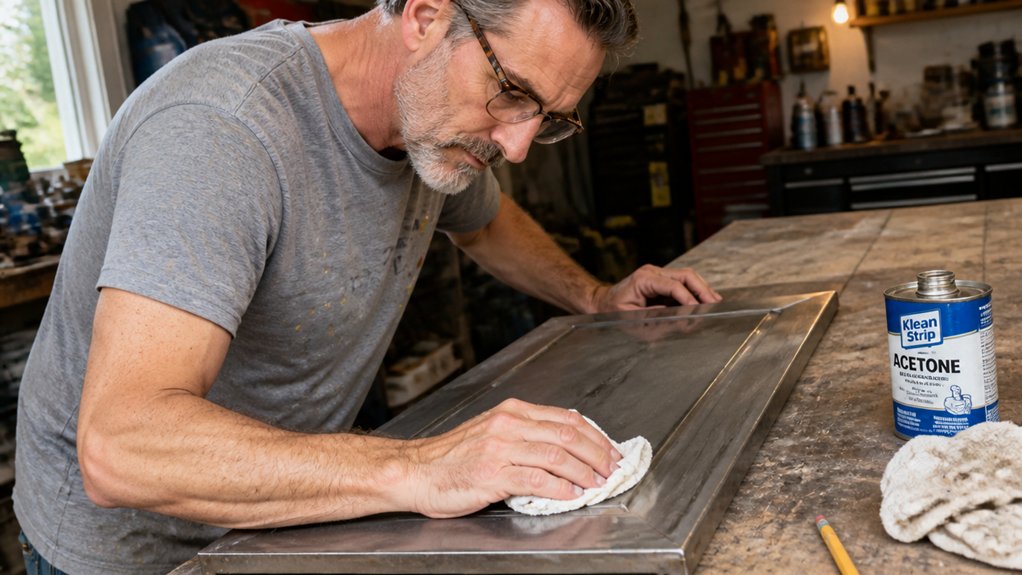
Buffing away that glossy finish is the difference between a quick gel removal and a frustrating 40 minute soak. Skipping the prep means the acetone barely penetrates, leaving you to scrape and damage your natural nails.
Start by filing off the shine with a 180 grit file, then wipe away oils with pure acetone on a lint free pad. Seal a soaked cotton ball under foil to trap heat, which cuts soak time down to 8 to 10 minutes for soft gels.
Hard gels will need 15 to 20 minutes, and you should slide the lifted product off with a pusher, never scrape.
The complete walkthrough below covers every step, from surface prep to the final clean up, so your nails stay healthy and ready for the next coat.
Quick Answer
- Scuff each nail with a 180-grit file until matte, breaking the topcoat for acetone penetration.
- Wrap acetone-saturated cotton in foil; tighten snugly to trap heat and speed gel softening.
- Soak soft gels for 5–10 minutes; hard gels need 15–20 minutes with fresh acetone re-wraps.
- Press softened gel toward the free edge and slide off like a sticker; never scrape or dig.
- Protect cuticles with petroleum jelly and ventilate the area to limit acetone fume exposure.
Prep the Nail Plate for Maximum Acetone Penetration
Slapping on acetone seems simple, but prep is where the real work happens. I use a 180-grit file to lightly buff off the shiny topcoat, which breaks the gel seal so the solvent can penetrate.
Grinding too hard shreds your natural nail, so keep the pressure gentle and even. Use 100% pure acetone, not diluted stuff, because it dissolves faster and leaves no residue behind.
Then I wipe each nail with an acetone-soaked lint-free pad to strip off oils, just like wiping a surface with mineral spirits before priming. Store the acetone away from heat and flames since it is highly flammable, and flammable vapors can ignite. Skipping that step guarantees the finish lifts later, so treat it like deglossing old paint before a fresh coat.
That prep cuts your soak time down, so you are not stuck with fingers in a bowl for twenty minutes. A little filing and dehydration up front saves you pain later, the same way scuffing a surface before varnish makes the bond hold.
File and Dehydrate Without Damaging the Natural Nail
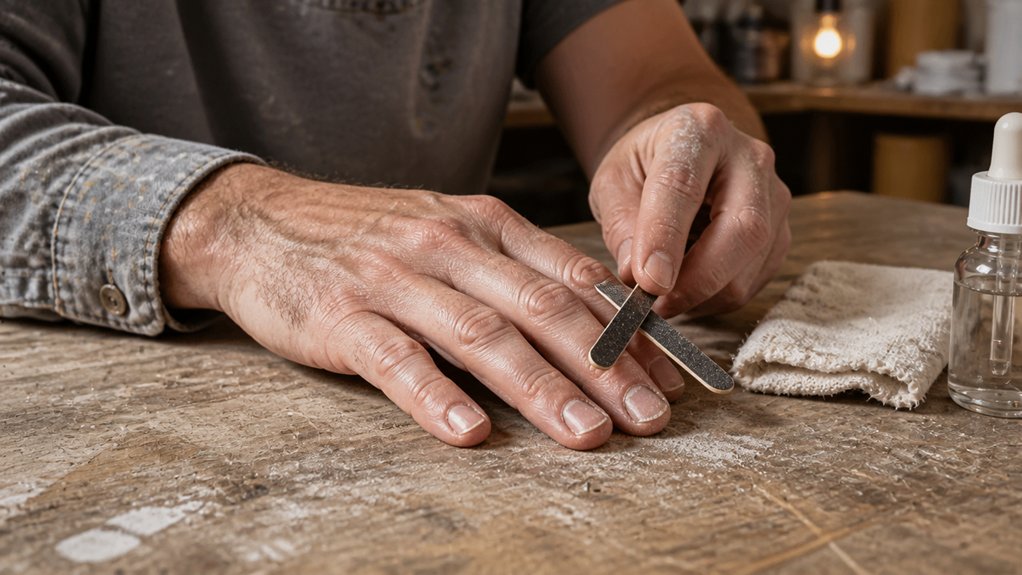
File the nail just enough to break the shine, like scuffing bare wood before you lay on a coat of primer. Use a 180-grit file with light pressure, one pass per area, and stop when the surface looks matte, not rough.
Aggressive digging thins the plate and invites soreness, so treat the nail like a finished piece you are prepping for a fresh topcoat. A gentle scuff is all you need; the gel needs tooth to grip, not a carved groove.
You will feel the relief of a smooth, clean surface with no stubborn residue left behind. You will dodge the panic of peel-off after three days, the way a poor varnish job lifts off raw wood.
You will build trust in your own hands, not just the product, because the prep is where the bond starts. Keep your filing calm and even, like laying down a wet edge on a wall, and the soak-off will behave, especially since 100% pure acetone removes gel polish most effectively.
Dehydrate next by swiping acetone on a lint-free wipe, never cotton, since fuzz acts like dust under paint. Those natural oils are lifting’s best friend, so remove them the way you wipe a surface with mineral spirits before staining.
You control the pressure and the product, so keep it light and you will nail the soak every time. Drying time matters, but so does the cure time of your gel, so wait the full minute before you touch anything.
Apply Acetone-Soaked Cotton for a Leak-Free Seal
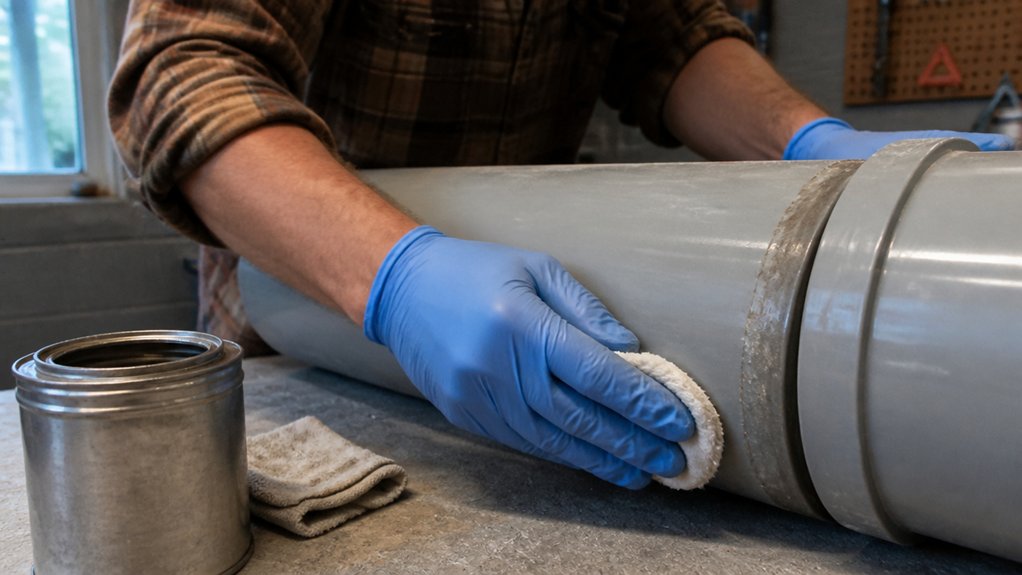
Cutting each cotton piece is the difference between a leak-free soak and a mess, so grab a pair of scissors and size them to fit each nail. Use about half a cotton ball for your larger fingers and a quarter for pinkies.
Saturate them until wet but not dripping; you are aiming for acetone containment, not a flood. Then press each piece firmly onto the nail, wrapping plastic food wrap around the fingertip.
That wrap is your seal, snug but not tourniquet-tight, like masking off a trim line before a topcoat. Aluminum foil works too, but it is less forgiving, much like a cheap brush leaving lap marks.
I have learned this the hard way, trust me. A loose wrap means acetone creeping onto your cuticles, which stings and dehydrates, the same way solvent burns bare wood before primer.
So take the extra thirty seconds to size and press each piece. Your skin, and your sanity, will thank you, just like a proper wet edge saves you from sanding out streaks later. Remember that full curing times range from 24 to 72 hours, so don’t rush the seal before that soak does its job.
Precision here saves you pain later, so treat each nail like a fresh coat of satin polyurethane, apply it once, apply it right.
Gel Polish Soak Times: Soft Gels vs. Hard Gels
Timing is where most DIYers go wrong, so let me save you the clock-watching. Soft gels, those bendy color coats, only need 5 to 10 minutes of soaking because their looser polymer web lets acetone slip right in.
Think of it like stripping a fresh stain with a low grit sandpaper; the finish lifts fast when the bond is weak. Hard gels, the stuff that builds nail extensions, play stubborn and demand 15 to 20 minutes, anything less and you are scraping at battle armor that just won’t quit.
That longer soak is like waiting for a full cure on a polyurethane topcoat, you cannot rush the chemical break. For both, keep a wet edge by wiping the acetone-soaked cotton every few minutes, and use painter’s tape around the cuticles to avoid drying out the skin. Applying tape to dry, dust-free surfaces and pressing edges firmly prevents acetone from seeping under the barrier.
Check the tack with a wooden stick, if the gel still feels glossy, give it another 5 minutes and reapply fresh acetone. Once it lifts, scrape gently with a cuticle pusher, no need to gouge like you are removing old varnish.
A quick buff with a fine grit file smooths any residue, then wipe with a lint-free cloth before you prime the nail for the next coat. That prep step is the same as wiping dust off a sanded table before you lay down a satin finish.
Soft Gel Timing
The 10 to 15 minute soak time you see everywhere is a lie for soft gels. Your soft gel color dissolves much faster, usually in 5 to 10 minutes, because the cross-linking is looser.
I have peeled mine off at seven minutes flat after a warm water bath. The gentle heat speeds up the acetone breakdown without cooking your nail plate, much like warming varnish to get a smoother flow.
Here is what you feel before you panic. The film test means the soft gel lifts at the edges as a single, rubbery sheet, not crumbly bits.
The push test means a light orangewood stick push meets zero resistance when it is ready. The sting check means if it stings, you are done, so stop watching the clock.
Do not soak past ten minutes. Your nail bed stays healthy, and you avoid the dry, cracked skin that comes with overexposure, just like wearing gloves when you sand with fine grit. Using a ventilated cleaning station can further reduce fume exposure during the process.
Think of the acetone as a stripper and your nail plate as the substrate. You want enough dwell time to lift the coating, not so much that you etch the surface underneath.
A warm water bath acts like a mild heat gun for your finish, cutting the drying time without leaving lap marks or rough edges. Once the film lifts, use a fresh coat of cuticle oil as your final topcoat to lock in moisture.
Hard Gel Timing
Hard gels need a longer soak than soft gels, and skipping that step damages the nail bed. I learned this firsthand with a stinging nail after rushing the job.
Think of the soak like letting primer cure before a topcoat; the timing matters more than the product. For hard gels, 15 to 20 minutes in acetone-soaked wraps is your sweet spot, not the 5 to 10 that soft gels require.
You will feel resistance when pushing the gel off, and that is your cue to re-wrap with fresh acetone, not to scrape harder. Scraping at that point is like sanding a finish that hasn’t dried, it lifts and tears rather than releasing cleanly.
Over soaking is just as bad, because it leaves angry, dehydrated skin and a damaged nail plate, much like leaving stripper on wood too long ruins the grain. Set a timer and stick to it; I use a warm water bath to speed things up, but I always keep a window open or a fan running.
Acetone fumes are no joke, and the label lists Class IB flammability, so ventilation is nonnegotiable, like using a low VOC stain in a closed room. My routine is simple: petroleum jelly on the cuticles as a barrier, a 180 grit file to break the seal, then patience with the wraps.
After about 18 minutes, the gel lifts on its own, and I wipe away the residue like a clean topcoat peel. Respect the soak time, and you get a smooth removal without the burn or the mess. Mineral spirits, with their low odor and clean evaporation, offer a gentler alternative for cleaning brushes and thinning paints when acetone is too harsh for the job.
Foil vs. Plastic Wrap: Which Removes Gel Faster?
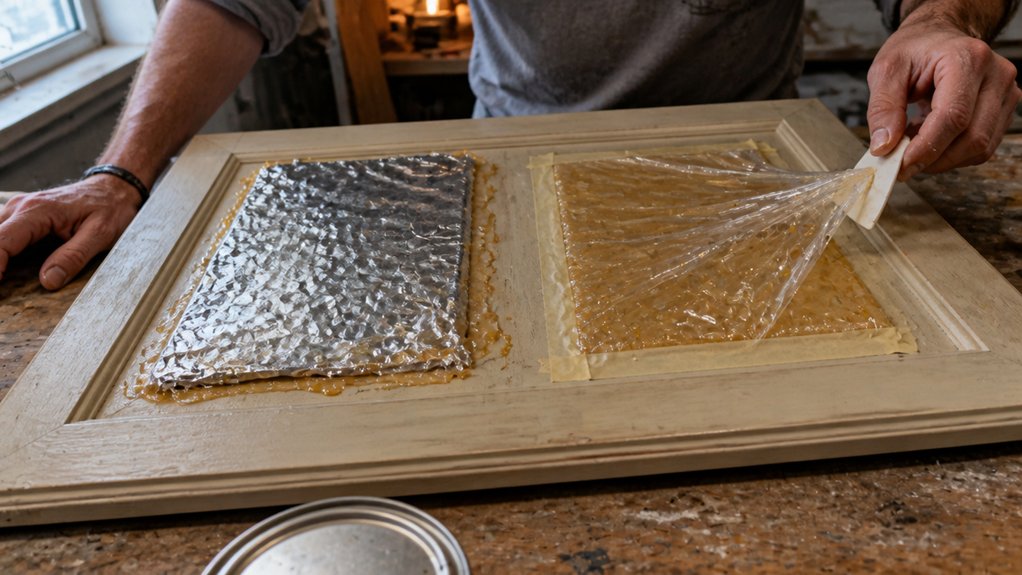
Foil takes the win for speed, no contest. It traps heat against your nail like a sealed primer coat, which speeds up the soak and cuts your time by a good chunk. Plastic wrap seals tight and stops drips, but it lets heat escape, so you’re stuck waiting on a slower melt.
Think of it this way: foil works like a warm topcoat that softens the gel fast, while plastic wrap is more like a low-sheen finish that does the job but takes its sweet time. If you want a quick release, foil is your go-to, just like grabbing a fast-drying varnish for a rush job. Plastic wrap is better when you don’t mind the extra minutes and want less mess to clean up.
For my money, I’d grab foil when I’m in a hurry, and plastic when I’m feeling lazy about the drop cloth and painter’s tape. Each has its place, but speed always wins on my bench. When you do reach for the plastic wrap, a reusable canvas cloth underneath can catch any stray drips and soak up the acetone before it reaches your work surface.
Foil Seal Efficiency
If you want speed over ceremony, aluminum foil beats plastic wrap every time. Foil seals tight around each finger, trapping acetone vapor like a tiny, tinfoil sauna.
Plastic wrap leaves gaps, so vapor escapes and the soak drags on. With foil, you get about 30% faster breakdown of that stubborn gel layer. The vapors stay trapped right where they work.
You also skip the cling-fight. No static wrap sticking to your hands, which I can never tame. Foil holds heat better, so the acetone works harder for every minute you wait.
Wrap tight, wait less, and you are done before your show even buffers. This is the same principle as keeping a wet edge on a topcoat: seal the surface and the solvent does its job. A tight seal also minimizes the need for extra coverage, much like how 12-inch shields cover more ground while weighing only about 3 ounces for efficient, uninterrupted work.
Warmth and Dissolution Speed
The wrap you choose controls how fast the heat gets to work, just like picking the right topcoat decides how a finish sets up. Foil holds your body heat and reflects it back, so the gel softens in about eight to ten minutes. Plastic wrap lets that warmth escape, which stretches the wait to twelve or fifteen minutes. I have used both many times, and foil saves me four to five minutes every snack.
That saved time matters when you are hungry, and the difference feels like watching paint dry versus wiping it clean. Think of foil as a reflective sealer that locks in warmth, like a gloss coat that bounces light and heat. Plastic wrap is thin and breathable, more like a flat matte sheen that lets temperature pass through. The metal surface of foil also picks up the natural warmth from your fingers, so the gel breaks down faster.
My advice is to grab foil every time. You will deal with the crinkly noise and the awkward folding, but you eat sooner. It is the same trade-off as using a drop cloth and painter’s tape for a clean edge, a little extra fuss for a better result. Foil may not be pretty, but it cuts the drying time and gets you to the finish line faster. For a similar speed advantage, many finishes rely on fast-drying enamels to set within minutes rather than requiring a long cure.
Wrap Duration Comparison
You’ve wrapped your nails, and now the clock is ticking. Foil is my go-to, hands down.
It traps heat better than plastic, cutting the typical 10 to 15 minute soak down to about eight. Plastic wrap is cheaper, sure, but it lets warmth escape, so you’re stuck waiting the full quarter hour.
Foil’s snug fit means no acetone drips down your cuticles. That means less sting and less panic while you work.
Plastic wrap shifts around, so you end up re-wrapping mid-soak and muttering under your breath. Foil holds its shape like a good primer coat holds to bare wood, steady and dependable.
Plastic’s loose hold feels more like a cold shoulder, while foil’s even temperature control is like a warm hug. For a DIY job, that steady heat matters, just like keeping a wet edge when brushing on varnish. Proper curing prevents a sticky post-cure finish that can complicate the soak-off process.
Use foil for faster, cleaner removal. Your nails and your patience will thank you.
Think of it this way: foil acts like the right sanding grit for the job, efficient and smooth, while plastic is like using a dull blade that drags and slows you down.
Slide Off Softened Gel Without Scraping or Picking
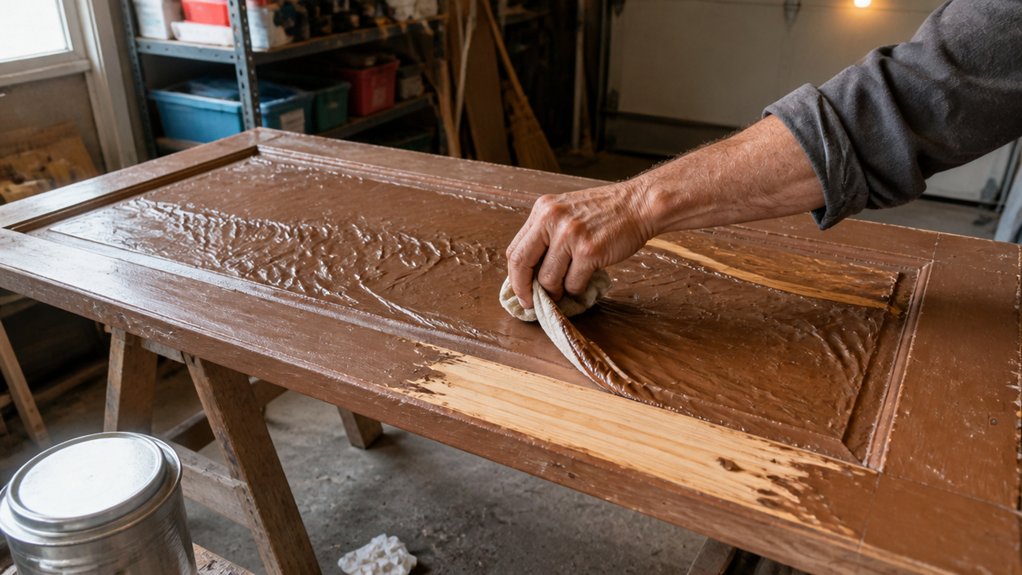
Once the wraps come off, the gel should look like a slightly cracked, rubbery shell. If it still clings like a glued-on layer, don’t fight it.
That’s your cue to re-wrap with fresh acetone-soaked cotton for three to five minutes. Walk away and let the solvent do the work, the same way a proper drying time beats rushing a topcoat.
Then try the gentle press technique. Use your thumb to push the softened gel toward the free edge and slide it off like peeling a sticker.
No tools and no digging. If it resists, you didn’t soak enough, so re-wrap again.
Scraping tears the nail plate and leaves ridges you’ll regret. Soak, press, slide, repeat, and your nails will thank you.
Protect Your Skin and Work Surface Before You Soak
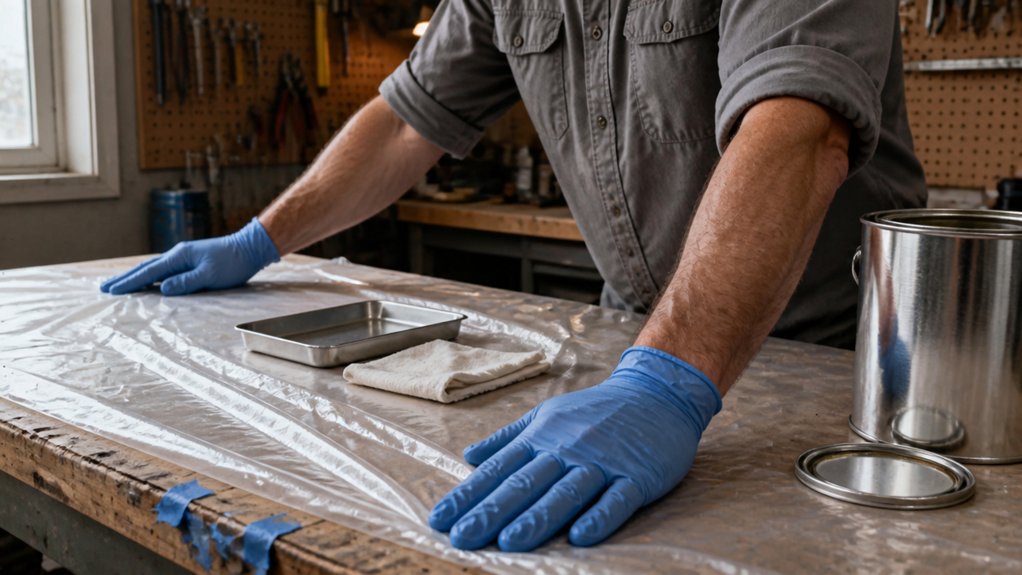
You need to protect your skin and work surface before soaking nails in acetone. This solvent strips oils, dulls finishes, and damages cuticles if you skip the prep.
I have ruined a laminate counter and peeled my own skin, so take the ten minutes to set up right.
Smear a thick layer of petroleum jelly around each nail, like frosting on a cake. It acts as a barrier against the sting and keeps your skin from drying out.
Lay down a plastic drop cloth or silicone mat under your work area. Acetone melts varnish and can cloud a painted countertop, so a cheap plastic sheet saves you a costly refinishing job.
Crack a window or turn on a fan to clear the fumes. Acetone vapor has a high VOC content, and breathing it in a closed room can make you dizzy mid-removal.
A breezy space keeps you steady and protects your lungs.
Think of the jelly as a primer and the drop cloth as your topcoat. The right prep means no stained surfaces and no peeling skin.
Spend ten minutes on protection, or spend days dealing with the damage. It is a simple choice.
Frequently Asked Questions
Can I Reuse Acetone for Multiple Nail Removal Sessions?
Yes, you can reuse acetone for multiple nail removal sessions, but I strongly advise against it for consistent, clean results. Each soak pulls dissolved gel and polish into the liquid, which quickly turns it cloudy and sluggish at breaking down fresh product.
That contaminated acetone also carries bits of old color and debris back onto your nail plate, which can irritate the skin and slow the whole process. For a practical rule, treat a jar of acetone as single use if you value speed, or at most two sessions if you’re strictly doing a quick refresh.
A better tip is to use a small glass bowl with a tight lid and pour out only what you need, about 20 milliliters per hand, then discard it. Warm the acetone slightly by sitting the bowl in hot water, never on a flame, and you’ll find fresh solvent lifts gel in under 10 minutes. Search for “nail soak off remover” if you want a gentler alternative.
Is Nail Polish Remover With Acetone Equally Effective?
No, nail polish remover with acetone is not equally effective as straight acetone. The additives in commercial removers, like glycerin and fragrance, dilute the solvent’s strength, which slows down the breakdown of polish and leaves a greasy film.
For a clean, fast strip, use pure acetone from a hardware store. It evaporates in under 30 seconds per nail, so work in small sections. Straight acetone also works better on cured gel or shellac, where even a 10% dilution can double your soak time.
If you need a gentler option, look for “ethyl acetate” remover, but expect to scrub twice as long. My tip: pour pure acetone into a small jar, dip a cotton pad, press it on the nail for 10 seconds, then wipe. That’s your quickest victory.
What if I Don’t Have Lint-Free Pads or Cotton Balls?
If you lack lint-free pads or cotton balls, you can absolutely use soft cloth rags as acetone alternatives. Cut them into nail-sized squares, saturate them, and wrap them around the affected area; they are a bit messier but work fine for stain removal. Just confirm they are truly lint-free enough to avoid leaving fibers in your finish.
Check an old cotton t-shirt or flannel sheet, as these usually work better than terrycloth which sheds. Press the rag against the finish for 30 to 60 seconds before wiping, which helps break down the lacquer without extra rubbing. For tighter spots, you can also try non-woven shop towels, but test them first on a scrap board. Keep the rag slightly damp, not soaking, to prevent pooling.
How Do I Know if My Nail Plate Is Damaged?
You will know your nail plate is damaged when you see visible ridges, peeling, soft spots, or a persistent burning sensation after applying polish or remover. If you have been overusing acetone, your nails will feel thin, flex too easily, and may sting when touched.
Check for damage by pressing gently across the center of the plate; a healthy nail should feel firm and spring back without bending. To test at home, file a small edge with a 240 grit board and look for white, powdery dust that indicates dry, compromised layers.
Give your nails a break for at least two weeks, and switch to a non-acetone remover for future touch ups. Apply a hardener, but only one coat, and wait a full 60 seconds between layers to let it penetrate properly. If peeling continues past a month, treat it like trauma and see a doctor, not just a new polish.
Can I Soak Nails if I Have Cuts or Hangnails?
No, you should not soak your nails if you have cuts or hangnails, because water and soap will aggressively irritate the open skin and invite infection. Instead, switch to a wrap technique using a lint-free cloth dampened with isopropyl alcohol to gently clean the nail plate, skipping any damaged areas entirely. This method evaporates quickly, so you can move to filing and priming within two minutes, while soaking would leave moisture trapped behind torn cuticles.
For the healthiest result, apply a bonding primer only to the intact nail surface, avoiding raw tissue completely. Your finishing coats should be thin, and I recommend using a brush-on cuticle oil after curing to soften that ragged edge without reopening the wound.
Keep your hands dry for at least an hour post-wrap, and never scrub across a hangnail; blot it instead. This approach protects the nail bed and lets those small tears heal fast, so you’re ready for a full soak in about five days if the area stays clean.
Rounding Up
To apply acetone for gel removal, wrap each nail in a leak-proof seal and wait, not scrape.
Set a timer for twenty minutes on hard gels and ten on soft gels, then check your progress.
Stop peeling like a maniac, because that hack job damages your nail bed faster than any soak.
Test your wrap’s seal before you start, pressing the foil edges down firmly to lock in moisture.
Compare your gel type against the clock, and write down which timing works for your current brand.
Soak smarter, not harder, and you will save yourself a polish change and a therapy bill.
Read next about cuticle oil aftercare.