
How to Apply Pool Paints: Step-by-Step Guide
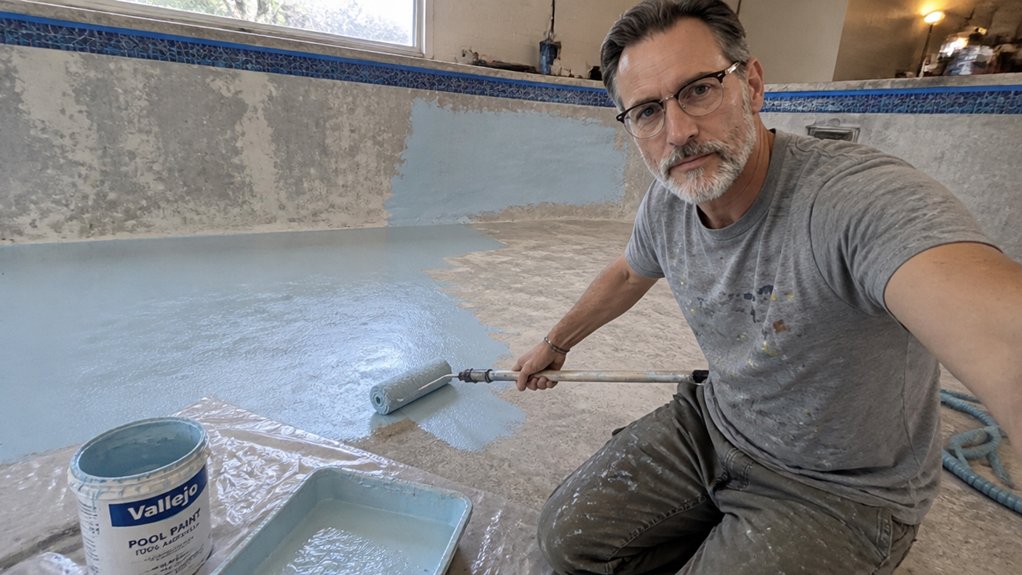
Applying pool paint is a messy job, but the real enemy is skipped surface prep, not the paint itself. If you’re staring at a drained pool with flaking edges and patchy spots, you already know the frustration of watching your work peel within a season.
This guide walks you through every step, from matching the old coating to nailing the ideal drying time and cure period. You’ll learn how to roll two thin coats with the right nap and why waiting a full week before filling is non-negotiable.
The cure time details are sneakier than you think, so stick around for the full breakdown.
Quick Answer
- Prepare the surface by draining, drying, scraping, patching, washing with TSP, and sanding.
- Identify the old coating with an acetone test to select the correct matching paint type.
- Paint only between 50°F and 85°F with 48 dry hours and low humidity.
- Apply two thin coats with a ⅜-inch roller, working in small sections to maintain a wet edge.
- Allow a full week of cure time before refilling, then seal with two coats of clear sealer.
Why Surface Prep Decides Your Pool Paint Job’s Lifespan
Your pool paint peels because the surface underneath wasn’t ready, not because you picked the wrong brand. You can’t expect fresh topcoat to stick to flaking, dirty plaster, and no amount of expensive paint will fix that.
Adhesion starts with a clean, stable base, so prep is the real job. Drain the pool and let it dry completely for days, not hours, then scrape off every loose chip and patch every crack.
Drain it completely, then scrape every loose chip and patch every crack. Prep is the real job.
Let all repairs cure fully before you even think about paint. New plaster needs a full 28 days to cure, otherwise the moisture will push your new coating right off.
Wash the whole surface with TSP to remove oils and residue, then do an acid wash using one cup of muriatic acid per gallon of water. Rinse everything again with clean water and let it dry until the surface feels like bare, dry concrete. Maintain a temperature range between 50°F and 90°F during this entire process to ensure proper chemical reactions.
Skipping this step is like painting over dust, your primer and topcoat will have nothing to grip. Use a stiff brush to work the TSP into pores, then rinse with a hose to remove all soap film.
A good primer will seal the plaster and give your paint a uniform sheen to bond with. Choose a low-VOC acrylic pool paint for the topcoat and apply it with a roller to keep brush strokes even.
Keep a wet edge as you roll, working in sections so you avoid lap marks and streaks. Drying time is only a few hours, but cure time is a full week before you refill the pool.
Do the prep right and your paint will last five years or more. Cut corners and you’ll be draining, scraping, and repainting within a season.
How to Choose Pool Paint (Match the Old Coating First)?
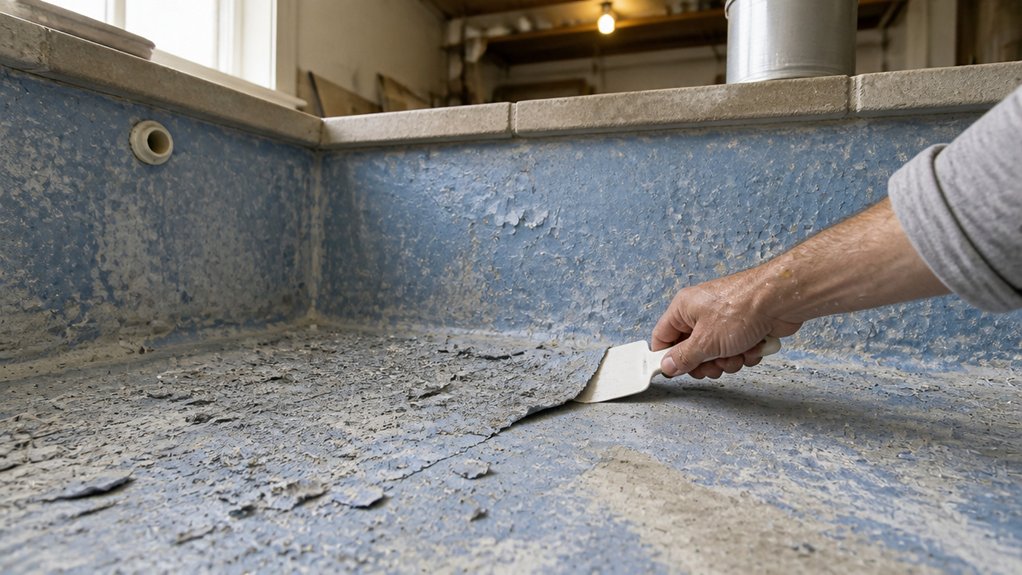
Figure out what’s already on your pool before you buy a single gallon. I’ve seen people roll epoxy over rubber, then watch it lift off in sheets like a bad sunburn.
Scrape off a small chip and test it with acetone on a rag. If the paint softens and smears, it’s rubber; if it flakes off hard and brittle, it’s epoxy; if it turns to powder, it’s likely acrylic.
Match the old coating family, because that’s the only bond you can trust. Same chemistry grabs onto itself; different chemistries fight each other and peel within a season.
For epoxy pools, stay with a two-part epoxy paint. It grabs hard, resists chemicals, and can last around eight years with proper prep.
For rubber pools, use rubber paint only, and skip it on fiberglass because the flexing causes cracking.
For acrylic pools, you can topcoat with acrylic for a faster dry, or switch to epoxy for a tougher finish, as long as the old surface is clean and dull.
Before any new paint, wash the pool with a mild cleaner, rinse well, and let it dry completely.
Lightly sand the old coating with 80 to 120 grit to give the new paint something to grip, then wipe off all dust.
Apply a compatible primer if the label calls for one, especially on bare patches or stains.
Use a roller with a 3/8 inch nap for the main walls, and brush corners with a synthetic brush to avoid brush strokes.
Keep a wet edge while rolling, and work in sections so you don’t get lap marks.
Check the drying time versus cure time on the can, because you can refill the pool only after it fully cures, often several days.
Pick a low VOC paint for easier handling, and lay down a drop cloth and painter’s tape around the pool edge to protect the deck.
Choose a satin or gloss sheen for pool paint, since flat finishes hold dirt and algae more easily.
If you’re unsure about the old coating, test a small hidden patch with your new paint first and let it dry for a week.
That test will show you whether the bond holds or if you need to strip back to bare plaster.
For extra traction on the pool deck and steps, mix in a fine aluminum oxide additive like Rust-Oleum’s, which converts standard paint into a slip-resistant surface without altering its original appearance.
Paint Your Pool in 50–85°F Weather With 48 Dry Hours Ahead
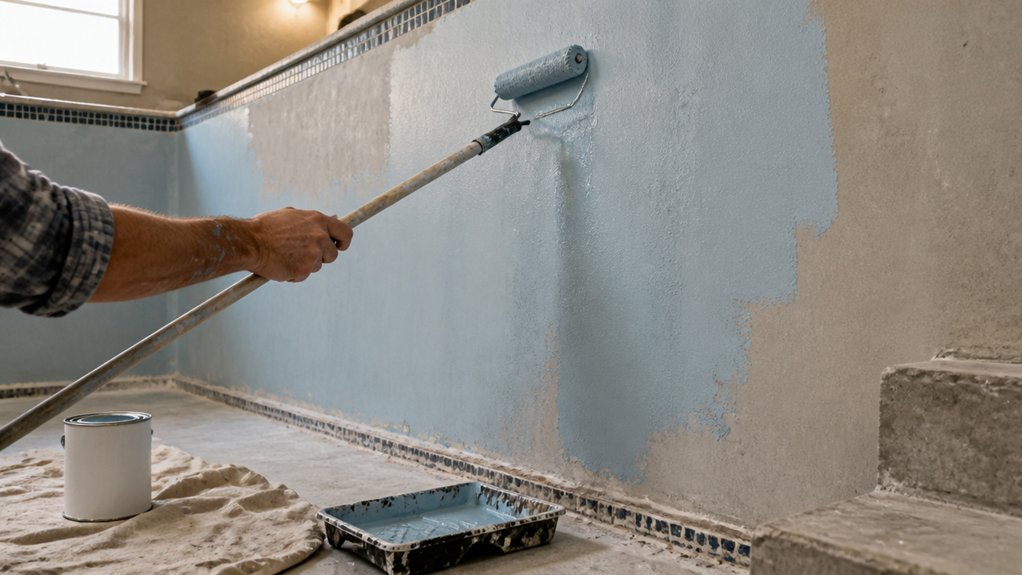
Timing is everything when you paint a pool, and I learned that the hard way after ruining a finish in a heatwave.
The sweet spot is 50°F to 85°F, with 48 dry hours ahead, so check the forecast like your wallet depends on it, because it does.
Below 50°F, the paint won’t bond to the concrete or plaster, and above 85°F, the topcoat blisters and cures into a crinkly mess.
You also need to watch the dew point: if the surface temperature creeps within 5°F of it, moisture is lurking, and that kills adhesion fast.
A cool, dry morning with low humidity and some shade gives you the best wet edge, so you can lay down a smooth coat without lap marks.
Use a high-quality acrylic pool paint, and roll it on in thin, even passes, keeping a wet edge so brush strokes and roller lines don’t show.
Drying time matters more than you think: the paint may feel dry in a few hours, but full cure takes days, and any rain in that window ruins the sheen.
For a beginner, stick to a satin or gloss finish, because matte hides flaws but shows every water stain later.
Use painter’s tape around the tile line and skimmers, and lay a drop cloth over anything you don’t want speckled, since a stray brush flick is a pain to clean.
Sand any old, peeling paint with 80-grit paper first, then rinse and let the surface dry completely before you prime, because primer seals the pores and helps the topcoat stick.
Low-VOC paints are easier on your nose and the environment, and they still give a tough, long-lasting finish for a pool.
If you rush and paint when it’s too cold or damp, you’re repainting next season, so wait for that clear, dry window.
Aim for a day with a light breeze, not wind, because wind dries the paint too fast and pulls dirt into the wet coat.
Keep an eye on the thermometer through the afternoon, and stop painting if the heat climbs past 80°F, since the paint will skin over before you can work it.
Also, ensure your chosen paint has UV-stable pigments to prevent fading from intense sun exposure.
Apply Two Thin Coats for a Smooth, Even Finish
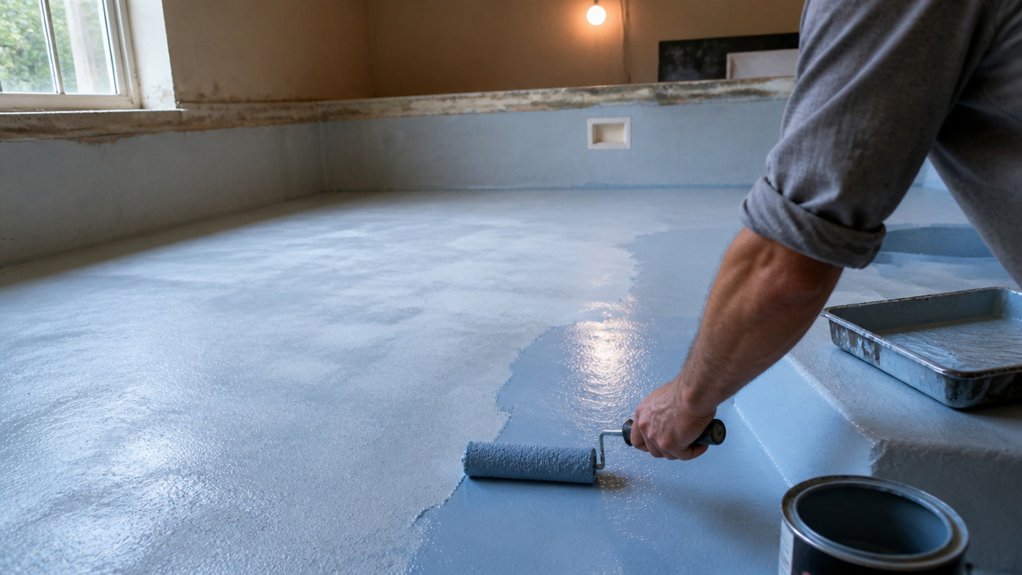
The real secret to a smooth, pro-grade pool finish is resisting the urge to apply one thick coat. Thin layers cure evenly, adhere better, and prevent the sagging that ruins a weekend project.
Grab a ⅜-inch roller nap, which is the pile height of the fuzzy sleeve. It holds just enough paint for an even spread without overloading the wall. This nap density stops stippling and prevents pooling for a uniform finish.
Start in the deep end and backroll each pass to keep the coating level. Work in small sections so the wet edge stays alive and lap marks don’t show.
Two light sweeps beat one heavy blob every time. The paint dries faster, so you avoid brush strokes and drips between coats.
Check the label for drying time versus full cure time before recoating. Use a satin or glossy topcoat for durability, and keep a drop cloth and painter’s tape handy for clean edges.
Be patient, go thin, and let each layer set before adding the next. The payoff is a finish so clean, you’ll forget the mess.
Wait 5–7 Days Before Filling, Then Seal and Inspect
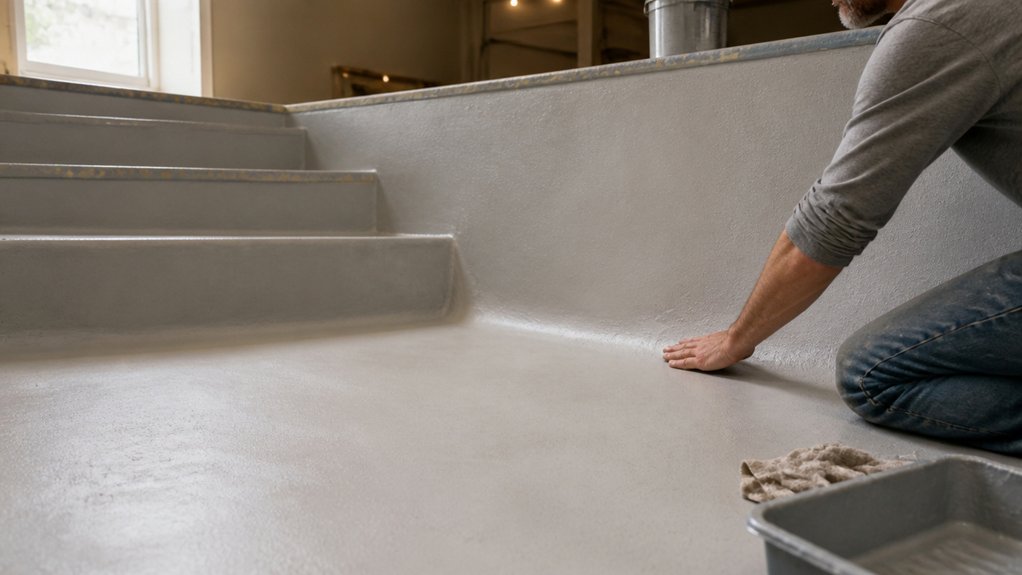
Once those two thin coats are on and looking sharp, the hardest part begins: doing absolutely nothing for a week. Trust the curing chemistry, not drying myths.
A paint feels dry to the touch in hours, but the solvents need days to fully evaporate and bond. Fill early, and you are inviting blisters, peeling, or worse.
After that agonizing wait, seal the surface with two coats of clear concrete sealer, especially for acrylic or epoxy paints. That extra step buys years of durability, so treat it like the topcoat it is.
Let the sealer cure its own five days. Yes, more patience, but a wet edge and proper sheen depend on that rest.
Finally, inspect every corner, light fixture, and drain before filling. Miss a spot, and you will see it underwater, staring back like a regret.
Use a drop cloth and painter’s tape around edges before you roll, and check the VOCs on your sealer label so the fumes don’t surprise you.
Wait the full window, seal smart, and inspect twice. Your pool’s finish depends on exactly this boring week, so plan your sanding grit touch-ups and primer checks now, not later. Keep application temperatures between 50°F and 90°F to ensure proper curing for water-based coatings, just as you would with damp-proof paints.
Frequently Asked Questions
Can I Paint Over a Wet or Damp Pool Surface?
No, you cannot paint over a wet or damp pool surface, as trapped moisture will destroy adhesion and cause the coating to blister or peel within weeks. The substrate must be completely dry, ideally with a moisture meter reading below 12 percent, before you even consider rolling on a single coat.
For a freshly drained pool, allow at least 3 to 5 days of warm, breezy weather after washing the shell. If you’re facing humidity, speed things up with a blower or dehumidifier, and always stop working if rain is forecast.
Related to this, check the relative humidity during application, not just the surface dryness, since damp air can re-condense on the plaster. Before painting, sand any rough spots with 60 grit to open the pores, then wipe with a dry rag.
This extra prep prevents costly rework and ensures your bonding lasts for years. One practical tip: press a square of clear plastic tape onto the surface overnight, and if moisture droplets appear underneath, you’re not ready yet.
How Do I Know if Old Paint Is Epoxy?
You can identify old epoxy paint by combining an odor test with a scratch test, since epoxy emits a sharp solvent smell and cures to a tough, glossy film. Hold a coin or key to the surface and scrape gently: true epoxy resists the mark, while latex or acrylic will gouge or flake easily.
Another quick clue is the surface temperature and sheen, as epoxy feels cooler to the touch and holds a higher gloss than most water-based paints. For a practical check, sand a small patch with 80 grit paper; epoxy produces fine dust and clogs paper rapidly, revealing its hardness.
If you need certainty before recoating, wipe the area with denatured alcohol; epoxy remains unaffected, but latex softens. Related terms to search are “two-part polyurethane” or “catalyzed enamel,” which often share epoxy’s durability. Always test in an inconspicuous spot, and remember epoxy requires a light 120 grit scuff before any new coat.
What Happens if It Rains After Painting?
Rain after painting interrupts the paint cure and can cause real issues like dampness damage and a longer drying time. I’d act fast by using a pump or a squeegee to remove standing water from the surface as soon as it’s safe to do so.
Let the area dry fully before assessing the finish, which often takes 24 to 48 hours depending on humidity and airflow. If you see blisters or a milky haze, you’ll need to sand those spots with 220 grit and apply a fresh topcoat.
For oil-based paints, rain within the first 6 hours is the riskiest window, while water-based latex can manage light drizzle after 2 hours. Check weather forecasts before you start, and always keep a tarp handy for sudden showers to protect the curing film.
Can I Use a Primer With These Pool Paints?
Yes, you can use a primer with these pool paints, but for most water-based or rubber-based systems you simply do not need one. In fact, a mismatched primer can weaken the bond between the fresh coating and the cured pool surface, leading to peeling within a season. Stick with the manufacturer’s complete paint system, since these formulas are already self-priming and designed to grip bare plaster or fiberglass directly.
If you must address a stained or heavily patched surface, sand it with 80 grit first and wash off the dust, then apply two thin coats of the same paint instead of any primer. For a rougher, older pool, use a bonding agent only if the paint label explicitly calls for it; this is a rare exception, not a rule. Always check the drying time between coats, typically 4 to 6 hours for most acrylic pool paints, and avoid any product that promises universal priming, as that often contains solvents that react badly with chlorinated water.
How Soon Can I Walk on the Painted Pool Floor?
You can walk on the painted pool floor only after the paint cure is complete, which typically takes 3 to 7 days depending on humidity and coating thickness. Testing for dryness marks is a mistake, because pressing a finger or cloth into the film can leave permanent imprints or cause peeling along the edges.
To be safe, wait the full seven days if you used a high‑build epoxy or rubber‑based pool paint, since these cure slower than acrylics. Check the manufacturer’s label for the recoat window, and if you need a second coat, apply it within 48 hours or you’ll have to sand lightly with 120‑grit before the next layer.
After the final coat, keep foot traffic off for at least 72 hours, and avoid dragging furniture or ladders across the surface for a full week. Use bare feet only after the paint no longer feels tacky, and hose down the floor with water to test hardness without abrasion. Patience here prevents costly blistering and ensures a durable, long‑lasting finish.
Rounding Up
To apply pool paints, you start by prepping the surface through sanding and etching.
A thin coat cures faster, a clean coat sticks longer, and a patient coat saves your wallet.
Check that your surface is fully clean and etched before you open the paint can, and write down the curing time for your specific product.
Test a small patch first to confirm adhesion, and compare your weather forecast against the paint’s temperature window before you start.
Skip the prep, and you’ll repaint next summer.
Follow it, and you’ll swim for five years.
Read next about choosing the right pool paint type for your plaster.


