How to Apply Porch and Deck Paints: Step-by-Step Guide
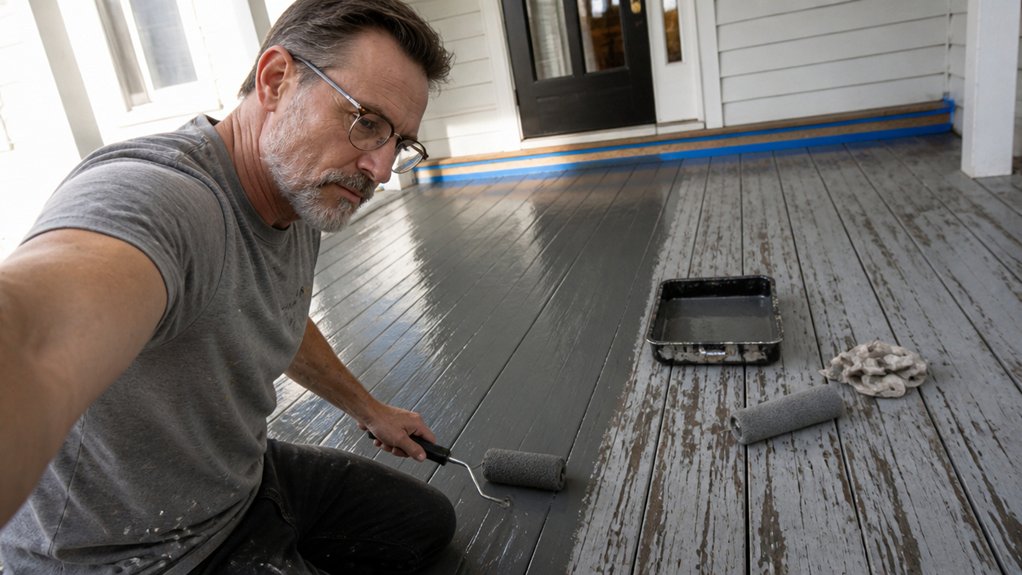
A flawless porch without streaks is achievable, but it starts long before the paint hits the wood. The secret is in the surface prep, not the application, and I will walk you through every step. Sanding with 80-grit, filling nail holes, and priming are the boring tasks that save you from peeling paint and wasted money.
Applying two thin coats with a 3/8” nap roller keeps the finish smooth, but you must respect the dry time. Work in sections to maintain a wet edge, and you will avoid ugly lap marks.
I will also break down the timing for drying and curing, which is where most DIYers trip up.
Stick with me to learn how to get a durable, professional finish that costs less per year.
Quick Answer
- Prepare wood by sanding with 80-grit, filling nail holes, and applying bonding primer above 50°F.
- Use a nylon-polyester brush for edges and a 3/8″ nap roller for open areas.
- Roll long, steady passes along grain, overlapping half, and maintain a wet edge.
- Apply thin coats, sand lightly with 220 grit between coats, and follow cure times.
- Two coats provide 5–7 years of protection; avoid water and scrubbing for four weeks.
Sand, Fill, and Prime Like a Pro
Start with a fresh sanding block, because deck paint only sticks to a clean, rough surface. I learned this the hard way after a winter of peeling patches.
Dry sand with 80-grit to knock off splinters and mill glaze, that shiny factory sheen that repels paint like a cat avoids bathwater. Blow off the dust with a leaf blower afterward, since dust is the enemy of adhesion.
>Dry sand with 80-grit, then blow off dust—because adhesion hates a shiny, dirty surface.
For wood filler, choose exterior-grade, paintable compounds, and elastomeric types flex with the boards. They cost around $8 to $12 a tube, while cheap filler cracks and takes the paint down with it.
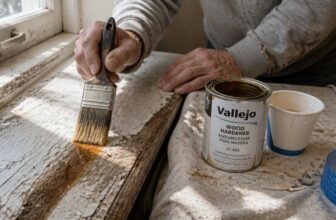
Fill every nail hole, scrape the filler flush, and let it cure fully before anything else. Then apply a deck-specific bonding primer, which seals the wood and gives the topcoat something to grip. Keep temperatures above 50°F to ensure optimal drying conditions for both primer and topcoat.
Patience at this stage saves you a summer of touch-ups. Use a satin or semi-gloss topcoat with a low VOC rating to keep fumes down while you work.
Keep a wet edge as you roll, and avoid lap marks by painting in full sections from end to end. Stretch drop cloths over nearby plants and use painter’s tape along house walls for crisp lines.
How to Apply Porch Paint Without Streaks or Drips
Streaks and drips come from overloading your brush or rushing the overlap. I know because I’ve stared at my own wrinkled mess more than once.
Use a quality nylon‑polyester brush for edges so it lays paint down smoothly without dumping a puddle. For the open areas, your roller technique matters more than speed.
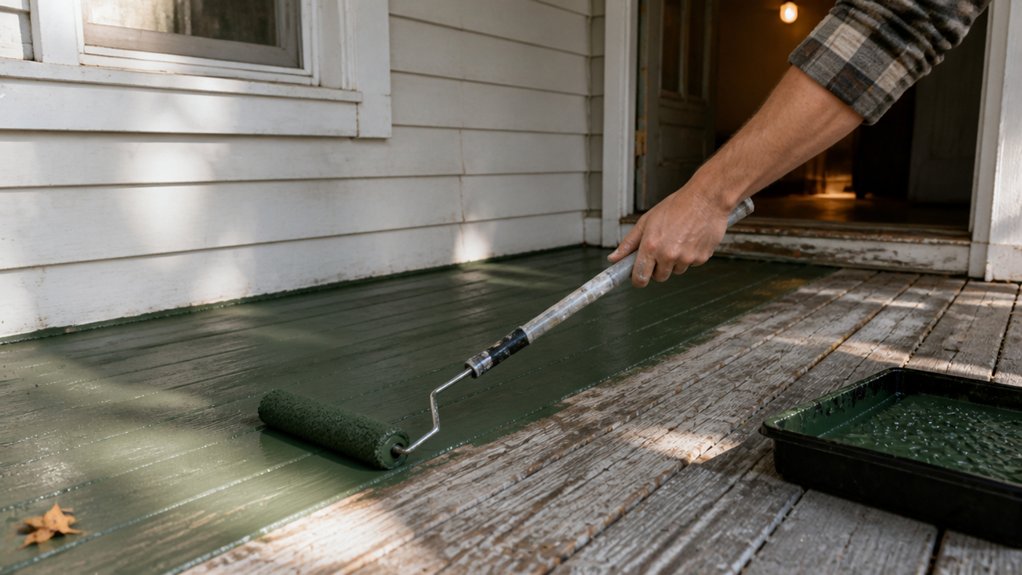
Load a 3/8″ nap roller evenly, then roll in long, steady passes along the plank’s grain. Don’t press hard; let the roller glide.
Overlap each pass by half and keep a wet edge, which is your best defense against lap marks. Work in manageable sections, maybe two boards wide, and never double‑dip mid‑stroke.
I once chased a drip across three boards like it owed me money. Don’t do that.
Slow down, apply thin coats, and let each layer dry before the next. Use a drop cloth and painter’s tape to protect the surrounding wood, and check the label for drying time versus full cure time.
A satin or matte sheen hides small flaws better than gloss, and a low‑VOC topcoat keeps the fumes down. Sand lightly between coats with 220 grit to knock off any raised grain or brush strokes.
Patience is cheaper than repainting, so give the paint time to level on its own. Finish with a clean, flat porch that looks like you knew what you were doing.
A uniform nap density stops stippling and helps the paint release evenly across each plank.
Dry Times: When to Walk, Furnish, and Clean
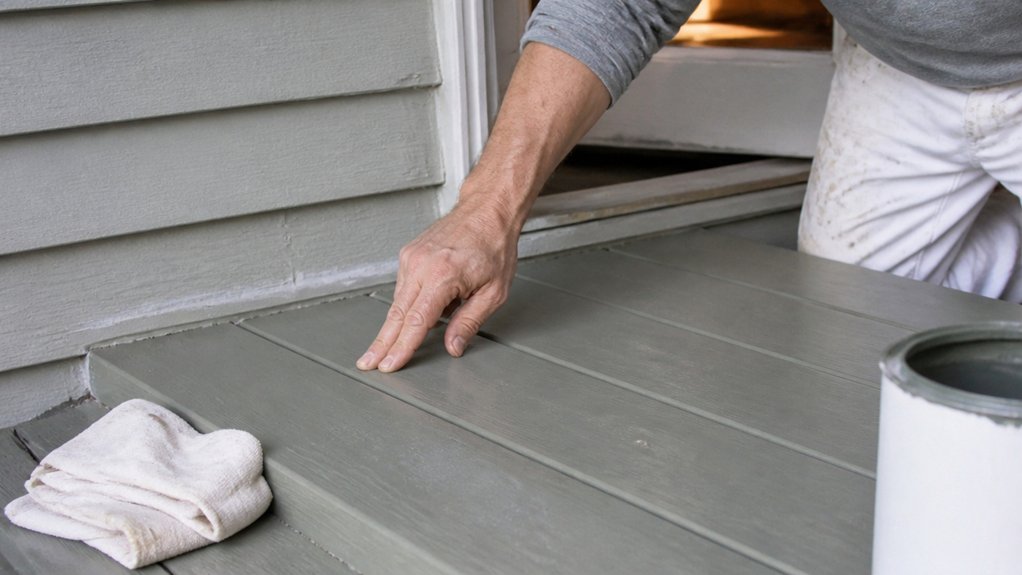
You can stop tiptoeing around fresh paint after about 72 hours for normal foot traffic. Bare feet and sneakers are safe then, but I still would not drag planters across the surface.
Light furnishings can go back after a full week, while heavy items like grills need two weeks minimum. If you rush the heavy stuff, you will leave permanent divots in your finish that no topcoat can hide.
Your cleaning routine starts with gentle sweeping only for the first four weeks. No rinsing or scrubbing during that time, because water and friction can soften the film and ruin the cure.
After the four week cure time, a mild soap and water mix works fine for regular cleaning. Use a soft cloth or sponge, and avoid anything abrasive that could dull the sheen.
Patience here is the cheapest insurance you have against repainting early. I learned this lesson twice on my own deck, once with a satin polyurethane and once with a gloss enamel, so trust the schedule.
Keep your drop cloths down and painter’s tape on trim until the full week is up, even if the surface feels dry to the touch. Drying time and cure time are not the same, and the finish keeps hardening for days after it stops feeling tacky.
Remember that humidity can delay drying and leave the film tacky for days if you rush the process, so always check the forecast before starting.
Why a Second Coat Matters for Durability
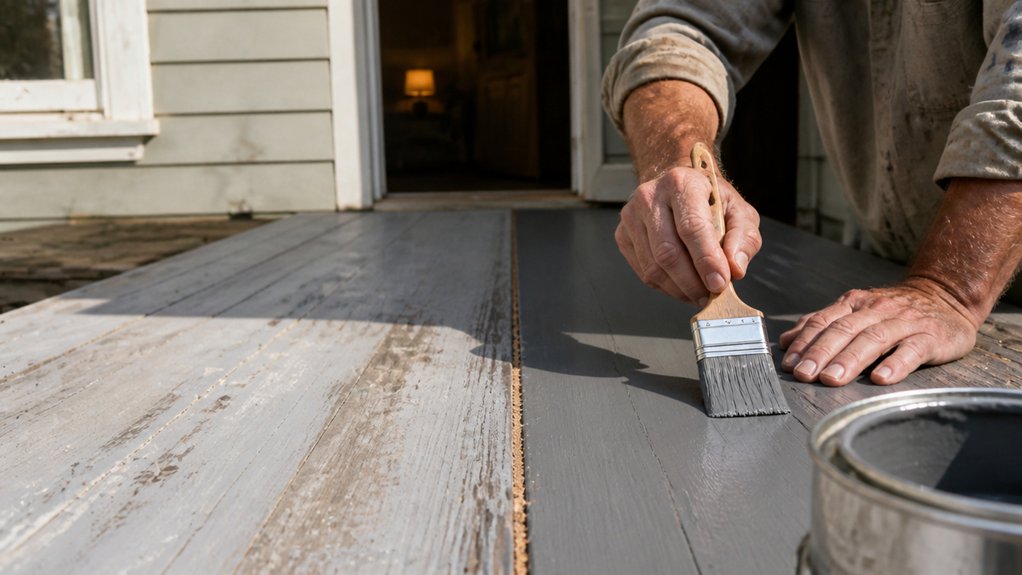
One coat of deck paint is like a single slice of bread for a sandwich: technically edible, but you won’t serve it to guests. You need that second coat for real protection.
It builds a proper moisture barrier, sealing the tiny pores a first pass always misses. Water sneaks in through those gaps, lifts the film, and you’re repainting next summer.
That extra layer also evens out the color and gives the finish a richer, deeper look. A single coat dries patchy and thin, especially on rough cedar or pressure-treated lumber.
Here’s what you actually gain with that second pass:
| Factor | One Coat | Two Coats |
|---|---|---|
| Durability | 2–3 years | 5–7 years |
| Moisture resistance | Weak | Strong |
| Color depth | Patchy | Rich, even |
| Scratch resistance | Low | High |
| Cost per year | $40 | $15 |
The math is simple: you spend an extra hour with the brush now, and you save a whole weekend later. The cost per year drops because the paint job lasts twice as long.
Use a quality acrylic topcoat with a satin or semi-gloss sheen for the second coat, and keep a wet edge as you work to avoid lap marks. Let the first coat dry fully, then sand lightly with 120-grit to knock down any raised grain before you roll on the second layer.
Don’t skip the primer either, especially on bare wood, because it gives both coats something to bite into. A low-VOC primer helps the topcoat bond and seals the tannins in cedar or redwood so they don’t bleed through.
Painter’s tape around the edges and a drop cloth on the ground keep things clean, but the real work is in the brushing. Push the paint into the grain, not just over it, and you’ll get a film that shrugs off rain and foot traffic. Ensure the surface stays within the optimal application temperature range of roughly 50–90°F so the coating cures properly and avoids adhesion failure.
One coat looks fine from the deck, but two coats look fine from the curb. Your deck’s future self will thank you when you’re still scraping old flakes five years from now instead of planning a weekend repair job.
Frequently Asked Questions
Can I Paint Over Old Paint or Must I Strip It?
Yes, you can paint over old paint without stripping it, provided the existing coating is sound and properly prepared. Start by scraping away any loose or flaking paint, then wash the surface with a degreaser and rinse thoroughly to remove contaminants.
After it dries, perform a simple adhesion test by pressing duct tape over the area and pulling it off sharply. If paint stays put, lightly sand with 120 to 150 grit to dull the sheen, then wipe off dust with a tack cloth.
Apply one coat of high quality primer, followed by two finish coats, allowing at least two hours of drying time between each. For glossy old enamel, scuff sanding is essential, otherwise your new topcoat may peel. This method works for most interior walls and trim, but if you see cracks or bubbling, consider stripping those sections first.
What Happens if Rain Falls Before 24 Hours?
If rain falls before 24 hours, the paint film is highly vulnerable to water damage and will likely suffer adhesion failure. That moisture gets trapped beneath the partially cured coating, creating blisters and a milky haze that ruins the finish.
A good rule of thumb is to check the forecast for a full 48 hour window of dry weather before you even open a can. For exterior latex, 60 degrees Fahrenheit and above is also critical, since cooler temps slow the cure dramatically.
You can test the surface with a light fingernail scrape; if the paint feels tacky or drags, it is not ready for rain. Waiting an extra day is far cheaper than sanding down a failed layer with 80 grit and repainting the entire wall.
How Do I Prevent Slippery Paint on My Deck?
To prevent slippery paint on your deck, you must add a traction additive or choose a paint with built-in deck texture before applying the finish. Skip the smooth-coat look entirely, because a glossy surface becomes a hazard when wet, especially for bare feet or pets.
Mix a silica sand or aluminum oxide additive into your paint at a rate of about one pound per gallon, stirring thoroughly to keep it suspended. For a lighter grip, apply two coats of anti-skid deck paint over a primer, but let the first coat dry a full 24 hours before recoating.
Sweeping debris away weekly also preserves the abrasive grit, since dirt fills the microscopic pores that provide friction. Non-slip deck coatings work best on dry wood, so sand with 80-grit paper first to open the grain for better adhesion.
Can I Use Regular Exterior Paint Instead of Deck Paint?
No, you should not use regular exterior paint instead of deck paint because it lacks the flexibility and dampness protection a deck needs.
Deck paint is formulated for superior adhesion and finish wear under foot traffic, so it holds up far longer. If you must coat a deck this season, sand with 80 grit, spot prime bare wood, and apply two thin coats.
Expect fewer color options with deck paint, but the added longevity justifies it. Look for a dedicated deck and porch coating rated for foot traffic.
Should I Paint Deck Boards Before or After Installation?
Paint deck boards after installation for a seamless finish, but pre staining individual boards offers superior protection on all sides. If you want the cleanest look with no fastener shadows, install first and then apply two coats of a quality acrylic deck stain.
For maximum moisture resistance, pre stain the boards before installation, leaving the top face bare for final coating. This lets the stain penetrate the cut ends and underside, which are impossible to reach once the deck is assembled.
Regardless of your choice, never skip sealing the cut ends with a wood preservative before installation. Dampness wicks into end grain fastest, so brush on a clear end sealer and let it dry for 24 hours before final staining.
Use 80 grit sandpaper to scuff between coats, and wait at least 4 hours after rain before painting. A related term is “deck coating,” which covers both stains and solid paints, so pick a product rated for foot traffic.
Rounding Up
Apply porch and deck paints by sanding the surface, applying primer, then brushing on two full coats. The primer is not a cash grab, it is your insurance policy for a lasting finish.
Check the weather forecast today and aim for a dry, mild window so your paint can cure properly. Write down the recommended dry time from your can, then wait the full 48 hours before walking on it. Compare your sanding grit to the manufacturer’s guide, and test a small patch if you are unsure.
Ask your local paint supplier about the best primer for your deck’s material and exposure. Read next about choosing the right paint finish for high-traffic porches.