How to Apply Satinwood Paints: Step-by-Step Guide
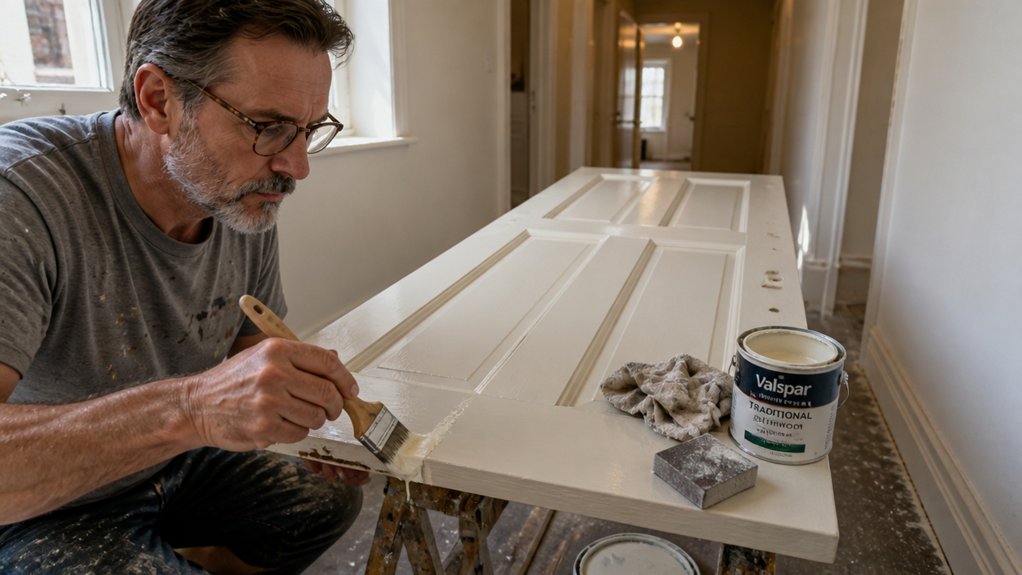
Satinwood paint promises a glassy, low sheen finish, but only if you prep the surface right.
Sanding with 120 grit is your mechanical key to stopping peeling, and a damp cloth clears every trace of dust.
Apply two thin coats and wait six hours between them, because rushing invites brush marks you will regret.
Cure time matters too, so patience here saves you from a frustrating redo.
This guide walks you through the full step by step process, from surface prep to the final coat.
Stick with it and you will get that smooth, durable satin look without the guesswork.
Quick Answer
- Sand surfaces with 120-grit to create a mechanical key for paint adhesion.
- Apply two thin coats, waiting six hours between each for even coverage.
- Maintain temperatures between 8°C and 25°C with humidity under 80%.
- Use synthetic brushes or micro-fibre rollers, avoiding overloading with paint.
- Sand lightly with 320-grit between coats, then wipe with a tack cloth.
Why Prep Decides Your Satinwood Finish
Prep decides how your satinwood finish turns out, so never skip it. A poor surface means peeling paint within months, no matter how good your topcoat is. Water-based acrylic formulas generally require no primer on prepped surfaces, which streamlines the process once sanding is done.
Wiping the wood with a damp cloth does nothing to create grip. You need sanding to give the paint something to hold onto, like Velcro catching on tiny grooves.
Wiping with a damp cloth creates no grip; sanding gives paint tiny grooves to hold onto.
Lightly sand with 120-grit to rough up the surface and form that key. Skip it and the satinwood will lift away from the substrate, especially in humid rooms.
Sugar soap removes grease and dirt, but it will not rough up a glossy surface. That is the fatal mistake I see DIYers make time and again.
For a lasting satin sheen, always sand before you paint. Use a drop cloth and painter’s tape to protect edges, then brush on a thin primer coat first.
Keep a wet edge as you work to avoid lap marks and brush strokes. Satinwood dries to the touch quickly, but wait the full curing time before heavy use.
Remember that drying time and cure time are not the same. The paint feels dry in hours, but the film stays soft for days until it fully hardens.
Sanding at the right grit matters more than any fancy additive. A smooth, clean, slightly roughened surface will make your satinwood finish look professional and last for years.
What Tools and Conditions Work Best for Satinwood Paint?
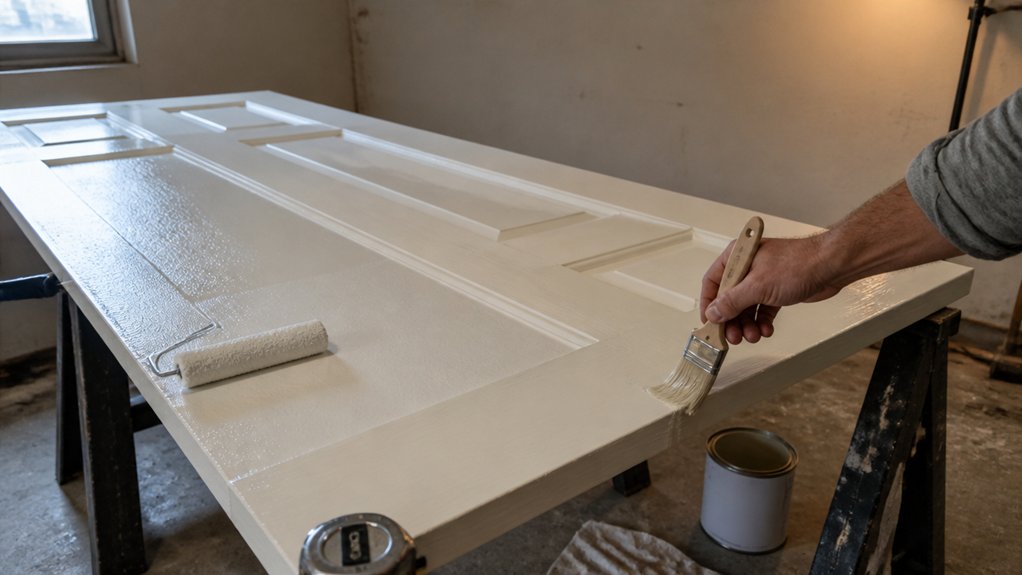
Satinwood paint is nearly foolproof when you use the right tools and wait for the right weather.
The ideal temperature range is between 8°C and 25°C, with relative humidity under 80%.
If the air is wetter, the paint stays tacky and picks up dust, so check the forecast before you start.
A breezy day is just as bad, because wind blows grit straight into your wet finish.
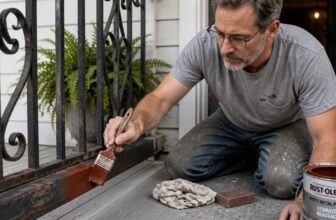
Use a synthetic brush for edges and mouldings, since natural bristles swell and go limp in water-based paint.
A micro-fibre roller is your best bet for flat panels and doors, as it lays down a smooth, even coat without stippling.
For touch-ups and tight spots, keep a small foam roller handy.
My go-to kit is a Purdy 2-inch brush, a Wooster 4-inch micro-fibre roller, and any 3-inch foam roller for details.
Durable double-crimped ferrules prevent bristle shedding during extended use on trim and edges.
Prep the surface with a light sanding using 220-grit paper, then wipe off the dust with a tack cloth.
Apply a primer first if you are covering bare wood or a dark colour, and let it dry fully before the topcoat.
Keep a wet edge while you paint, working from top to bottom in one continuous pass to avoid lap marks.
Satinwood dries to the touch in a few hours, but wait a full day before recoating, and up to a week before heavy use.
Low-VOC satinwood is fine for interiors, but make sure the room is ventilated while you work.
Lay down a drop cloth and mask off trim with painter’s tape to keep the finish clean.
How to Apply Satinwood Paint in 5 Simple Steps
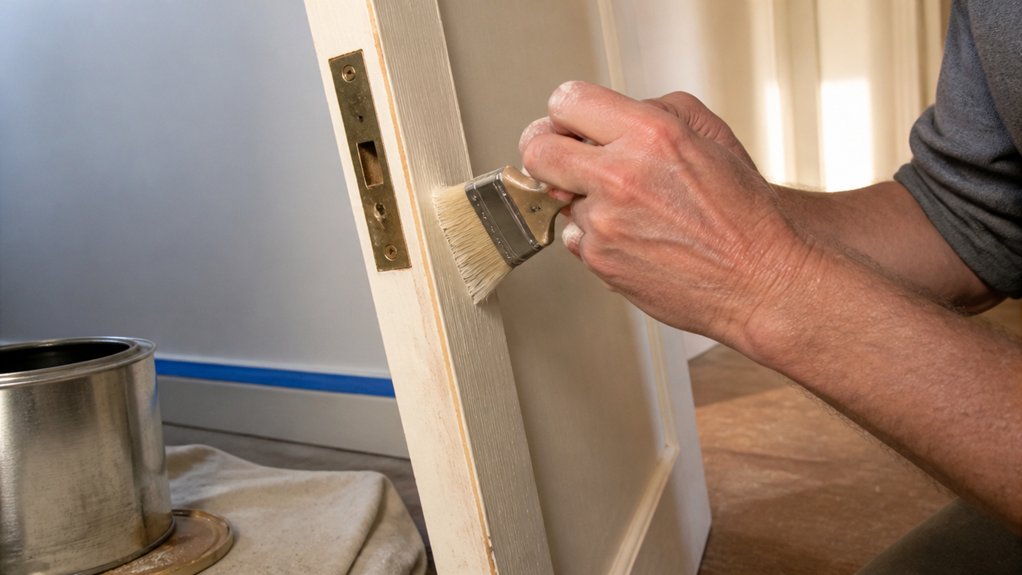
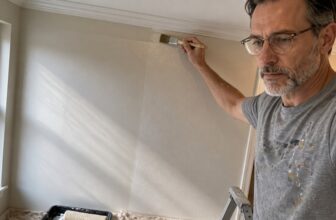
Stir the satinwood paint thoroughly before you dip in, then load your brush sparingly. Heavy coats invite runs and drips, so keep the bristles about a third full and work along the grain.
Stir thoroughly, load sparingly—heavy coats invite runs. Keep bristles a third full, work along the grain.
Cut in the edges and corners first with a brush, then move to the flat areas. Use smooth, even strokes and keep a wet edge so you don’t leave lap marks.
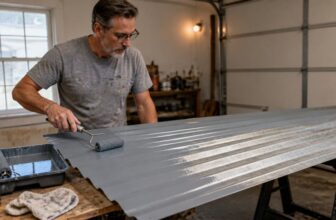
For large panels, switch to a roller to spread the paint quickly, then lay off the surface with a barely damp brush. This evens out the sheen and removes any roller texture.
Touch dry takes about thirty minutes, but don’t rush the recoat. Wait the full six hours between coats, and sand lightly with fine grit paper to knock down dust nibs.
Wipe the surface clean with a tack cloth after sanding, then apply your next thin coat. Two thin coats beat one thick mess, and patience beats speed every time.
Keep your wet edge moving and work in one continuous pass across the panel. If you stop mid-section, you’ll see brush strokes and uneven gloss once it dries.
Use a drop cloth and painter’s tape to protect trim and floors, and pick a low-VOC satinwood if you’re working indoors. VOC levels under 5 g/L keep the air fresher while you work. Good prep and steady hands give you a smooth, durable topcoat.
Satinwood Coats: How Many and How Long to Wait?
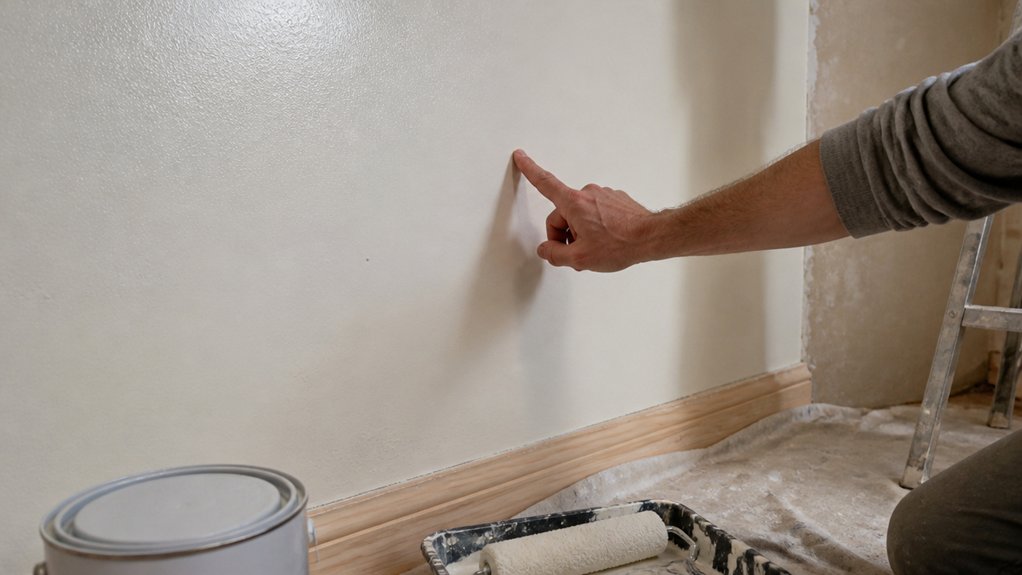
Two coats of satinwood is the right call, and I’ll say that straight off. One coat won’t give you even coverage; it dries patchy and you’ll be reaching for the brush again out of frustration.
Two thin coats build that smooth, semi-gloss sheen you want, and they hold up better over time than one thick, gloppy layer. Use a quality primer first if the surface is bare wood, and sand with 220 grit between coats for a clean base.
Now for the waiting, and I know you want to recoat right away, but don’t. Natural drying time is your friend here. You need about six hours between coats, and high humidity stretches that, so check the weather before you start.
Touch-dry in 30 minutes only means the surface has skimmed over; the film underneath is still soft. If you paint over that too soon, you’ll pull up the wet edge and leave brush strokes you can’t fix.
So paint your first coat, walk away, and let it sit. Binge a show, clean your brush with mineral spirits, or just do something else for the afternoon.
Then sand lightly with 320 grit to knock off any dust nibs, wipe the surface down, and apply your second coat. Keep a wet edge as you go, work in full sections, and avoid going back over dried areas or you’ll get lap marks.
Two coats, six hours apart, no shortcuts. That’s the routine I’ve used on trim, doors, and cabinets for years, and it gives a durable finish that doesn’t yellow or chalk up like some cheaper varnishes. This recoat window aligns with oil-based products that recommend 4–6 hours between coats for proper bonding.
Remember that drying time and cure time are different: the coat feels dry in a few hours, but it won’t fully harden for a few days. Don’t put heavy use on that surface, like closing a door hard or leaning furniture against it, until the cure time passes.
Use a drop cloth and painter’s tape if you’re working near walls or floors, and pick a low-VOC satin if the smell bothers you indoors.
Stir the paint well before each coat, don’t shake it, and pour out small amounts so the finish stays even. Follow these steps and you’ll get a professional-looking gloss without the headaches.
Satinwood Drips and Brush Marks: What Causes Them?
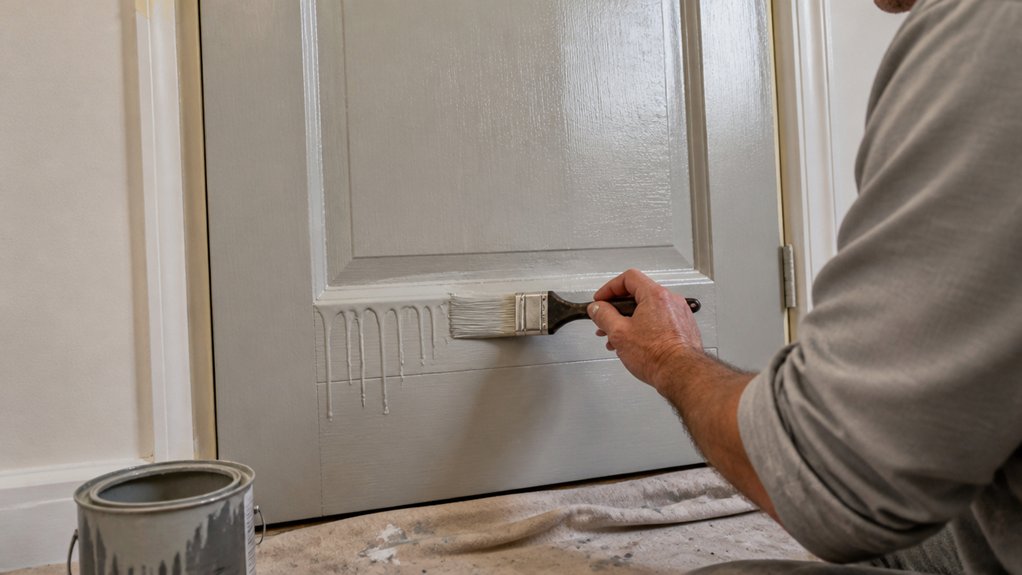
Drips and brush marks in satinwood almost always come from how you apply the paint, not the paint itself. Overloading your brush is the usual culprit, because that thick, heavy coat sags into drips before it can level out.
Brush marks happen when you go back over paint that has started to set, dragging it like a sticky rake. Stop fussing with the wet surface and instead lay down thin, even coats.
If you need to fix what you already have, sand the dried ridges flat with fine grit, like 220, before adding another layer. Satinwood is a topcoat with a semi-gloss sheen, so it shows every imperfection in the film.
When the paint feels too thick straight from the tin, thin it slightly with water, just a splash around 5%. This helps the finish flow out and reduces visible brush strokes, but keep the coat light. For a smooth result, consider switching to an electro-coated silicon carbide abrasive when sanding, as it resists clogging and cuts faster during wet sanding.
Heavy coats are your enemy here. Two thin coats with a dry time between them will give you that smooth, glassy satin finish without the terrain. Work with a wet edge, keep a drop cloth down, and use painter’s tape for clean lines.
Take your time between coats, and resist the urge to touch the paint while it cures. Patience and a light hand matter more than any fancy brush or brand.
Frequently Asked Questions
Can Satinwood Be Painted Over Gloss Paint?
Yes, you can paint satinwood over gloss, but the key is preparing that slick surface first.
A quick adhesion test with tape will tell you if the old gloss is sound, then lightly sand with 120 grit to create a mechanical key.
Satinwood over glossy enamel will peel like sunburnt skin if you skip this step, so never paint straight onto shine.
Wash the gloss with sugar soap, rinse, and let it dry overnight before sanding.
Use a tack cloth to remove dust, then apply one primer coat formulated for high-gloss surfaces, such as a bonding primer.
That undercoat dries in about two hours, and you can follow with two thin satinwood coats, waiting four hours between them.
Sanding with 180 grit between satinwood coats smooths brush marks and boosts durability.
For best results, finish with a synthetic bristle brush for a level, self-sealing layer that won’t collapse over gloss.
What Happens if I Paint When Humidity Is Above 80%?
Painting when humidity exceeds 80% will very likely cause dampness blistering and adhesion failure because moisture gets trapped under the film as the solvent evaporates. The coating may look dry on the surface, but the water underneath continues to weaken the bond for days.
To test conditions, hold a clean metal tool against the wall for 30 seconds; if it fogs, the surface is too damp. Instead, wait for a day below 70% relative humidity, and use an exterior acrylic latex that tolerates slight moisture.
If you must proceed, apply a thin first coat and extend recoat time to 6 hours, not the usual 4. A cheap hygrometer costs $10 and gives you a reliable reading before you open the primer can. Check the forecast for a drying trend, as even a 5% drop can save your project from peeling.
How Do I Fix Runs in Satinwood Paint?
You fix runs in satinwood paint by letting the paint dry fully, sanding the drips smooth, cleaning the surface, and then applying a thin, even topcoat. If you’ve caught the runs early, resist the urge to wipe them while wet, as that will smear the finish and create a worse patch.
Let the paint cure completely, which for satinwood typically means 24 hours at 70°F, before touching it with sandpaper. Use 220-grit paper on a sanding block, and lightly feather the run down until it’s flush with the surrounding film, checking with your fingertips for flatness.
After sanding, wipe the area with a tack cloth or a solvent like white spirit to remove all dust, then apply a fresh, thin coat with a high-quality brush, keeping your strokes parallel to the wood grain. This will blend the repair seamlessly, and the final sheen will match the original satin finish. For deeper runs, you may need a second thin coat after 4 hours, but always finish with a light sand and polish.
Can I Use a Roller to Paint Panelled Doors?
Yes, you can use a roller to paint panelled doors, and it works exceptionally well on the flat, broad sections. This method speeds up the job and leaves a smooth, even finish without brush marks. For the recessed panels and the inner edges, I recommend switching to a 2-inch brush to maintain control and prevent paint pooling in the corners.
After rolling, use a dry brush to lay off the surface, lightly dragging the bristles horizontally over the wet paint to level out any roller stipple. This should be done quickly, panel by panel, before the paint starts to set. For best results, use a 10mm microfibre roller sleeve, as foam can slip on vertical surfaces and leave air bubbles. If you apply two thin coats of a water-based enamel, you will get a durable, hard finish that resists chipping. You can also use this same technique for varnish, just be sure to use a solvent-resistant roller for oil-based finishes.
How Long Before Satinwood Stops Feeling Tacky?
Satinwood typically stops feeling tacky within 24 hours, though you can recoat after 4 to 6 hours if the surface is dry to the touch.
However, full cure and a non-sticky finish depend heavily on humidity and temperature. In damp conditions, tackiness can persist for 48 hours or more, so always test with a clean fingertip on an inconspicuous corner before sanding between coats.
Use a 320-grit sandpaper to lightly de-nib the surface once it feels dry, but wait the full day before applying the next coat.
For faster drying, keep the room above 65°F with good airflow, and avoid thick coats; thin, even layers of polyurethane or varnish cure quicker. If tackiness remains after 48 hours, it’s likely due to over-application or poor ventilation, so sand back with 220-grit and recoat thinly.
Rounding Up
Applying satinwood paints takes patience, not speed, and the finish rewards careful prep and layering.
You can check your sanded surface today by running a clean hand over it to feel for any rough spots or dust.
Write down your coat schedule so you wait the full drying time between layers, and test your brush load on scrap wood first.
Don’t skip sanding between coats, and never overload the brush, since drips and trails come from rushing.
That silky, durable sheen is genuinely satisfying once you nail the process, just like a slow-cooked meal.
Read next about choosing the right brush for oil-based finishes.