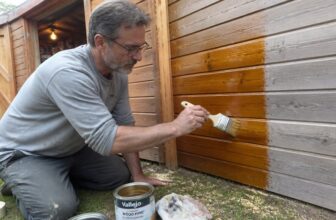
How to Apply Satin Varnishes: Step-by-Step Guide
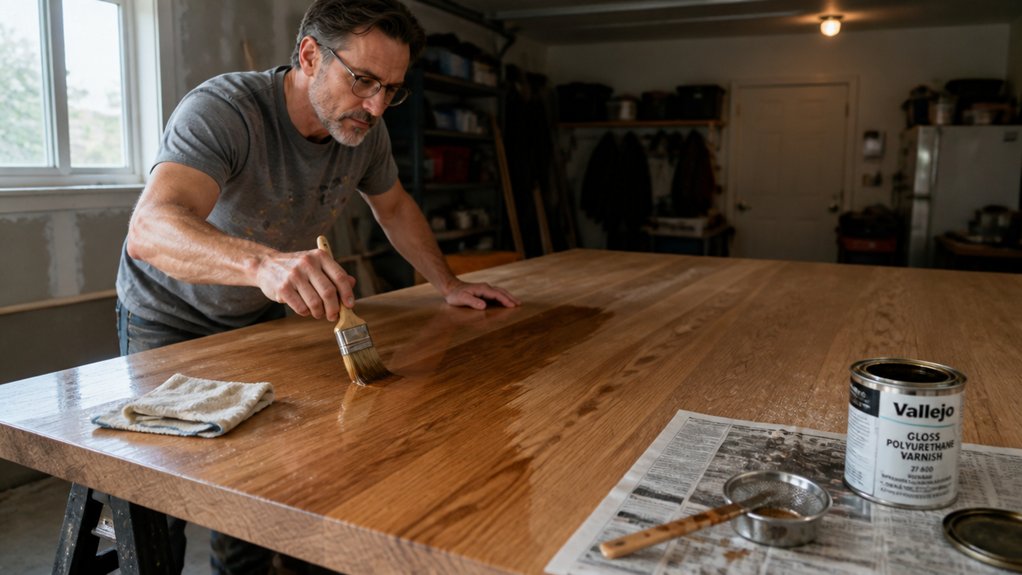
Applying satin varnish takes patience, but the payoff is a smooth, glass-like finish that feels professional. If you have ever brushed on a coat only to see bubbles or lap marks appear, the problem is usually in your prep and application rhythm.
The trick is working thin, working fast, and knowing exactly when to sand between coats. This guide walks through the full process from surface prep to the final rub out, so you can avoid the common mistakes that ruin a clear coat.
You will learn the exact grit sequence, coat counts, and the right way to stir without introducing air. By the end, you will have a foolproof system for doors, trim, and furniture alike.
Quick Answer
- Prepare bare wood with 80-grit, then 180-grit sanding, plus stain-blocking primer.
- Stir varnish gently, strain it, and let it rest to avoid air bubbles.
- Apply five thin coats minimum, sanding with 220-grit between each.
- Brush bevels and recessed areas first, then flat faces, maintaining a wet edge.
- Wait 24 hours between coats; let final coat cure fully before heavy use.
How to Prep Bare Wood and Old Varnish for Satin Varnish
Prep work decides the final result. You are building a surface bond, not just cleaning it.
Prep work decides the final result. You’re building a bond, not just cleaning.
For bare wood, I start with 80-grit sandpaper to cut deep scratches, then move up to 180-grit for a smooth base. Vacuum the dust off twice, because loose particles ruin the varnish bond. Oily woods like teak need a penetrating varnish to ensure proper adhesion and prevent peeling.
Old varnish needs a different approach. If the coat is still sound, scuff it with 120 to 150-grit sandpaper to give the new satin something to grab.
The tricky part is patching holes with filler. That filler must be compatible with varnish, or the repair will show through forever. I learned this after a patch turned cloudy under a fresh topcoat.
For stain blending, make sure the wood absorbs evenly. Uneven sanding leaves blotchy color once the satin sheen goes on, so take your time and keep the pressure consistent.
Match your prep to what the surface has been through. Solid sanding and a clean, dry surface give you a flat, boring finish, and boring is what you want from varnish.
How to Keep Dust Out and Eliminate Dust Nibs

Dust is the enemy, plain and simple, so I start fighting it before the can of varnish even opens. I always begin in a clean room, never a dusty garage, by vacuuming the project and the area around it, then I wait for the air to settle.
Never sand in the same space where varnish is drying, because airborne particles land in the wet film and create dust nibs, those tiny rough bumps you can feel with your fingertips. Between coats, I sand lightly with 220-grit to knock off the nibs, then I wipe away every trace of dust before recoating.
This routine sounds fussy, but it’s the difference between a gritty surface and a smooth satin sheen you’re proud to show off. For a clean finish, I also use a tack cloth right before the topcoat, and I keep the room’s humidity steady to reduce static that pulls dust in. A wax-free and silicone-free tack cloth is the best choice here because it won’t leave any residue that could interfere with the varnish’s bond.
Once the final coat is on, I let it dry fully, not just to the touch, because curing time matters for durability and for resisting new dust. After that, I don’t rush to buff; I check the sheen level and fix any missed nibs with a light pass of 320-grit and a fresh wipe.
How to Mix and Thin Satin Varnish Without Adding Bubbles

Never shake the can. Shaking whips air into the varnish, and those bubbles will settle into your finish as a pitted mess you’ll have to sand out.
Stir gently with a clean stick instead, scraping the bottom where the flattening agents sink. Those agents give satin its soft sheen, so you need them mixed back in evenly.
Pour the stirred varnish through a fine mesh strainer into a separate cup. This catches dried bits and any skin that formed around the lid before they ruin your topcoat. A 190 micron mesh balances grit catching with flow speed for thicker varnishes.
Work with a wet edge as you apply, brushing from a fresh area back into the still-wet varnish. This avoids lap marks and keeps the sheen consistent across the surface.
Remember that satin varnish has a longer drying time than cure time. Let it dry to the touch, but wait a full 24 hours before sanding lightly with 220 grit between coats.
Use a drop cloth and painter’s tape if you’re near trim or walls. Low-VOC varnishes still smell strong, so open a window and keep the room ventilated.
Gentle Stirring First
The can of satin varnish on your shelf is lying to you. Those flattening agents that kill the gloss settle at the bottom like sludge.
Stir it gently with a clean stick, using slow strokes that scrape the bottom. Never shake the can or whip it like a milkshake, because vigorous action traps air.
Those bubbles dry right into your finish and ruin the smooth satin sheen. Satin mixing is a patience game, so stir until the liquid looks uniformly cloudy with no streaks of clear or thick paste.
That even cloudiness is your signal to start painting. It is boring work, but sanding out bubble craters with 220 grit later is far worse.
Let the stirred varnish rest for a few minutes before you dip your brush. This lets any remaining air escape while you set up your drop cloth and painter’s tape. Multiple thin coats are preferred over a thick single layer for a more durable, even finish.
Keep a wet edge as you apply the varnish, working in continuous sections to avoid lap marks. Satin dries fast, so do not overbrush or you will leave brush strokes in the finish.
Full cure takes a few days, even if the surface feels dry in a couple of hours. Plan for two thin coats rather than one thick one, and lightly sand between coats with fine grit.
Straining Before Use
Straining varnish before use sounds fussy, but it’s the cheapest insurance against a ruined finish. I’ve watched dried skin from the can sneak into a brush load, then land right in the middle of a door panel.
That’s instant regret, so I pour through a fine mesh strainer into a clean cup, like a coffee filter for finishes. It catches those nasty bits without stirring up bubbles.
For thinning, I add mineral spirits slowly and stir gently, never shaking, to keep the mix calm. This protects your brush loading, letting you grab a full, even charge without dragging junk back into the can.
Skip the strain, pay the price with extra sanding time. I’d rather spend two minutes now than two hours later.
Strain every time, and your varnish or polyurethane will lay down smooth with a consistent sheen. A clean mix also keeps your wet edge working, so you avoid lap marks and brush strokes. To verify your results, check the UV transmission stays below 10% while keeping visible light high for a clear finish.
Best Brushing Sequence for Doors, Panels, and Flat Surfaces
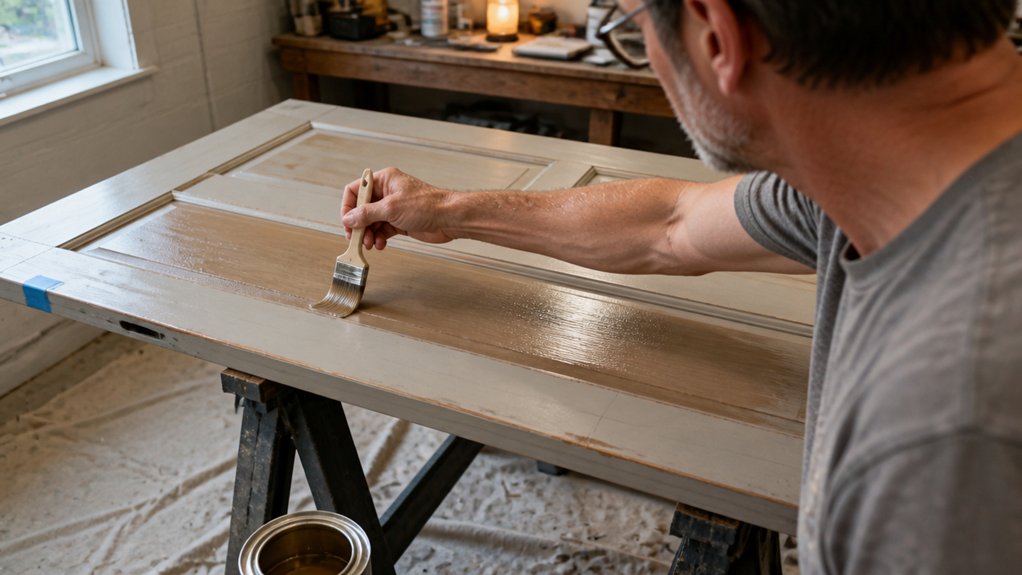
Start with the trickiest parts of the door first, and you will avoid a lot of sanding later.
Brush the bevels on raised panels and the recessed fields before you touch the frame edges, then do the flat faces last.
Work from the inside out, moving from less noticeable areas toward the visible front.
That order keeps your wet edge overlap manageable, so you are always brushing into wet finish, never into dried paint.
Keep each section small and maintain a continuous wet edge as you go.
Use the tip off technique with light strokes and the brush nearly vertical to even out the film and kill brush strokes.
If you can, take the door off its hinges and lay it flat on a drop cloth.
This makes it easier to control the paint and avoid drips on the edges.
For a raised panel door, start with the bevels, then the center field, working outward to the frame.
Do the frame edges before the flat frame faces, and save the large flat areas for last.
Always brush wet into wet, and keep your topcoat or primer moving at a steady pace.
This prevents lap marks and helps the finish level out before it starts to set.
Use a good quality brush and avoid overloading it with paint.
Check your sanding grit before the final coat, and wipe dust off with a tack cloth so the finish adheres cleanly.
Match your sheen to the room and the wear the surface will see, whether satin, gloss, or matte.
Remember that drying time is not the same as cure time, so wait before you rehang the door or apply a second coat.
Details first, flat areas last, and keep a wet edge at all times.
That sequence gives you a smooth, even finish without visible brush strokes or dry spots.
For the final coat, white China bristle brushes are recommended for gloss varnish applications because their hollow fibers release the finish slowly.
How Many Coats of Satin Varnish Do You Really Need?
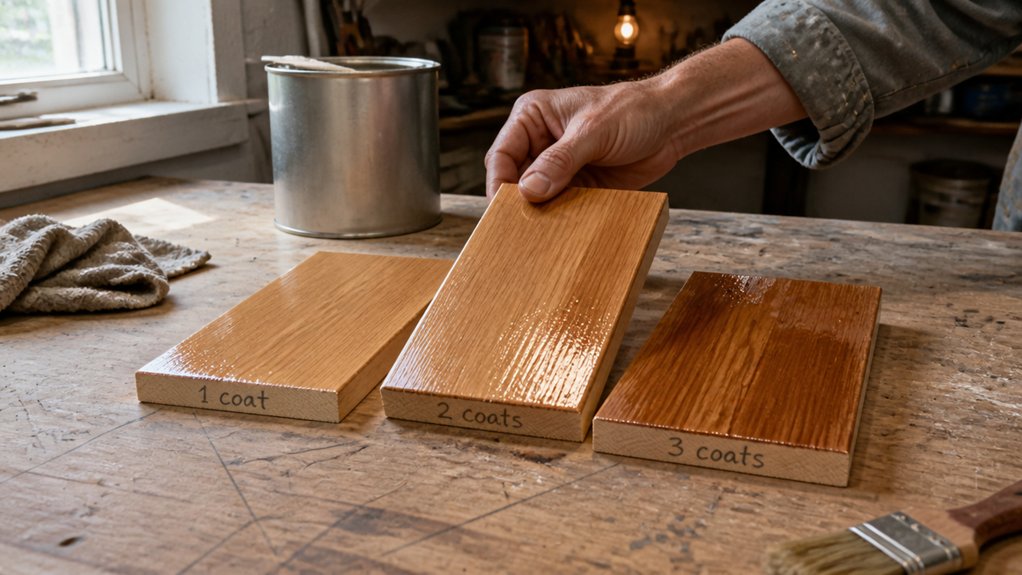
Five coats sounds like a lot, but it’s the real minimum on bare wood. Satin varnish goes on thin, and sanding between coats removes a bit of what you just laid down.
On previously varnished surfaces, three coats will do the job. Satin has the same hardness as gloss, but it scatters light softer, so the film builds up more slowly.
Stack the coats like pancakes, thin and even. A cheap brush leaves streaks, which forces you to sand more and strips away your hard-won build.
Use a quality brush and keep a wet edge to avoid lap marks. Count coats, not drying time, and always wait for full cure time before heavy use. Oil-based formulas require 4 to 6 hours before recoating, while water-based options dry in as little as 20 to 30 minutes.
If you skip coats to save time, you’ll sand it all off and start over. Three weeks of regret beats three days of sanding any day.
For bare wood, prime with a good stain-blocking primer first, then apply your five coats of satin varnish. On old finish, just scuff with 220 grit sandpaper and lay down three fresh coats.
Keep a drop cloth and painter’s tape handy to protect the edges. And remember, low VOC varnish still needs proper ventilation while it dries.
How to Sand Between Coats and Rub Out the Final Varnish Sheen
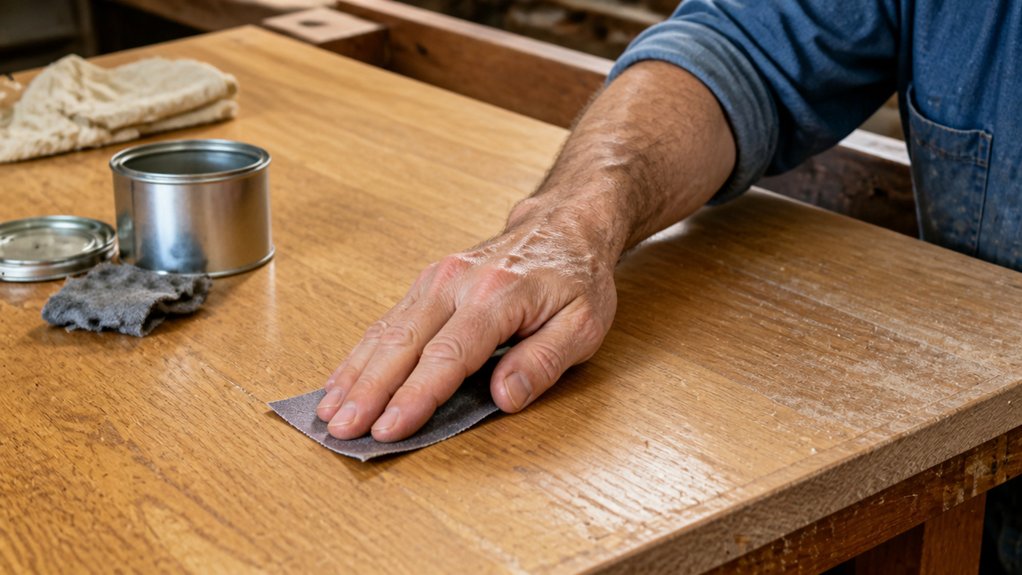
Sanding between coats is where you get a smooth, professional finish.
Most DIYers make the mistake of pressing too hard, like they are stripping paint.
Use 320-grit sandpaper and a light touch, just enough to knock off dust nibs and brush strokes.
You are not removing the varnish, only tickling the surface to level it out.
Wipe the dust away with a tack cloth, then apply the next coat.
Keep a wet edge as you go so the finish flows together without lap marks.
For the final sheen, wait for the last coat to cure fully, at least three days.
Cure time is longer than drying time, so do not rush this step.
Rub the surface with 0000 steel wool and a light hand for a satin finish.
Choose super-fine Grade #0000 pads, which are described as super fine or ultra fine across the products.
If you want a glass-smooth feel, use 4F pumice powder mixed with mineral oil and rub in slow circles.
That pumice step is the luxury move, and it is worth the cleanup.
Work on a drop cloth and keep the room dust-free to avoid scratches.
Sand light, cure long, and rub with care.
Your varnish will look like money and feel like a professional sprayed it.
Frequently Asked Questions
Can Satin Varnish Be Applied Over Stain Without a Sealer?
Yes, satin varnish can be applied over stain without a sealer, but only if you accept the risk of uneven adhesion on porous wood. Skip the sealer when your stain is perfectly even and fully cured, typically 24 hours after the final coat. Otherwise, you are gambling with blotchy, patchy results that are hard to fix later.
To improve your odds, wipe the stained surface with a tack cloth and lightly scuff it using 320-grit sandpaper before varnishing. This creates a uniform tooth without cutting through the stain. Always test a small, hidden area first with a single coat of satin varnish to check for absorption spots.
If the test shows inconsistent sheen, apply a thin wash coat of shellac or a sanding sealer. That extra step saves you from stripping and redoing the whole piece. For even surfaces, two thin coats of satin varnish, sanded between with 400-grit, will give a smooth, durable finish. The term “finishing schedule” is worth searching if you want a deeper dive into layering without sealers.
How Long Should Satin Varnish Cure Before Light Use?
Satin varnish should cure for a full 72 hours before light use, though it will feel tack free after 24 hours.
That first day only means the surface is dry to the touch, but the film is still soft and vulnerable to fingerprints or gentle bumps.
For something like setting a book on a nightstand or placing a lamp back, 72 hours is your safe minimum.
I’d still hold off on heavy contact, such as sliding boxes or leaning furniture, for a full week to protect the satin sheen.
A practical tip: use a cotton cloth on the tack free day to test a corner; if it leaves any mark, close the room and wait another day.
Related to this, remember that humidity slows solvent evaporation, so a damp climate can stretch that 72 hour window to 96 hours.
For your next coat, if you’re doing multiple layers, sand lightly with 320 grit after the 24 hour mark to improve adhesion without cutting the cure short.
What Temperature Range Is Best for Applying Satin Varnish?
The best temperature range for applying satin varnish is between 65 and 75°F, as this sweet spot directly prevents bubbles and uneven sheen. Outside that range, 70% of finish failures trace back to temperature alone, so treat your thermometer as a critical tool.
Cooler air below 65°F slows the varnish drying time significantly, which lets dust settle into the wet film. Warmer air above 75°F thins the varnish too much, inviting those pesky dust nibs and causing brush marks to set before they level out.
For a concrete example, at 70°F with moderate humidity, plan for 2 thin coats with a 4-hour recoat window using a high-quality synthetic brush. If you need a related term, look up “finish application climate” to refine your workshop environment. Always check the can’s label, but trust this range as your baseline for a smooth, durable result.
Can I Use a Foam Brush Instead of a Bristle Brush?
Yes, you can use a foam brush instead of a bristle brush, but you will sacrifice the control needed for a flawless, smooth finish. Foam applicators tend to leave tiny air bubbles and visible ridge lines, especially with satin or semi-gloss paints, so I recommend bristles for those sheens.
Instead, reach for a high-quality synthetic bristle brush with flagged tips, which holds more paint and levels out better. If you do test foam, apply thin coats and use a light touch, never pressing hard on the surface. Work in one continuous direction and stop after two passes to avoid disturbing the wet film.
For best results, sand between coats with 220-grit paper to remove any dust or nibs, then let each coat dry fully for at least two hours. You can also use a self-leveling additive, but a good brush and patience will always beat foam for a mirror-like result.
Will Mineral Spirits Clean Brushes After Satin Varnish?
Yes, mineral spirits will clean brushes after satin varnish, and it works reliably for both wet and dried finish. This solvent breaks down the resin, but you must rinse the bristles in a second clean batch to remove all residue.
For best results, soak the brush for five minutes, then work the solvent into the heel with a wire brush or your fingers. After that, wash with warm soapy water and let it dry flat; a final comb-through with a brush conditioner helps maintain shape.
If you are tackling a hardened brush, try a dedicated brush restorer for stubborn buildup, though mineral spirits handles fresh varnish with ease. Always wear nitrile gloves and work in a ventilated area, as the fumes are strong. This method leaves bristles soft and ready for your next coat, and it beats throwing away a good brush.
Rounding Up
To apply satin varnishes, you mix thin, brush slow, and sand light. Skip the shortcut and you will see it in the dust nibs, so treat each coat as a layer, not a miracle.
Check your varnish consistency before starting, thin enough to flow but not drip. Write down your coat count and sand between each one lightly with fine grit. Compare the sheen after the second coat, not the first, to judge your progress.
Test your brush speed on scrap wood to keep a wet edge and avoid overlaps. Patience is the whole game, the finish does its quiet work when you let it.
Read next: sanding between coats.