How to Apply Water-Based Wood Dyes: Step-by-Step Guide
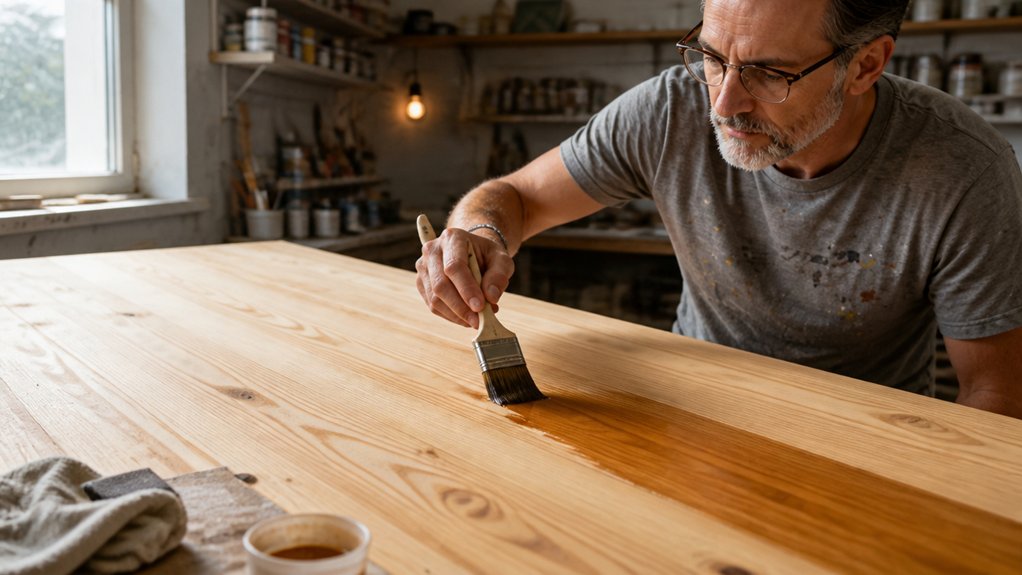
Water-based wood dye is the fastest way to get rich, even color, but only if you prep and mix it right.
Before you open the can, sand to P180 or P220, or you will chase blotchy patches for hours.
You will also learn the exact powder to water ratio and how to flood, wipe, and seal in under ten minutes.
This guide covers surface prep, coat application, and why a shellac barrier stops your topcoat from lifting color.
Grab a scrap board and a damp rag, because testing first saves your project.
Here is the step by step process that works for DIYers who want clean results.
Quick Answer
- Sand wood to P180 for softwoods, P220 for hardwoods, to prevent blotchy dye absorption.
- Mix one ounce dye powder per quart of steaming water; strain and store 24 hours in plastic or glass.
- Test dye on identical scrap wood, sanded same grit, applying finish to verify color and topcoat compatibility.
- Flood wood with dye, wipe with damp rag after 30 seconds, and apply 2–3 coats with full drying between.
- Seal with dewaxed shellac barrier coat after 2–4 hours dry time to prevent first clear coat lifting dye.
Sand to P180 or P220 First: No Shortcuts
Sanding to P180 or P220 before you apply dye is the step that makes or breaks the job. Skip it, and you’ll see blotchy color that looks like a bad suntan on wood.
Sanding to P180 or P220 before dye makes or breaks the job—skip it, and you’ll get blotchy color.
Different species act differently, so you have to match the grit to the wood. Pine soaks up dye unevenly, while maple stays tight and pale, so softwoods like pine need P180 to level the surface.
Hardwoods like oak or maple take P220 because their closed grain holds the color better without letting it sink in too deep. Open pores, on the other hand, will swallow the dye and then spit it back out as dark spots.
The trap is going too fine, which invites grain raising. Water-based dye lifts those tiny fibers and leaves a fuzzy, rough feel you’ll have to sand again.
That’s why I stick to P180 for softwoods and P220 for hardwoods, and it’s my sweet spot after years of trial and error. I once sanded a table to P320, then watched the dye turn the surface into Velcro, so don’t repeat that mistake.
Use a tack cloth or vacuum to clear all dust after sanding, because any leftover grit will show up in the stain. Then apply your dye with a brush or rag, keeping a wet edge so you don’t get lap marks.
After the dye dries, you can move on to a primer or a topcoat like varnish or polyurethane, depending on the sheen you want. Just remember that drying time is not the same as cure time, so give it the full cure before you sand between coats. Since water-based dyes typically contain under 5% VOCs, you can work without a respirator, but keep humidity between 30–50% for optimal drying speed.
Mix Water-Based Dye Powder for Consistent Color
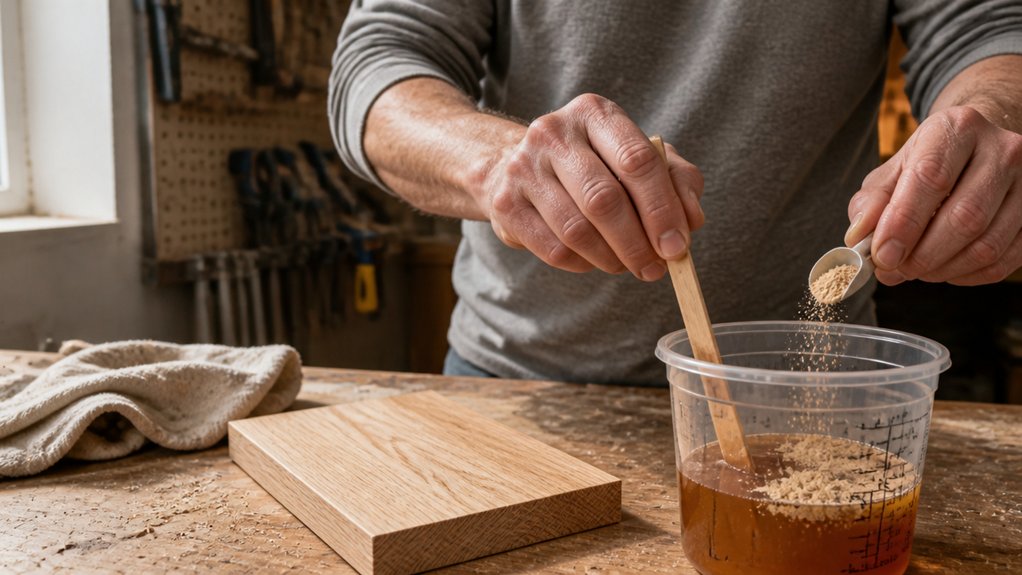
Mixing water-based dye powder correctly is the foundation of consistent color, and it comes down to a steady ratio: one ounce of powder to one quart of hot water. Hot water fully dissolves the dye, so you won’t see speckles later in your finish. Start by heating water until it steams, not boils, then whisk the powder in slowly.
Pour the mixture through a fine mesh strainer or an old sock to catch any undissolved bits, which protects you from blotchy uneven color. Store the dye for a full day in a sealed plastic or glass container, never metal, so the particles settle completely. After it rests, give the container a good re-stir before you use it, and always label the jar with the date and mix ratio.
Metal containers react with the dye and shift the tone, so skip them for any storage. This step matters more than your brush work, because a steady dye base prevents lap marks and keeps your topcoat sheen even. Think of it like preparing a primer before paint; you fix the issues before they reach the surface.
Use a dedicated stirring stick and keep the container covered when you’re not pouring, since dust can ruin the suspension. If you’re working on a project with a drying time window, mix a fresh batch for each session to avoid old dye settling unpredictably. A quick shake or stir right before use keeps the pigment uniform, just like keeping a wet edge when applying varnish or polyurethane. Low-odor, fast-drying formulations can cut drying time by 50%, so a fresh batch also helps you stay within that window.
For a beginner, this routine is forgiving, and it sets you up for a clean satin or gloss finish without surprises. Mark your mix with painter’s tape and a marker, and store it away from direct sunlight on a drop cloth. That labeled batch will stay reliable for weeks, ready for touch-ups or a second coat.
Test Dye on Scrap Wood With Your Finish
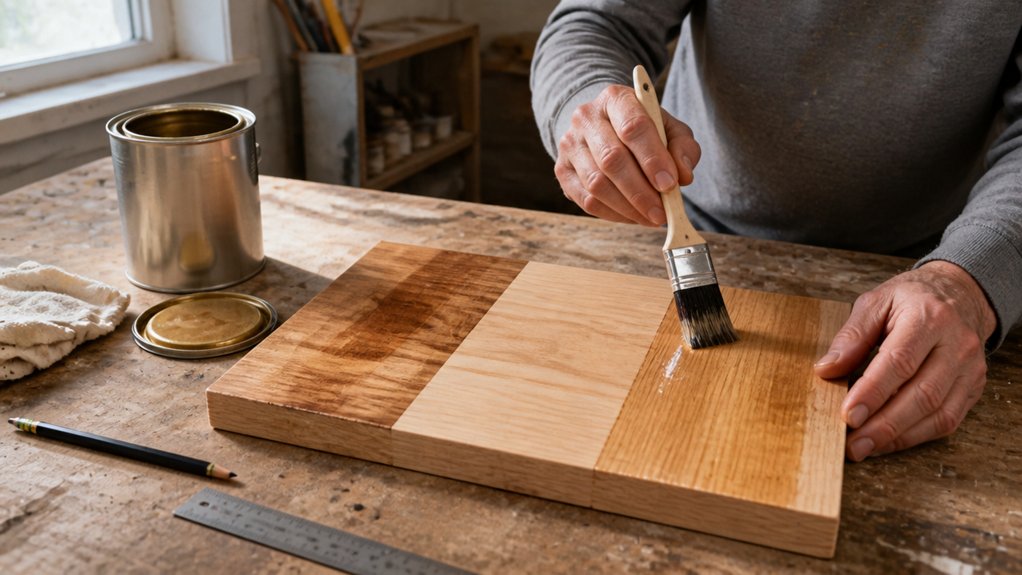
Test dye on scrap wood with your finish?
The true color of your dye only shows up under a topcoat, and that topcoat’s solvent can lift or blur the dye if you skipped a step.
I learned this the hard way when a cabinet door warped on me, so now I always test first.
Grab the exact same scrap from your project, and sand it with the same grit you’ll use on the real piece.
Flood on your dye mix, then wait for it to dry completely, usually about 30 minutes.
If you’re impatient like me, check the scrap’s dampness with a moisture meter instead of guessing.
Then apply your finish, like a satin polyurethane or a matte varnish, and watch for bleed or blotching before the finish’s drying time passes.
That test acts as your crystal ball, showing you exactly how the dye and topcoat interact.
Do this once, and you’ll avoid an afternoon of sanding and redoing your work.
It’s cheap insurance, and it costs you less than a drop of paint and a few minutes of patience.
For projects with glossy surfaces like ceramic tile or metal, an oil-based bonding primer can improve topcoat adhesion and prevent dye bleed.
Flood and Wipe Water-Based Dye to Prevent Lap Marks
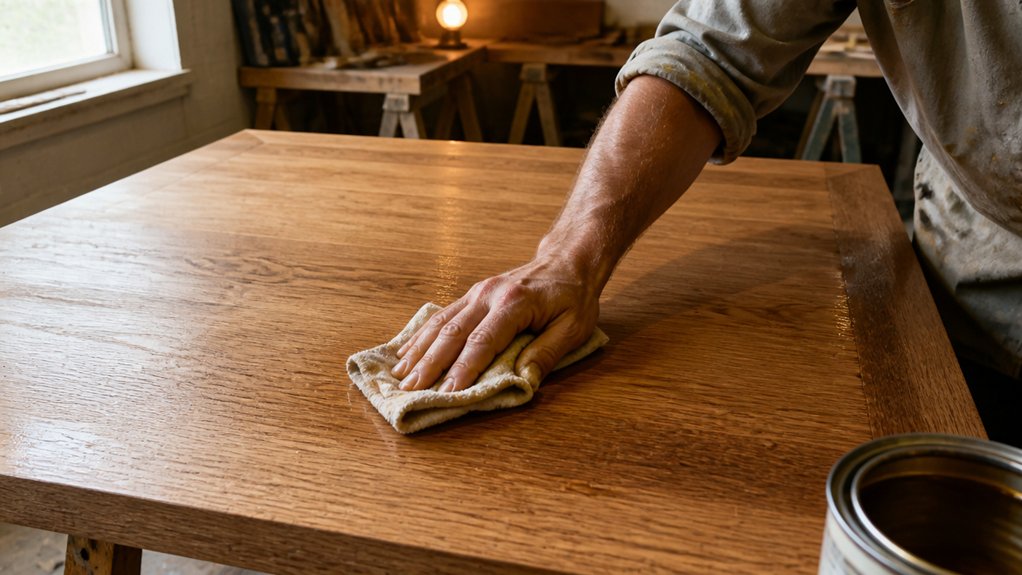
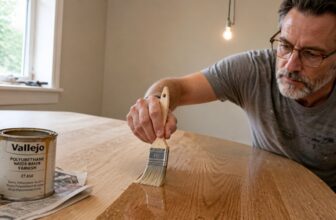
Flooding the wood with more water-based dye than you think you need is the key to avoiding lap marks. Those ugly overlaps happen when partially dried dye grabs darker than the surrounding finish, so you beat them by keeping the surface wet while you work.
Work fast but steady, moving the foam brush in one continuous pass. Saturate each section fully and keep a wet edge as you go, so the fresh dye melts into the previous area instead of drying on top of it.
Let the dye sit for about 30 seconds to soak into the grain. This is long enough to penetrate but short enough that it stays workable.
Wipe off the excess with a damp rag, not a dry one. A dry cloth smears the dye and creates streaks, while a damp rag lifts it evenly.
Watch for edge pooling, especially in corners and along trim. Blot those spots immediately with your rag before they set.
You are basically giving the wood a bath and then towel-drying it. It gets messy with drips and puddles, but a drop cloth will catch the worst of it.
Messy beats blotchy every time. A clean, uniform sheen is worth the extra cleanup, and you will not need to sand back dried patches or recoat with primer to fix mistakes. Keeping a wet edge also extends the open time so adjacent sections blend instead of grabbing unevenly.
Deepen Color Safely With Extra Coats or Stronger Dye
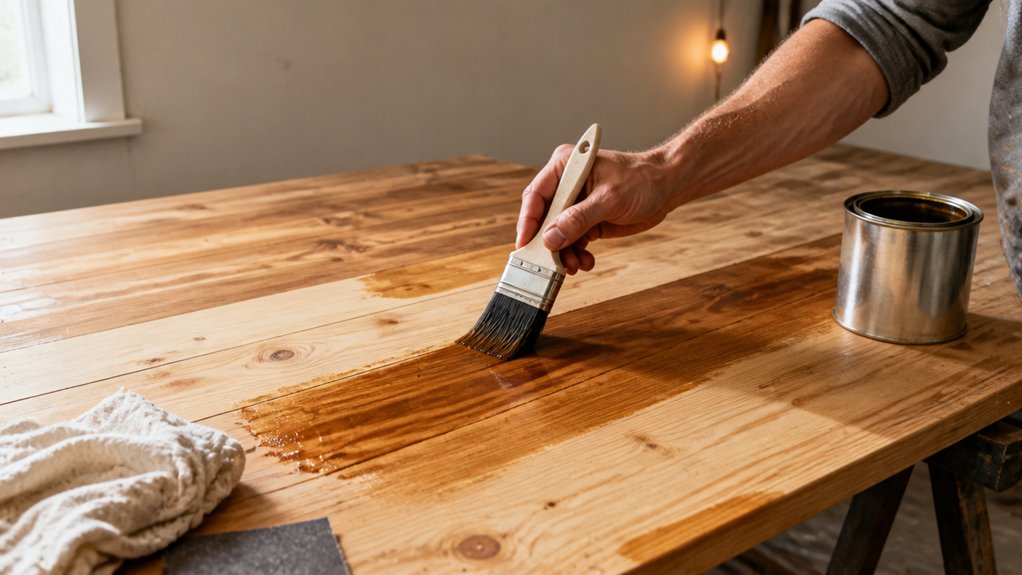
Two coats of the same stain will give you deeper color, but you must respect the dry time of about 30 minutes. If you rush it, you’ll lift the first layer and end up with a patchy mess, a mistake I’ve made plenty of times.
For deepening color safely, you have two solid routes. The first is multiple coats, which are easy, predictable, and forgiving.
Just wait the full drying time between passes, and you’ll build richness without drama. The second route is a stronger dye mix, where you cut the water in half for a bolder batch.
That method is faster but gives you less stain control, so you can overshoot dark quickly. I’d start with extra coats because they give you better control and fewer surprises, especially on soft woods like pine.
Always test on scrap wood first, and keep a wet edge to avoid lap marks. Patience beats potency here, and two to three coats usually nails the look you want.
Use a clean brush or rag for each coat, and sand lightly with 220 grit between passes to smooth the grain. Let the final coat dry fully before adding a topcoat like varnish or polyurethane, and check the sheen you want, satin or matte, before you commit.
Remember that softwoods absorb three coats where hardwoods need only one, so adjust your layer count based on the wood species you’re working with.
Barrier-Coat Water-Based Dye Before Clear Finish
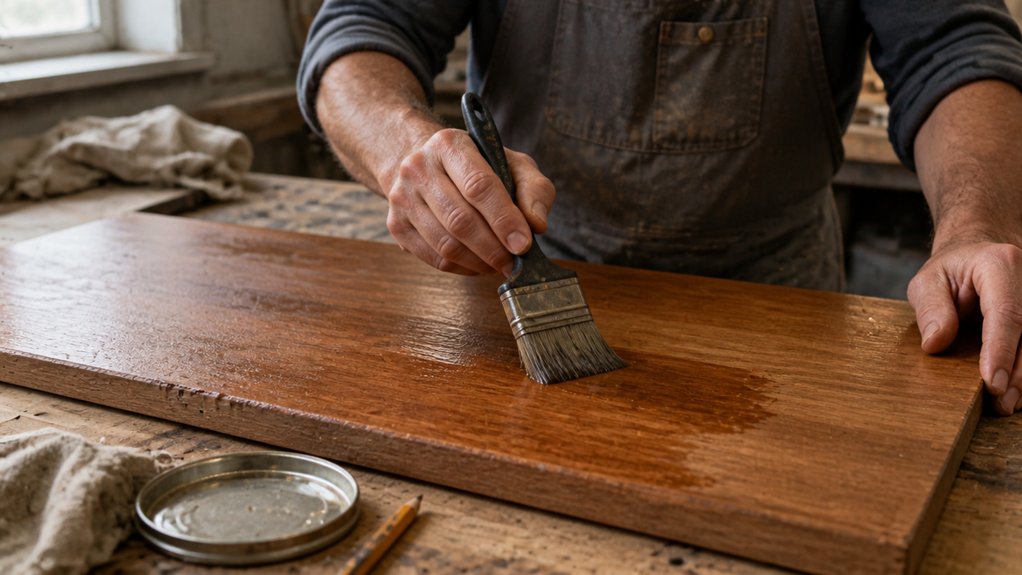
Dyeing wood with a water-based color is easy, but the real test comes when you seal it. The first clear coat can lift that dye right off the grain, turning your work into a blotchy mess. I’ve had to sand back more than one project after skipping this step.
My go-to method starts with checking the finish compatibility on your topcoat label. Not all clear coats, whether varnish or polyurethane, bond well with water-based dyes, so read before you apply. Then I lay down a thin barrier coat of dewaxed shellac, which locks the dye in place without altering its tone.
Timing matters just as much as the product. Wait two to four hours after dyeing, because if the wood is still damp, the first coat will smear the color. When you’re ready, spray the first clear coat in a thin, light pass. A water-based polyurethane dries in 20 to 30 minutes, so recoat times stay short.
Brushing can re-wet the dye and drag it around, so a sprayer gives you a safer, more even start. Use a low-gloss sheen like satin for that first coat to avoid lap marks, then build up to your final finish. A proper barrier saves your color, your sanity, and your weekend, so do it once and do it right. Keep a drop cloth down and painter’s tape handy, because cleanup is part of the job.
Frequently Asked Questions
Can I Use Tap Water if I Boil It First?
Yes, you can use tap water if you boil it first, but I strongly advise against it for any finish work. Boiling only removes temporary hardness and microbes, while dissolved minerals like calcium and magnesium stay behind and can even concentrate as water evaporates. Those minerals will shift your dye’s color and mess with your dilution ratios, leading to blotchy results.
Instead, use distilled water for mixing dyes and thinning water based finishes. A practical tip: when you dilute a 10:1 dye concentrate, tap water’s minerals can flocculate the pigment, while distilled keeps it stable. For a quick test, boil a cup of tap water, cool it, then mix a drop of dye; you will see haze. Relatedly, try deionized water as a synonym; it works equally well.
Stick with distilled for predictable color, or accept the risk of a muddy finish. If you are in a pinch, boiled tap water is better than raw, but it is not a reliable substitute for professional results.
Will Dye Hide Sanding Scratches Left From Lower Grits?
No, dye will not hide sanding scratches left from lower grits, and in most cases it will make them more noticeable. Dye penetrates the wood fibers instead of building a film, so every existing scratch absorbs color differently and stands out sharply once the finish goes on.
You need to sand progressively through each grit, ending at P180 or P220 before applying any dye. For example, if you stop at P120, run a light pass with P180, then P220, and always sand in the direction of the grain.
Skipping grits is the fastest way to ruin a project, since deeper scratches will telegraph through every coat of dye, sealer, and topcoat. A quick test is to wipe the surface with denatured alcohol to preview how the grain and scratches will look after dyeing.
This wet check costs you two minutes and saves a full refinish. For stubborn scratches left from coarse sanding, drop to P150 first, then continue the sequence.
How Long Does Mixed Dye Concentrate Stay Usable?
Mixed dye concentrate stays usable for months, but its shelf life depends on the solvent system and storage conditions. Never trust your memory or a calendar date alone for critical work.
I always do a quick shelf life test before each job, mixing a small batch and brushing it onto scrap wood. Let it dry, then check for a full, even color bloom; if it looks weak or splotchy, mix fresh. Fade is the bigger risk, so run a side by side test with old and new concentrate on the same board, then place it in sunlight for a day.
A concrete tip: store the mixed dye in an airtight glass jar with minimal headspace, and label it with the mix date and pigment type. If you need a related term, search for “dye concentrate pot life” to find more specific data for your brand. This 15 minute check prevents uneven staining on your final project.
What Is the Best Way to Dispose Leftover Dye?
The best way to dispose leftover dye is to dry it completely and then treat the solid residue as household trash. I typically pour the remaining dye into a disposable cardboard box lined with kitty litter or sawdust, which accelerates evaporation and makes the final cleanup simple.
For most fiber-reactive or acid dyes, a drying time of a few days in a well ventilated area, away from pets and kids, leaves a non-hazardous powder. If the dye is solvent-based, you must cure it fully and check your local codes, as some municipalities require chemical neutralization before disposal.
Never pour liquid dye down a drain, as it can stain plumbing and contaminate groundwater. For extra safety, wrap the dried block in newspaper and seal it in a bag; this solidification method is reliable for dye waste disposal.
Can I Apply Dye Over an Existing Stained Surface?
Yes, you can apply dye over an existing stained surface, but only after proper preparation. I’d sand the old finish with 220 grit to open the grain, which is essential for blotch control and even penetration.
Test your dye on a scrap piece that has the same existing stain, since some finishes resist water-based dye unevenly. If the old surface is sealed with polyurethane or varnish, you’ll need to strip or scuff it thoroughly, otherwise the dye will sit on top and peel.
For best results, apply a thin first coat of dye, let it dry for about 30 minutes, then assess the color before adding a second coat. This method also works with gel stain or tinted lacquer, but always wipe off excess quickly to avoid streaks.
Rounding Up
Apply water-based wood dyes by sanding, mixing, testing, flooding, and sealing in that exact order.
Skip one step and lap marks will show, so treat every board as a test before your keeper.
Check your dye concentration first, because one drop can tint a full gallon of water, which means spills spread fast.
Write down your mix ratio and sanding grit for each project, then flood the surface evenly and seal before it dries.
Test on scrap wood just like you would on the final piece, and use a basic respirator for safety.
Name your next read on grain popping techniques to keep the color depth without hiding the wood.
Remember, the first board is your practice, so keep the second one for the finish.
Do it once, do it right, and you’ll get rich, even color that leaves the grain open.