How to Apply Decking Cleaners: Step-by-Step Guide
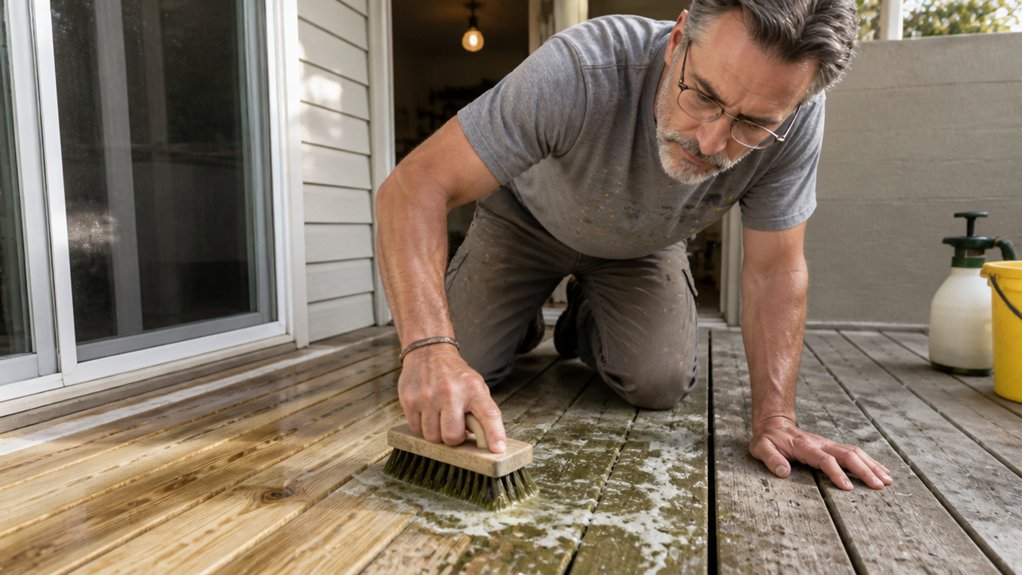
Deck cleaners only work when the prep and process match the product. Applying deck cleaner the right way is about surface prep, drying time, and knowing your material, not just spraying and rinsing.
This guide covers the full method, from choosing the right cleaner for wood or composite to timing your coats for a proper finish. You will learn exactly when to scrub, how long to let it sit, and why rushing this step ruins your sealer.
Skip the guesswork and follow the steps below to protect your deck for years.
Quick Answer
- Test cleaner on a hidden area before full application.
- Mix cleaner in plastic bucket with water first, per label.
- Apply in shaded sections, keeping a wet edge to avoid streaks.
- Scrub with stiff brush after 10–20 minute dwell time, never let dry.
- Rinse thoroughly with garden hose before solution dries; dry fast.
Clear the Deck and Choose a Cleaner by Material
First, clear the deck completely. Move furniture, planters, and that grill you never use so no cleaner leaves a mark on cushions or pots.
Check your deck material before choosing a product. Wood, composite, and PVC each react differently to acids and bleach, so the wrong cleaner can damage the surface fast.
Harsh chemicals will eat into composite and leave a chalky film that holds dirt permanently. That mistake turns a simple cleaning into a refinishing job you did not plan for.
For wood, use an oxygen bleach cleaner that is gentle on the fibers. It lifts grime without stripping the stain or leaving a dull haze.
For composite, stick to a manufacturer-approved cleaner like TimberTech’s own line. Avoid anything with harsh solvents, because those will break down the protective topcoat.
Pick a shaded spot to work, and clean when the sun is not beating down. Direct heat makes chemicals dry too fast, which causes lap marks and uneven sheen.
Always test the cleaner on a hidden area first, like under a stair or behind a planter. That small patch tells you if the product is safe before you commit to the whole deck.
Use a pump sprayer or a soft brush to apply the cleaner, and work in sections to keep a wet edge. Rinse thoroughly with a garden hose before the solution dries.
For stubborn spots, scrub with a nylon brush and a bit of extra cleaner. Do not use a pressure washer on high setting, because that can gouge wood and roughen composite.
Let the deck dry fully before you consider any coating. Drying time is not the same as cure time, so check the label on your stain or sealer before you walk on it.
If your deck has old varnish or polyurethane, sand lightly with 120 grit to rough up the surface. Wipe off the dust with a tack cloth, then apply a fresh topcoat in satin or matte for a natural look.
Keep a drop cloth and painter’s tape handy to protect nearby siding and railings. Low-VOC products are easier on your lungs, so read the label and pick those when you can.
For composite decking(composite), ensure your chosen cleaner matches the warranty requirements to avoid voiding manufacturer coverage.
Mix the Cleaner and Apply in Small Sections

Mix the cleaner according to the label and don’t adjust the ratios. Extra concentrate leaves a sticky film and wastes product, so follow the instructions exactly.
Follow the label ratios exactly—extra cleaner leaves a sticky film and wastes product.
Use a pump sprayer or a bucket and brush, and work on three or four boards at a time. This keeps the solution wet long enough to scrub before it dries.
Mix only what you’ll use in twenty minutes and pour any leftover into your cleaner storage, not back on the deck. Put on gloves and goggles before you start, since splashes happen no matter how careful you are.
Work from the top down and keep the sprayer moving to avoid streaks. For best results, keep the scrubbing wet and rinse each small section before moving on.
Think of the deck like a surface you’ll topcoat later, so keep the cleaning even and free of residue. A clean, dry surface without soap film gives your stain, varnish, or polyurethane a solid base, just like priming bare wood.
Watching the wet edge of your cleaner helps you see where you’ve already scrubbed. If the solution starts to dry, you’ll get blotchy spots that show up under a satin or matte finish later.
Take your time in each section so you don’t rush the dwell time the label recommends. That short wait breaks down grime, mildew, and old finish, so your brush or sprayer does less work.
After rinsing, let the deck dry fully for the drying time listed before any sealer or topcoat goes on. Rushing that step traps moisture and can ruin your sheen.
Work in boots with good grip and keep a drop cloth or painter’s tape handy to shield nearby plants or siding. Low-VOC cleaners cut fumes, but they still require the same gear and care.
If you keep each patch small and consistent, you’ll avoid lap marks and get an even clean every time. That discipline pays off when you finally apply your finish, and following ASTM D-4446 standards ensures the surface repels water effectively before sealing.
Let Deck Cleaner Sit, Scrub, and Rinse Thoroughly
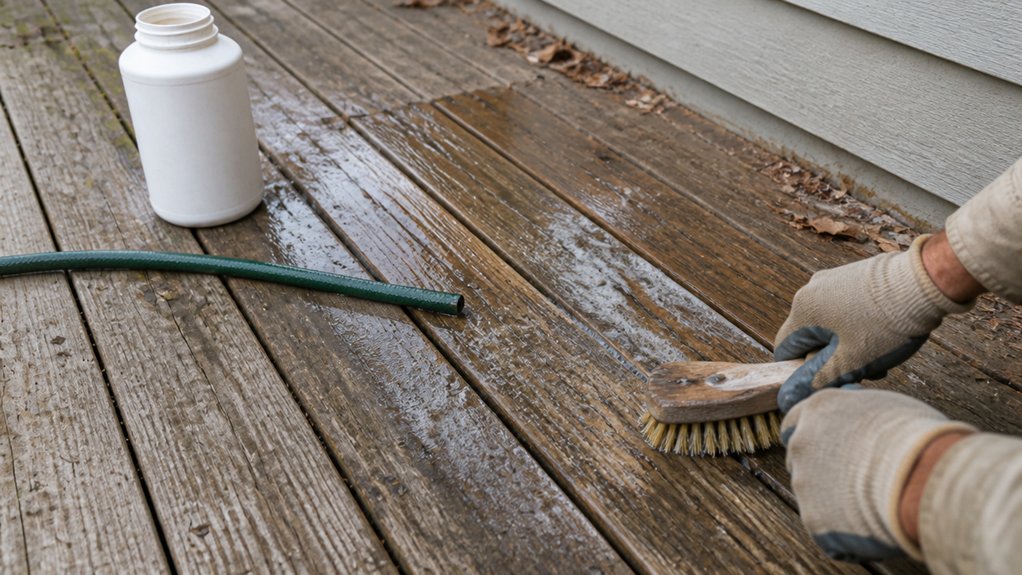
Let the cleaner sit for the full dwell time printed on the label. That wait does the heavy lifting while you rest, and for wood it usually runs 10 to 20 minutes.
The active ingredients break down grease and mildew during this period, so cutting it short just smears dirt around. Set a timer and walk away; the chemistry works best when you leave it alone.
Once the dwell time is up, take a stiff brush and lightly scrub any stubborn spots. You are not trying to build muscle, just loosen the grime so the rinse can carry it off.
On wood, brush with the grain to avoid scratches. On composite decking, brush across the grain instead, since that direction lifts embedded dirt more effectively.
Rinse thoroughly with a hose or pressure washer, moving methodically from the back of the deck to the front. Leftover cleaner dries into a white, slippery film that feels terrible underfoot and dulls the surface.
I have made that mistake before, and it takes extra scrubbing to fix. A solid rinse now saves you a headache later, so take your time and cover every board edge.
Respect the dwell time, scrub gently, and rinse with full coverage. Your deck will look clean, and your bare feet will stay safe.
If you plan to stain or seal afterward, let the wood dry completely, then check the weather forecast for a dry window before applying primer or topcoat. For storing any leftover cleaner, ensure you use airtight paint storage tins to prevent chemical reactions and leaks.
Dry the Deck and Spot-Clean Missed Areas
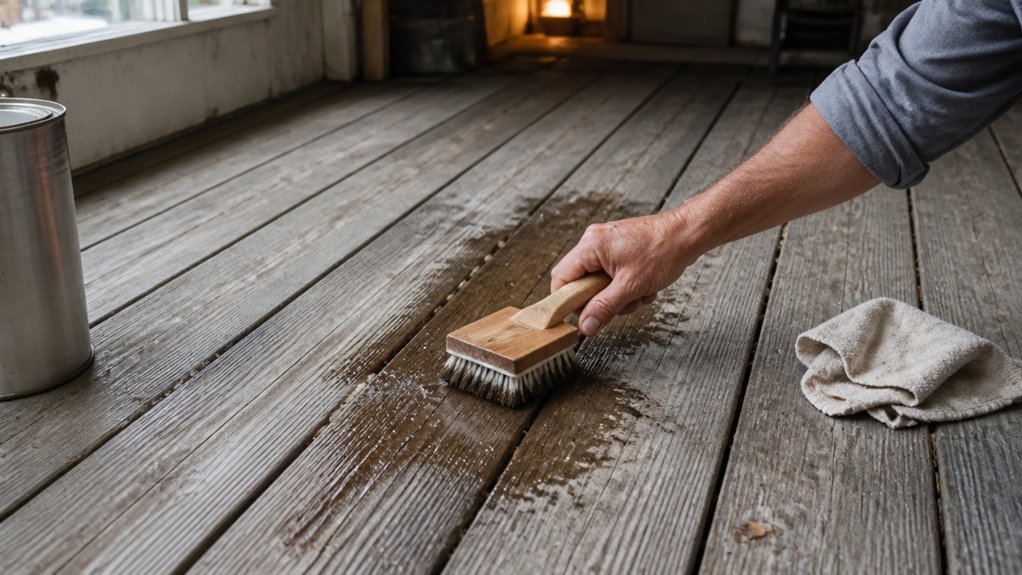
You have rinsed every board, and the finish line is practically in sight. Now, dry it fast to avoid streaks and watermarks.
I grab a leaf blower for broad areas, then follow with soft terry cloths for stubborn puddles. Don’t let water sit, or it will leave ugly spots on the wood.
Walk the deck while it’s still damp to catch what the rinse missed. Missed algae or a soapy film shows up clearly now, so spot-clean those areas with a brush and a touch of cleaner, then rinse again.
Check corners and under railings, because that’s where grime hides. My drying method handles the open boards, but you need to inspect the tight spots by hand. For stubborn residue on trim or railings, a shave hook scraper with a rubber grip can lift paint or glue without damaging the wood.
Let the deck air dry fully before you apply any stain, varnish, or polyurethane. A damp board rejects the finish and causes lap marks or uneven sheen, so wait for the drying time to finish, not just the surface feel.
Use a sanding grit like 80 or 100 if you find rough patches after drying, then wipe off the dust with a tack cloth. You want a clean, dry surface before you roll on a topcoat with a satin or gloss finish.
Keep painter’s tape handy to protect railings or siding while you work. Low-VOC products are easier on your nose, and a wet edge helps you avoid brush strokes when you seal the deck.
Trust me, I’ve learned the hard way that rushing this step means redoing the whole routine. Dry thoroughly, inspect like a hawk, and you’re ready to seal.
Frequently Asked Questions
Can I Use Bleach Instead of Deck Cleaner?
Yes, you can use bleach instead of deck cleaner, but I strongly advise against it for most wood surfaces. Bleach’s stripping power is real, yet it can break down lignin and cellulose, causing fuzzy grain and rapid graying on softwoods like pine or cedar.
Deck cleaners use oxygenated agents that lift mildew and tannin stains without harming the wood’s structure. For a safe test, mix one part oxalic acid cleaner with four parts water on a small, hidden board, then rinse after 10 minutes. Compare that to bleach: it leaves residue that interferes with stain penetration, so you would need extra sanding with 80 grit just to prep.
Don’t gamble your deck’s lifespan on a cheap shortcut. A proper cleaner costs little, and your finish will last twice as long with a bright, even tone. Use the right tool for the job.
How Often Should I Clean My Deck Each Year?
You should clean your deck twice each year, once in early spring and once in late fall, to keep it protected and looking its best. This schedule stops dirt, mildew, and pollen from bonding with the wood, which saves you from harsh scrubbing later.
After the winter thaw, use a deck brush with a oxygen bleach solution to lift gray stains without damaging fibers. Rinse thoroughly with a garden hose and let the planks dry for at least 48 hours before you even think about applying sealer or stain.
In fall, clear leaf debris and give the surface a quick wash with a mild soapy water mix, then check for popped nails or loose boards. Catching these small issues now prevents moisture traps from forming under your finish.
Twice a year is a solid rhythm, but if your deck sits under heavy tree cover, add a mid-summer rinse to reduce algae growth. This simple routine also helps your stain or varnish last longer, so you will not need to sand between coats nearly as often.
Will Cleaning Remove Mold and Mildew Stains?
Yes, cleaning removes mold and mildew stains, but thorough surface preparation is what truly determines the final result. You need to scrub with a stiff bristle brush and a mildewcide cleaner, then rinse with strong water pressure to lift the spores from the wood grain.
After rinsing, let the deck dry completely for at least 48 hours in direct sunlight before you inspect for any remaining discoloration. Damp wood hides stains, and trapped moisture will make the mildew return quickly, so patience here is non-negotiable.
If a faint shadow persists, sand the area with 80 grit paper to open the fibers, then apply a wood brightener. This restores the natural tone and ensures your subsequent stain or sealer adheres evenly, which is the real key to preventing future growth.
Can I Apply Deck Cleaner Before Rain Arrives?
Yes, you can apply deck cleaner before rain arrives, but only if your forecast guarantees a dry window. Timing is everything here, so check the weather first and look for a 24 hour clear stretch after rinsing.
If showers are predicted within that drying window, hold off completely. Rain will reactivate the cleaner, washing it into your grass or garden and leaving a patchy, dull finish.
For best results, apply the cleaner early in the morning on a calm day, and use a pump sprayer for even coverage. Let it sit for 10 to 15 minutes before rinsing, then verify the wood is fully dry to the touch before sealing.
This pre rain prep protects your wood from mildew and grime without waste. A concrete tip: test a small corner first, and if you see beading water, you still have excess moisture.
Is It Safe to Clean a Newly Installed Deck?
Yes, it is safe to clean a newly installed deck only after the wood has fully cured and the finish has hardened. I recommend waiting at least two weeks post installation, though four weeks is safer for dense hardwoods like Ipe or cedar. Wet surfaces are slippery, so premature cleaning can trap moisture and lead to mildew or warping.
To test cure time, sprinkle a few drops of water on the boards. If they bead up, the finish needs more time; if they soak in, you’re ready for a gentle wash. Use a soft-bristle brush with a mild, pH-neutral deck cleaner, never a pressure washer, which can splinter fresh grain.
For a quick, safe routine, sweep off debris first, then scrub a small 3×3 foot section and rinse with a garden hose. This prevents soap residue buildup, which can dull your stain or sealer. Always check the manufacturer’s instructions on your coating, as some penetrating oils require longer dry times before any moisture contact.
Rounding Up
To apply decking cleaners, you scrub, rinse, and repeat until the wood is clean. Work in small sections and keep the hose handy so the solution never dries out. Let the cleaner do the heavy lifting instead of relying on elbow grease alone.
Patience beats rushing, since homeowners spend, on average, 1.2 hours redoing a botched job. Check your cleaner’s label for dwell time before you start scrubbing. Test a small corner first to confirm the strength won’t damage the grain.
Rinse twice, especially after stubborn mildew spots, to avoid residue streaks. Ask yourself if your brush bristles are stiff enough for the job. Next, read up on sealing or staining your deck for lasting protection.