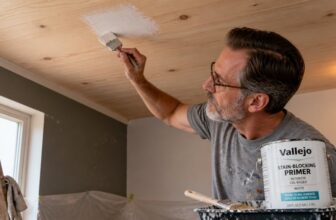
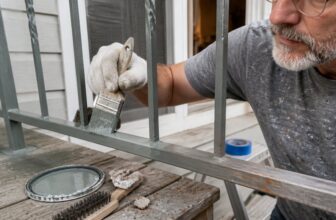
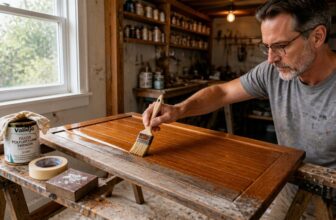
How to Apply Epoxy Primers: Step-by-Step Guide
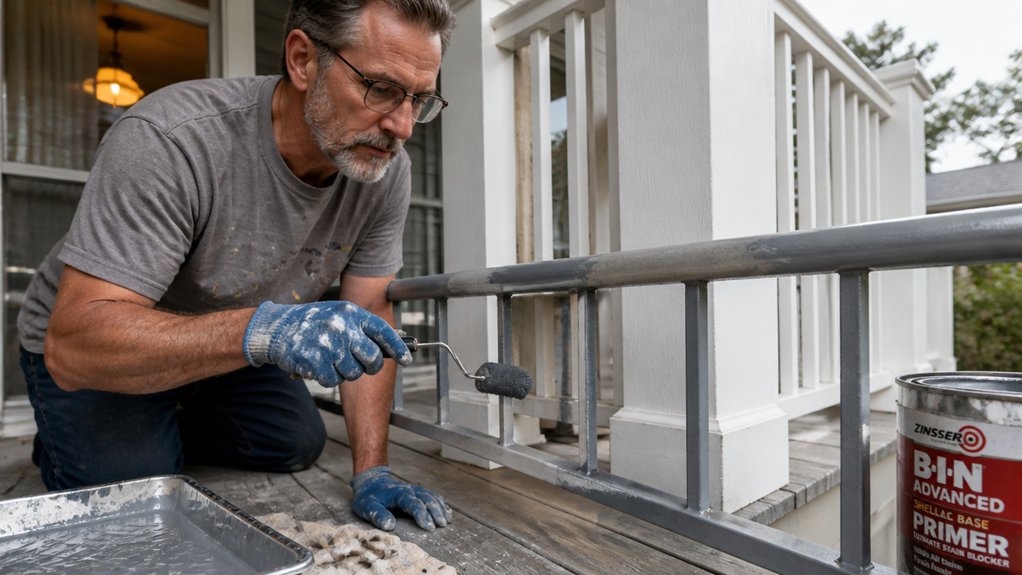
Applying epoxy primers can feel like the difference between a flawless finish and a future mess, but the secret is all in the prep, not the painting.
If you’ve ever watched fresh primer bubble or peel, you know the frustration starts with skipped steps, like missing grease or old paint.
I’ll walk you through the exact order: stripping, sanding, mixing by weight, and laying down a thin, wet coat.
You’ll also learn why a 24 hour cure time is your best friend before any sanding or topcoat.
Stick with me for the step by step breakdown that saves you from weekend scraping.
This guide covers everything from surface prep to dry times, so you can finish strong the first time.
Quick Answer
- Prepare bare steel by sanding or sandblasting; etch aluminum and prime within two hours.
- Stir Part A two minutes, add Part B, mix two more until uniform; never thin.
- Apply with brush or roller using a wet edge; sand dry primer with 220 grit.
- Wait full 24-hour cure before recoating; below 50°F slows curing significantly.
- Missed recoat window? Scuff lightly, wipe with tack cloth, then reapply thin coat.
Prep the Surface for Epoxy Primer
Prep work is 90% of the battle with epoxy primer. Skip it, and you’re just painting over future failures.
Start by stripping old paint, rust, or mill scale off steel with sanding or sandblasting. Your primer won’t bond to crud, period.
For stubborn steel, etch the surface with a mild phosphoric acid wash, which bites into the metal and gives grip. Rinse it off thoroughly, because leftover acid under primer is a recipe for disaster.
Concrete needs to be 28 days cured and bone dry. Aluminum gets abraded to fresh metal, then primed within two hours before oxidation sneaks back.
Give greasy surfaces a quick detergent scrub to save yourself from peeling later. For glossy old paint, scuff it aggressively with 80 to 120 grit sandpaper.
Clean, dry, and rough is your adhesion insurance policy. A good sanding pass also helps you avoid brush strokes and lap marks in the final topcoat.
Remember that drying time is not the same as cure time, so let the primer fully harden before sanding it with 220 grit. Use painter’s tape and a drop cloth to protect nearby areas, and check the VOC label if you’re working indoors. For porous surfaces like MDF or plywood, verify your surface compatibility first, since some epoxy primers are specifically formulated for those substrates while others demand bare metal.
Mix Epoxy Primer Correctly
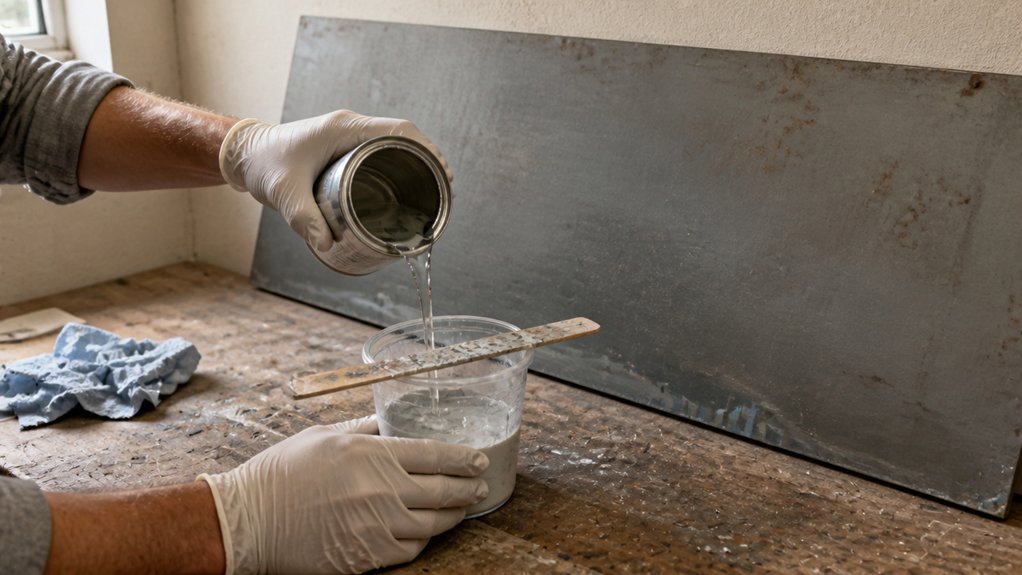
Mixing epoxy primer is a lot like measuring ingredients for a cake, except a bad batch won’t just taste off, it will stay sticky forever. Stir Part A thoroughly for a full two minutes, scraping the sides and bottom of the bucket to break up settled resin.
Add Part B next, then stir for another two minutes until the color is even and the liquid looks uniform. The mixing ratio printed on the can is not a suggestion, it is a chemical requirement, so use a clean bucket and a digital scale instead of guessing.
Work slowly with your stirring stick to keep air bubbles out of the mix, because bubbles will show up as pinholes in your cured primer coat. Never thin the mixture with solvent, since that throws off the cure and can ruin adhesion on your bare wood or metal.
Once combined, the mixed primer has a pot life of about sixty minutes, so measure out only what you can apply in that window. That clock is aggressive, so prep your surface, lay down your drop cloth, and have your painter’s tape in place before you open the cans.
For a smooth finish, apply the primer with a brush or roller, keeping a wet edge so you avoid lap marks and brush strokes. Use a sanding grit like 220 once the primer is dry, not just tack-free, to knock down any ridges before your topcoat.
Remember that drying time and cure time are different, so let the primer fully cure, often 24 hours, before sanding or adding your gloss, satin, or matte finish. Trust the numbers on the label, and you will dodge a sticky mess that could take days to fix. Epoxy primers like the Kirker Ultra-Grip 2K grip bare metal effectively while bridging the gap between epoxy sealer and surfacer.
Apply Epoxy Primer, Manage Cure Time, and Fix Common Mistakes
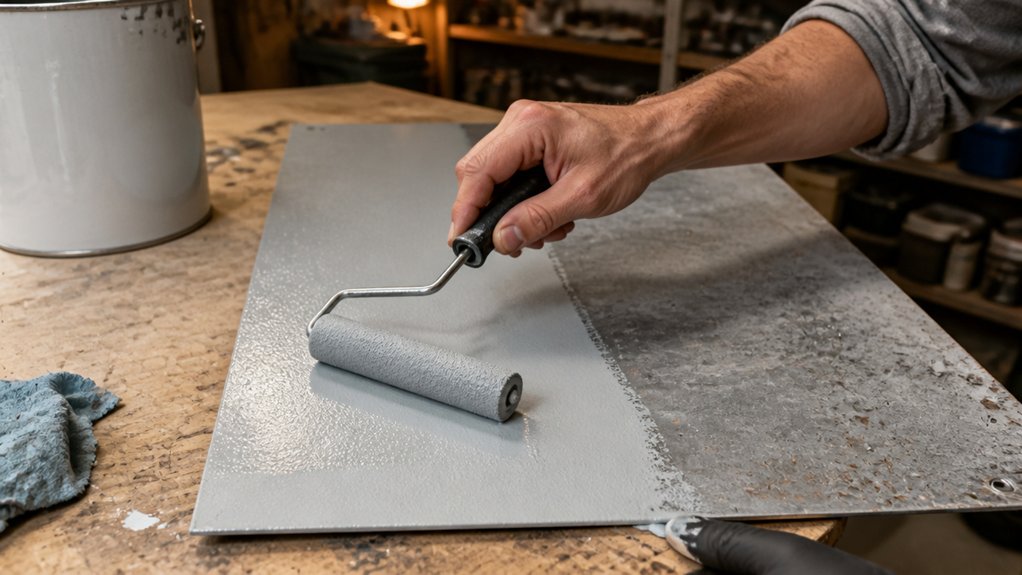
A smooth, even coat is the goal, but the real test is what happens after you set the roller down. Cure time decides everything, because rushing it invites adhesion failure later.
I’ve peeled enough primer off my own garage floor to learn that lesson twice, so trust me on this. Keep it simple with these steps.
I’ve peeled enough primer off my own garage floor to learn that lesson twice, so trust me on this.
Check your thermometer first. Below 50°F, curing crawls, so wait for warmer conditions.
Don’t touch the surface for 24 hours minimum. Dust, dampness, or puddles will wreck the bond, so keep foot traffic and moisture away.
If you miss that window before recoating with a topcoat, sand lightly with 220 grit and wipe clean with a tack cloth. Skipping this step means the new layer won’t grip.
Spot any peeling within a week? That’s cure time sabotage, so scrape the loose primer, clean the area with a damp rag, and reapply a thin coat.
Patience is your cheapest adhesion insurance, and it beats any sanding or stripping later. Use painter’s tape and a drop cloth to protect edges, and track drying time versus full cure time on the label.
For a garage floor, a satin or matte sheen hides scratches better than gloss, and low VOC epoxy keeps the fumes down while you work.
If you see lap marks or brush strokes, that means you went too thick or too fast, so roll a wet edge back into the previous pass before it skins over.
Rush the recoat window, and you’ll be scraping and repriming, which is more work than waiting a day.
Peak bond strength requires a full 24 hours of ambient curing for water-based formulas to achieve maximum adhesion.
Frequently Asked Questions
Can I Apply Epoxy Primer Over Old Paint?
Yes, you can apply epoxy primer over old paint, provided the existing coating is sound, clean, and properly scuffed for adhesion. Epoxy primers bond best to a roughened surface, so paint compatibility varies with the old finish, which is why a small test patch is essential before committing.
Use 180 to 220 grit sandpaper to dull the gloss and create a mechanical grip, then wipe with a degreaser to remove all dust and wax. If the old paint is peeling or chipping, strip it down to bare metal or bare wood, because epoxy won’t bridge failing layers.
For a reliable bond, apply two thin coats of epoxy primer, allowing the first to flash off for about 30 minutes before the second. This approach works well over cured urethanes and alkyd enamels, though lacquers may need extra cure time, so check the manufacturer’s data sheet for your specific primer.
What Happens if I Miss the Recoat Window?
If you miss the recoat window, your new coat will not properly bond to the previous layer, leading to peeling and flaking. Think of it as a chemical bond that expires, not just a surface that feels dry to the touch. You can still fix it, but you must mechanically abrade the finish to create a fresh tooth for the next application.
Start by lightly sanding the entire surface with 220-grit sandpaper or a fine sanding sponge, which breaks the glossy seal without cutting deep into the film. After sanding, wipe away all dust with a tack cloth or a damp lint-free rag, and let the surface dry completely. This step is crucial because any residue will block adhesion just as much as the missed window did.
For a hard oil or polyurethane, you should also confirm the surface is within a reasonable temperature range, ideally between 60 and 80°F, before you recoat. If the finish is still soft or gummy, wait another 24 hours before sanding, as working too early will gum up your paper. This sanding schedule works for most varnishes, lacquers, and water-based finishes, so you can avoid stripping the project entirely.
How Long Should I Wait Before Sanding Primer?
You should wait at least 4 to 24 hours before sanding primer, depending on temperature and humidity. At 68°F with moderate humidity, you can often start sanding after 6 hours, but cooler or damper conditions will slow the cure.
If you sand too early, the primer will gum up your paper and leave grooves. Always check the primer’s cure stages on the label, then test an inconspicuous corner to confirm it’s dry.
For best results, use 220-grit sandpaper and apply light pressure to avoid cutting through to the bare surface. Remember that solvent-based primers can take longer than water-based ones, so adjust your timing accordingly. When in doubt, wait the full 24 hours for a durable and smooth finish, especially before applying a topcoat.
Can I Use Epoxy Primer on Wet Surfaces?
No, you cannot use epoxy primer on wet surfaces, because moisture will ruin adhesion and cause peeling or blistering later. The surface must be completely dry, so always run a moisture test like taping plastic sheeting over the area for 24 hours and checking for condensation underneath.
If any dampness appears, wait until the substrate is fully cured and dry, which may take 48 hours or more after rain or washing. I would skip priming entirely even if it just looks slightly humid, since trapped water creates microscopic voids in the film.
Instead, use a dehumidifier or heat lamp to speed drying before applying the primer, and sand with 80 grit on bare metal for better bite. This saves you from stripping and redoing the job, which is a waste of time and materials.
How Do I Fix Runs or Drips After Drying?
You fix runs or drips after drying by sanding them flat once the finish is fully cured, but the key is patience, since rushing this step can easily gouge the surrounding film. For most lacquers and varnishes, wait at least 24 to 48 hours at 70°F before touching the surface, and use a hard sanding block with 220-grit paper to level the imperfection without flexing into the good finish.
Feather the edges of the run with light, even strokes, then wipe the dust with a tack cloth and inspect under raking light for any remaining high spots.
Once flat, reapply a thin coat of the same finish, lightly overlapping the sanded area to restore a uniform sheen and texture.
If the run is severe, start with 180-grit on the block, then switch to 220, and always finish with a mist coat before your final layer; this avoids orange peel while blending the repair. Related term: “finish leveling” is worth searching for when you need extra guidance on texture matching.
Rounding Up
Applying epoxy primers starts with a clean, dry surface and exact mixing.
Move inside the two hour recoat window without dawdling, because it is a trap for slow work.
Sand any runs or fisheyes flat, but do not panic when they appear.
Write down your mix ratio and pot life before you open the can.
Compare your surface temperature and humidity against the product’s data sheet right now.
Test the primer’s cure on a scrap piece before you commit to the full panel.
The article mentions $40 a gallon as cheap insurance against rust, so that price measures cost per gallon, not coverage.
Next, read about applying a urethane topcoat over cured epoxy.