How to Apply Hard Wax Oils: Step-by-Step Guide
Applying hard wax oils can feel like a guessing game if you’ve never done it. But getting a smooth, wipeable finish is simpler than you’d think, once you nail the surface prep.
You only need two thin coats and a synthetic pad, but timing matters more than effort. Skip the perfect sanding grit and the finish will look patchy, not professional.
So, let’s break down the exact steps for a durable, even result. From picking the right grit to managing the week long cure time, I’ll cover it all here.
Quick Answer
- Test moisture below 10% before applying; damp wood prevents oil curing.
- Sand to 120–150 grit along grain, then vacuum and tack-cloth thoroughly.
- Apply two thin coats with a pad or microfibre roller, sanding 320 grit between.
- Wipe off excess firmly before it tacks; ventilate with windows and fan.
- Allow 7–10 days full cure; light sock use after 24 hours, furniture after a week.
How to Prep Wood for Hard Wax Oil: Sanding, Filling, and Cleaning
Preparation is ninety percent of the hard wax oil battle. Skip it, and you are left with a blotchy mess that no second coat can fix.
Preparation is ninety percent of the hard wax oil battle. Skip it, and you’re left with a blotchy mess no second coat can fix.
First, run a moisture test on the wood. If the reading is above 10 percent, stop and wait, because the oil will not cure properly on damp timber.
Sanding progressively up to 120 or 150 grit, always following the grain direction. Sanding across the grain leaves scratches that show up clearly under the finish.
Dust extraction is not glamorous, but it is essential. Vacuum the surface, then wipe it with a tack cloth, since leftover powder acts like sandpaper under your topcoat.
Do not skip edge sanding, either. Corners and profiles absorb oil unevenly, so hand-sand them with the grain to keep the uptake consistent.
Fill any gaps with a resin filler before your final sanding pass. That way, the hard wax oil goes on smooth and the sheen looks even.
Use a satin or matte finish if you want a natural look, and check the VOC label if you are working indoors.
Remember that drying time is not the same as cure time. Allow at least a day before light use, and a full week before heavy traffic.
Keep a drop cloth and painter’s tape handy to protect surrounding areas.
A little extra prep now, maybe ten minutes, saves you a weekend of sanding and recoating later.
For projects in busy kitchens or hallways, choose a product designed for high-traffic wear to ensure lasting protection against scuffs and spills.
Apply Hard Wax Oil: Tools, Coats, and the Wipe-Off Step
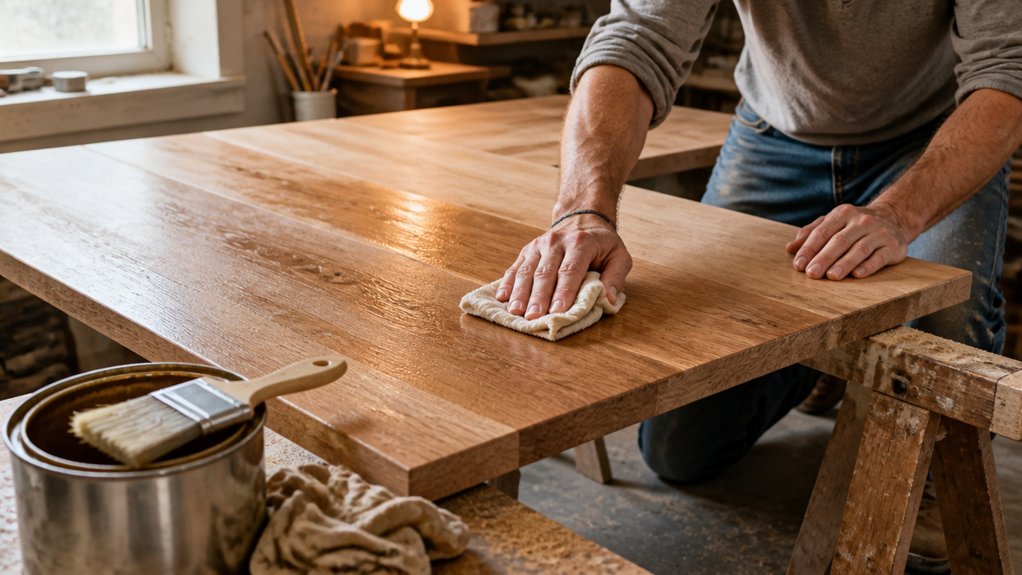
Application starts with the right tools. Use a short-nap microfibre roller or a synthetic pad, and I prefer the pad for control.
Hard wax oil covers about 20 to 24 square metres per litre per coat, so measure your floor before buying. Nobody likes running dry mid-room, so buy a little extra. A 3/4-inch nap holds two to three times more paint than a shorter cover, but for hard wax oil, the short nap still spreads thin, even layers without overloading.
Two thin coats max, always following the grain. Do not skip the wipe-off step, because that is where the real finish comes from.
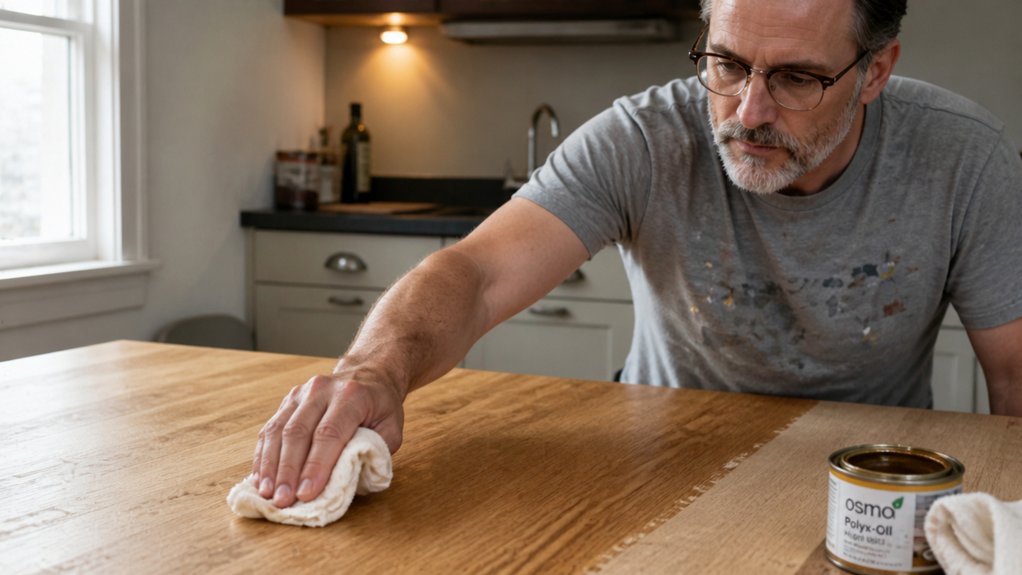
Wipe off the excess with a clean cotton rag using firm pressure before it starts to tack up. This prevents lap marks and leaves a smooth, even sheen.
Open your windows and run a fan, because hard wax oil has real VOC fumes that sneak up on you. The drying time is quick, but the cure time takes longer, so keep the room aired out.
Keep your coats thin to avoid brush strokes or roller streaks. A satin or matte sheen comes from that final wipe, not from piling on more product.
Sand between coats with a fine grit like 320 if you want a glassy result. Use painter’s tape to protect skirting boards, and lay a drop cloth near the doorway to catch drips.
That is the whole job: measure, apply thin, wipe off, and ventilate. Your future self will thank you for the clean finish and the lack of sticky spots.
Drying, Curing, and When It’s Safe to Walk on Your Floor
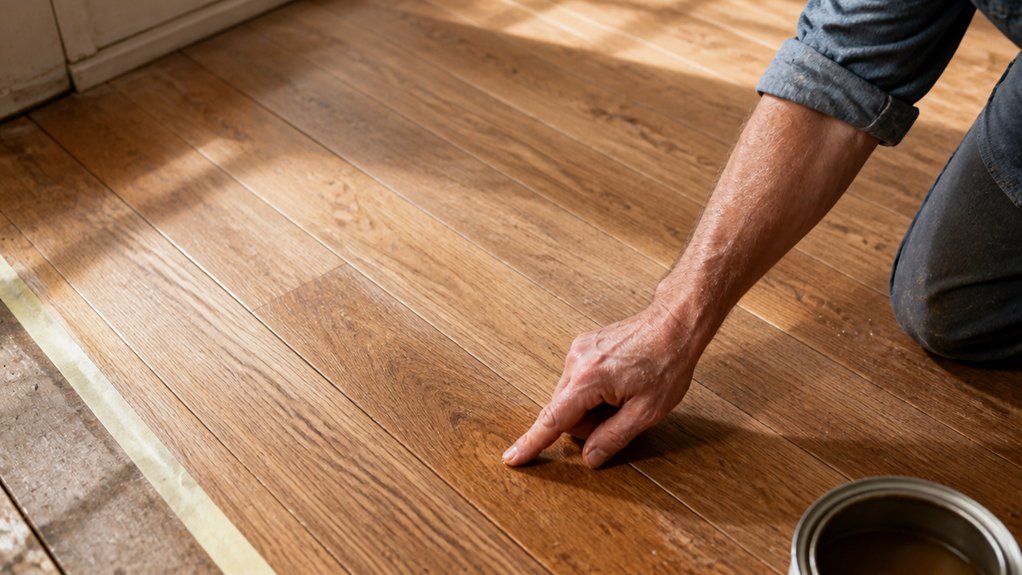
Your final coat is on and the floor looks great, but it is not ready for foot traffic yet. The surface dries to the touch in 4 to 6 hours, yet that only means dust won’t stick to it. Oil-based polyurethane requires a similar wait before recoating, which confirms your timeline.
Full hardening, called curing, takes 7 to 10 days, and this is where patience matters most. Several things change how long you wait, and you can control most of them.
Wood species plays a big role, since exotic hardwoods like teak or ipe slow down the cure time. Ventilation also matters, because stale, still air drags out the process.
Wood species and airflow decide your cure speed—exotic hardwoods and stale air only slow things down.
Keep the room temperature above 12°C, and warmer is always better for the finish. High humidity in the air wreaks havoc on drying, so run a dehumidifier if you can.
Coat thickness is another factor, where thin coats of varnish or polyurethane cure faster than thick ones. After 24 hours, walking in socks is fine, but do not bring in shoes or slippers yet.
Heavy furniture needs a full week before it can sit on the surface without leaving dents. For full load-bearing traffic, like moving appliances or hosting a party, give it the entire 10 days.
I rushed this once and spent months staring at scuff marks in the finish, so learn from my mistake. Plan your schedule around the cure time, not the tack-free feel, and you will avoid ruining your topcoat.
Check the wet edge on a test spot before you trust the floor with anything heavy. Use a drop cloth and painter’s tape to protect nearby areas while you wait, and keep foot traffic off until the cure is done.
Frequently Asked Questions
Can I Use Hard Wax Oil Over an Existing Varnish or Lacquer?
No, you cannot use hard wax oil over an existing varnish or lacquer. These coatings seal the wood, so the hard wax oil won’t penetrate properly, and the finish will likely fail adhesion tests as it sits on top like a film.
You’ll need full surface preparation, sanding back to raw timber, for any lasting bond. For example, use 80 to 120 grit on a random orbital sander to strip the old sheen and open the grain.
Don’t skip this step, as even a light skim coat of old lacquer will make your wax oil peel or cloud within months. After sanding, vacuum and wipe with a tack cloth before applying the first of two thin coats.
Related term: refinishing, which often means removing old finish entirely to expose fresh wood for oil penetration.
Will Hard Wax Oil Darken My Wood’s Natural Color Over Time?
Yes, hard wax oil will darken your wood’s natural color over time, but only subtly. You’ll notice a gentle ambering rather than a dramatic stain-like shift, especially on light woods like maple or oak. The effect deepens the grain’s character, adding warmth without masking the original hue.
For a predictable result, test on a scrap piece with the same sanding grit you’ll use on your project, typically 120 to 180. Apply two thin coats with a lint-free cloth, allowing 8 to 12 hours of drying between them. This limiting coat count keeps the color shift minimal, whereas a third coat will push the amber more noticeably. If you want less warmth, choose a white-pigmented hard wax oil, often sold as “natural” or “clear.” Over years, sunlight accelerates the amber effect, so expect a deeper, honey-toned patina that most users find beautiful.
How Do I Fix a Patchy or Streaky Area After It Has Dried?
To fix a patchy or streaky area after it has dried, start by coarse buffing with a maroon pad to level the surface, since this often removes the uneven sheen. If that doesn’t work, use heat reactivation with a household iron on a low setting over a brown paper bag to soften the wax.
Once the wax is pliable, reapply a thin coat and immediately wipe off the excess with a clean cloth. Let it cure for at least 24 hours, or longer in cool, humid weather, before you judge the final appearance.
For a stubborn streak, buff again with a white pad and a light hand, as overworking the area can create new marks. A related term to search is “wax polishing,” which will show you the same technique for blended, even finishes.
Can I Apply a Second Coat After 24 Hours Without Sanding?
Yes, you can apply a second coat after 24 hours without sanding, provided you are using a one-part oil-based finish and it falls within the recoat window. The key is to ensure the surface is completely dust-free and dry to the touch before you proceed with the next layer.
Skip the sanding step entirely, but do not confuse dry with cured. Even though it feels ready for recoating, the full curing time still needs about 7 days before the film reaches maximum hardness and durability, so handle it gently during that week. For a practical check, lightly press a clean fingertip in an inconspicuous corner; if it leaves no mark, you are safe to proceed.
One tip: wipe the surface with a tack cloth just before applying that second coat to catch any airborne particles that settled overnight. Also, if you are using a water-based polyurethane instead, the recoat window is shorter, often within 2 to 4 hours, so follow the label’s specific instructions for that recoat interval.
What Is the Best Way to Store Leftover Hard Wax Oil?
The best way to store leftover hard wax oil is to eliminate all air from the container before sealing it tightly. Oxygen is the enemy here, so press a layer of plastic wrap directly onto the oil’s surface before you screw the lid back on. This simple step prevents a skin from forming and keeps the product workable.
After capping, I always store the can upside down. This forces the liquid itself to seal the lid’s rim, which stops any air from sneaking in over time. You can also transfer small amounts into a smaller glass jar to reduce the air space above the finish.
When you reopen it, stir gently with a clean stick, never shake, to avoid bubbles. Properly sealed, your oil should last for years, though you may need to strain it through a fine mesh if any debris appears. For more tips, search for wood finish storage.
Rounding Up
Applying hard wax oils means wiping off the excess after the dwell time, and that step decides everything.
Check your rag after the first pass: if it feels tacky or leaves streaks, you waited too long, so wipe sooner next time.
Test a small corner before committing to the full room, then compare the sheen to your expectation.
Write down the 2.5-liter tin size for most rooms, around $80, which covers the cost for a typical space.
The coat is repairable and tough, so you can fix scratches without sanding the whole floor.
Read next about buffing techniques for a higher gloss finish.