How to Apply Hairline Crack Fillers: Step-by-Step Guide
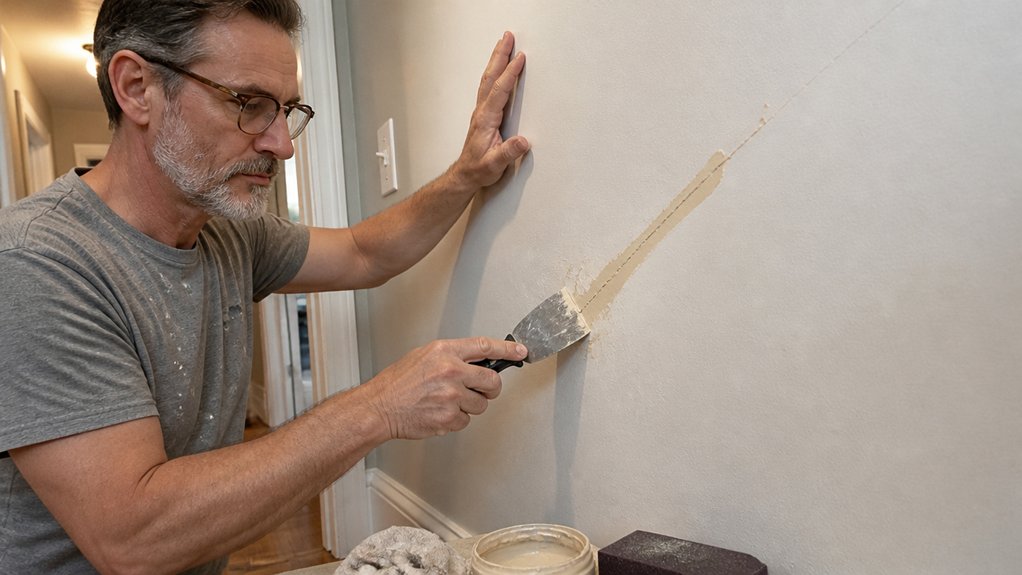
A hairline crack that keeps ruining your fresh paint job is frustrating, but the fix is simpler than you think. The secret is choosing the right filler and letting gravity do the heavy lifting.
In this guide on how to apply hairline crack fillers, I’ll show you the exact steps for a seamless, paint-ready surface. You’ll learn when to use a water-thin epoxy, how to level it flush, and why the cure time matters before your primer goes on.
No thick pastes or sanding nightmares here, just a clean finish that holds up. Let’s get into the prep, the pour, and the final coats.
Quick Answer
- Measure crack width first; under 1mm requires water-thin epoxy filler.
- Pour filler slowly, letting gravity seep into the crack from one end continuously.
- Level excess with firm putty knife pressure, then mist with water spray.
- Wait one hour cure; check flushness with fingertip, add thin layer if low.
- Sand cured filler with 120-grit, then 150-grit; prime with shellac-based primer.
Identify Your Crack Type Before Prepping
Before you touch a caulking gun, figure out what kind of crack you have. Using the wrong filler is like hammering a nail with a screwdriver, it just makes a mess.
Grab a tape measure and check the crack width. If it’s under a millimeter, it’s a hairline crack, anything wider needs a different approach.
Next, look at the surface material, because concrete, plaster, and drywall all act differently. Porous concrete soaks up thin fillers like a sponge, but smooth plaster will let them bead right off.
I’ve skipped this step before and wasted money on filler that popped out within a week. So measure first, then squint at the texture before you load anything.
For hairline cracks under a millimeter, use a flexible acrylic latex caulk and a damp finger to press it in clean. For wider gaps, you’ll need a patching compound that matches the substrate, and you’ll likely need to sand it down with 120-grit paper after it dries. Also, confirm the product’s maximum crack-width rating to avoid sagging or failure on wider gaps.
Prime the repaired spot with a quality primer before you paint, so the topcoat doesn’t flash or show a dull sheen. If you’re finishing wood nearby, keep a drop cloth down and painter’s tape on the edges to catch drips.
Remember that drying time is not the same as cure time, so wait a full day before sanding or painting over a filler. Wet edge is key when you apply the topcoat, work in one continuous strip to avoid lap marks and brush strokes.
Choose a satin or matte finish for walls to hide imperfections, but gloss works better for trim that gets wiped down. Check the VOC label on your filler and primer, low-VOC products smell less and are easier to use inside.
Choose the Right Filler for Hairline vs. Fine Cracks
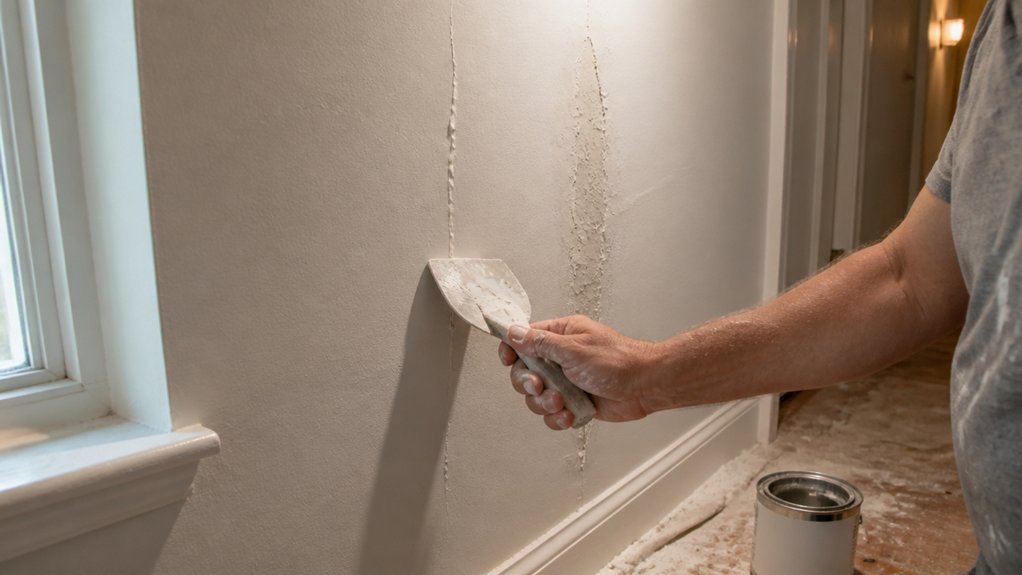
Check the crack width again with a magnifying glass, because hairline and fine cracks need different fillers.
A hairline crack under 1mm needs water-thin epoxy that flows deep on its own, while a fine crack can take a slightly thicker fluid filler, but a heavy paste will just bridge over and leave an ugly surface.
For hairline cracks, use an ultra-low viscosity two-part epoxy and pour it directly into the gap.
For fine cracks, a low-viscosity filler still works best, but you can use one that’s a touch thicker without trouble.
Mixing matters: ready-mixed fillers skip the fuss, but two-part epoxies need a thorough stir with a mechanical paddle to cure properly.
Skip that step and you’ll get a sticky mess that never hardens right, so take the extra minute.
For most DIY jobs, buy a low-viscosity two-part epoxy for around $20 and mix it well before applying.
Dampen a rag with mineral spirits to clean the surface first, and let the filler dry past its tacky stage before sanding with 120 grit.
Match the fluidity to the crack width, not your impatience.
Hairline cracks demand runny epoxy, while fine cracks tolerate a slightly thicker mix, so check the gap and pour accordingly.
After the filler cures, sand flush with 150 grit, then wipe off dust before priming.
A quick coat of shellac-based primer seals the repair, and a satin or matte topcoat hides the patch without lap marks.
For crack widths up to half an inch, consider a self-leveling product like DAP Liquid Cement Crack Filler that pours and levels without mixing.
Pour, Level, and Work Hairline Filler Into the Crack
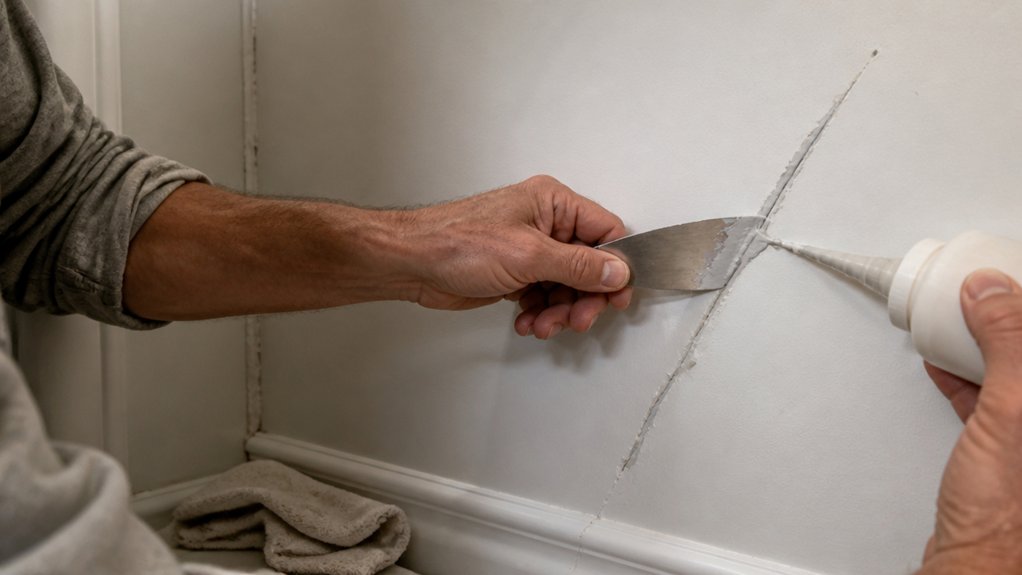
Now that you’ve matched the filler’s fluidity to the crack, it’s time to get it in there. Don’t overthink this part; hesitating only makes a mess.
First, gauge the crack width. If it’s under 1mm, your ultra-low viscosity epoxy will gravity-feed beautifully, so skip the injection tools.
Pour slowly and let the filler seep into every void, not just skim the surface. Start at one end and work along the full length in a single direction, so you don’t drag filler back out.
For deeper cracks, do a second pass. Then grab a putty knife and level the excess with firm, consistent pressure.
Get it in, get it flush, and let it sit. Once it cures, sand with 220 grit, then apply primer and a topcoat in your chosen sheen, like satin or matte, to blend the repair.
Keep a wet edge on any surrounding stain or varnish to avoid lap marks. Cover the floor with a drop cloth and use painter’s tape to protect adjacent trim.
Drying time is a few hours, but full cure takes overnight before sanding. That’s all there is to it.
For active leaks or damp areas, a quick-setting epoxy putty can stop water flow during the repair, though you’ll need to work fast during its limited shaping time.
Mist, Cure, and Inspect for a Flush Finish
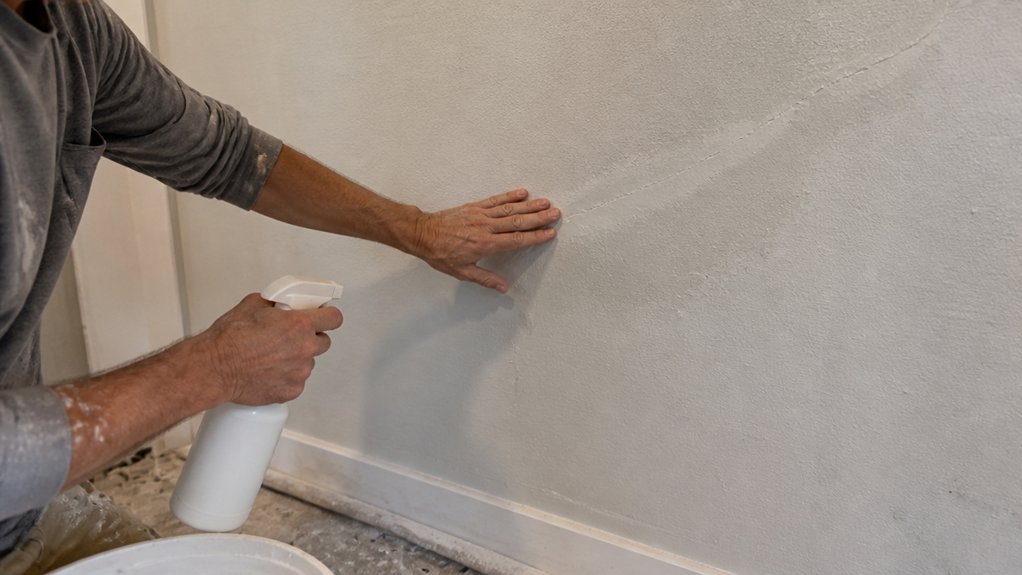
Mist the filled crack lightly with a fine water spray right after leveling. A light saturation keeps the filler from shrinking unevenly as it dries, so don’t drown it.
Let it cure for about an hour for hairline cracks, but cooler temperatures or higher humidity can stretch that time out. In damp weather, watch for a greasy film called amine blush, which you need to wash off with warm soapy water before any primer or topcoat touches it. Fast-drying, low-shrink spackle can stay level as it hardens, reducing the need for repeat passes.
Once dry, run a fingertip across the surface to check for flushness. If it feels smooth, you’re ready to paint, but if you catch a low spot, add a thin second layer and mist again.
After the final cure, apply a primer to seal the repair, then choose your sheen, like satin or matte, and finish with a topcoat. Keep a wet edge while painting to avoid lap marks, and use painter’s tape and a drop cloth for clean edges.
Drying time is shorter than cure time, so wait a full day before recoating with varnish or polyurethane if you want extra durability. Sand any rough spots with fine grit, like 220, before the final coat, and you’ll get a seamless, brag-worthy finish.
Frequently Asked Questions
Can Hairline Crack Filler Be Applied Over Old Paint?
Yes, hairline crack filler can be applied over old paint, but only if that paint is fully sound and tightly adhered. I always press a strip of duct tape onto the surface and yank it off; if any paint comes away, I scrape or sand those loose areas down to bare substrate before filling.
Flaking or chalky paint will destroy the filler’s grip, so never skip this adhesion test. For sound paint, use a flexible acrylic filler and apply it with a 4-inch putty knife, pressing firmly into the crack.
Lightly sand the dried filler with 120-grit paper, then wipe off dust with a tack cloth before priming. This method works well on trim and drywall, but remember that recoat the filler within 24 hours for best bonding, and always use a stain-blocking primer to prevent old paint bleed-through.
What Happens if It Rains Before the Filler Dries?
If rain hits before the filler dries, you will get moisture trapped under the surface, which stops proper curing and leads to a weak, crumbling repair. The water can also cause washout, where the filler literally flows away or leaves pockmarks, so you will be back at square one.
To salvage the job, wait for a full dry window of 24 hours, then scrape away any loose material and sand down to a sound edge with 80 grit paper.
If the damage is soft, cut it out entirely and reapply fresh filler in thin coats, never more than 6 mm thick per pass, pressing firmly to avoid air pockets.
For a quick check, press a fingernail into the edge; if it dents, it is still wet inside, so wait another day before any paint.
Search for “moisture cure failure in patching compound” if you want more depth on this exact issue.
How Soon Can I Walk or Drive Over Filled Cracks?
You can walk on filled cracks after about one hour, but you should wait a full 24 hours before driving over them. That said, curing time shifts with temperature and humidity: cooler or damp conditions slow the process, so check the forecast before you plan foot traffic.
For a quick test, press a fingertip into the patch after two hours. If it feels tacky or leaves a print, give it more time. Heavy vehicles like trucks or RVs demand the longest wait, often 48 to 72 hours, so don’t rush that driveway access.
Use a concrete sealant rated for exterior traffic and read the label for cure specs, since brands vary. A handy tip: park a car on a level patch overnight, not a slope, to avoid shifting while it sets. When in doubt, wait an extra day to protect your work.
Can I Use the Same Filler on Both Concrete and Masonry?
Yes, you can use the same filler on both concrete and masonry, provided the surfaces are properly prepared. Filler compatibility is forgiving, but surface adhesion is what truly determines the outcome. Clean, dry, and dust free substrates are non-negotiable for a lasting bond.
If you skip that prep, moisture will push the filler right off, and you will be patching again within weeks. For best results, apply a thin coat, let it dry fully, then sand with 120 grit paper before a second fill if needed.
Use a acrylic latex filler for both materials, as it flexes slightly and resists cracking better than cement based patching compounds. One practical tip: wait at least 24 hours in cool weather, or 4 hours in warm, dry conditions, before painting or sealing the area.
Will the Filler Shrink After It Fully Dries and Cures?
No, filler will not shrink after it fully dries and cures, provided your surface prep and application were done right. The key is to avoid overfilling in one thick pass, which traps solvents and leads to later sinking.
For best results, apply two thin coats instead of one heavy blob, letting each dry for at least 24 hours. Sand the first coat with 120 grit before the second, and you’ll lock in that flat, stable profile.
Most premium wood fillers and spackles are formulated to resist shrinkage, so you won’t see that dreaded sunken look. Cure time matters for durability, not dimension, so wait 48 hours before priming to let the material fully stabilize.
For a quick test, fill a scrap hole and check it after a week; if it’s flush, your batch is solid. I always prefer acrylic or epoxy-based fillers for high-moisture spots, as they hold better than vinyl options.
Rounding Up
Applying hairline crack fillers starts with sealing, then waiting a full day before you test the surface with a fingernail. If it catches, you skimmed too thin; if it dips, you over-sanded, so you fix that layer before moving on.
Check the cure time on your polyurea tube and mist the filler once it’s applied, then trust the cure process instead of rushing. Compare your final finish against the surrounding wall to see if it’s truly flush, and adjust your technique on the next pass.
Ask yourself if you applied enough filler the first time, since thin coats fail more often than thick ones. The article contains no statistic to repeat. You may want to read next about managing cure times in humid weather.