How to Apply Sugar Soaps: Step-by-Step Guide
Sugar soap can make or break your paint job, but only if you apply it the right way.
Get it wrong, and leftover residue undermines your primer, sheen, and every coat you roll on next.
This guide walks you through mixing ratios, dwell times, and rinsing tricks that protect your finish from dulling or peeling.
You will learn how to tackle light grime, heavy stains, and everything between without risking cure time or adhesion.
Follow these steps, and your next surface will be clean, dry, and ready for paint.
Now let’s break down the exact process, starting with the correct mix and working order.
Quick Answer
- Mix ½ cup sugar soap per 5 liters warm water; pour soap first to reduce splashing.
- Work from lowest point upward in square-meter sections, overlapping strokes to avoid lap marks.
- Let solution sit 30 seconds for light grime, 1 minute for heavy buildup; rinse thoroughly.
- Test hidden corner first; wait 10 minutes to check for paint damage or color shift.
- Rinse with clean water and dry fully (20–30 minutes) before touch-up or priming.
What Sugar Soap Is and Why It Cleans So Well
Sugar soap has no sugar in it, so don’t expect a candy smell.
The cleaning power comes from its high alkaline pH, which breaks down grease by attacking its chemical bonds.
The cleaning power comes from its high alkaline pH, which breaks down grease by attacking its chemical bonds.
That high pH is why it cuts through kitchen film and sticky grime so easily on walls and trim.
The real workhorse is the surfactant action, which lowers water’s surface tension so the liquid can get into pores and lift dirt out instead of pushing it around.
You can use it on painted walls, tiles, and even woodwork before you sand and prime.
For pre-paint prep, wipe the surface with sugar soap, rinse with clean water, and let it dry fully before you apply primer or your first coat of topcoat.
Drying time is quick, but wait for the surface to feel completely dry to the touch before sanding with a fine grit like 220.
One bottle runs about $10, and it’s not glamorous, but it strips old wax, grease, and grime better than most dedicated degreasers.
It won’t leave a sheen or alter your paint’s gloss, satin, or matte finish, so you don’t have to worry about residue.
Skip the painter’s tape and drop cloth only if you’re confident, but honestly, keep them handy because this stuff can splash.
There’s no lap marks or brush stroke risk here, since you’re wiping, not painting.
Just use a sponge or cloth, work in sections, and rinse well so no alkaline film stays behind to mess with your varnish or polyurethane later.
VOC concerns are low for most sugar soap brands, but check the label if you’re sensitive.
For paint preparation, mix 330 ml with 4.5 L of hot water, while general cleaning calls for just 30 ml.
You get a fast-acting solution that preps surfaces properly, and that’s the point: results, not sweetness.
Gather Your Sugar Soap Tools and Safety Gear
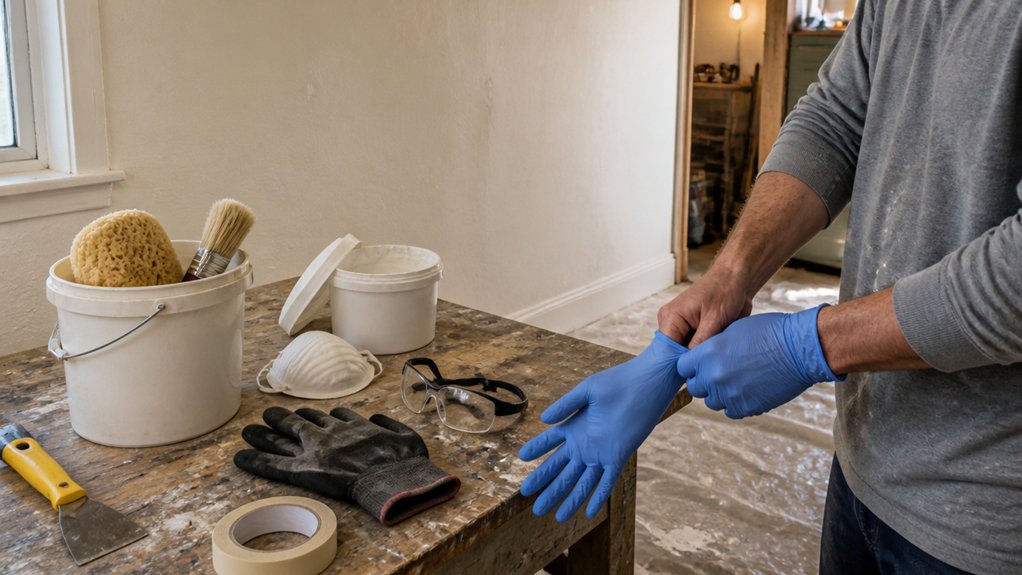
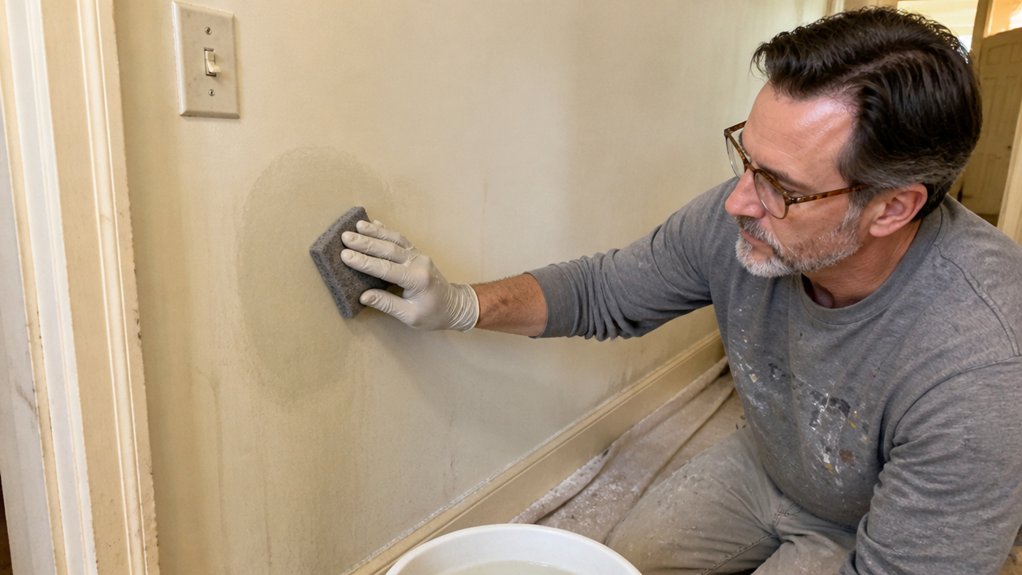
Gather your bucket, a sponge or cloth, and a non-scratch scouring pad for the stubborn grime. You will also want rubber gloves, because this alkaline cleaner with a pH around 11 is harsh on skin.
Test the solution on a small, hidden patch of wall first to confirm the paint won’t lift or change color. Keep aluminum and brass fixtures well away from the work area, since the cleaner can tarnish those metals in seconds.
This mix is strong enough to cut through grease and old wax, but it will also strip a fresh topcoat if you let it sit too long. Work in small sections and rinse each area with a clean wet cloth to avoid leaving a dull film behind.
For painted trim, use a soft cloth instead of the scouring pad, which can leave fine scratches that show up under a satin sheen. If you are prepping for a new coat of paint, this wash is your primer substitute for removing kitchen residue before you sand with 220 grit.
Dry the surface completely before you mask or paint, and check for lap marks by looking across the wall at a low angle. A quick wipe with a tack cloth after drying will catch any leftover dust before you roll on that finish. Use a dedicated brush cleaner on your tools afterward to keep bristles soft and free of alkaline residue.
Essential Gear List
Before you open that bottle of stripper, gather a few basics so you are not stuck with a rag and regret. Your core kit starts with two buckets, one for rinse water and one for wash water, plus a sponge and a soft cloth.
A mop handles floors, and a non-scratch scouring pad takes care of stubborn spots where old varnish clings. For applying the stripper, a trigger spray bottle beats dunking a cloth every time, especially when you are working with a diluted mix.
A long-handled brush reaches corners and carved details without you bending over. On the safety side, rubber gloves protect your hands from the alkaline sting, and safety goggles keep splashes out of your eyes.
An apron saves your clothes from drips and stains. You do not need brand names, just practical gear that works.
A fifteen dollar kit covers all of this and keeps your focus on the finish, not the mess. When you strip wood, remember that a wet edge prevents lap marks, so work in sections and keep the surface coated evenly.
After stripping, sand with 120 grit to smooth the grain, then move to 220 grit before you apply primer or topcoat. Drying time matters more than you think, and full cure time for polyurethane can take weeks, so plan ahead.
Use a drop cloth under your work area and painter’s tape on edges you want to protect. That simple setup turns a messy job into a clean, controlled process. If you prefer disposable options, powder-free nitrile exam gloves offer a latex-free barrier against chemicals and germs.
Safety Prep Steps
Mixing a strong alkaline solution at pH 11 calls for the right gear before you start, and I’ve learned that the hard way. Wear rubber gloves from the hardware store, the cheap kind, to keep that harsh, drying soap off your skin.
Safety glasses are non-negotiable after a splash nearly hit my eye once, and that sting taught me respect for the stuff. On top of that, this solution can etch surfaces, leaving tiny permanent scratches on glass or polished metal, like a bad sanding mistake on a clear coat.
Keep a spray bottle of clean water close by to mist and wipe any spills, acting as a quick pH neutralizer. Cover any brass or aluminium nearby, because those metals react fast and will dull or corrode before you can blink.
Grab a bucket, a soft cloth, and you’re ready to work, much like laying down a drop cloth before brushing on a fresh coat of primer. Five minutes of prep keeps you from a weekend of regret, and that’s better than fighting lap marks or brush strokes on a ruined finish. For extra coverage against splashes and overspray, consider slipping into disposable painting overalls with elastic cuffs and an attached hood to seal off your clothing and skin.
How to Mix Sugar Soap: Dilution Ratios for Every Job
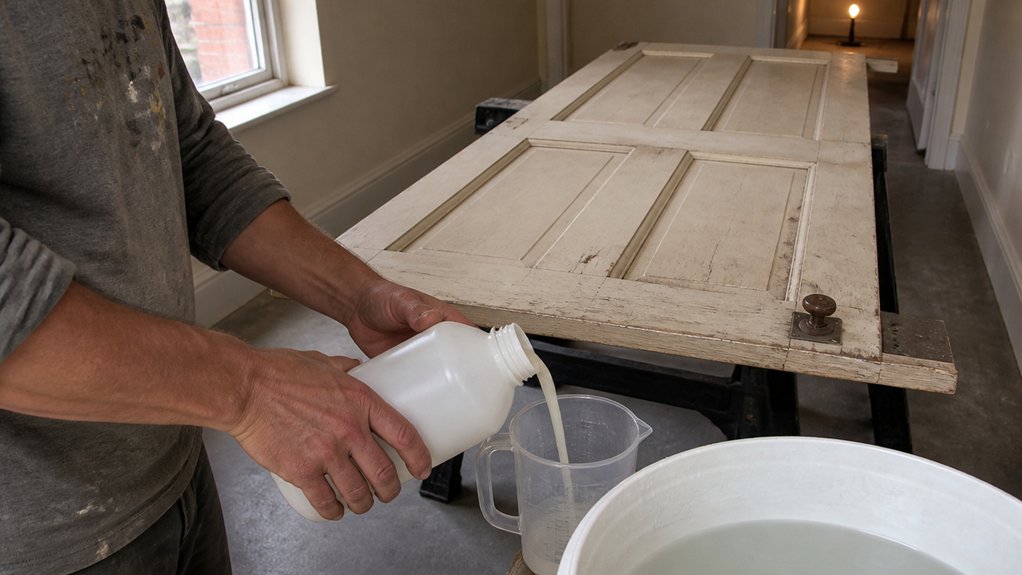
Sugar soap gets walls and trim ready for primer and topcoat, but only if you mix it right. Get the ratio wrong and you will either scrub off sticky residue or watch grease win before you ever roll on paint.
Sugar soap only preps walls right when the mix is exact—get it wrong, and grease wins before paint ever rolls on.
Use half a cup of sugar soap per 5 liters of water for general walls, floors, and bathroom tile. For stubborn stains like old grime near switches or baseboards, apply the soap neat, let it sit for a minute, then rinse with clean water.
For a trigger spray bottle, mix 1 part sugar soap to 10 parts water. This works well for spot cleaning before you sand or wipe down with a damp cloth.
Stronger mixes cut through grease faster, but always rinse well so no soap film remains to mess with your paint’s adhesion. A clean surface also helps you spot dull or glossy patches before you lay down a fresh coat.
Measure everything with a real measuring cup, not a guess. Eyeballing ratios leads to lap marks or brush strokes showing through your finish. Orifice size precision directly impacts how you verify your cleaning solution’s viscosity if you ever switch to a spray setup for thicker coatings, but for sugar soap the focus stays on dilution.
If you are prepping for varnish or polyurethane, the same dilution rules apply, just make sure the surface is completely dry before sanding with 120 grit. For low-VOC paints, a thorough sugar soap rinse matters even more, since leftover soap can affect how the finish levels out.
Drop cloths and painter’s tape will protect your floors and edges while you clean, but the mix itself does the heavy lifting. Keep your wet edge moving when you paint, and always let the wash dry fully before you sand or apply any coating.
Step-by-Step: Sugar Soap on Walls and Surfaces
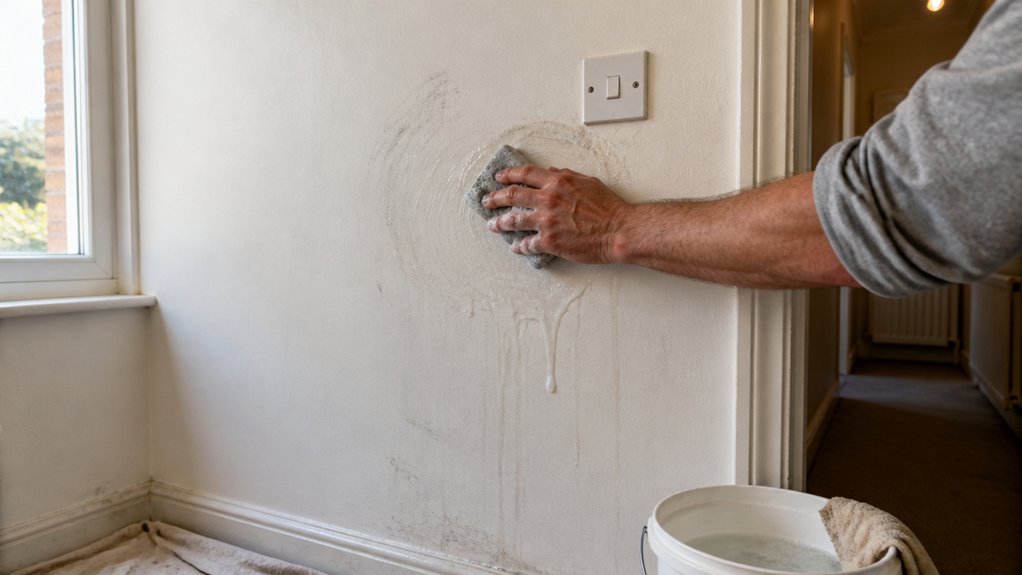
Mix the sugar soap properly before you touch a sponge. For most walls, stir half a cup into five liters of warm water until it dissolves completely.
Start washing from the lowest point and work upward, or you will spend the afternoon chasing drip marks. This keeps streaks from running down over clean, dry sections.
Test a hidden corner first, like behind a door or under a windowsill. Some paints soften or peel when hit with strong cleaners, and a primer failure will ruin your whole prep.
If the paint feels chalky or flakes on your test spot, stop and switch to a milder detergent. You can always sand the surface later with 120-grit paper before applying a fresh topcoat.
Use a clean sponge and rinse it often in a second bucket of plain water. Dirty water leaves a soapy film that shows up as dull patches under satin or gloss sheens. Water-based formulas allow easy cleanup with plain soap and water.
Keep your wet edge tight and work in small sections, about a square meter at a time. Overlap each stroke slightly so you do not leave lap marks once the surface dries.
Let the wall dry fully before you paint, usually four hours but check the label. Drying time and cure time are different, so do not rush a primer or topcoat over damp plaster.
Preparation Mixing
Two buckets are all you need to get this party started: one for the sugar soap solution, one for plain rinse water. The mixing safety part isn’t glamorous, but you’ll thank me later.
Gloves on, folks, since this stuff’s alkaline enough to dry out your hands like overcooked turkey. The dilution math is simple: ½ cup per 5 litres for general walls.
Measure precisely, don’t eyeball it, or you’ll regret the streaks. Warm water dissolves the soap faster; cold leaves cloudy clumps.
Stir gently, no furious whisking, because foam is your enemy here. Pour the soap in first, then water, which cuts down on splash and tears.
Label your buckets clearly; confused washing is sad washing. Mix fresh each session, since stale solution loses its bite.
Get this right and the hard part’s done, leaving you ready to focus on the wet edge and brush strokes later. Trust the math, respect the gloves, and keep a drop cloth nearby for any drips. As with any alkaline formula, ventilation guidance matters, so crack a window before you start mixing.
Surface Application
Once your buckets are mixed and your gloves are on, it’s time to get the soap onto the wall, and this is where most people make mistakes. Don’t soak the surface, because that invites drips and streaks.
Work from the bottom up so you’re not chasing runoff down the wall. For tough spots, use neat soap with a non-scratch pad, but scrub gently.
Hard scrubbing can burnish painted or glossy finishes, leaving shiny marks that show under a topcoat or satin sheen. Before you commit, do a test patch in a hidden corner, like behind a door or under a windowsill.
Wait ten minutes, then check for dulling or color shift on the paint. Apply the soap with a mop or cloth, and let it sit thirty seconds for light grime or a full minute for heavier buildup.
Rinse with clean water, unless you’re prepping for paint, then skip the rinse to avoid residue on the primer. A vinegar-water wipe-down can help neutralize any alkaline residue before priming. Use painter’s tape to protect trim and a drop cloth to catch any splash.
For pre-paint cleaning, you want a clean surface for the primer to bite, but no soap film left behind. If you see lap marks after rinsing, wipe them with a damp cloth while the wall is still wet.
Keep your strokes even and overlap them slightly to avoid streaking, just like you would when rolling on a gloss finish. Gentle and methodical wins every time, so you aren’t repainting after you “cleaned.”
A quick rinse with a clean mop removes the last soap before it dries, and that protects your varnish or polyurethane on nearby woodwork. Check your drying time before you move on, because wet walls collect dust fast.
Cut Kitchen Grease and Bathroom Soap Scum With Sugar Soap
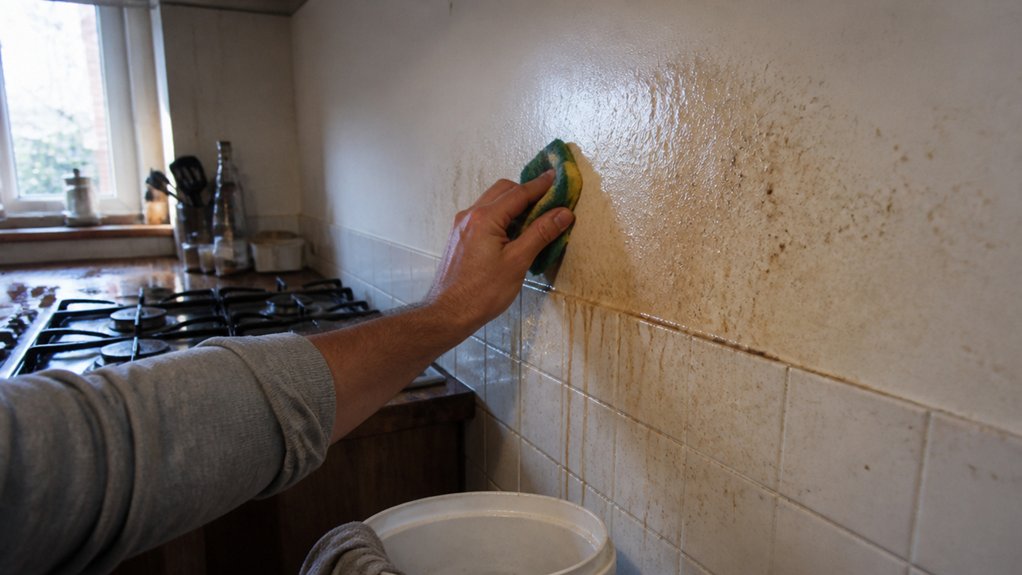
Kitchen grease keeps winning because the sponge is doing all the work while the soap just sits there. Sugar soap changes that by breaking down the sticky film at the chemical level, so you wipe instead of scrub.
It works on the same principle as a strong cleaner you’d use before a fresh topcoat, cutting through old grime so the surface is truly clean. On shower tiles, it dissolves soap scum like a solvent softens dried varnish, no elbow grease required.
For stove tops, mix half a cup of sugar soap into five liters of warm water and wipe with a cloth.
That same mix takes care of cupboard handles and sinks, leaving a streak-free shine like a well-buffed satin finish.
On stubborn spots, apply it neat and let it sit for a minute before wiping.
Rinse well afterward, especially on glass, because leftover residue can dull the surface like a cloudy clear coat.
It’s cheap, it’s effective, and it kills that musty smell in the bathroom.
Think of it as the painter’s tape of cleaning, it gets the job done cleanly so you don’t have to repaint the same wall twice.
My sponge finally wins the war, and my arms don’t ache afterward.
That’s the kind of simple win you can trust, just like a good primer under a fresh coat.
For most surfaces, a pH-balanced formula prevents damage to finishes and grain, ensuring the cleaner lifts grime without dulling the material.
Protect Delicate Surfaces From Sugar Soap Damage
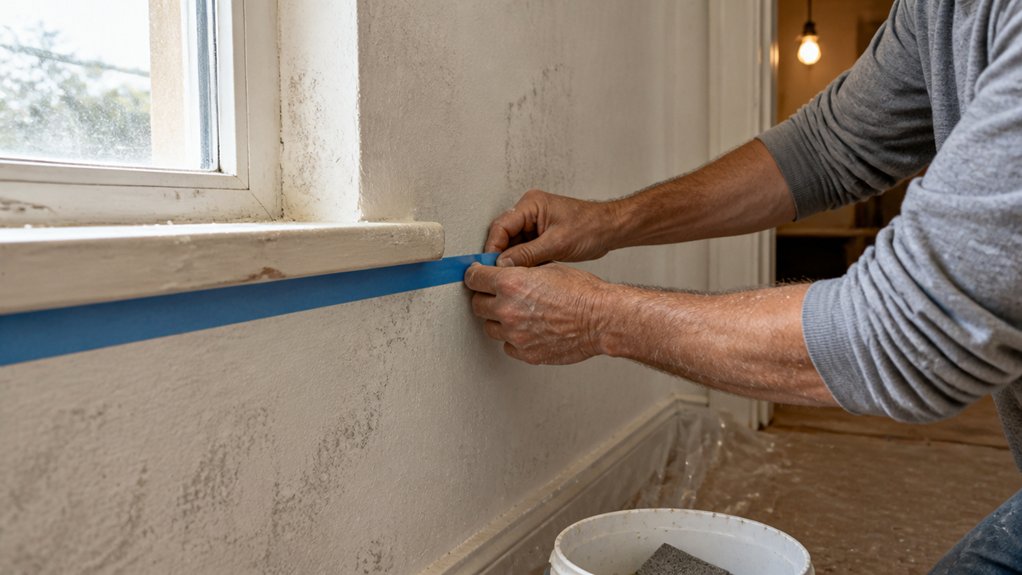
A few squirts of sugar soap can wreck a delicate surface faster than my Saturday DIY projects wreck themselves. Delicate surface prep is your insurance policy, so test before you mop.
Do a colourfastness check on an unseen corner, wait ten minutes, then look for bleeding or dulling. That tiny spot saves you from a wall-sized regret.
Marble, unsealed grout, and vintage tiles are drama queens, they stain or etch if soap lingers. Always dilute properly, use a soft cloth, and never soak the surface.
Work in small sections, wiping gently, you want clean, not scrubbed-to-oblivion. Think of it like cutting in with a brush, maintain a wet edge and keep the sheen even.
Test first, dilute right, and bail if you see any colour lift. A little caution beats a big repaint, and a satin topcoat can hide sins, but primer won’t fix a stain set in stone. For stubborn residue that soap can’t shift, use plastic blades on polished surfaces to reduce the risk of scratching.
Rinse, Dry, and Store After Sugar Soap Cleaning
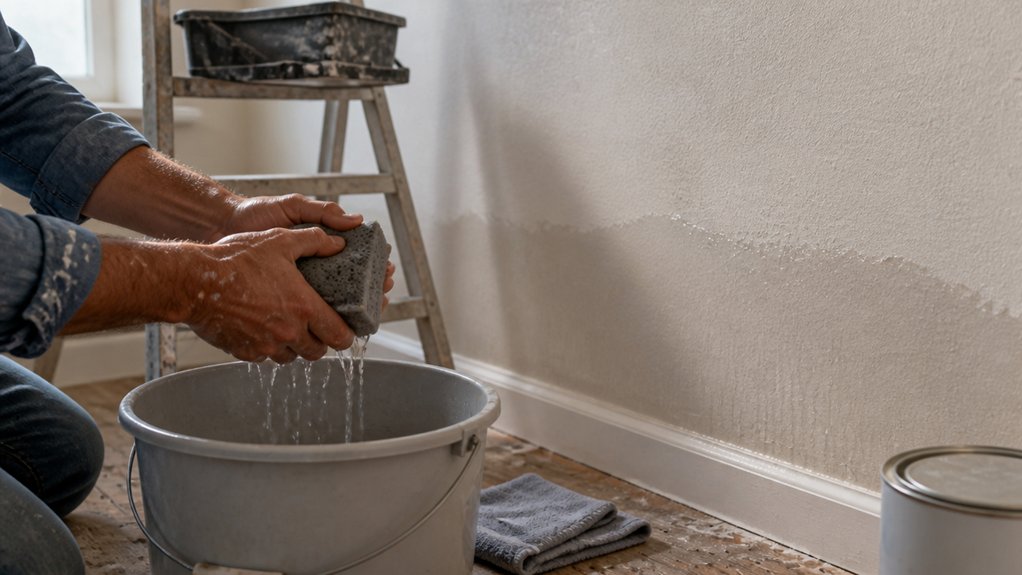
Cleaning with sugar soap leaves an alkaline film that can dull paint and leave streaks, so the rinse step matters as much as the scrubbing. Use fresh water and a clean cloth for a final wipe, just like you would after sanding a surface to remove dust before a primer coat.
Squeeze your mop or sponge out hard so excess water doesn’t run down walls and glass, leaving drip marks that mock your effort. Give everything 20 to 30 minutes to dry before you touch up, but remember drying time is not the same as cure time for any coating you apply later.
Store the sugar soap bottle upright with the cap tight, in a cool, dark cabinet away from kids and pets, since a spilled concentrate is a sticky mess that can ruin a drop cloth or stain a wood floor. Dry the bucket rim before stacking it, because trapped water can breed mold and rust the metal handle.
Rinse spray nozzles under warm water so clogs don’t shoot uneven streams next time you clean. Write the date on a piece of tape and stick it to the bottle, so you know how old the mix is, just like you’d label a can of varnish or polyurethane after opening.
Wring sponges out and let them air dry on a rack, and toss cheap gloves that smell, since they’re not worth the odor or the risk of transferring residue. Keep this routine simple: rinse well, dry fast, and store everything safe.
Frequently Asked Questions
Can I Use Sugar Soap on Unsealed Timber Floors?
Yes, you can technically use sugar soap on unsealed timber floors, but I strongly advise against it. The alkaline solution will soak deep into the grain, leaving a stubborn residue that resists water-based stains and sealers, often requiring heavy sanding to fix.
Instead, use a pH-neutral timber cleaner mixed with warm water and a soft mop. For example, after cleaning, allow the floor to dry for at least 48 hours before sanding with 120 grit paper to open the pores.
This approach avoids the sticky film that sugar soap leaves behind, which can also cause blotchy finishes. If you already applied it, rinse thoroughly with clean water twice and sand back to bare wood. For best results, always test a small hidden area first, and consider a dedicated wood prep solution for safer, more reliable adhesion.
Will Sugar Soap Remove Mould and Mildew Stains?
Yes, sugar soap will shift mould and mildew stains, but it will not kill the spores or stop regrowth. You are dealing with surface discolouration, not a sanitising treatment.
For best results, mix a capful of sugar soap into a bucket of warm water and scrub the stained area with a stiff nylon brush. Rinse thoroughly with clean water and a sponge, then allow the surface to dry completely for at least 24 hours.
Once dry, treat the source with a proper biocide or a diluted bleach solution to kill the mould at the root. This two step process works on painted walls, tiles, and grout, but avoid sugar soap on unsealed timber.
How Long Does Diluted Sugar Soap Stay Effective?
Diluted sugar soap stays effective for roughly 24 hours, after which its cleaning power drops off sharply. Think of it as a quick-acting solution that loses its bite once the dissolved particles settle or degrade.
For practical use, mix only what you need for that day’s session, like 50 grams of powder per 5 liters of warm water for pre-paint degreasing. After 24 hours, the surfactant activity weakens, so don’t rely on it for a second coat prep.
Instead, make a fresh batch, and check the label for a phosphate-free alternative if you need longer shelf life. When disposal time comes, pour the spent mix down a drain with plenty of running water, never onto soil. This keeps your workspace safe and avoids residue buildup on surfaces.
Can I Mix Sugar Soap With Bleach or Vinegar?
No, you should never mix sugar soap with bleach or vinegar, as this creates a serious chemical reaction that releases harmful fumes and ruins your surface prep. Stick to using sugar soap on its own, diluted with warm water at the manufacturer’s recommended ratio, usually around one cup per gallon.
Rinsing thoroughly is critical, because leftover sugar soap residue can interfere with paint adhesion and leave a dull film. For example, after washing walls, wipe them down with a damp microfiber cloth and allow at least 24 hours of drying time before priming.
If you need extra degreasing power, opt for a dedicated trisodium phosphate substitute instead of household acids or oxidizers. Never swap in vinegar, as its acidity can etch plaster or leave a sticky layer that’s worse than the original dirt.
Your best finish depends on clean, neutral surfaces, so skip the bleach and keep your mixing simple. That way, you protect both your health and your final coat.
Is Sugar Soap Safe to Use Around Pets and Children?
Yes, sugar soap is safe to use around pets and children when you rinse the cleaned surface thoroughly with plain water. I’ve used it for years before painting, and the main risk is leftover residue, not the product itself.
Dried film can irritate paws or curious tongues, so wipe down with a damp cloth and then dry the area with a towel. For floors, use a clean mop with fresh water after washing, and keep kids and pets off until the surface is completely dry, usually about 30 minutes.
You can speed up drying with a fan or open windows to reduce exposure even more. Think of it like a mild alkaline cleaner similar to TSP substitute, and treat any residue as a temporary hazard. One practical tip: rinse twice if you used a strong mix, and test a small spot to confirm no soapy film remains. That extra step keeps everyone safe without much effort.
Rounding Up
Applying sugar soap means mixing it correctly, rinsing it well, and storing it sealed. Check the powder dissolves fully in warm water before you start scrubbing any surface.
Test a small hidden area first to see how the mix reacts with your paint or baseboards. Write down your dilution ratio on the container so you don’t guess next time.
Rinse every surface with clean water after scrubbing, or the residue will dull your finish. Compare your sponge’s wear after each job to judge how much elbow grease the recipe truly needs.
You’ll keep finding excuses to use it, from kitchen grease to old trim. Read next about choosing the right sponge grade for delicate finishes.