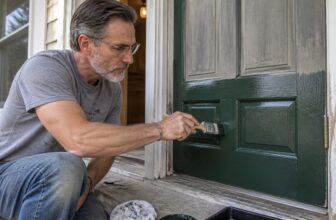
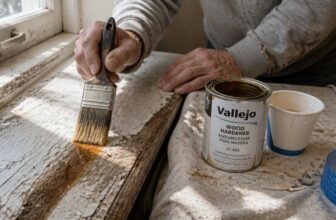
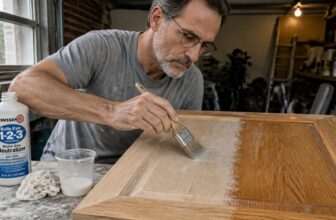
How to Apply Stabilizing Solutions: Step-by-Step Guide
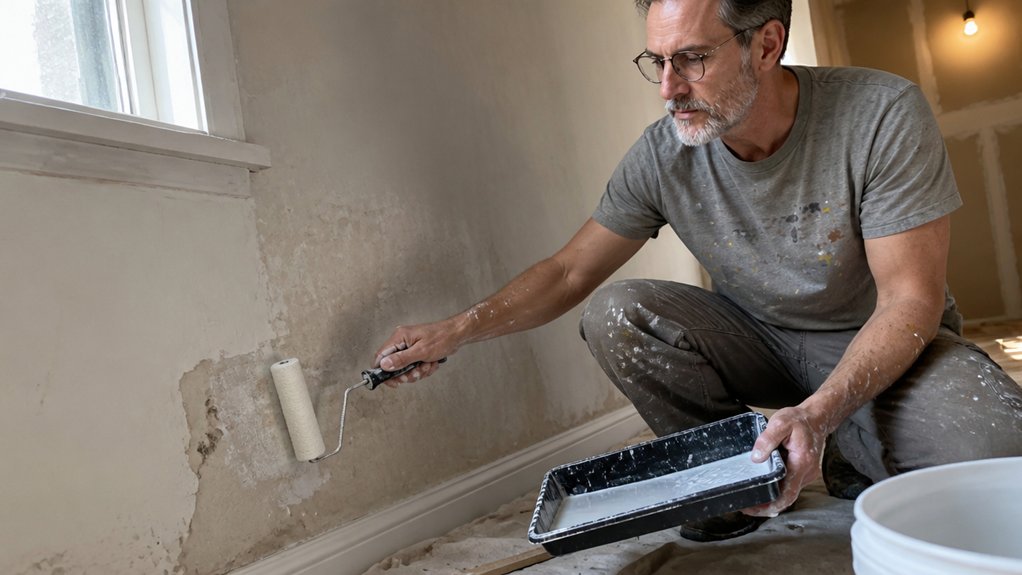
You don’t need a stabilizer on every wall, but if the masonry crumbles at a touch or fails the nail scrape test, you are painting over a rotten deck. This guide on how to apply stabilizing solutions walks you through the exact prep, the right temperature window, and the rolling technique that prevents bubbles.
I prep thoroughly first, cleaning, drying, and ensuring the surface is sound. Then I wait for temps between 5°C and 25°C before rolling on generous, overlapping W-patterns while keeping a wet edge.
You will also learn why a full 12 hour wait before your primer or paint coat is non-negotiable.
Stick with me, and I will break down the entire process, step by messy step, so your finish actually lasts.
Quick Answer
- Assess surface soundness via nail scrape; stabilize only crumbling or flaking masonry.
- Mix stabilizer powder into soil at 12–15 pounds per ton, pre-moistening aggregate first.
- Apply stabilizer in slow overlapping W-patterns, keeping a wet edge to avoid lap marks.
- Allow full 12-hour cure before painting; never rush drying or apply over tacky spots.
- Check forecast: apply between 5°C–25°C with no rain or frost for 12 hours post-application.
When Do You Actually Need a Stabilizer?
You only need a stabilizer when the masonry is actually breaking down, like crumbling, chalking, or flaking at your touch. That is a real structural problem, not just an ugly surface.
Treating every worn wall wastes money and leaves you with excess inventory you will never use. I have seen plenty of perfectly sound render that only needed a fresh coat of paint.
Before you buy anything, check the surface with a nail. Scrape it lightly across the wall; if it digs in and pulls away loose material, you have a stabilization job.
If the material stays put and feels solid, skip the stabilizer and move straight to priming. A small garden wall with minor wear? Just paint it.
A whole house with peeling render? Now you are talking about a real fix. You also need to think about surface compatibility and your own skill with a brush or roller.
I once ruined a project by slapping stabilizer on too thick, and the lap marks never dried evenly. A steady hand and a wet edge make all the difference when you roll it out.
Use a low-VOC primer after the stabilizer cures, then finish with a satin or matte topcoat that matches your sheen preference. The drying time for stabilizer is short, but the full cure time matters before you topcoat. Always verify the stabilizer’s shelf life and storage to avoid applying a degraded product under poor conditions.
Always lay down a drop cloth and tape off any trim with painter’s tape to keep the job clean. My rule is simple: if the nail scrape pulls off material, treat it; otherwise, just paint.
Do not fix what is not broken, and save your stain, varnish, or polyurethane for wood projects where they belong. A stabilizer is a tool for failing surfaces, not a routine step.
Prepping Masonry: Clean, Dry, and Sound
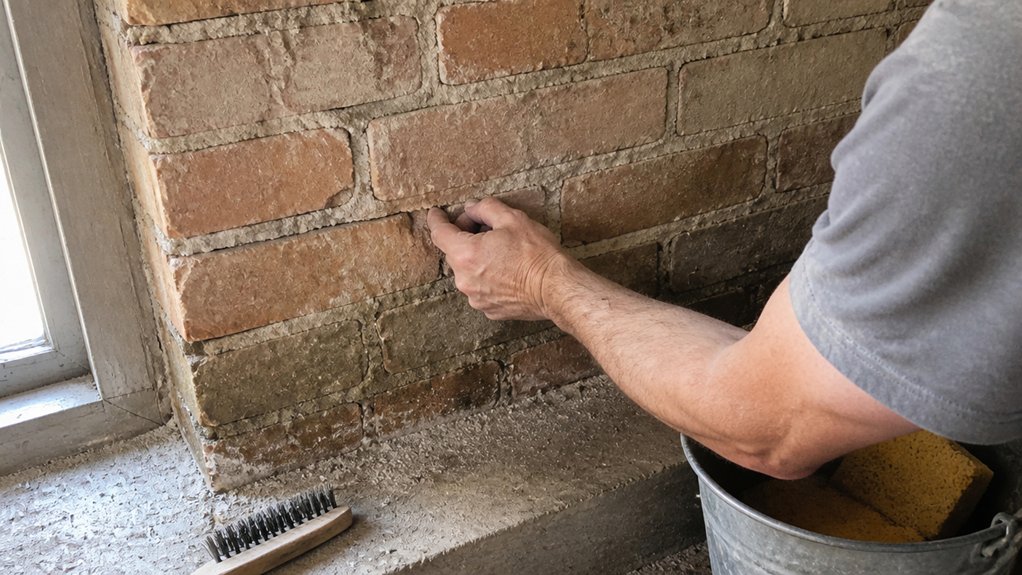
Prep work is where you earn your money. Slapping a stabilizer on a dirty, damp wall is like putting a Band-Aid on a mud pie, it just slides off.
Get the masonry clean, dry, and sound before anything else. Grab a stiff brush and knock off that efflorescence, the white chalky crust is salt leeching out and it has to go.
If the salt keeps coming back, you have a deeper moisture problem. Touch the wall and check for dampness, if it feels cold or wet, stop right there.
You are chasing a leak, not a coating problem, so fix the source first and let it dry for a few weeks. New masonry needs a full month of dry weather before you prime.
Once the surface is ready, apply a masonry primer with a roller, then follow with a breathable topcoat in a satin or matte sheen. Use a low-VOC exterior paint and keep a wet edge to avoid lap marks. For best results, choose a primer with alkali resistance to prevent salt damage from undermining your topcoat.
Skipping prep means wasted money and a peeling finish. Do it right, and the stabilizer actually bonds, then your topcoat will last.
Temperature, Weather, and Drying Time
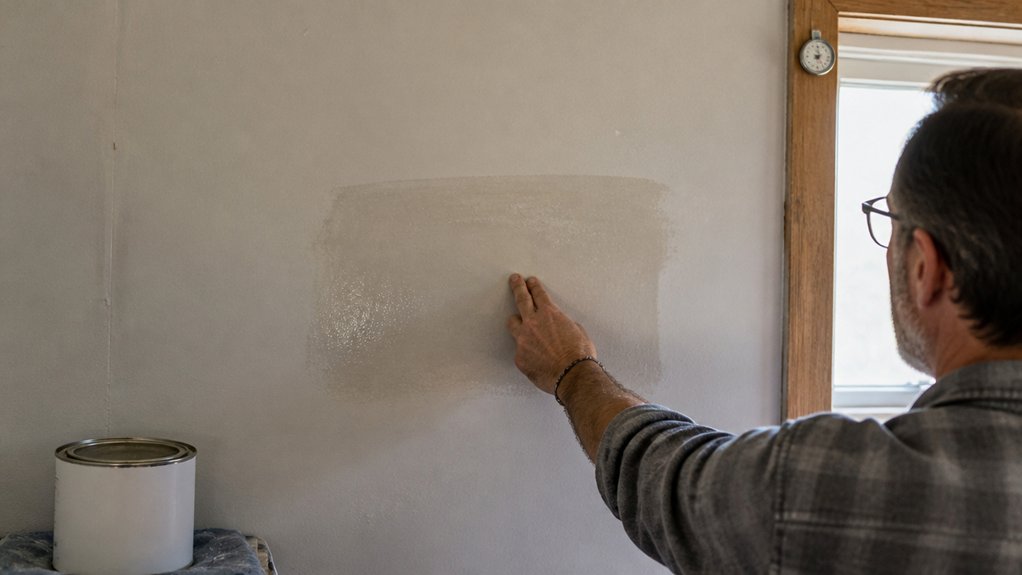
Two numbers matter most when you’re applying this product: the temperature and the weather. Keep the air between +5°C and +25°C, or the finish will fail.
Below 5°C, the coating won’t bond to the surface. Above 25°C, it skins over and cracks before you can lay down a smooth topcoat.
Always check the forecast before you start. Rain or frost within the first 12 hours of drying time will wash out the film and ruin your work.
This rule isn’t optional, so look at the forecast twice, especially in spring and fall.
| Condition | Impact | My Rule |
|---|---|---|
| Below +5°C | Won’t cure | Wait it out |
| Above +25°C | Skins, cracks | Shade or skip |
| Rain or frost | Washes out | Reschedule |
| High humidity | Slow dry, blotchy | Add time |
| Calm, mild | Perfect cure | Go for it |
Drying time depends on how porous your wood is, so don’t rush a second coat. If you’re using a stain or primer, give it extra hours before you sand with a fine grit.
For a polyurethane or varnish, wait until the first coat is fully dry to the touch, then lightly sand with 220 grit before the next layer.
Paint and finishing jobs reward patience. Keep a wet edge while you roll or brush, and watch for lap marks in hot weather.
Use drop cloths and painter’s tape to protect trim, and pick your sheen based on the room: satin for walls, gloss for doors, matte for low-traffic areas.
Low-VOC products dry a bit slower, so plan for that on humid days. The paint will look blotchy if you push it, so add 50 percent more time when the air feels sticky.
Here’s the practical rule: check the thermometer, respect the sky, and give the coating the time it asks for.
If you need to speed up drying on a calm day, a heat gun with variable temperature control can gently accelerate the cure without risking the film.
Brush or Roller: How to Apply the Stabilizer Evenly
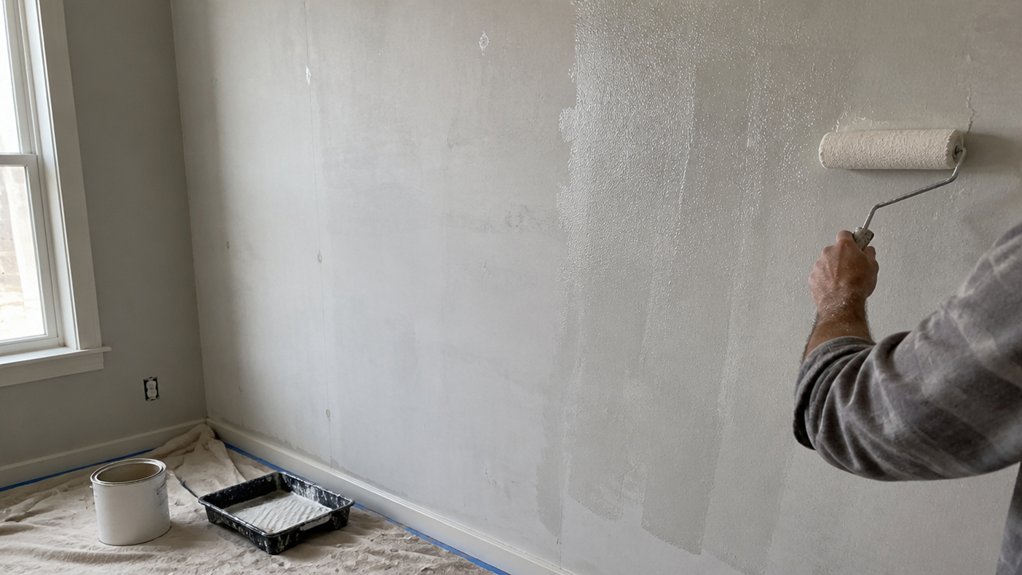
The roller type matters less than your technique, but a cheap one will shed fibers and frustrate you. Load the roller generously, then roll it on the ridged tray section until it’s uniformly damp, not dripping.
Work in slow, overlapping W-patterns, and never lift mid-stroke, since that leaves a telltale streak. Use a brush only for edges and tight corners, dragging it once smoothly instead of overworking it.
Always keep a wet edge, moving from the damp area back into fresh stabilizer. Never let a section dry while you’re still working next to it, or you’ll see lap marks after the topcoat.
This same rule applies to primer and stain, so build the habit early. If you’re using a satin or matte finish, even coverage matters even more, since lower sheen hides less.
For sanding, use 220 grit between coats to knock down any raised grain. A drop cloth and painter’s tape protect your floors and trim before you start.
Breathe, move at a steady pace, and commit to each pass. You’ll get a seamless coat that looks like one solid piece, and the cure time will reward your patience.
For steady results, consider a frame with a 5-wire cage, which spreads the finish smoother and grips the nap tighter.
Second Coat on Porous Surfaces: When Stabilizer Needs a Boost
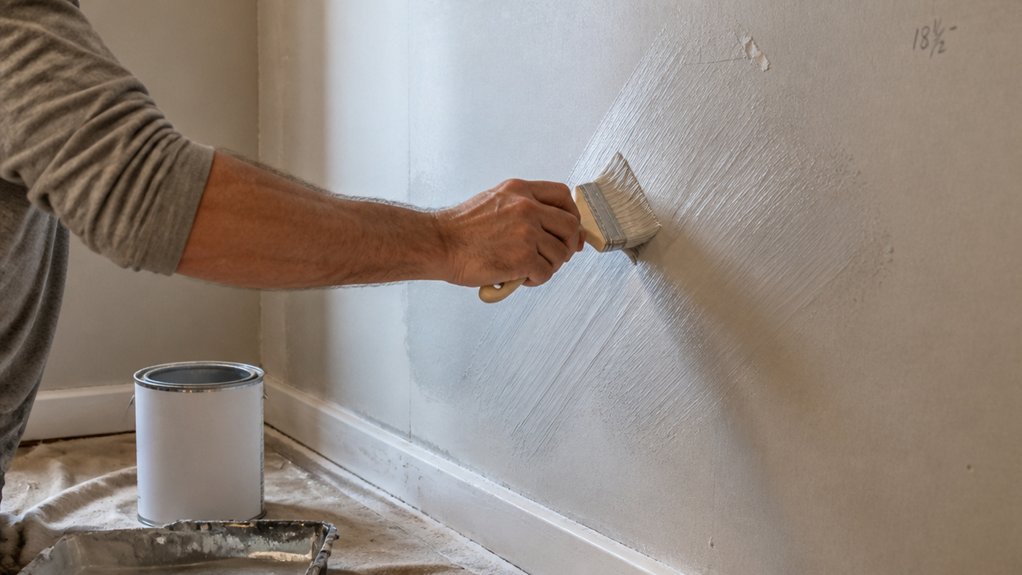
Porous brick or old render soaks up stabilizer like a sponge, so one coat will not seal it.
Start with a quick water test: drip a few drops on the surface, and if they disappear in seconds, you need a second coat.
Wait the full 12 hours before reapplying, and let the first coat dry completely, even if it feels tacky earlier.
Use a roller for the second pass and keep your strokes light, because overworking the wet layer will pull the first coat off the surface.
I learned this the hard way when I added a second coat too soon and watched it bead up like rain on a waxed car, ruining the sheen.
Test, wait, then roll on the extra layer, and you will lock that surface down like a proper primer under a topcoat.
This extra layer provides a five-year weather shield against moisture and freeze-thaw damage, ensuring long-term durability.
Curing, Over-Painting, and What to Avoid
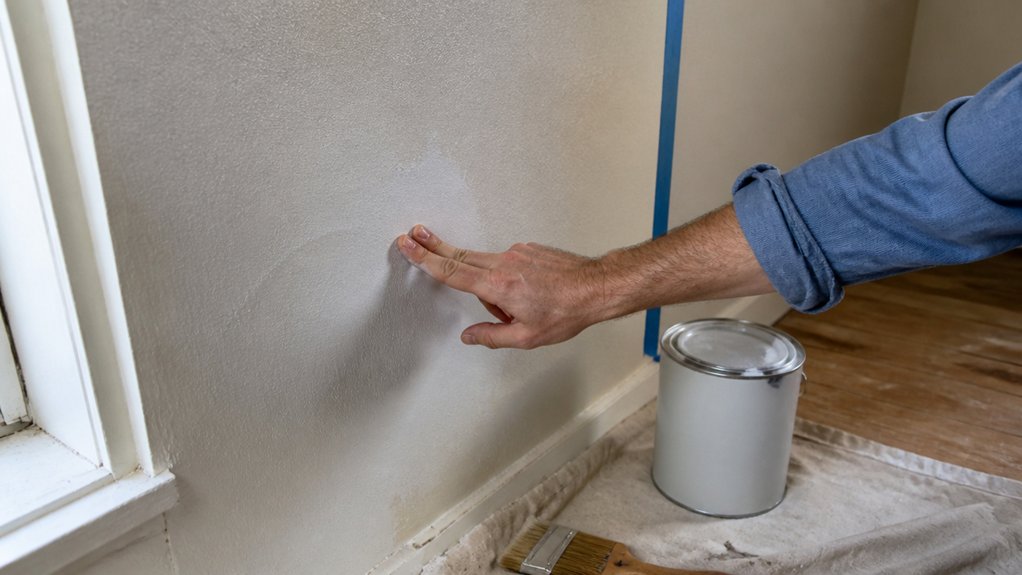
Give the stabilizer a full 12 hours to dry before you even think about painting. I ignored that once and paid for it with peeling paint, so learn from my impatience.
Curing time isn’t a suggestion, it’s chemistry. Rush it and you’ll trap dampness under the surface, which shows up later as bubbles and flakes.
Once the stabilizer has cured, it takes paint fine. Stick with conventional paints or varnishes, and skip anything exotic like oil-based primers, which can react badly with the cured film. Two coats over the sealer with 24 hours between them are recommended for best adhesion and coverage.
Also, don’t paint if frost is coming within 24 hours. A cold snap will wreck the bond, so check the forecast before you open the can.
Avoid recoating wet spots while the first coat is still tacky. That creates lap marks and uneven sheen, especially with satin or matte finishes.
Don’t thin the paint either, it ruins the adhesion. And never sand aggressively with coarse grit, you’ll break the protective film and expose the raw stabilizer.
Use a drop cloth and painter’s tape to keep edges clean. Keep a wet edge as you roll, working in full sections so brush strokes don’t show.
Wait the full 12 hours, use standard latex or acrylic paint, and you’re golden. Patience pays off, and the finish will last for years.
Not Just for Walls: Soil and Aggregate Stabilization
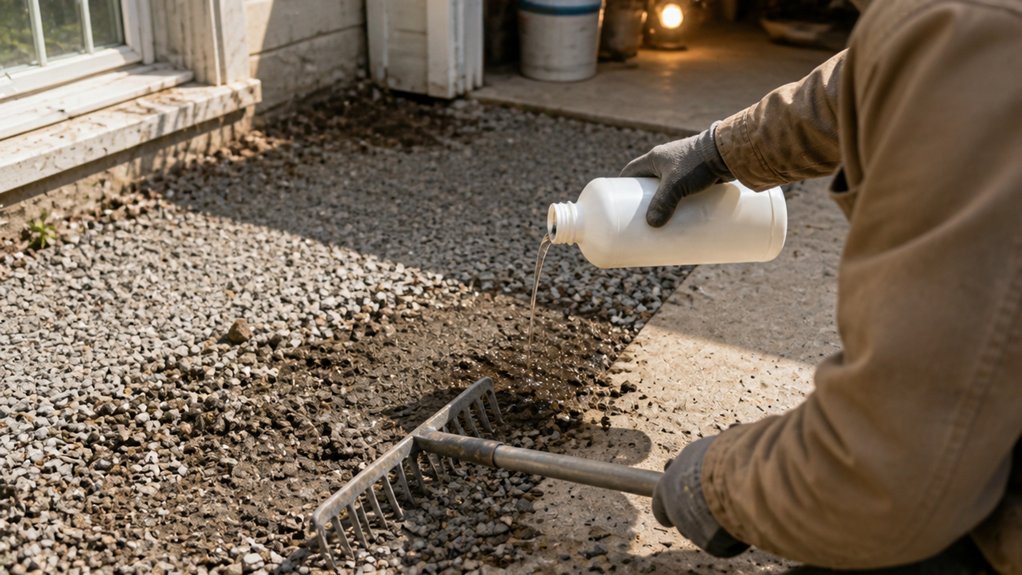
You probably bought this powder for a crumbling basement wall, but it also works on dirt paths and gravel drives. Think of it like a primer for the ground: it gives the surface something to bond to before the topcoat of gravel goes down.
The trick is mixing the dry powder into the soil at 12 to 15 pounds per ton. Then you add water until the dampness is right, like working a wet edge on a painted wall.
Get that balance wrong and you are just making expensive mud. Below is how to handle the mix, the water, and the layers so your driveway sets hard instead of turning to soup.
Start by spreading the powder evenly over the soil. Rake it in until the color is uniform, the same way you would sand a surface before the first coat.
Add water slowly and mix as you go. The soil should hold together when you squeeze it, like damp sand that keeps a shape.
Too dry and the powder never bonds, too wet and you lose strength. Let it dry overnight before you drive on it, since a full cure takes longer than the surface drying time. For the best results, test the mix on a small patch first, just as you would check a paint’s consistency before committing to a full project.
Spread the gravel in thin lifts, about two inches at a time, and compact each one. Thin layers bond better than one thick dump, just as thin coats of varnish beat one heavy pass.
Keep the surface damp while it sets, and avoid lap marks where one batch meets the next. Work in sections and blend the edges while they are still wet.
Soil Blending Ratios
Soil blending works like prepping a surface for finish: start with the right base and you save yourself headaches later. You are not mixing concrete here, you are binding gravel together with a stabilizer, and that takes a lighter hand.
Aim for 12 to 15 pounds of stabilizer per ton of dry aggregate. That ratio is your sweet spot, like the right coat of primer before a topcoat. Too little leaves dust, too much just burns money. This ratio also applies to sealing exterior concrete cracks, where a self-leveling polyurethane filler handles movement without cracking.
Pre-moisten the aggregate first, aiming for a damp feel like a wrung-out sponge, not dripping. This keeps the stabilizer from clumping and helps it spread evenly, much like keeping a wet edge when rolling paint.
Mix until every particle is coated, because uneven blending creates weak spots that crumble later. Think of it as working in sections with a brush, you want full coverage without lap marks or dry patches.
Let the mix sit for a few minutes before compacting, similar to letting primer flash off before a topcoat. This short wait lets the moisture distribute evenly through the whole pile.
Once you compact, check the surface for any dry pockets and rework those spots right away. Fixing a thin patch now beats tearing out a failed section later.
Measure twice, pour once, and your path will hold up longer than your patience for redoing it. That careful ratio and thorough mixing are the real finish coat that makes everything else last.
Compaction & Moisture Control
Compaction is the unsung step in soil stabilization, where your work either locks in or falls apart. Water content is the real master here, and missing the window means trouble. If the mix is too dry, it won’t bind; if it’s too wet, you’re just stirring mud. Water the soil to full depth before rolling, aiming for 25 to 45 gallons per ton, then let it rest for 6 to 48 hours.
Think of this like waiting for a primer coat to dry before you lay down the topcoat. A non-vibratory roller is your best tool, and it should hit 85 percent relative density. Don’t rush the process, since I once skipped the waiting period and the driveway looked like a crumb cake with a flat sheen.
Check dampness by hand: squeeze a handful, and it should hold its shape but break apart with a light tap. That’s your sweet spot, similar to knowing when a stain is ready for a varnish layer. Stick to that moisture window, and you’ll get a firm, lasting surface that won’t show lap marks or brush strokes. This approach mirrors the hydrostatic pressure resistance that premium basement coatings rely on to keep water out from below.
Control the water content like you’d manage wet edge on a polyurethane coat, and the result will hold up. This step is your friend, not something to fight against.
Lift Placement Method
Lift placement is where most soil stabilization projects fail, so I’ll save you the trouble of learning the hard way. You only get one shot at this, so do it right the first time.
Keep each lift under 3 inches thick for aggregate. If you go too thick, the stabilizer won’t penetrate fully, leaving a hard crust over loose dirt that settles like a sagging paint job.
Pre-dampen the base material before you blend. Dry soil will suck the moisture out of your stabilizer and starve the chemical reaction, just like a thirsty bare board soaking up your first coat of primer. Check the product label for the active-ingredient concentration to match the stabilizer to your specific soil conditions.
Soak everything to a damp sponge feel, not dripping wet. Then mix, compact, and move to the next lift.
Compact each lift separately. Lay it, mix it, dampen it, compact it, then start the next one. Stacking unfinished layers is like applying a topcoat over un-sanded wood; it looks fine until the flaws show through.
Follow these three rules and your lift placement will hold up like a properly cured polyurethane finish. Skip them and you’ll be patching cracks and ruts before the season ends.
Frequently Asked Questions
Can I Use This on Previously Painted Masonry?
Yes, you can use this on previously painted masonry, but only after proper painted masonry prep. I strongly advise testing adhesion first, because peeling paint will not bond with the stabilizer no matter what.
Scrape off all loose or flaking bits with a stiff wire brush, then wipe the surface clean. Apply the stabilizer to a small, inconspicuous patch and let it dry for 24 hours. If the coating stays firm and doesn’t lift when you press a thumb into it, the substrate is sound.
For a quick check, use a putty knife to probe for soft spots across the whole wall. If you find any, sand those areas with 80 grit paper before sealing. This prep also works well with a masonry primer, which can be your bonding agent instead.
How Long Must New Render Cure Before Application?
New render must cure for roughly one month before you apply any paint or coating, though each individual coat needs about 12 hours to dry if the substrate is sound. Weather is the deciding factor, so check the forecast for damp or frost, as both will ruin adhesion and trap moisture behind your finish.
For a practical rule, wait at least 28 days in mild, dry conditions, and test by pressing plastic wrap against the surface for 24 hours; if condensation forms underneath, it is not ready. Curing time depends on temperature, humidity, and render thickness, so a thick scratch coat may need an extra week compared to a thin topcoat.
Use a moisture meter if you have one, aiming for below 15% reading before you mix your first bucket. If you must paint early, choose a breathable masonry paint and apply a mist coat thinned by 20%, but know that this is a risk that can lead to flaking later. Always sand lightly between coats with a 120 grit to key the surface, and never apply when the air temperature is below 5°C or above 30°C.
Will the Stabilizer Change the Surface Color or Texture?
No, the stabilizer will not change your surface color or texture. It is a clear liquid that soaks into the coating, leaving the natural grain and finish exactly as they were.
You will get a smooth, uniform look, but not a glossy or painted appearance. For best results, apply one thin, even coat and let it dry for at least two hours before touching.
If you want a deeper sheen later, you can topcoat with a varnish, but the stabilizer itself stays invisible. This makes it ideal for preserving raw wood or weathered surfaces where you want to keep the original character.
Can I Apply a Second Coat Within the Same Day?
Yes, you can apply a second coat within the same day, provided you respect the manufacturer’s drying time windows. Wait until the first coat is tack free to the touch, not just dry on the surface.
Test a small, inconspicuous area with your fingertip; if it feels sticky or leaves a mark, give it another 30 to 60 minutes. For water-based polyurethane, this usually means waiting about two hours at 70°F with good airflow.
Oil-based varnishes need longer, often four to six hours, so plan your recoat accordingly. A useful trick is to lightly sand with 220-grit sandpaper between coats if you exceed the maximum recoat time, which helps adhesion. Always check the label for the exact window, as humidity and temperature change drying speed.
What Happens if Frost Hits Before the Stabilizer Dries?
If frost hits before the stabilizer dries, you will face frost damage that clouds the finish and ruins adhesion. That moisture freezes into ice crystals, which then push the coating off the wood and leave a chalky, uneven blotchiness behind.
Your only reliable move is a weather hold: wait until the forecast promises a low above 40°F for a full 24 hours, not just overnight. Even a light dew can be trouble, so check the surface temperature with your hand, not just the air.
For oil-based stabilizers, plan on 48 hours of dry time before any temperature drop; water-based ones need at least 24 hours but are more forgiving. If you spot a white haze after a cold morning, sand it bare with 120 grit and start over, but never apply a second coat over frost. Related terms like “dew point” or “blushing” are worth knowing, since they signal the same risk in shellac or lacquer work.
Rounding Up
Apply stabilizing solutions by prepping a clean surface and using a cheap roller with patience for drying. Test a patch first, always.
Check for chalky brick and compare stabilizer cost: Eighty bucks of stabilizer beats a thousand in repairs later. Write down your plan for a second coat on stubborn surfaces.
Ask whether you need a chemistry degree. You do not, so prep like you mean it and paint over a rock-solid base, not a sandcastle.
Next topic: surface preparation.