What Are Sugar Soaps? Types, Uses and How to Choose
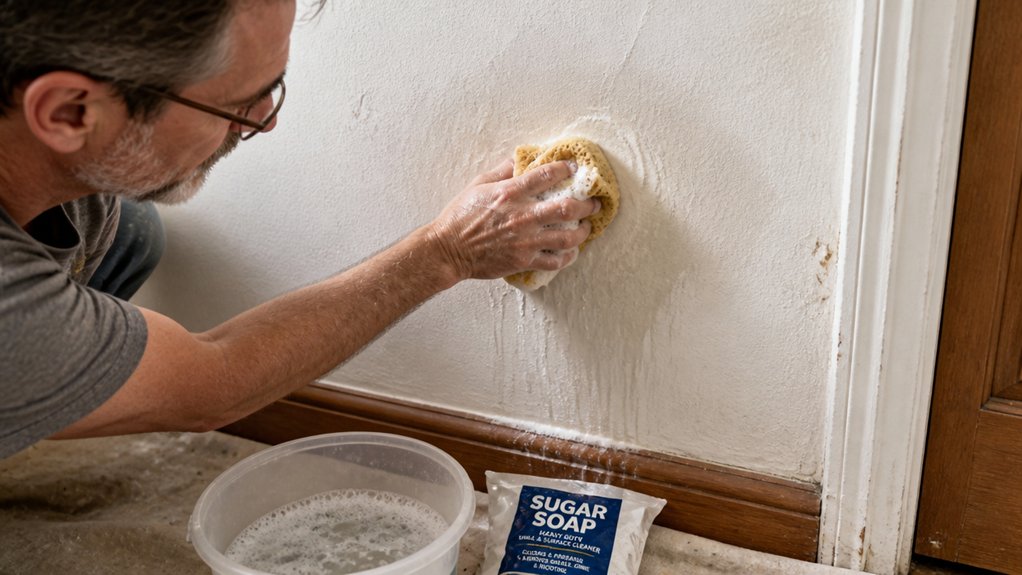
What Are Sugar Soaps? If you are prepping walls for primer, the wrong sugar soap can waste time and ruin adhesion.
Sugar soap is two different things: a UK alkaline wall cleaner and a US skin bar. For paint prep, choose the cleaning version, dilute it correctly, and rinse well before primer.
This guide covers types, uses, and how to choose so your surface prep supports the topcoat. Read on to match the right sugar soap to your project.
Quick Answer
- Sugar soap refers to two different products: wall cleaner (UK) or cosmetic skin bar (US/India).
- Alkaline wall cleaner, pH ~11, removes grease and prepares surfaces for painting.
- Cosmetic sugar soap uses sugar, grape juice, and Castile base to moisturize skin.
- Always read packaging to avoid mistaking wall cleaner for a facial product.
- Choose type based on intended use: heavy-duty cleaning versus personal care.
What Exactly Is “Sugar Soap” and Why Is the Name Confusing?
Sugar soap can mean two different products depending on the country. The label causes confusion because the same name covers two unrelated jobs.
Sugar soap means two different things depending on the country—one cleans walls, the other your face.
In the UK, Australia, and New Zealand, it is a strong alkaline cleaner sold as a powder you mix with water. On paint jobs, I use it to cut grease and clean walls before sanding or applying primer and topcoat.
In the US and India, sugar soap often means a cosmetic bar for skin. It may contain real sugar to help it lather.
Read the package before you buy or use it. I have made that mistake, and it was a messy surprise.
For paint jobs, mix the powder as the label directs, scrub the surface, and rinse well. Let the surface dry for the full drying time before you sand with the grit your finish needs, then apply primer.
Grease left on the surface can hurt adhesion and show up under a satin, gloss, or matte sheen. It can also cause lap marks or uneven brush strokes when you apply the finish.
Use a drop cloth and painter’s tape to protect nearby areas while you clean. Keep the cleaner away from stain, varnish, and polyurethane unless the label says it is safe.
Know the regional meaning before you use the product. If you skip that check, you may wash your face with wall cleaner. For the cosmetic version, gentler formulas with plant-based moisturizers are recommended for sensitive skin.
Cleaning Sugar Soap: Alkali, Solvents, and Paint Prep
Sugar soap is an alkaline cleaner made for paint prep. The active ingredient is usually sodium carbonate, which raises the pH and breaks down grease, grime, and old paint residue.
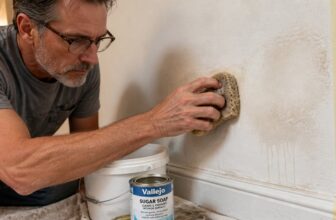
Solvents and abrasives help with the crusty spots that a simple wipe will not remove. Before you apply primer or a topcoat, use sugar soap to turn a dirty wall into a surface that paint can grip. Mix the powder with warm water, scrub lightly, and rinse thoroughly to avoid leaving a residue that interferes with adhesion.
Work in small sections and keep a wet edge so you avoid lap marks when you rinse. Let the surface dry fully, then sand with the right sanding grit and wipe away dust before you open the primer.
Alkaline Cleaning Chemistry
Sugar soap is an alkaline cleaner for stripping grime before painting or finishing. Its pH is around 11, while pure water is neutral at 7.
That high pH breaks down grease and old paint residue with less scrubbing, and sodium carbonate does most of the cleaning work. A small amount of hydroxide adds power for heavy grease.
Mix the cleaner according to the label and test it on a hidden spot first. You want enough alkali to cut years of grime and still protect plaster and paint.
Before you sand or apply primer, clean the surface and rinse it well. Leftover cleaner can dull a topcoat, weaken adhesion, or leave a haze under gloss, satin, or matte sheen.
Lay a drop cloth and use painter’s tape to protect nearby surfaces while you work. After cleaning, sand with the sanding grit your finish maker recommends and remove all dust.
For surfaces with heavy residue, a tack cloth can trap leftover particles before your final coat.
When you apply stain, varnish, or polyurethane, keep a wet edge to avoid lap marks and heavy brush strokes. Follow the label for drying time and cure time before you sand or recoat.
Check the VOC level and ventilate the room before you open the can. Keep the room warm and free of dust so the finish can level and cure.
Solvent And Abrasive Action
Sugar soap works through its alkali, its solvent, and its abrasive. The solvent softens sticky grease on painted trim so it rinses away, and the abrasive lifts grime from small pores without gouging the finish.
Use fine pumice or silica with a light hand. Wipe on the solution, give the solvent a moment to soften the grease, then let the abrasive finish the job.
For kitchen cabinets covered in cooking vapor, spread a drop cloth and use painter’s tape to protect nearby edges. A non scratch pad works on stubborn spots, but keep the pressure light so you do not dull the gloss or satin sheen.
If the old finish has rough spots, sand them with a fine grit after the surface dries. If you plan to recoat with primer and topcoat, rinse the surface well and let it dry. Stainless steel blades resist rust and suit damp surfaces during prep.
Check the label for drying time and cure time before you apply polyurethane, varnish, or stain. When you apply the new topcoat, keep a wet edge to avoid lap marks and brush strokes, and open a window if the VOC level is high.
Pre-Paint Surface Preparation
Use sugar soap to remove grease and old smoke film from walls. Sodium carbonate does the cleaning, and the solvent in the mix loosens stubborn residue.
Set a drop cloth and use painter’s tape on trim before you wash. If the wall feels rough, spot sand with 120 grit, then vacuum the dust.
Rinse the walls thoroughly after washing. Swipe a damp cloth over the surface and check for water beads.
Beading means soap residue is still there, and that residue will hurt primer adhesion. Rinse again and repeat the cloth test until the water spreads evenly.
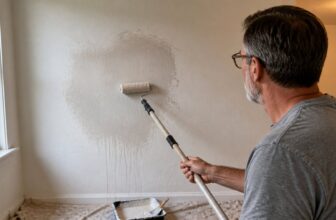
Let the wall dry completely before you apply primer. A clean, dry surface gives the primer a solid base and helps the topcoat hold its sheen, whether you choose matte, satin, or gloss.
Use a primer made for your topcoat, and check the label for VOC level if odor matters. Follow the label for drying time and cure time before you judge the finish.
I have skipped the rinse test before, and the paint peeled in sheets. A bottle of sugar soap costs about $8 to $12, which is far less than fixing a failed paint job.
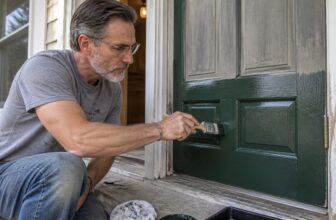
When you apply the topcoat, keep a wet edge to avoid lap marks and brush strokes. For wood trim, the same clean surface helps stain, varnish, or polyurethane bond well. A handheld dispenser with a built-in cutter can speed up applying fresh tape to trim before each wash.
Where to Use Cleaning Sugar Soap: Walls, Grease, Tar
Sugar soap earns its place in three jobs: walls before paint, kitchen grease, and smoke tar. I have used it on all three, and it saves time when you prep a room for primer and topcoat.
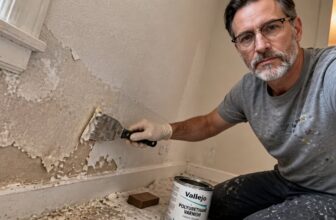
On walls, it removes old grime that would spoil a new finish and help the primer bond. It also loosens wallpaper paste, which saves the drywall and cuts down on sanding with 120 grit paper. Unlike traditional spackling compounds that require a dry-time indicator before painting, sugar soap leaves no residue that could interfere with a patching compound’s ability to sand smoothly in preparation for paint.
For kitchen grease, wash counters, backsplashes, and the range hood with a diluted solution. It cuts the sticky film above the stove so you do not scrub until your arm gives out.
For tar from cigarettes, sugar soap dissolves the yellow and brown film that many cleaners just spread around. Smoke stains on ceilings and walls come off in one pass when you keep the sponge clean and rinse as you go.
Trim and doors collect finger marks, and a quick wipe gets them ready for paint. Lay a drop cloth and set painter’s tape before you start, then rinse well because gloss and satin sheens show leftover residue.
For heavy messes, mix a stronger batch and rinse twice to avoid streaks. If you plan to paint, let the surface dry fully and keep a wet edge to avoid lap marks and brush strokes.
Drying time is short, but cure time for fresh paint takes longer, so do not rush the next coat. A low VOC paint helps with fumes, and matte finishes hide small rinse marks better than gloss.
How to Dilute and Apply Sugar Soap Without Damaging Surfaces
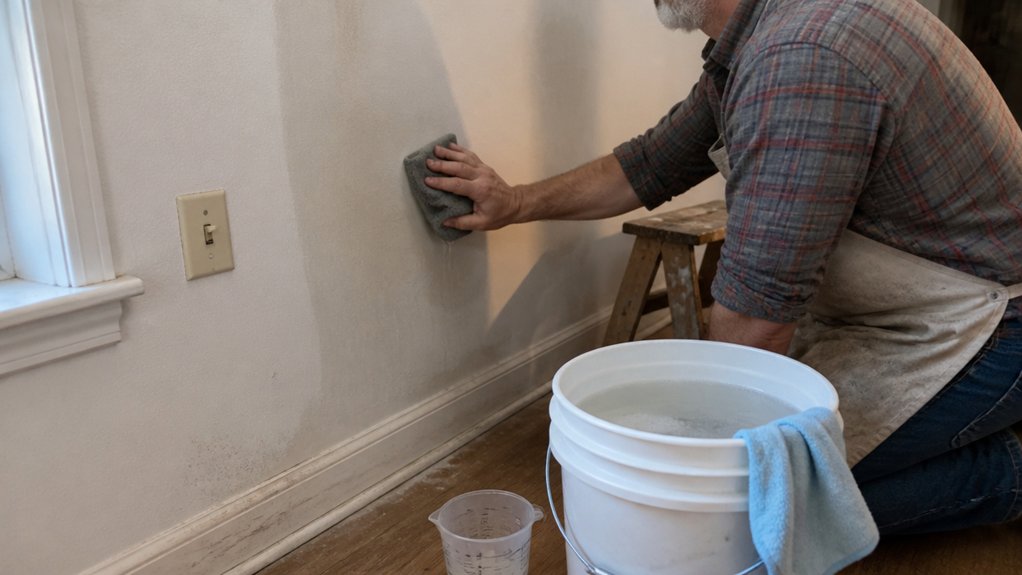
Mix sugar soap with water before you use it on painted surfaces or tile. For general cleaning, use half a cup in five liters of water, or about a quarter of a US gallon.
For stubborn grease, use the mixture full strength with a soft pad that will not scratch, and keep the area wet as you work. Rinse the surface right after you clean it.
Dried soap residue can leave streaks and dull the sheen on a gloss, satin, or matte topcoat. Rinse before you apply a primer or topcoat, and follow the label for drying time and cure time.
On wood you plan to stain, varnish, or seal with polyurethane, lay a drop cloth and apply painter’s tape at the edges before you start. Keep the rinse water off bare wood so the grain does not swell.
For rinsing, choose a lint-free cloth that is machine washable and safe on painted surfaces to avoid leaving fiber residue that could mar the finish.
Dilution Ratios Explained
A clean wall can look patchy because cleaning residue dries in streaks and changes how light reflects from the paint. That uneven sheen shows up as dull and shiny sections under gloss, satin, or matte paint.
Mix the product to the label ratio, and use a marked jug so you add the right amount each time. Most concentrates need half a cup per 5 litres, but check your label because strengths vary.
Hard water leaves minerals that can cloud the surface, so use a little less concentrate, about one third cup, when you mix. Warm water helps the concentrate mix, but keep it comfortable and never hot because heat can make the cleaner act too fast.
Test a small patch first and let it dry so you can check for streaks before you treat the whole wall. Before you paint, wipe the wall with clean water and let it dry, then apply primer and topcoat over a clean surface.
On woodwork, leftover cleaner can lift stain and leave lap marks or brush strokes under varnish or polyurethane. Set a drop cloth, tape edges with painter’s tape, and sand with 220 grit if the label calls for sanding before finish.
Low VOC cleaners still need correct dilution, and a clean surface helps the next coat hold a wet edge without lap marks. Follow the label for drying time and cure time before you sand or recoat, especially on trim and doors.
For textured ceilings, such as popcorn, remember that the surface absorbs 10–15% more material than flat drywall, so plan your material requirements accordingly.
Application & Rinsing Method
A bucket of milky blue liquid looks harmless, but it is a mild lye cleaner. Do not treat it like dish soap.
Dilute it at half a cup per five liters, then apply with a sponge from top to bottom. Rinse with clean water after you scrub.
For painted plaster, use a damp cloth and wipe twice: once to remove suds, once to catch residue. Too much water can lift the paint you are prepping, so wring the cloth until it is damp.
On glass or tile, a spray bottle of diluted solution works well. Keep it off aluminum fixtures because they tarnish fast.
Some brands sell alternatives that claim no rinse and just wipe and paint. I have seen that fail on greasy kitchen walls, so rinse anyway.
Before you start, set a drop cloth and mask trim with painter’s tape. Test a corner first; if the paint softens or the sheen changes, stop and use less water. Low-tack tape is preferable for delicate surfaces like wallpaper or freshly painted walls to avoid lifting the finish.
After the surface is clean and dry, sand trim with a gloss finish using 120 grit paper before you apply primer. Wipe off dust, then apply a primer that suits the room; choose one with low VOC if fumes are a concern.
For the topcoat, pick the sheen to match the room: satin for baths, matte for ceilings, gloss for trim. Keep a wet edge when you paint to avoid lap marks and visible brush strokes.
Follow the label for drying time and cure time before you sand or recoat. A slow cure can trap solvent and spoil the topcoat.
On wood, this wash removes oils that can block stain or polyurethane. Sand and dust off before you varnish.
Dilute at the rate above, rinse with clean water, and test a corner first. Your next topcoat will bond better when the surface is clean and dull.
Personal-Care Sugar Soap: Castile, Sugar, and Shikakai
Personal care sugar soap is made to treat skin gently. It starts with a Castile base, then adds organic sugar, grape juice, and shikakai powder.
Think of the Castile base as a primer for the mix. Sugar and grape juice help pull moisture into your skin, and the lather has a soft satin sheen like a thin topcoat of varnish.
Shikakai is a powder made from South Asian pods, and it cleans gently. Sucrose helps keep the pump from clogging, so the bottle stays easy to use.
The soap is USDA organic if that matters to you. You can use it on your face, body, and hair, so one bottle covers your shower routine.
It costs about $15 for 16 ounces. Keep it in the shower, where it works like a drop cloth for your skin care routine and helps limit mess.
If dryness bothers you, this soap is a good pick. It leaves skin feeling smoother with less fuss and still cleans away germs.
Castile vs. Sugar Soap: Which Performs Better for Skin?
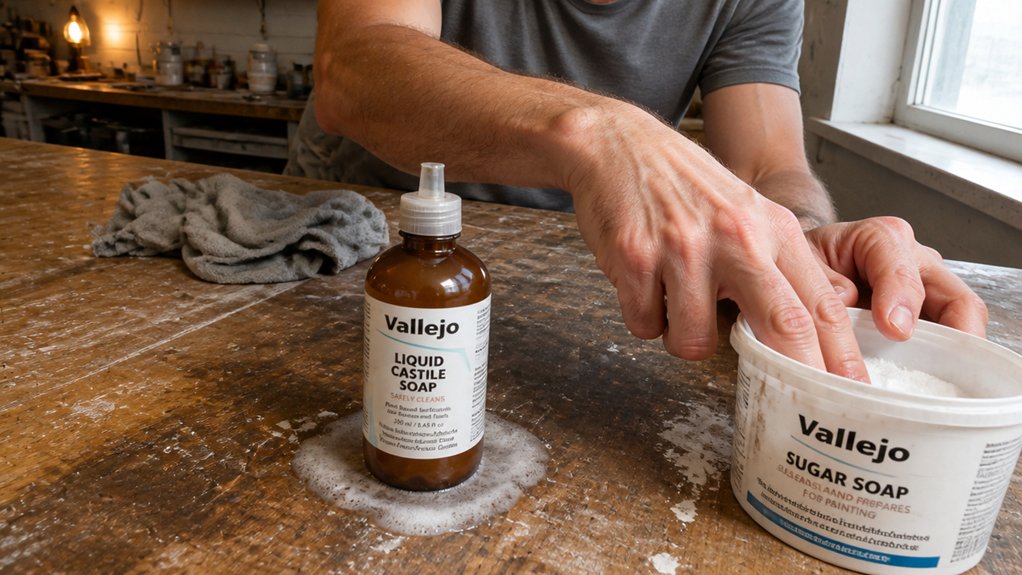
For skin, sugar soap is the better pick, though Castile stays close. Castile has a high pH near 9, so it can strip your moisture barrier and leave skin tight after washing.
Think of Castile as a strong primer on bare wood: it cleans well, then you need a moisture topcoat to keep the surface comfortable. Sugar soap adds ingredients that hold moisture, which softens that effect and helps your face feel less dry.
Sugar soap also makes a thicker, creamier foam that holds longer, so you use less per wash. Castile lather is thin and concentrated, and it disappears fast, which can tempt you to pour too much.
Castile still works if you dilute it heavily with water. For daily body and face washing, I reach for sugar soap because it suits my dry winter skin.
Use sugar soap for daily washing if comfort matters most. Keep diluted Castile for times when you want a strong clean and plan to moisturize right after.
Treat moisturizer like a topcoat after a strong primer, and apply it while skin is still damp. A satin or matte finish on wood shows less glare than high gloss, and sugar soap gives skin a similar softer feel after the rinse.
You would not skip a drop cloth before a big finish job, and you should not skip moisturizer after a strong soap. Pick the soap that matches your skin and your routine. Stipple brushes help apply paint with less risk of flooding stencil edges, much like a controlled application keeps a wash balanced on your face.
Choose Sugar Soap by Task, Surface, and Skin Sensitivity
Choosing sugar soap gets easier when you match it to the job, the surface, and your skin. For a wall you plan to paint, use a cleaning grade sugar soap with a pH near 11 to cut grease and old gloss before you sand and prime.
That same cleaning grade product works for kitchen grease when you dilute it by the label. Use it neat on stubborn spots, keep it off aluminum, and rinse well before you apply primer or topcoat.
For sensitive skin, choose a personal care sugar soap with humectants such as sucrose and mild surfactants. Use it only for bathing, and patch test first if eczema is a concern.
On tile, laminate, and painted walls, the cleaning grade product is fine when you follow the dilution and rinse steps. Lay a drop cloth, tape edges with painter’s tape, and ventilate the room if the product has a strong VOC smell.
When you sand between coats, pick a sanding grit that matches the finish and remove dust before the next coat. Keep a wet edge while you brush or roll to avoid lap marks, and check your brush strokes before the coating sets.
Follow the label for drying time between coats and cure time before heavy use. If you work over stain, varnish, or polyurethane, test a hidden spot first and let the surface dry fully.
For a satin or matte sheen, scuff the old finish lightly and clean up the dust before you apply the topcoat. Read the label every time, match the product to the job, and keep your wall and your skin safe.
Sugar Soap: Safety Rules, Storage, and Regional Variations
Sugar soap can mean two separate products, so check the label before you touch a wall or a finish. One product is an alkaline cleaner, and the other is a cosmetic bar.
The cleaner is strong, around pH 11, so wear gloves and keep it off your skin. Never mix it with bleach because that can create toxic fumes.
For wall work before paint, use the alkaline cleaner and store it in an airtight container in a cool place. Before you apply primer and topcoat, rinse well and let the wall dry fully because drying time and cure time can differ.
Use smooth brush strokes, keep a wet edge, and watch for lap marks on gloss, satin, or matte sheen. If you use a high VOC primer or topcoat, ventilate the room and follow the label.
Match sanding grit to the surface, and lay a drop cloth before you open stain, varnish, or polyurethane. Keep the cosmetic bath bar dry at room temperature and away from heat.
Store cleaning products away from kids, and label every container clearly so you do not grab the wrong product mid project. In the UK, sugar soap usually means the heavy duty cleaner, while in India it often means a moisturizing bar.
Keep both products away from sunlight, and use general purpose cleaners for grease cuts or carpet spots with care. For face wash, use the cosmetic bar and avoid heat.
Keep painter’s tape, finish products, and cleaning supplies separate so you do not grab the wrong item. Check the label and respect the pH before you start any paint or finish job.
Frequently Asked Questions
Can Sugar Soap Remove Mould and Mildew From Walls?
Yes, sugar soap can remove some surface mould and mildew from walls, but it is a prep cleaner rather than a true mould killer. It lifts grime and residues so coatings bond, yet it will not reliably kill spores.
For active growth, apply a suitable biocide first, follow the label dwell time, then wash with sugar soap and rinse well. A practical tip is to let the wall dry for at least 24 hours before priming, and spot-prime any stained areas with a stain-blocking primer.
Think of sugar soap as a mould removal helper only after spores are dealt with, because clean, dry walls prevent regrowth.
Is Sugar Soap Safe to Use on Unsealed Timber?
Sugar soap is not safe to use on unsealed timber because its alkaline mix can darken or roughen the raw grain. For natural finish care, use mild soap and water instead.
If the surface is already soiled, wipe it with a cloth dampened in mild soapy water, then dry it immediately and sand lightly with 220 grit once fully dry. This simple raw wood cleaning routine protects the surface better than a heavy-duty sugar soap solution.
Test any cleaner on a hidden spot and allow 24 hours before treating the full project.
Does Sugar Soap Expire or Lose Its Cleaning Strength?
Yes, sugar soap can expire and lose its cleaning strength over time. Dampness and heat shorten shelf life and degrade its alkaline punch, so keep the container sealed in a cool, dry spot.
Old powder often clumps and loses strength, and a solution left sitting can go cloudy or smell off. For a practical check today, mix only what you need and use it within 24 hours, discarding any clumped powder or cloudy liquid.
For greener power, consider eco friendly alternatives like TSP substitutes or a heavy duty degreaser for tough prep. Store dry sugar soap in an airtight jar with a silica gel packet, and label the date.
Can I Mix Sugar Soap With Bleach or Other Cleaners?
You should not mix sugar soap with bleach or other cleaners. The compatibility risk is real because mixing can release irritating fumes or cancel the cleaning action you need.
For a painted wall, wash one square metre with sugar soap alone, then rinse with clean water and let it dry for at least 30 minutes before painting. Keep a separate bucket for any heavy-duty cleaner, and never pour bleach into your sugar soap solution.
If you must disinfect after cleaning, rinse the surface thoroughly first, then use bleach according to its label. Finish with a clean water rinse and allow full drying time before coating.
Will Sugar Soap Damage Car Paint or Exterior Surfaces?
Yes, sugar soap can damage car paint and exterior surfaces when used as a general cleaner. It is a strong alkaline cleaner that strips wax and can dull clear coat if left to dwell.
For a safe automotive finish cleaner, use a pH-neutral car shampoo at about 1 ounce per gallon and rinse before it dries. Avoid sugar soap on paint, trim, and glass, especially in sun.
If you need to remove stubborn road film, pre-rinse, wash one panel at a time, and dry with a microfiber towel within a few minutes. Keep sugar soap for painted walls and prep work, not car paint.
Rounding Up
Sugar soaps are workhorse cleaners with two practical paths: the alkaline cleaner for walls and the castile version for skin. Check the label today before you buy so you know which one you have.
Compare the alkaline bottle today against your paint prep or grease job, and grab that cleaner when the task calls for it. Test the castile version on sensitive skin, and skip the harsh stuff if skin is the concern.
Do not mix the two jobs just because the names sound alike. Next, read about paint prep.