What Are Polyurethane Varnishes? Types, Uses and How to Choose
Picking a clear coat gets confusing fast when every can promises a tough finish. This guide to polyurethane varnishes explains what they are, their types and uses, and how to choose the right one for your wood, schedule and wear.
Water-based formulas dry quickly and keep a lighter look, while oil-based options bring warmth and tougher floor protection. I’ll also explain surface prep, coats and cure time, plus when a 2K mix makes sense.
Read on to match sheen and drying time to your project without wrecking your weekend.
Quick Answer
- Polyurethane varnishes are clear coatings categorized as oil-based, water-based, or two-part (2K) systems.
- Oil-based polyurethane offers amber warmth and high abrasion resistance, ideal for indoor floors and heavy wear.
- Water-based polyurethane stays crystal clear, dries fast, and suits light woods like maple or pine.
- Outdoor projects require flexible varnish, not polyurethane, which lacks sunlight and moisture resistance.
- Choose finishes by cure time: water-based recoat in hours, oil-based needs weeks before full hardening.
How Oil, Water, and 2K Polyurethanes Compare
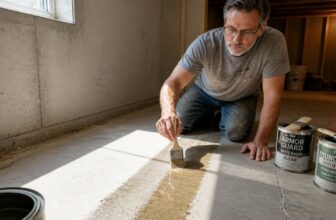
The main difference is simple: oil based and water based polyurethanes are one part finishes you brush straight from the can, while 2K systems are two part finishes that react after you mix them. Set out a drop cloth and painter’s tape before you open any can, then stir the finish and check the label for drying time versus cure time.
Oil based polyurethane gives you a longer open time, so you can keep a wet edge and avoid lap marks with steady brush strokes. Water based polyurethane dries fast, so work in small sections and do not stop in the middle of a panel or you will see lap marks.
Surface prep matters more with water based finishes because the first coat raises the grain. Use 220 sanding grit or finer on that raised grain after the first coat, then remove the sanding dust before the next topcoat.
Oil based film stays more flexible and moves better with seasonal wood movement. 2K polyurethane wins on scratch repair and dampness resistance, but it demands careful mixing and precise cure temperatures.
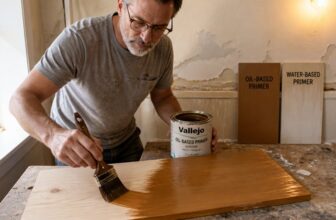
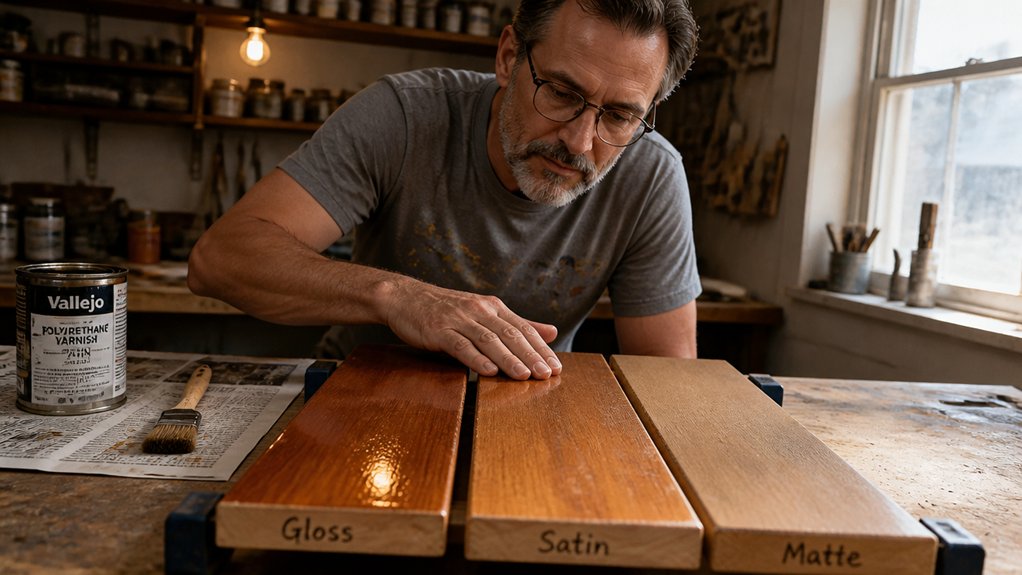
Water based polyurethane stays clear, while oil based polyurethane adds an amber tone to stain and varnish. Choose your sheen, gloss, satin, or matte, and test it on scrap wood under the same light as the finished room.
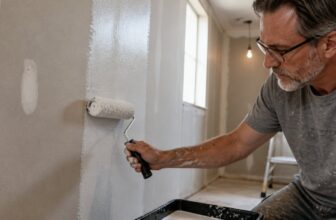
A primer can help with stain blocking or an even base coat, and lower VOC water based products suit indoor work when you have good ventilation. Keep the work area clean, use painter’s tape at edges, and pull the tape before the finish fully cures.
For most DIY jobs, use a one part finish and keep the process simple. Mix a two part system only when you need a hard bar top or another surface that takes heavy wear.
For high-traffic areas like floors, oil-based formulas offer greater longevity and abrasion resistance.
Which Clear Coat Fits Your Wood and Timeline?
Choosing a clear coat depends on two main factors: the type of wood you are finishing and the amount of time you have for the project.
Do not skip the necessary sanding steps because poor preparation is the main cause of application failure.
The type of wood dictates which clear coat will work best for your project.
Light woods like maple or pine generally take well to a water based finish that maintains a clear look. Water-based formulas offer a crystal-clear look with low odor and can be dust-free in as little as 20-30 minutes.
Darker woods such as walnut or oak often benefit from an oil based topcoat which provides a warmer, amber tone.
For areas with heavy use, like a kitchen floor, you should use a two ketone or 2K polyurethane for maximum hardness.
If you are working on a tight schedule, choose a water based product for rapid drying times.
These finishes can often be recoated within two hours, completing the job in a single day.
If durability is your highest priority over speed, an oil based film provides a tougher, more robust surface, but remember that these coatings typically require solvents for cleanup and offer deeper penetration.
However, keep in mind that oil based coatings take weeks to fully cure and harden completely.
Start by selecting the wood and then decide on your patience.
That choice determines the clear coat and the total time required for the project.
What Do Drying and Color Differences Mean for Floors?

Drying time and cure time decide when you can walk on the floor and when it reaches full hardness. Waterborne polyurethane lets you recoat in 2 to 4 hours and cures in about 14 days.
Oil based polyurethane needs 8 to 12 hours between coats and about 30 days to cure. Plan your schedule around cure time, because early foot traffic can leave marks even after the floor feels dry.
Color shift is the other decision. Oil based polyurethane adds an amber glow that deepens over the years, while waterborne polyurethane stays clear and keeps light woods bright.
If you want a warm honey tone, oil based polyurethane will get you there. If you want the wood to look close to its natural color, choose waterborne and check a sample first.
Waterborne finish can raise the grain on the first coat. Sand with 220 grit after that coat dries, then apply the next topcoat.
Oil based finish usually shows fewer grain raising problems, but it has a strong VOC odor and needs good ventilation. Use a drop cloth and painter’s tape to protect the room while you work.
Sheen changes how the floor looks and how it hides dust and marks. Gloss shows every brush stroke, satin is easier to live with, and matte hides scratches best.
Keep a wet edge as you apply each coat to avoid lap marks. Work in small sections and follow the manufacturer’s recoat window so the finish bonds properly.
A primer can help with stain blocking and color control, especially on bare wood. Stain and varnish choices also affect the final color, so test them before you commit to the whole floor.
For a durable floor surface, Minwax Fast Drying Polyurethane resists coffee rings and scuffs while delivering a warm satin glow that matches hand-rubbed oil finishes.
Polyurethane vs. Varnish: Which Should You Choose?
Choose the finish by where the piece will live and how much abuse it will take. Varnish is the better topcoat for outdoor work because it flexes with wood movement and resists sunlight and rain.
Varnish costs more per quart, but it holds up for decades on a porch swing when you follow the label for drying time and cure time. Apply varnish with a brush and keep a wet edge to avoid lap marks.
Polyurethane is the better topcoat for indoor wear zones because it stands up to scratched floors, spilled coffee, and scuffed table legs. A waterborne polyurethane costs about $25 more than an oil based product and has low VOC, and it dries fast with little odor.
Sand between coats with 220 grit to knock down brush strokes and small bumps. Apply the next coat after the listed drying time, and use painter’s tape and a drop cloth to protect nearby surfaces.
Choose gloss, satin, or matte sheen to match the room, and apply stain first if you want color. If the wood needs a primer, apply it first and sand it lightly with 220 grit before the topcoat.
Use varnish outdoors and polyurethane indoors. Check the label before you start, and follow the listed drying time and cure time before you put the piece into service. For brushing on polyurethane, white China bristle brushes provide the slow release needed for a glass-like finish.
Frequently Asked Questions
Can I Apply Polyurethane Over Existing Paint?
Yes, you can apply polyurethane over existing paint when the old coating is fully cured, sound, and clean. I would never skip an adhesion test and light surface preparation.
Scuff the paint with 220 grit sandpaper, remove the dust, then wipe with a tack cloth. Apply a thin test coat to a small area and let it cure for 24 hours before checking the bond.
If it sticks well, apply two thin coats, sanding lightly between them with 320 grit. This clear topcoat can work over most painted surfaces, but always test first.
Do I Need to Sand Between Every Coat?
Yes, you should sand between every coat if you want reliable adhesion and a smooth finish. I have tested skipping it, and adhesion fails, especially on varnish and polyurethane.
The sanding schedule matters, so hit each dried layer lightly with 220-grit paper. Wait four to six hours before sanding, then wipe off the dust with a tack cloth before the next coat.
This surface preparation prevents bubbles and peeling and gives you a durable finish. If you are refinishing furniture, think of between-coat sanding as cheap insurance for a professional result.
Is Polyurethane Safe for Food-Contact Surfaces?
Polyurethane is safe for food-contact surfaces only when it is fully cured and carries a food safe certification. For a practical rule, let a fresh finish cure at least 7 days at 70°F before it touches food, and follow the maker’s cure schedule for thicker coats.
Most general-purpose polyurethane is not automatically food-grade, so check the label for a food-contact rating before you sand or recoat. If you are building a countertop or serving board, use a product specified as food-grade polyurethane and apply thin coats, sanding lightly between them with 220 grit.
Don’t rush the curing time, because a tack-free surface is not the same as fully cured.
How Long Before Furniture Is Usable After Finishing?
Furniture is usually usable 24 hours after finishing with a water-based product, while oil-based finishes can need several days before normal use.
Treat that as a starting point, not a guarantee, because humidity, temperature, film thickness, and ventilation all affect how fast a finish hardens.
Check the label for the manufacturer’s dry and cure times, and do a quick thumb test on an inconspicuous spot before loading the piece.
For a practical example, let a water-based finish sit 24 hours before light use and keep the room at about 70 F with good airflow.
If you need furniture back fast, choose a low-odor water-based finish and ask about its curing time or dry time when you buy it.
Can Polyurethane Be Applied With a Sprayer?
Yes, polyurethane can be applied with a sprayer for both oil-based and water-based finishes. I have sprayed both successfully with a careful setup and steady technique.
Ventilation and sprayer maintenance matter more than most people expect, so thin the product only as the manufacturer allows and clean the gun immediately after each coat. For a practical starting point, use a 220-grit sanding pass between coats and keep coats thin rather than heavy.
A clogged nozzle usually signals improper thinning or delayed cleaning, not a bad sprayer. If you are new to spray finishing, practice on scrap first and confirm your spray gun settings before touching the project.
Rounding Up
Polyurethane varnishes are finish choices you match to the project, with oil based, water based, and two part options. Check the project’s sweat equity, then compare oil based against water based for warm amber glow, fumes, dry time, clarity, and cleanup.
Write down whether the job is trim, floor, or skate ramp before you commit. Test your pick on the actual trim or floor before coating everything, and remember a quality water-based satin at $50 a gallon nails most floors.
Oil based gives a warm, amber glow and bulletproof vibe, but fumes and dry time are the cost. Related topic: Polyurethane varnish application.