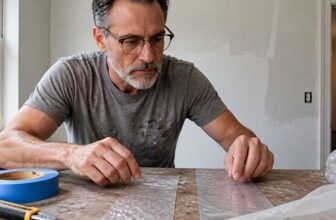
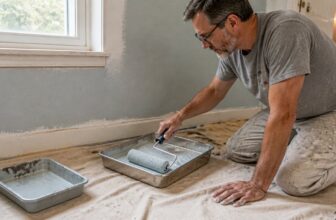
What Are Ready-Mixed Wallpaper Pastes? Types, Uses and How to Choose
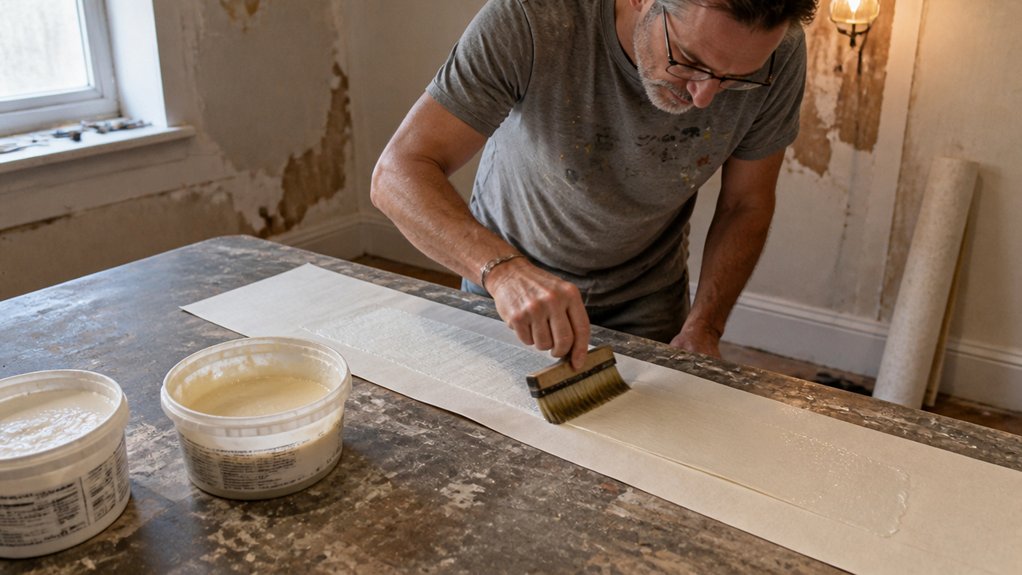
Ready-mixed wallpaper paste is the bucket-ready shortcut that skips powder, lumps, and mixing guesswork.
If you have fought a lumpy mix or a fast-drying edge, this guide on what ready-mixed wallpaper pastes are, their types, uses, and how to choose will help.
It covers standard, heavy-duty, mould-resistant, and clear options so you can match paste to paper and room.
Good surface prep matters, but the right paste choice matters too.
Read on for even application, a wet edge, proper cure time, and a simple choice that beats a weekend redo.
Quick Answer
- Ready-mixed pastes come in standard, heavy-duty, mould-resistant, and clear types.
- Standard paste suits medium-weight papers in dry rooms; heavy-duty handles vinyl or grasscloth.
- Match paste weight to wallpaper thickness to prevent slipping or open seams.
- Nonwoven papers use paste-the-wall; vinyl requires pasting and booking the paper.
- Seal tubs tightly; unopened lasts six months, opened less.
Why Choose Ready-Mixed Wallpaper Paste Over Powder?
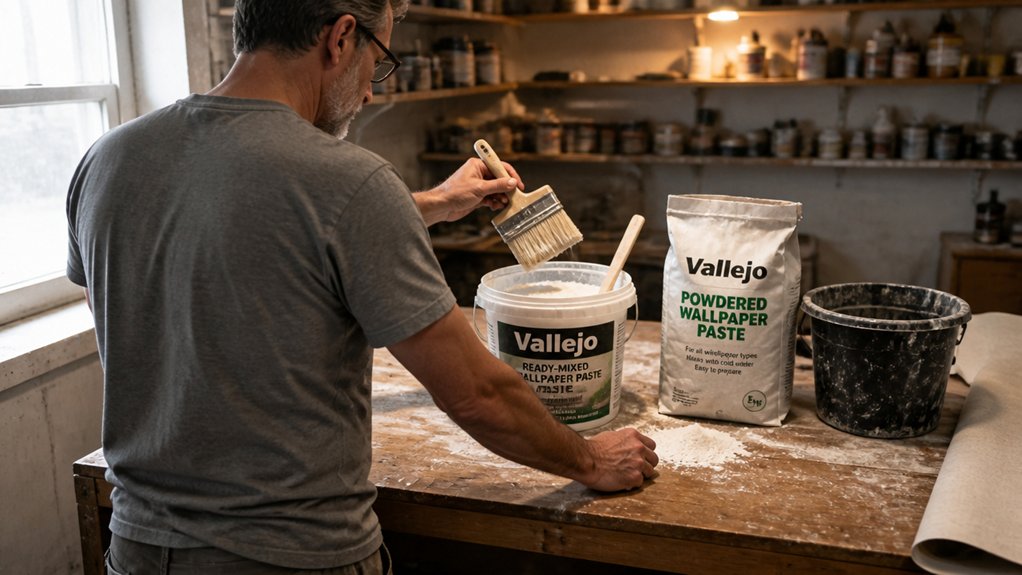
Premixed wallpaper paste saves you time on most DIY wallpaper jobs. You can open the tub and start applying it without soaking powder or stirring out lumps.
Premixed wallpaper paste saves you time—just open the tub and start, no soaking or stirring lumps.
That means less mess on the job. You avoid dusty clouds and starch clumps on the drop cloth, and you spend less time scraping them off the floorboards.
The mix stays consistent from the first strip to the last. Powder batches can vary, so a tub of premixed paste gives you the same tack and texture every time.
Higher initial tack helps heavy drops stay on the wall while you smooth them. The paste stays workable longer, so you have room to shift seams, keep a wet edge, and smooth out lap marks before it sets. This extended open time and extra slip make it easier to reposition panels, especially when working with heavyweight vinyls that might otherwise slide or grab too quickly.
Apply a wallpaper primer to porous or patched walls so the paper grips evenly. Use painter’s tape on trim and a drop cloth on the floor before you start.
Check the label for drying time and VOC content if you work in a closed room. That helps you plan the job and avoid rushing the seams.
For a weekend job, the extra cost per tub is easy to justify. Grab the tub, apply the paste, and hang the paper.
What’s Actually in That Tub of Paste?
Wallpaper paste is mostly modified starches, methylcellulose, or synthetic resins mixed with water. It stays thick in the tub and thins when you stir it, which helps stop drips before they run down the wall.
Read the label before you open the tub, just as you would for stain, varnish, or polyurethane, especially if kids or pets are around. Some pastes contain fungicides, and the label tells you what safety steps to take.
Treat it like a can of primer or topcoat and check the directions for mixing and use. If the wall needs smoothing, sand with 120 grit and wipe off the dust before you start.
Lay a drop cloth and set painter’s tape around trim before you mix paste. Use a broad brush to smooth the paper, keep a wet edge, and avoid brush strokes and lap marks; a stiff, flagged polypropylene brush holds substantial paste with minimal dripping, making it ideal for covering large tables and walls.
An unopened tub usually lasts about six months, but once you open it, plan to use it within three. If it smells sour or looks lumpy, throw it out instead of hanging paper with it.
Wallpaper paste does not have a sheen, gloss, satin, or matte finish like paint, so choose paper and wall prep for the look you want. If fumes matter to you, check the label for VOC content and follow the drying time and cure time listed.
Match the paste to the wall’s weight and the paper’s type, and skip bargain bins with no clear label. Scrape leftover paste into a bin bag and let it dry before disposal.
Know the 4 Main Types of Ready-Mixed Paste
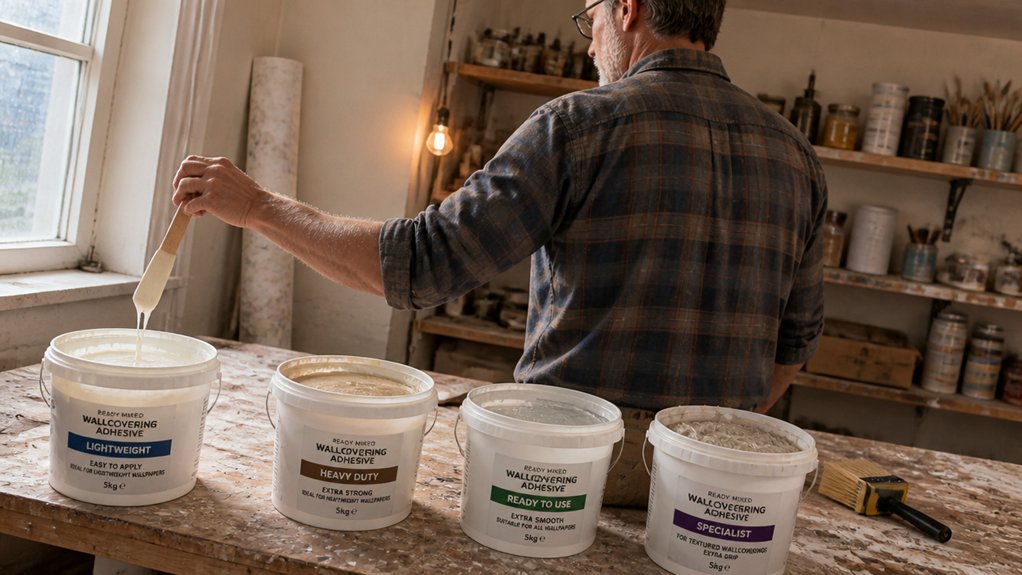
I have ruined enough seams to learn this, so match the paste to the paper and the room. The four main types are standard, heavy duty, mould resistant, and clear.
Standard paste suits medium weight papers and most daily hanging jobs. It stays thick in the tub, then loosens as you brush it across the back of the paper.
Heavy duty paste holds vinyl wallcoverings, grasscloth, and stubborn textiles. It is stickier, so the paper stays put and does not slip at the seams.
Mould resistant paste works in bathrooms, kitchens, and other damp areas. It has mould fighters built in to protect the paste film.
Clear paste suits delicate papers and vinyl where a colored paste might show through. It dries clear and gives you a clean bond without adding bulk.
Keep the lid sealed tight between uses or a skin will form on top. That skin is annoying and can leave hard bits in your brush strokes.
Lay a drop cloth and tape off trim with painter’s tape before you start. A dry primer gives you a stable surface, and a satin or matte sheen on the trim hides brush strokes better than gloss.
Match paste weight to paper weight, then brush out bubbles and lap marks as you go. Check the paste drying time before you trim seams, and keep a wet edge so the paper beds down cleanly.
For small touch-ups and detail work, store leftover paste in airtight screw-lid pots that prevent drying or crusting between jobs.
Which Paste Fits Your Wallcovering and Room Conditions?
Choosing the right paste starts with the wallcovering and the room. Read the wallcovering instructions and the adhesive label before you open a tub.
Lightweight paper usually needs a standard premixed paste, while heavy vinyl needs a stronger adhesive that can hold its weight. A steamy bathroom also calls for a moisture resistant paste and careful prep.
Prep the wall before you paste: wipe off dust, seal porous surfaces with a primer, and let the primer dry for the full drying time. Cover the floor with a drop cloth and protect trim that has stain, varnish, or polyurethane with painter’s tape.
A gloss, satin, or matte sheen on the topcoat can change how the wall grips, so scuff it lightly with 120 grit sandpaper and remove the dust. Check the paste label for drying time and cure time, and keep the room at the temperature it recommends.
Work in small sections so you keep a wet edge and avoid lap marks at the seams. Press the wallcovering down with a smoothing tool and wipe away excess paste with a clean damp sponge. Dense, gap-free bristles on a high-quality smoothing brush help press bubbles flat and keep corners down without scratching delicate surfaces.
Choose a low VOC adhesive when the label allows it, and mix only what you can use within the working time. Test a small strip first if you are unsure, and wait for the full cure time before you judge the bond.
Matching Paste to Paper
Match the paste to the paper by reading both labels and checking the paper’s weight and absorption. A heavy vinyl needs a paste with strong grab, while a lightweight lining paper can use a standard mix.
Heavy paper needs heavy paste, and light paper needs light paste. Treat paste choice like a primer under a topcoat: the surface and the finish both affect how it holds.
Check the absorption rate first. Porous papers pull moisture fast, so use a paste with a longer open time.
Respect the fiber direction when you handle stretchy nonwoven papers. A thicker paste helps you control the paper without fighting its stretch.
Check the wallcovering sheen and finish too. A gloss or satin surface can behave differently from a matte paper, even at the same weight.
Work in small sections so you keep a wet edge and avoid lap marks. Use a smoothing brush to press out air and keep brush strokes from showing under the paper.
Watch the drying time on the tub, and remember drying time and cure time are different. A slow drying paste gives you room to adjust the paper, like a slow varnish that lets you brush out marks before it sets.
Use a drop cloth and painter’s tape to protect edges while you test a patch. Mix a small batch, check the label for VOC content, and use the grade the maker lists.
If the wall is glossy, sand it with 120 grit paper, then prime before you hang. I have made this mistake before, and using too little paste on a textured textile let seams peel like sunburn.
Test a scrap before you hang the full roll. Read the tub, match the grade, and mix only what you need. For adjusting paper position and pressing out bubbles during pasting, work on a level, stain-resistant HDPE tabletop that resists warping and wipes clean easily.
Room-Specific Paste Selection
Wallpaper paste choice depends on the room, once you get past the paper weight and the basic label. The bathroom is the first place to change what you buy.
Bathroom ventilation often stays poor, and that damp air can turn standard paste into a home for mold. Buy a tub of paste made for mold resistance, and look for fungicidal additives on the label.
It costs a little more than standard paste, but it saves you from scraping off paper later. Kitchen humidity can cause the same trouble, so use the same paste made for mold resistance there.
Dry bedrooms and halls usually work fine with a standard ready mixed paste. Before you hang paper, wipe the wall, tape trim with painter’s tape, and lay a drop cloth.
If the wall has glossy paint, sand it with 120 grit so the paste can grab, then dust it off. If you plan to paint the paper later, use a low VOC primer and topcoat, keep a wet edge to avoid lap marks, and follow the label for drying time and cure time.
Check the wallcovering label for paste advice, but let the room’s dampness guide your final choice. When condensation is a problem, buy the paste made for damp rooms so you do not have to hang the paper again next year. For large wall sections, a 6-inch brush speeds up paste application while still allowing a smooth, even coat.
Heavy-Duty vs. Standard Grades
The paste you pick matters more than most people expect, and thick vinyl, grasscloth, or acoustic panels will show you why in a hurry. Heavy duty paste gives those materials the grip they need, while standard grade paste works for medium weight papers in dry rooms.
Standard grade paste can fail in a steamy bathroom, so use heavy duty paste in bathrooms and kitchens if you want seams to stay tight. Check the wallcovering weight first: heavy textiles need heavy duty paste, and light papers do not benefit from extra grip.
Before you mix paste, lay a drop cloth and tape off trim with painter’s tape. Check the paint sheen first; sand gloss or satin walls with 120 grit so the wall takes primer, and use a low VOC primer made for wallcovering on porous surfaces.
Work in small sections to keep a wet edge and avoid lap marks at the seams. Use a paste brush with even brush strokes, follow the paste drying time before trimming, and give it full cure time before washing the wall.
Standard grade paste is easier to reposition, but heavy duty paste grabs fast, so you get one shot at placement. If you are unsure which paste to use, choose heavy duty; it costs a little more and saves you a weekend redo. For quick fixes on lifted seams or edges, a water-based clear-drying seam adhesive can be wiped away with warm, soapy water while wet.
Apply Paste: Wall vs. Paper – Step by Step
The brush feels heavy when you face a dripping strip of vinyl wallcovering and need to paste the paper. You have two choices: paste the wall or paste the paper.
For nonwoven wallcovering, paste the wall. It is simple and needs no soaking.
For vinyl, paste the paper, fold it like a book, and let it relax. Prep the wall first with primer or wall sizing so the paste grabs evenly.
Sand any patches with 120 grit paper and wipe off the dust. If you patch or prime, lay a drop cloth and use painter’s tape to protect trim.
Dip your brush and lift it to test the paste. If the paste runs like water, it is too thin.
If it clumps, it is too thick. Ready mixed pastes often loosen when you stir them, so give the tub a quick mix.
Apply the paste in a zigzag, then sweep it outward with even brush strokes for full coverage. Keep a wet edge as you work to avoid lap marks.
Follow the label for drying time and cure time before you hang the paper. Match the paste method to the wallcovering.
Test the paste before you commit. That gives you clean edges and fewer surprises. For masking off trim and baseboards, a hand masker tape dispenser can apply and cut tape in one motion, saving you time during prep.
Avoid These 5 Mistakes With Ready-Mixed Paste
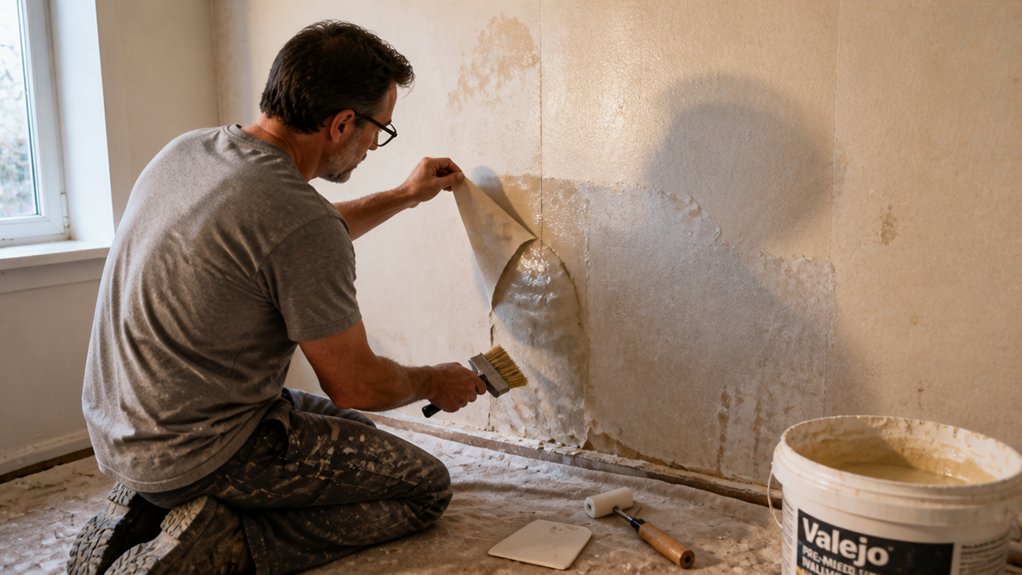
Ready mixed paste works well when you handle the tub and the waste with care. Keep the lid on between strips so the surface does not skin over and leave clumps in your smooth spread.
Lay a drop cloth and keep painter’s tape handy before you open the tub. When you finish, scrape leftover paste into the bin and wipe the rim so the lid seals clean.
Over thinning with water weakens the grip and can cause sag on medium weight vinyl. Add no water unless the label says to, and keep the tub at the consistency that spreads cleanly. Closed-loop water systems cut usage by seventy percent, but for paste, reducing waste starts with scraping the tub thoroughly before any rinse.
Seal the paste surface with cling film if you stop for a break or overnight. Air exposure dries the surface and wastes product, and a dry skin will show up as lumps under the paper.
Check that any primer on the wall is fully dry before you paste. Fresh primer can hold moisture and soften the bond, so give it the full drying time on the label.
If you plan to finish wood trim around the room, keep paste off stained or varnished surfaces. Wipe any splash before it dries, then use painter’s tape to protect a satin or gloss topcoat while you work.
Fixing Slippage, Bubbles, and Open Seams With Ready-Mixed Paste
If drops slide or air pockets form under the surface, fix the paste choice and hanging method before you open the tub. Match the paste weight to the wallpaper’s thickness, and use a heavier paste for vinyl or cloth. Use a full-size, heavy-duty pair of scissors to trim the paper cleanly before pressing it into place. Check your hanging method first: paste the wall or paste the paper. That choice stops bubbles before they start. Prep the wall with a coat of wallpaper primer and a light sanding at 120 grit to knock down bumps. Lay a drop cloth and use painter’s tape to protect edges while you work. Pick the right adhesive for the paper, then brush trapped air from the center outward. Press seams again with a roller so they stay shut and the wall stays flat. Keep your brush strokes smooth and watch the wet edge if you paint nearby trim before hanging paper. Let the topcoat dry fully so it does not lift when you press the seams.
Slippage & Open Seams
Know your paste’s limits before you start. That saves you from watching heavy vinyl slide off the wall.
If a strip slips or a seam gapes after drying, check the paste thickness and how quickly it grabs. Pastes you buy ready mixed grab faster than powders, but they still have limits.
Read the label before you mix or spread anything. Standard tubs will not hold textile backed vinyl.
Apply extra paste at the edges as well as the middle, or open seams will show up later. If the paper slips, sand the wall with 120 grit paper and apply a primer for grip.
Lay a drop cloth and use painter’s tape to protect nearby trim. Heavy duty ready mixed paste costs about $25 a tub.
That is cheap insurance for a whole wall. Match the adhesive to the paper, follow the drying time and cure time on the label, and respect the weight.
Bubble Prevention Tactics
Wallpaper bubbles usually come from uneven paste and light pressure. Prep the wall with a low VOC primer and a light pass of 120 grit sandpaper, then tape off trim with painter’s tape and cover the floor with a drop cloth.
Use a medium to thick paste with good tack so the paper grabs the wall and resists slipping. Thin paste lets air pockets form, so mix it until it holds a ridge when you lift a brush.
Apply paste with even brush strokes and keep a wet edge so the paste does not skin over. Smooth each strip from the center outward with a plastic smoother and steady pressure.
Work slowly and overlap your smoothing strokes so trapped air moves to the edges. If a bubble stays put, prick it with a pin, lift the flap, and press it back with a little fresh paste.
For open seams, wet the edge lightly, press firmly, and smooth it down. Wipe away excess paste with a clean rag before it dries.
Follow the paste’s drying time before you hang the next strip. Full cure time runs longer than the time it takes to feel dry, so keep the room at a steady temperature.
Keep your paste tacky, your pressure even, and your work area clean. That routine gives you fewer bubbles and a neater finish.
Correct Paste Selection
A tub of paste may look the same as another, but the wrong one can ruin wallpaper with slipping seams and stubborn bubbles.
I have fixed that mess, and the fix starts before you open the lid.
Test the wall porosity first, because a thirsty wall pulls standard paste dry and opens seams.
Check the adhesive shelf life too, since old paste loses tack and turns the job into a sticky mess.
Treat the wall like a paint prep job: lay a drop cloth, tape trim with painter’s tape, and sand glossy spots with 120 grit.
If the surface is glossy, apply a low VOC primer or wall size and let it cure before you hang paper.
Match paste weight to paper weight, so heavy vinyl gets a heavy paste with no shortcuts.
Use a paste that resists staining on delicate prints so it will not mark the face.
For wallpaper made to apply paste to the wall, confirm the tub says so, because nonwoven wallpaper needs that method.
Read the label, test the wall, and check the date so you can hang smooth paper and avoid slippage.
Frequently Asked Questions
How Long Does an Opened Tub of Ready-Mixed Paste Last?
An opened tub of ready-mixed paste usually lasts about six months when the lid is sealed tightly and stored cool. To check shelf life, smell the paste and look for separated liquid; these are clear signs it has turned.
For mold prevention, clean the rim and keep the tub in a cool, dry spot. A practical habit is to press plastic wrap directly onto the paste surface before closing the lid, which helps limit skinning and contamination.
If you use a joint compound or similar ready-mixed paste, label the lid with the opening date. Discard any tub that stays sour or moldy after mixing, since no additive fixes spoiled paste.
Can Ready-Mixed Paste Be Used on Painted or Plastered Walls?
Yes, ready-mixed paste can be used on painted or plastered walls, but only after correct surface prep. Scuff glossy paint with 120-grit sandpaper and scrape any flaking areas so the paste grips sound material instead of dust.
Wipe the wall with a damp cloth and let it dry fully, then apply a primer coat for wallpaper paste if the paint is chalky or the plaster is porous. For a quick adhesion test, press a strip of masking tape onto a dry patch, peel it off, and check for lifted dust or paint.
Mix paste to the maker’s ratio and allow the recommended standing time before hanging paper.
What Temperature Should the Room Be When Hanging Wallpaper?
The room should be 18 to 21°C when hanging wallpaper. Keep it steady at that range, because colder air slows adhesive setting and hotter air dries the paste too fast.
For a practical check today, place a thermometer near the wall and let your wallpaper adhesive sit at room temperature for 24 hours before mixing. Aim for a clean, bubble free hang by pasting one drop at a time and smoothing from the center out.
If the room is below 18°C, bring in a safe space heater and recheck the wall temperature before you start. This simple wallcovering installation habit prevents bubbling and gives a professional finish.
Is Ready-Mixed Paste Safe for Use Around Children and Pets?
Yes, ready-mixed paste is safe for use around children and pets when it carries child safe adhesive certification and meets pet friendly VOC levels. Most quality ready-mixed wallpaper adhesives meet those standards, but treat the wet paste as a mess risk and keep little hands and paws out of the bucket.
Allow a normal thin coat to dry for 12 to 24 hours before letting kids or pets back into the room. Ventilate well, and do a touch test on an inconspicuous spot to confirm no tack remains.
Search for low VOC wallpaper paste and check the label for the same safety claims before you buy.
Can I Freeze Leftover Ready-Mixed Wallpaper Paste for Reuse?
No, you should not freeze leftover ready-mixed wallpaper paste for reuse. Freezing ruins the thixotropic gel, and thawing turns it into a lumpy sludge that will not spread evenly or bond properly.
I have seen frozen wallpaper adhesive separate like a thawed milkshake, and no stirring brings it back. For a single standard roll, decant only a tennis-ball-sized amount, reseal the tub, and discard any paste left after the label’s stated pot life.
Thawing cannot restore the gel structure, so the leftover paste is a false economy. Toss it and use fresh ready-mixed wallpaper paste next time.
Rounding Up
Ready-mixed wallpaper paste is worth it for most DIYers, but the real trick is matching the tub to the wall’s needs. Check your wallcovering and read the label before you buy: heavy vinyl needs a heavy-duty mix, while light lining paper takes standard paste every time.
Test a strip first so you know how the paste behaves on that exact surface. Keep a damp sponge handy for cleanup, and skip lumpy powder if you want fewer surprises.
For the next step, read about wallpaper paste application tools and surface prep.