How to Apply Breathable Masonry Paints: Step-by-Step Guide
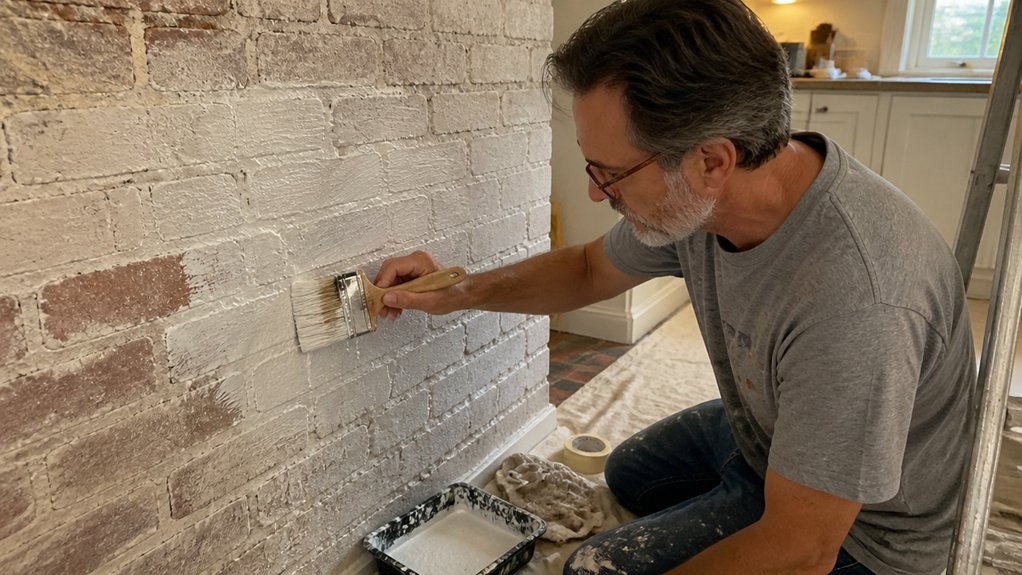
Breathable masonry paint sounds simple, but the real secret is in the prep and the timing. You can’t just slap on a coat and hope for the best, since trapped moisture will ruin your finish fast.
This guide walks you through cleaning, mixing, and applying a durable silicate coat that actually bonds with your wall. We’ll cover the exact recoat windows and why that chalky look is a good sign, not a problem.
By the end, you’ll know how to avoid blisters and get a smooth, long lasting result. Let’s start with the surface, because that’s where most projects go wrong.
Quick Answer
- Prepare the surface by scrubbing off loose paint, dirt, and algae; let it dry for several clear days.
- Apply a masonry-specific primer only after the wall is clean, dry, and slightly rough.
- Thin Earles with equal parts water; thin Romabio Transparent Base by 20–30 percent before applying.
- Work in small sections, maintaining a wet edge; use brush, roller, or HVLP sprayer.
- Follow specific recoat times (2–12 hours) and allow a full week for curing before judging the finish.
Get the Surface Clean, Dry, and Absorbent: and Check the Weather First
Before you open a can of breathable masonry paint, know this: it will not fix a dirty or damp wall. I have watched peeling patches reappear because I skipped the prep work, and that mistake costs you a whole weekend.
Prep the surface like your time depends on it, because it does. Scrub off loose paint, dirt, and algae with a stiff brush, then treat stains from moss or rust with the right cleaner before anything else.
Damp proofing is a surface condition, not a paint feature. Let the wall dry in the sun for a few clear days, and only start when the masonry feels dry to the touch. This matters because silicate-based paints chemically bond to the mineral substrate, and any trapped moisture will disrupt that bond and cause future blistering.
Check the forecast before you mix anything. Below 40°F or above 95°F, the paint won’t cure properly, so you are just wasting a $50 can.
My rule is simple: no rain for six hours after you finish. Watch the sky, not the app, and give yourself that full dry window.
Once the wall is clean, dry, and slightly rough, apply a primer made for masonry to seal the surface. This gives the topcoat something to grip, and it stops moisture from sneaking through later. For the best results, ensure the substrate is free of old sealers, since those seal old sealers will block vapor transmission and prevent the breathable paint from performing as intended.
Use a roller with a medium nap for the main coat, and cut in the edges with a brush to avoid lap marks. Work in small sections and keep a wet edge so the sheen stays even across the whole wall.
For the topcoat, choose a satin or matte finish with low VOC content if you are sensitive to fumes. Two thin coats beat one thick coat every time, and they dry faster than the label says.
Wait the full drying time between coats, not just until it feels tacky. Cure time takes days, so keep kids and sprinklers away until the paint has fully hardened.
If you skip any of these steps, you will repaint within weeks. Take the extra hour now, and the job stays done.
Mix and Apply Breathable Masonry Paint for a Correct Base Coat
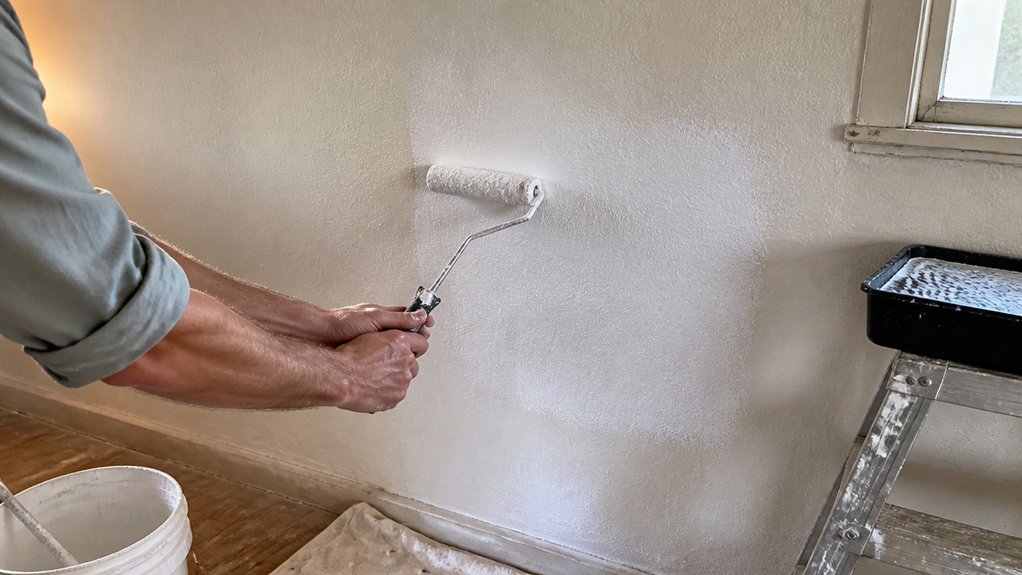
Mixing ratios are the first thing to get right, and they are not optional. Earles requires equal parts water and powder by volume, and you must use it within two hours.
Romabio’s Transparent Base needs thinning by 20 to 30 percent, but the White Base goes on straight from the container. Box multiple containers together before you start, or you will end up chasing uneven color patches across the wall.
For application, pick a brush, roller, or HVLP sprayer, and skip the airless rig for Earles. Dampen the thirsty substrate right before painting, because that moisture buys you adhesion and helps the base coat grab the surface.
Lay down a smooth, uniform wet film at about 7 mils, and do not pile it on. Thick coats crack and peel over the winter, and you will be scraping and repainting next spring.
Think of the base coat as the foundation for your topcoat, so treat it with the same care you would give a primer before a satin finish. A wet edge is your friend here, so work in sections and keep the brush or roller moving to avoid lap marks.
Use a drop cloth and painter’s tape to protect trim, and check the drying time versus cure time on the label before you apply anything over it. Mix precisely, apply thin, and the wall will stay sound, no matter the sheen you choose later. Also, maintain a working temperature between 15–25°C for standard curing timelines and optimal adhesion.
Recoat Timings, Curing Durations, and Why a Chalky Finish Is Normal
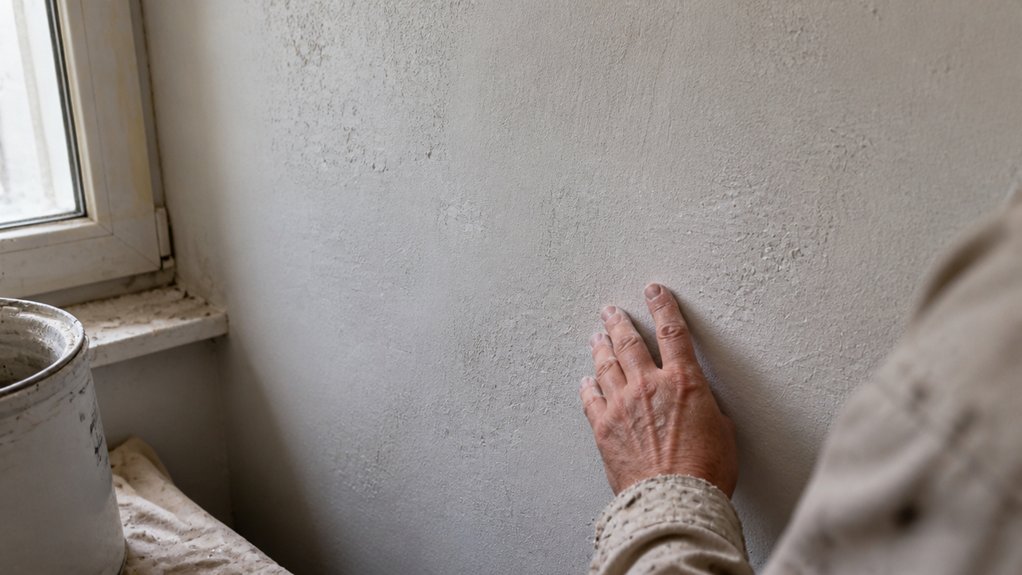
Recoat timing is a contract with the weather, not a suggestion. I’ve ruined more than one job by rushing this, so trust me on the numbers. For BMC II, wait 2 to 4 hours between coats. Earles needs 6 to 8 hours, and Romabio wants a full 8 to 12 hours.
If you apply the second coat too early, you’ll drag the first layer right off the wall. That chalky finish you see after a day is normal, not a defect. The paint is hydrating through its curing stages, which can take a full week.
Once cured, it will dust off with a dry cloth, not wash away with water. Misting porous brick after an hour helps the topcoat settle, but keep it light. A heavy spray will create lap marks and weaken the bond. On extremely dry or historic substrates, expect coverage to drop below the standard 175–225 sq ft per gallon range, so factor that into your material estimates before you start.
Plan your work around rain and heat, and respect the recoat window. Use a drop cloth and painter’s tape to protect the trim, and check the sheen with a scrap piece first. The satin or matte finish will look patchy until the cure time is complete.
Drying time is not the same as cure time, and that chalky layer is the paint breathing. Your patience pays off in a tough, breathable wall that holds up for years.
Frequently Asked Questions
Can I Apply Breathable Paint Over Old Limewash?
Yes, you can apply breathable paint over old limewash, but only after confirming the substrate is fully dry and structurally sound. Perform a moisture test with a meter or plastic sheeting to ensure readings below 15 percent, or the new coating will blister instead of bonding.
A damp or powdery surface is the biggest enemy of limewash compatibility, so brush off any loose chalk and let the wall dry for at least three sunny days. If the old limewash is thick and flaking, scrape it back to a firm edge and fill defects with a lime-based repair mortar, not cement.
Choose a silicate or mineral paint that breathes like the original, and apply two thin coats rather than one heavy one. This keeps the vapor open and avoids trapping moisture, which is exactly what leads to peeling later. Finally, test a small patch and wait 48 hours before committing to the full wall.
What Happens if Rain Hits Before Six Hours?
Rain within six hours risks surface damage, as moisture can wash out uncured paint and leave you with a blotchy, weakened film. Nine times out of ten, you will face a cure delay or worse, efflorescence, which is that chalky white deposit from trapped salts.
To avoid this, check the forecast and your paint’s recoat window before you start. If a shower is predicted, delay your painting until you have a full 24 hours of dry weather, or protect the wall with plastic sheeting and a temporary drip edge.
For latex paints, a minimum of six hours at 70°F is needed for a stable surface, but low humidity and airflow can shorten that risk window. Always test a touch on a dry corner; if it feels tacky, don’t risk another coat or exposure. Scrape any wet paint with a 120-grit sandpaper after it dries fully, then reapply a primer if needed.
Will One Thick Coat Ever Substitute for Two?
No, a single thick coat never substitutes for two, because it creates uneven film build and traps solvent. You will also face dramatically longer drying times, which invites dust nibs and sags into your finish.
Two thin coats bond better and cure properly, especially on bare wood. For example, apply the first coat of shellac or polyurethane, let it dry to the touch, then sand lightly with 220 grit before the second coat.
This approach also improves breathability, which is critical for exterior stains or deck finishes. If you rush with one heavy coat, the surface may feel dry but stay soft underneath for days, leading to adhesion failure later.
How Do I Clean Brushes and Sprayer Equipment?
Clean brushes and sprayer equipment immediately after use so paint never dries on the bristles or nozzles. For brushes, work a solvent soak into the bristles, then flush with water and comb them straight.
For sprayers, run the same solvent soak and water flush through the gun, then rinse thoroughly until the spray runs clear. A practical tip: clean within 30 minutes of your last coat, before latex or oil begins to set.
Never skip this step, or you will be buying replacement gear instead of finishing projects. Proper sprayer maintenance and brush care keep your tools ready for the next job.
Why Does My Paint Look Blotchy After First Coat?
Your paint looks blotchy after the first coat because the surface is absorbing the paint unevenly, a common issue with raw wood, drywall patches, or previously painted areas of differing porosity. This uneven absorption creates patches of flat and glossy sheen, especially if you applied a thin layer or used a roller over a brushed edge.
To fix this now, simply apply a second full coat after waiting the manufacturer’s recommended recoat time, usually 2 to 4 hours for latex. For stubborn spots, lightly sand the blotchy areas with 220-grit sandpaper before the second coat to level the nap and seal the porous zones. If it persists, your substrate may need a dedicated primer, like a stain-blocking shellac, to equalize porosity. This is called lap marking, and a consistent wet edge on your next pass will also help.
Rounding Up
Applying breathable masonry paint starts with a clean, sound surface, exactly as the article details.
Strip any old coating, then patch cracks and prime, because prep determines how long the finish lasts.
Check the forecast before opening the can, and paint only when the wall is dry and the temperature is steady.
Wait the full seven days before recoating, or you risk peeling the fresh layer like sunburned skin.
Test a small patch first to confirm the paint is curing, not failing, when you see chalky dust.
Write down your project date on the can, so you know exactly when recoat time arrives next year.
The dust you notice is part of the curing process, similar to whiskey settling, not a defect.
Read about masonry paint recoat timing next, since it directly affects your long term results.