How to Apply Glow-in-the-Dark Paints: Step-by-Step Guide
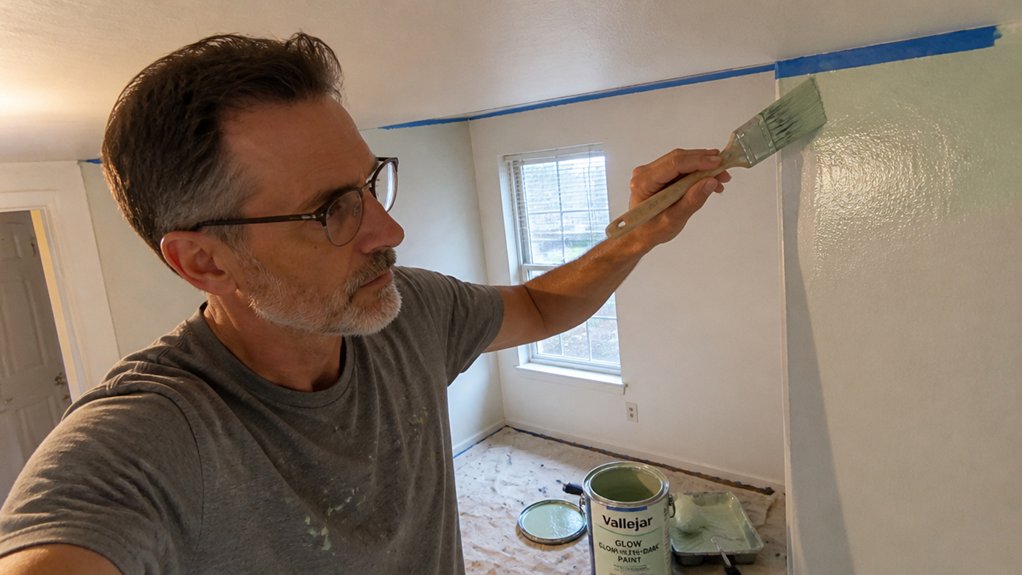
Glow-in-the-dark paint fails for one reason: poor prep. Wash the surface, sand glossy spots, and prime dark areas with flat white, or you will get peeling and patchy glow.
Skip the pricey boutique brands and pick paint by its hour rating. Industrial sprays last 4 to 8 hours, while brush-on formulas top out at 2 hours.
Charge it under bright light for 15 minutes minimum, then apply thin coats and let it cure a full day.
Reapply yearly outdoors to keep the effect strong.
This guide covers the gritty prep details, application tricks, and cure times that save your sanity.
You will get a smooth, long-lasting finish without the guesswork.
Quick Answer
- Clean and sand the surface, then apply flat white primer on dark or porous materials.
- Wait 30 minutes after priming before applying glow paint for proper adhesion.
- Charge the painted surface with bright light for 15–30 minutes; full sun gives 10-hour glow.
- Use brush-on paint for indoor walls; airless sprayer outdoors for clean edges.
- Allow full 24-hour cure before handling; reapply yearly for outdoor performance.
Prep Your Surface for Longer-Lasting Glow Paint
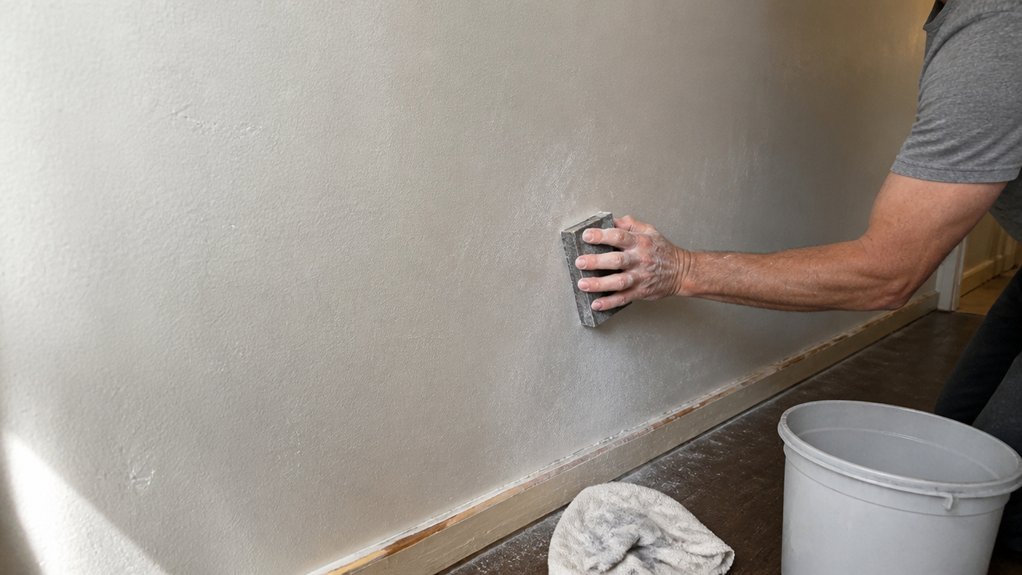
Prepping the surface is the step you can’t skip if you want glow paint to last. It won’t stick to grease, dust, or shiny spots, so a quick wash and scuff is non-negotiable.
Use a mild detergent to clean off dirt, then sand glossy or flaky areas with 120 to 180 grit sandpaper to create a rough texture. That toothiness gives the paint something to grab, like the bite of a primer on bare wood.
A white base coat matters too, especially on dark wood or asphalt, because it reflects light back through the glow layer. I apply a flat white primer at around 400g/m² and wait thirty minutes before the glow paint goes on.
Skipping this prep leads to peeling and patchy glow, and that’s just wasted money. It’s a boring step, I’ll admit, but it’s the difference between a two-week glow job and a two-year one.
The primer also evens out the surface profile, so you avoid brush strokes and lap marks in the finish. For the topcoat, keep the sheen low, like satin or matte, since gloss can reduce the glow’s brightness.
Remember that drying time is not the same as cure time; let the glow paint dry for a few hours, but wait a full day before handling it hard. Lay down a drop cloth and use painter’s tape if you’re working near edges you want to keep clean.
Do it right from the start, and you won’t have to redo it next season. That’s the honest truth from someone who’s peeled off many a failed coat. For non-porous materials like metal or masonry, a white base coat is also recommended to maximize the glow’s intensity and duration.
Select Glow Paint by Duration and Road Specs
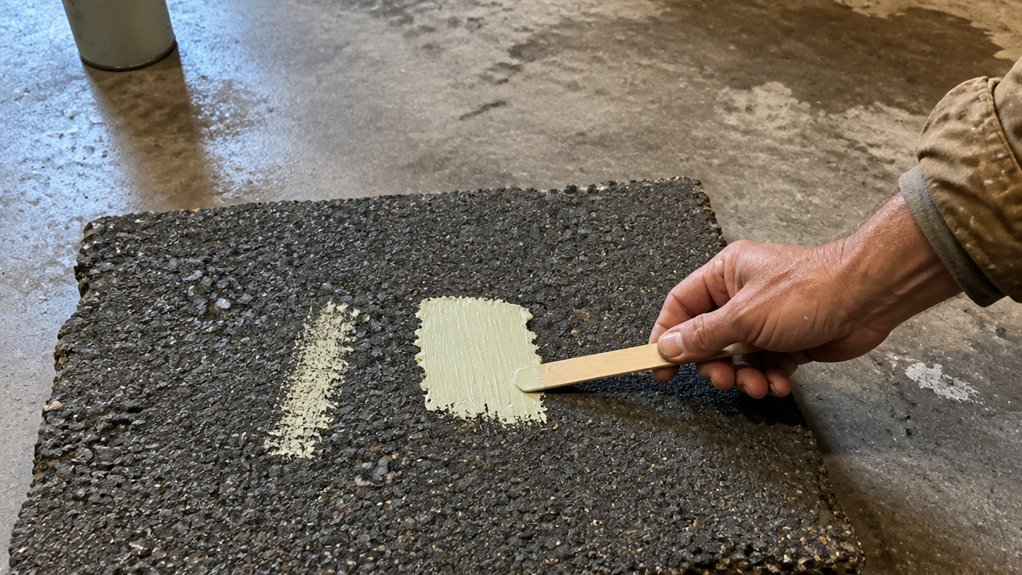
After your surface is prepped and primed, pick a glow paint based on how long you need the glow to last. For anything beyond a toy, skip cheap spray cans and go straight for industrial MAX spray, which holds 4 to 8 hours. Brush-on paints top out at around 2 hours, so they are a poor choice if you are tired of repainting lines every season.
For road work, the rule is simple: you need a road grade certification. That certification means the paint has been tested to produce 10 or more hours of visible afterglow, not just a marketing claim. Without it, you will see faint dashes by 2 a.m., which is useless for safety.
Check the label for the hour rating, not the price, before you buy. My hands-on advice is to buy certified spray, apply it with a wet edge to avoid lap marks, and use a drop cloth if you are near curbs. Sand the primer with 220 grit before spraying to get a smooth topcoat, and remember drying time is quick, but full cure takes a few days. This preparation matters because a clean, dry, and rust-free substrate is non-negotiable for chemical bonding, preventing peeling and ensuring the topcoat adheres properly.
Charge, Apply, and Maintain – The Glow Paint Lifecycle
Charging is where most people mess up, so I’ll save you the trouble: hit the paint with bright light for at least 15 to 30 minutes, but I always push for a full hour of direct sun or strong UV to get that 10-hour, road-grade payoff. Think of it like filling a gas tank, you wouldn’t run on fumes, so give the glow a full fill, not a splash.
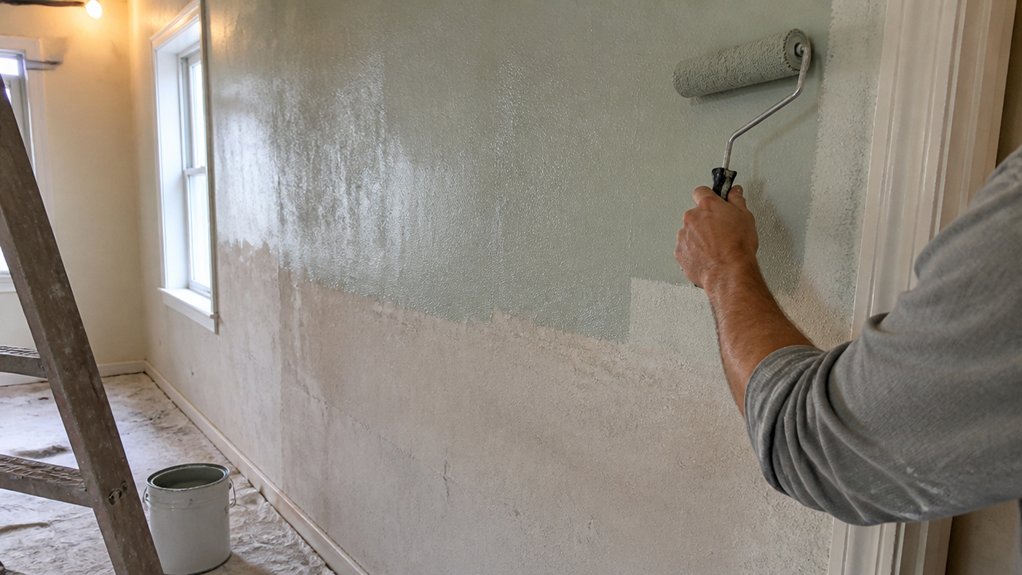
For application, your equipment matters more than you think. Use an airless sprayer outdoors for clean lines, and a roller indoors works fine for walls. Don’t thin road paint, it’s ready to go, and thinning just creates lap marks or brush strokes that ruin the finish. If you want a reveal effect instead of a constant glow, note that reversible thermochromic transitions reset the color when heat or UV is removed, which works for tricks but not for permanent road glow.
Apply a primer first if the surface is bare wood or concrete, then use a topcoat with a satin or gloss sheen to protect the glow paint. Keep a wet edge while rolling, and check the drying time versus cure time, because the paint needs full cure before you walk on it, not just a dry touch.
For maintenance, reapply the glow paint yearly outdoors, but recharging is free, just shine a bright light on it again. I once skipped a re-coat and got patchy glow, which was my fault, not the paint’s.
Use painter’s tape and a drop cloth to keep edges clean, and pick a low-VOC product if you’re working inside. Charge long, apply right, and reapply when it wears, that’s the whole lifecycle, simple if you’re patient.
Frequently Asked Questions
Can Glow Paint Be Applied Over Existing Dark Colors?
Yes, glow paint can be applied over existing dark colors, but only if you prepare the surface correctly. The dark base will absorb the glow pigment’s light, so you must first seal the color with an opaque white primer, like a bonding primer made for slick surfaces.
Without that white undercoat, your glow effect will look weak and muddy, no matter how many coats you add. For best results, sand the dark paint with 220-grit paper, wipe off the dust, then apply two thin primer coats.
Once the primer is dry, add three thin layers of glow paint, waiting about 30 minutes between coats. This luminous paint approach works well for accent walls or furniture, but skip it over glossy finishes unless you scuff them first.
How Soon After Painting Can I Charge the Surface?
You can charge the surface as soon as it is dry, typically after 45 minutes for road paint, though this varies with humidity. Charging time also depends on light intensity, so a strong UV source will speed up absorption significantly.
Proper surface prep guarantees maximum glow, so always clean off dust and oil before painting. Don’t rush it, because damp paint won’t absorb light effectively and will leave patchy, weak luminescence.
For best results on concrete, wait at least two hours if temperatures are below 60°F, and apply two thin coats rather than one thick one. A quick test with a flashlight after 30 minutes will show if the finish is ready, since surface tack indicates trapped moisture. Related term: photoluminescent cure time.
Does Humidity Affect Glow Paint Drying Time?
Yes, humidity does affect glow paint drying time, as dampness in the air slows moisture evaporation and extends the curing process.
On a muggy day, the water-based binders in glow paint absorb ambient moisture, leaving the surface tacky for much longer than usual.
Expect drying times to jump from 2 hours to 4 or 6 hours when the relative humidity sits above 70 percent, so plan accordingly.
To speed things up, work in a dry, ventilated room with a dehumidifier or a fan moving air across the painted item.
Aim for a temperature around 70°F and humidity below 60 percent, and keep the coat thin to reduce trapped moisture.
For a quick test, touch the corner after 3 hours: if it still feels sticky, wait another 2 hours before handling or applying a topcoat.
This extra delay also affects multi-coat applications, so you might need to double your drying time between layers.
Using a hairdryer on a cool setting for 5 minutes can help, but never force heat, as it can cause blotching.
Remember that humidity impacts solvent-based clears less, but for glow paints, patience is key to a durable finish.
Can I Mix Glow Paint With Regular Paint?
Yes, you can mix glow paint with regular paint, but it will dilute the glow effect, so you need to plan accordingly. The key is to use a high ratio of glow pigment, roughly 70% glow paint to 30% regular paint, to keep the afterglow visible.
Always test a swatch on a scrap surface first, because the regular paint’s color and opacity heavily impact the result. For example, mixing glow paint into a dark blue will kill the effect, while a white or transparent base lets the pigment shine through.
Let the swatch dry fully for 24 hours, then charge it with a bright flashlight for 30 seconds to judge the real brightness. If you need a stronger effect, apply two coats of the mix, but remember that each additional regular paint layer reduces the glow further.
For better results, consider using a glow-in-the-dark additive instead of pre-mixed glow paint, as it gives you more control over the final intensity. Stick to water-based acrylics for easy cleanup, and avoid oil-based regular paints since they can interfere with the glow pigment’s phosphorescent properties.
Will Freezing Temperatures Damage Cured Glow Paint?
Freezing temperatures will not cause cured glow paint to crack or peel, but they will shorten its lifespan and can cut brightness by up to 30 percent. The main culprit is pigment binder separation, which happens when the cured film is repeatedly subjected to below freezing conditions.
Cold weather also slows the curing process itself, so never apply glow paint when the surface or air temperature is under 50°F. For an outdoor project, wait for a dry day above 60°F and let it cure for a full 72 hours before exposing it to frost.
If you must store leftover paint, keep it in a heated space and stir thoroughly before reuse. This same precaution applies to phosphorescent coatings and other clear finishes. For maximum protection, add a spray-on clear topcoat after curing, which seals the pigment and helps retain glow output through winter.
Rounding Up
To apply glow-in-the-dark paints, prep, pick, charge, and repeat, starting with a clean surface. Scrub surfaces thoroughly because grease kills the glow, so use a degreaser or soap and water today.
Paint thin, even layers instead of one thick blob for a lasting finish. Then charge the paint under direct sunlight for 30 minutes to get solid nighttime payoff.
The article mentions GlowOn’s $22 quartz formula, which is rated for 12+ hours of glow. Compare that price against cheaper options and test a small patch before committing.
You may want to read next about choosing the right phosphorescent pigment for outdoor surfaces.