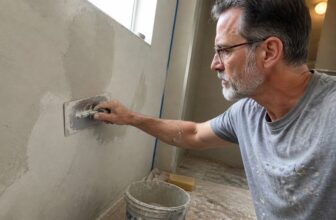
How to Apply Joint Compounds: Step-by-Step Guide
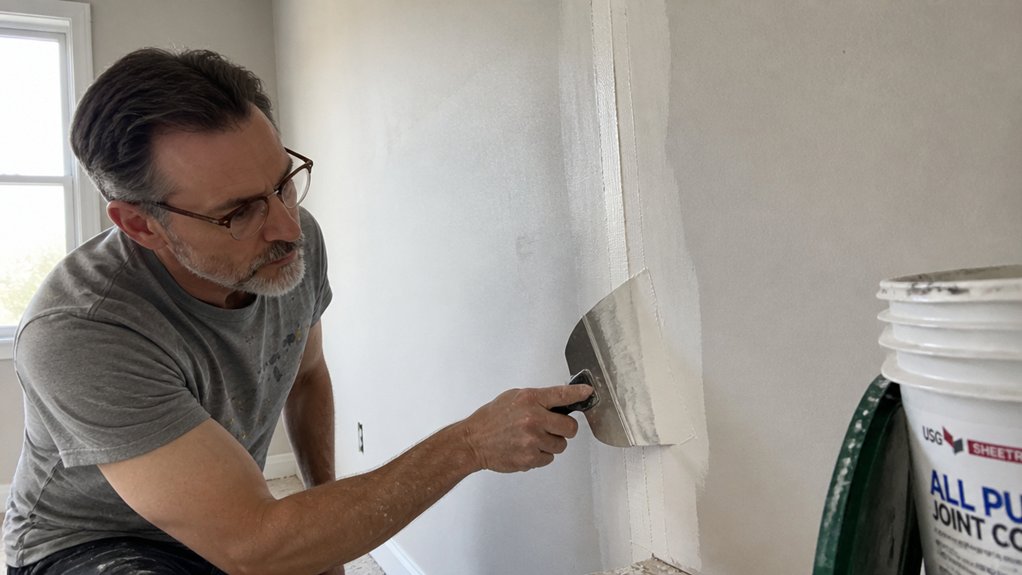
Drywall seams looking rough is a sure way to kill a fresh paint job, but the fix is simpler than you think. Choosing the right joint compound and sticking to the drying time is the real secret, not talent.
This guide walks you through how to apply joint compounds step by step, so your walls look flat and ready for primer. Start with premixed all-purpose for the tape coat, press it smooth, and give it a full cure.
Then switch to a quick-setting compound for the second pass and finish with a sandable top coat. By the end, you will know exactly when to recoat, how to avoid cracks, and when to break out the 6-inch knife.
Quick Answer
- Embed tape in thick, peanut-butter-consistency compound using a 6-inch knife, held nearly flat.
- Apply setting-type compound for the second coat, which cures chemically, avoiding evaporation wait time.
- Switch to premixed drying compound for the third coat, as it sands easily once tape is buried.
- Maintain room temperature above 55°F for drying compounds; setting types work down to 45°F.
- Never exceed label minimum spreading thickness; wait full drying time before sanding or recoating.
Choose the Right Joint Compound: Premixed vs. Setting-Type
Premixed compound is your best bet for most weekend drywall jobs. It comes ready to use straight from the bucket, and it stays usable for months if you keep the lid sealed tight.
I’ve pulled out a half-used gallon from my garage corner, stirred it, and it worked fine. That kind of lazy-proof reliability beats mixing powder any day.
Setting-type powder forces you to pick a drying time based on how fast you work. Twenty-minute mud is for adrenaline junkies, so I stick with the 45 or 90 minute versions.
You mix only what you’ll use, because it hardens chemically with no second chances. Overmixing ruins it too, and I learned that the hard way on a closet ceiling.
If you’re patient, premixed all-purpose compound handles both embedding tape and topping coats. Grab that bucket and a taping knife, and you won’t need to race a clock. Ready-mixed compounds avoid a separate mixing step and spread easily with hand tools.
Sand with 120 grit after it dries, wipe off the dust, and you’re ready for primer. A good primer seals the compound so your topcoat won’t flash or show uneven sheen.
Remember to keep a wet edge when you paint, and don’t overwork the roller or you’ll see lap marks. This job moves at your pace, not the powder’s.
Apply the First Coat of Joint Compound and Embed Tape Without Wrinkles
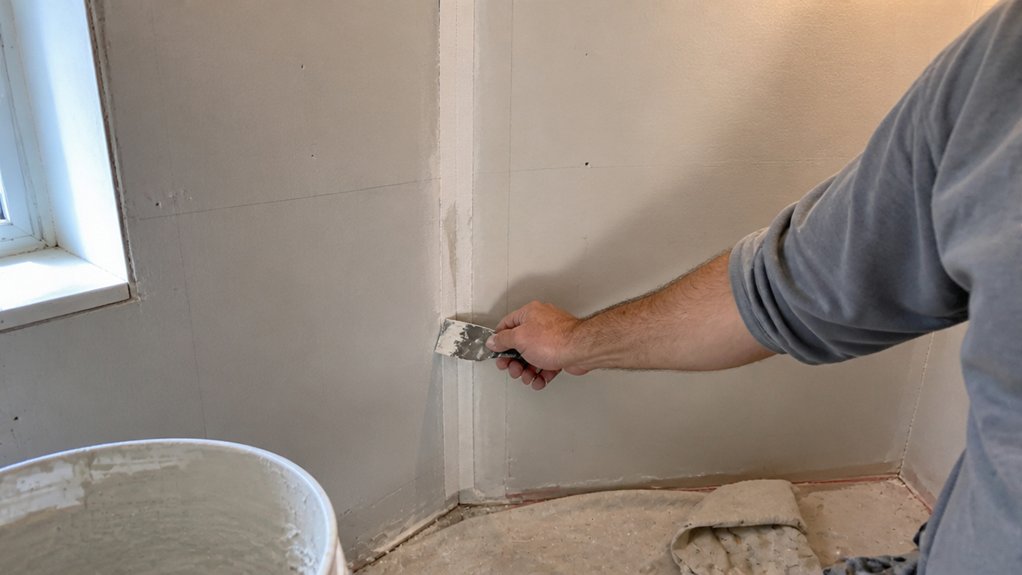
Start with compound that’s thick like peanut butter, not runny like soup. If it’s too loose, the tape will float and wrinkle instead of bonding flat.
Use a clean bucket and a 6-inch knife for this first coat. Load the knife with a generous layer about 2 to 3 inches wide, then lay the tape over the compound.
Run the knife down the center of the tape, keeping the tension snug but not guitar-string tight. Pulling too hard creates creases, so let the tape lie naturally as you press it in.
Hold the knife nearly flat, about 15 degrees off the wall, and use firm, even pressure. You’re squeezing the compound out from under the tape, not scraping it away.
Wipe off the excess compound with a smooth pass, leaving a thin film over the tape. Feather the edges so they blend into the wall, and check for bubbles or folds before you walk away.
A clean seam means no visible tape lines, just a smooth transition ready for the next coat. Let it dry for 24 hours before sanding with 120 grit.
For a stronger bond, use a setting-type compound for this first coat, but premixed works fine for DIY. Sand lightly with 120 grit, then wipe dust before the next coat.
Keep a wet edge on your knife by cleaning it between passes, and avoid overworking the compound. This first coat is about embedding the tape, not building thickness.
If you’re taping corners, fold the tape along its center crease and press it into the angle with a corner knife. That keeps the tape tight and wrinkle-free in tight spots.
Once dry, sand with 120 grit and apply your next coat. This process sets the foundation, so the final finish needs less sanding and no patchwork.
Setting-type compounds cure chemically rather than by drying, which makes them a more humidity-resistant choice for this first coat in damp areas.
Feather Second and Third Coats: When to Switch to Drying-Type
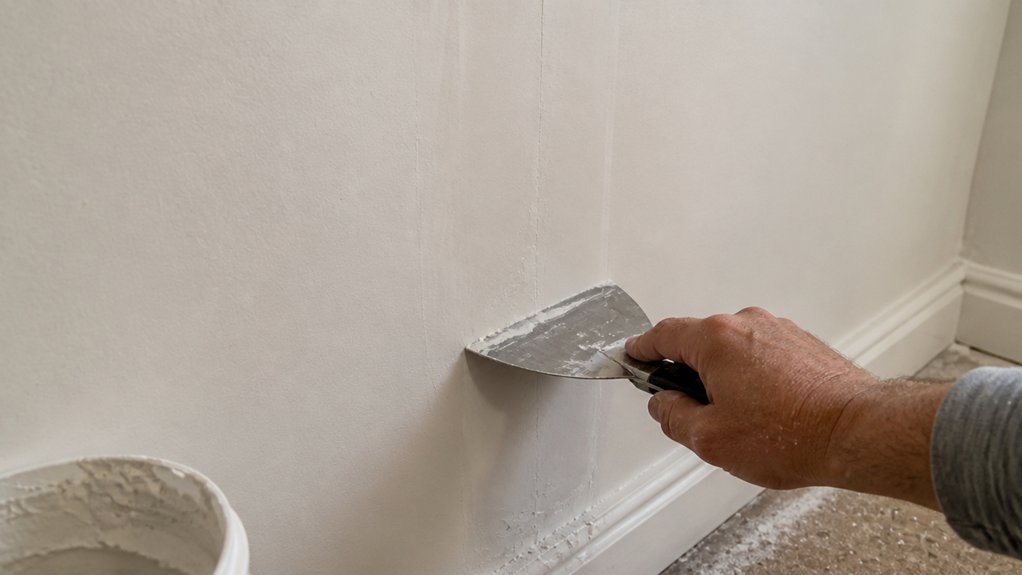
Two different compounds handle the second and third coats, and the switch matters once the tape is buried. For the second coat, stick with setting-type joint compound because it hardens chemically, so you don’t wait around for evaporation.
This is the feather timing trick: apply it right after the first coat is firm, usually within a few hours, and you avoid sagging. For the third coat, grab a premixed drying-type compound instead.
The feather timing trick: apply the second coat once the first is firm, usually within hours, so it won’t sag.
Why the switch? Drying-type sands like butter, so the final feathering goes smooth with minimal effort. Setting-type dries like concrete, and your arm will hate you after sanding it down.
So, second coat with setting-type, third with drying-type. That rhythm saves me a full day of downtime because I don’t fight the material.
Just time the switch when the tape’s buried and the surface feels solid under your palm. Match the compound to the job, and you’ll get a flat, paintable surface ready for primer and topcoat without extra sanding grit work. Drying-type compound sanding performance aligns with premixed options like DAP’s ready-mixed joint compound, which sands smoothly in about 24 hours with a crack-resistant finish.
Hide Fasteners and Corners Under Paint (Use the Right Knife Sequence)

Fasteners and corners are where most drywall jobs go from fine to flawed, so let’s not mess around. For screws, I hit each dimple with a 4-inch knife, holding the blade nearly flat.
Two thin coats, dried between, then a final skim with a 6-inch. That sequence hides everything without humps, and a light sand with 220 grit before primer will smooth any leftovers.
Corners are a different beast. Outside corners get a 6-inch knife on one flange, then the other, feathering out with a 10-inch on the next pass.
Inside corners, I prefer corner tools because they save wrist strain, but you still need a 4-inch knife to bed the tape first. Coat one side, let it dry, then the opposite; rushing both sides just creates a ridge.
Knife widths matter, but patience matters more. A hollow-ground blade provides controlled flex for smoother compound application and cleanup. Take your time, and paint will never know your fasteners existed.
Once the mud is fully cured, a coat of primer seals the patches, then a satin or matte topcoat will hide any remaining texture differences. Keep a wet edge when rolling to avoid lap marks, and use painter’s tape to protect trim before you cut in.
Match Dry Times and Temperatures to Your Compound to Prevent Cracks

Three things ruin drywall finishes faster than anything else: rushing, cold rooms, and mismatched compounds. I have watched fresh cracks appear because I ignored the numbers on the bag.
Your compound’s drying time is a contract, not a suggestion. Drying-type joint compound needs at least 55°F, or water stays trapped and the bond weakens.
Setting-type compound works at 45°F, but it cures chemically, so temperature affects it differently. A 45-minute powder lets you recoat fast, but only if you mix it to the exact consistency the label shows.
Humidity control matters just as much. Damp air stretches drying time, so open a vent or run a fan before you start. Low-shrink fillers can help reduce cracking and repeated filling, which is especially useful in damp conditions where multiple passes may otherwise be necessary.
Match the compound to your schedule and thermostat, not your impatience. Warm the room, read the bag, and wait.
Cracks are just your reward for skipping steps. Before you tape, check the primer can too, because a cold primer topcoat can flash and leave lap marks that look like cracks.
Use painter’s tape to protect trim, lay down a drop cloth, and sand with 120 grit between coats. Keep a wet edge when you apply the topcoat, and let it dry fully before you sand again.
If you need a quick recoat, grab a fast-setting powder, but never spread it thinner than the bag says. A thick skim coat with a slow drying compound is safer than a thin one with a fast setting mix.
The finish sheen matters less than the surface prep. A satin or matte topcoat will still show every bump if the base coat cracked.
So keep the room above 55°F for drying compounds, and above 45°F for setting types. Vent the moisture, mix precisely, and wait out the full drying time before you touch it.
That patience is what separates a smooth wall from a cracked one. Read the label, check the thermostat, and let the compound do its job.
Frequently Asked Questions
Can I Use Setting-Type Compound for the Final Coat?
Yes, you can use setting-type compound for the final coat, but it is not recommended for a smooth, sandable finish. The chemical hardener creates a rigid surface that resists feathering, while its quick setting time leaves little room for error.
Instead, choose a drying-type compound for your last pass, as it stays workable longer and sands down easily with 220 grit. Apply one thin final coat, let it dry fully for 24 hours, then mist it with water before sanding to reduce dust.
For a flawless result, always check the label for “lightweight” or “all-purpose” drying formulas, which are synonyms for this easier final sanding stage. This saves you from the nightmare of uneven patches or gouging when you touch up the surface.
How Do I Fix Compound That Hardened Before I Applied It?
You cannot fix compound that hardened before application; you must discard it and mix a fresh batch. Adding water only creates a unusable, doughy mess that will never cure properly, so toss the ruined material immediately.
The chemical setting process is irreversible once triggered, making revival impossible at any stage. To prevent this, only mix a small amount you can use within 20 minutes, and spread it thinly on your hawk to extend working time.
For a practical tip, scrape the hardened residue into a trash bag, then wipe your tools with a damp cloth before it dries. Always check the manufacturer’s stated pot life on the label, and buy powdered compound if you need longer flexibility. This waste is a common mixing mistake, so measure water precisely and stir slowly next time.
Can I Paint Directly Over Joint Compound Without Priming?
You shouldn’t paint directly over joint compound without priming, because skipping this step compromises adhesion and invites moisture problems. In my years finishing drywall, I have watched unprimed compound turn blotchy and peel within months, especially in bathrooms or kitchens.
Prime the compound with a high-quality PVA primer, which seals the porous surface and creates a uniform base for your paint. Use two coats of primer, then wait at least two hours before you sand with 220 grit to smooth any raised fibers.
Skipping primer also raises your paint’s risk of flashing, where sheen differences show up after drying. For a quick test, wipe a damp cloth over the compound: if it darkens unevenly, it is too absorbent for paint.
One concrete tip: always let the primer dry fully overnight if humidity is above 60 percent, then apply your finish coats. This extra step costs little time and saves you from a costly redo.
What Causes Tiny Bubbles or Blisters in Dried Joint Compound?
Tiny bubbles or blisters in dried joint compound are caused by trapped air pockets that escape as the mud dries, often from overmixing or applying too thick a coat. You are essentially sealing in air that then pushes up through the surface film as moisture evaporates.
To prevent these bubbles, thin your compound slightly with a little water until it has a creamy, peanut butter consistency. Also, avoid whipping in air with a drill; use a gentle hand stir and let the mud sit for five minutes before use.
Rushing the drying process with heat or fans makes it worse, so allow each coat to dry naturally at room temperature for at least 24 hours. If you do see blisters, wait until fully dry, then sand them smooth with 120 grit paper before the next coat.
For a final smooth finish, apply thin coats (no more than 3 millimeters) and use a wide knife to pull off excess. This gives the air an easy escape route, much like the peel and stick method used in drywall finishing.
How Do I Sand Joint Compound Without Creating a Dust Storm?
To sand joint compound without creating a dust storm, use a damp sponge for wet sanding, which keeps the dust trapped in the water. For dry sanding, attach a HEPA vacuum directly to your pole sander or hand sander for immediate dust extraction at the source.
Wet sanding is your best choice for smooth finishes, but it requires the compound to be fully cured, which can take 24 hours per coat. When dry sanding, use 120 to 150 grit paper and keep the vacuum running before, during, and after the pass.
A concrete tip: always wipe the surface with a tack cloth after sanding to remove residual dust before priming. Also, avoid sanding between every coat; instead, scrape off ridges with a drywall knife after the second coat to reduce overall sanding time. This method also works for skim coating touch-ups.
Rounding Up
Applying joint compound takes patience and a lighter touch than you think, starting with a thin, even base coat.
Check your sanding progress by hand every few passes, since rushing leads to patching cracks later. Trust the process and keep each coat feather-edged, smoothing the mud until it blends with the paper.
Compare your wall’s flatness by holding a straightedge against it, then touch up any low spots before the next coat. Sand with light pressure only, or you risk cutting through to the paper and starting over.
Read next about choosing the right drywall sanding grit.