How to Apply Methylated Spirits: Step-by-Step Guide
Applying methylated spirits is easy once you get the prep right, but the wrong dilution can wreck your finish. I’ll walk you through the exact mix for daily grime versus sanitizing, plus the quick test that saves your sheen.
For sticky labels or ink, you can use it undiluted, but always check a hidden spot first to avoid lifting your paint. You’ll also learn the wet edge technique that prevents streaks, and how to time your coats for proper drying and cure.
Stick with me through the next sections, and you’ll handle solvents like a pro without ruining your hard work.
Quick Answer
- Dilute metho 1:10 with water for daily cleaning, applying to a microfiber cloth first.
- Work in small sections, maintaining a wet edge to prevent streaks and lap marks.
- For tough stains, apply undiluted metho to a cloth, let sit 10 seconds, then dab gently.
- Let metho dwell 3 minutes on sanitizing surfaces, then wipe dry in one direction.
- Always test on a hidden spot first, and avoid food-contact surfaces due to toxicity.
Ventilate the Area and Remove All Ignition Sources
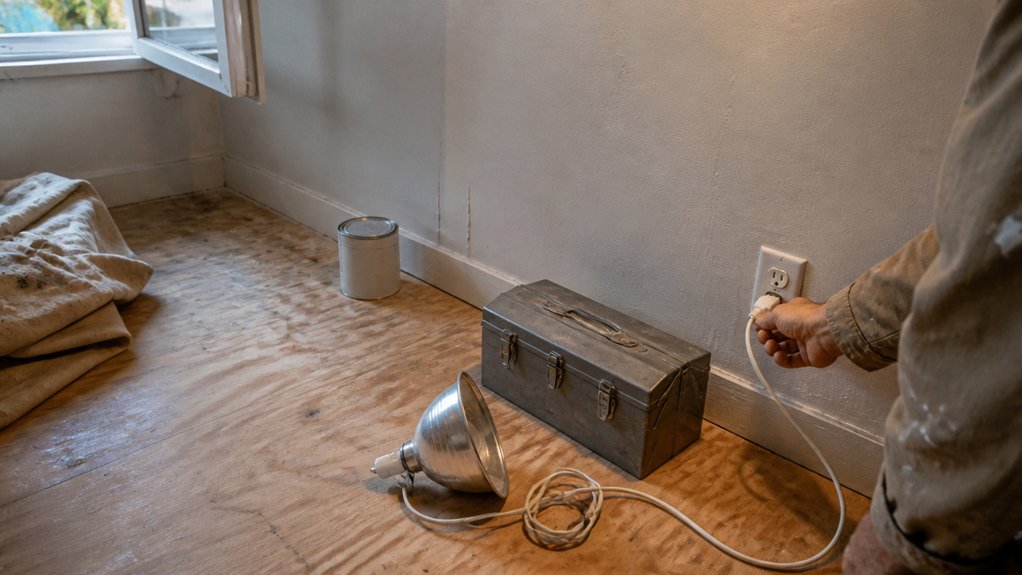
Before you unscrew the cap, know that methylated spirits is a solvent, not a fragrance. You are not diffusing it, and the fumes it gives off are not something you want to breathe in. Open windows wide, prop a door open, or take the work outside on a calm day. Good airflow is cheap insurance against a pounding headache you do not need.
Next, walk the space and check for ignition sources. Snuff out pilot lights, turn off heaters, unplug anything that could spark, and put away cigarettes. Methylated spirits vapor loves a stray flame, and a singed eyebrow is not a good look. Scan the room slowly, like you are looking for a dropped nail on a drop cloth. Keep in mind that methanol flames burn nearly invisibly, creating a hazard near stoves or pilot lights.
When the air moves and every spark source is gone, you can start cleaning. This keeps the job as boring as wiping down a surface before a coat of satin polyurethane. Fresh air and zero sparks mean the only thing you have to worry about is the drying time before your next sanding grit pass.
Gather Gloves, Eye Protection, and the Right Metho Dilution
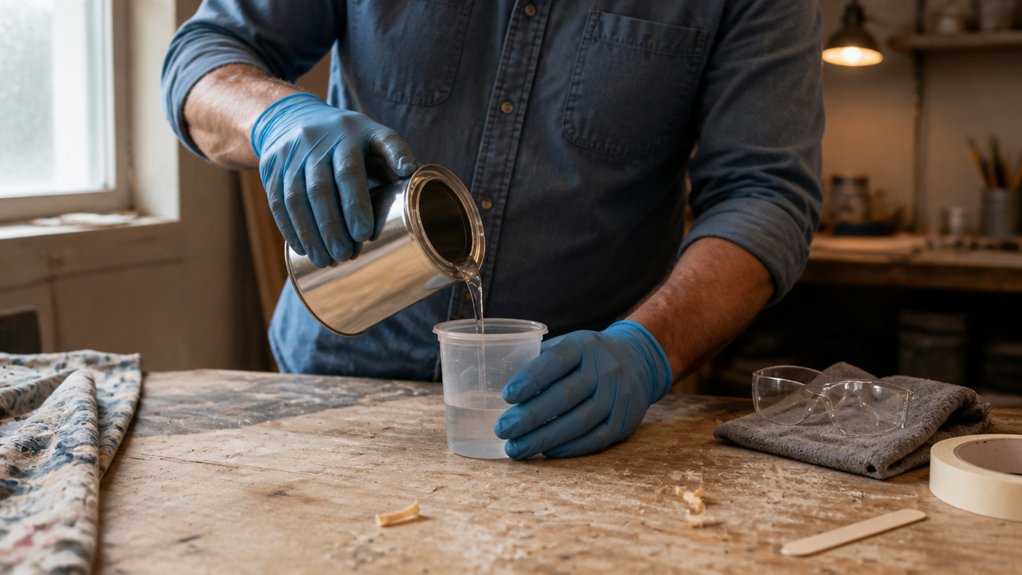
Gather your nitrile gloves and safety glasses before you measure a single drop of metho. Cheap latex tears on rough timber edges, while nitrile shrugs off solvent splashes, and I’ve felt the sting of a miss on bare knuckles for an hour after a careless pour.
Eye protection is just as important as glove choice, since a stray droplet hitting your cornea feels like a lit sparkler. Ten-dollar hardware store glasses work fine, so pull them on and check your gloves for pinholes before mixing.
That fussy minute saves you from burns that ruin your focus and your finish, especially when you’re cutting metho down for a stain wipe or cleaning brushes after a varnish coat. I’m clumsy by nature, and this habit has kept my face and hands clear of irritation more times than I count.
Slip on your gear, then measure the dilution ratio with a clean cup. Skipping this step turns a simple prep job into a lesson you’ll remember every time you reach for the sanding grit.
After you mix, keep a wet edge in mind, since metho evaporates fast and leaves lap marks if you dawdle. Work in small sections, wipe with the grain, and let the surface dry completely before you lay on primer or a topcoat. Nitrile tensile strength makes these gloves harder to tear than latex or vinyl, so trust them against sharp timber splinters during the wipe-down.
For a satin or matte sheen, the same gear applies, so don’t drop your guard just because you’re not spraying high-VOC lacquer. Protect yourself first, mix second, and you’ll keep your skin, eyes, and finish quality intact from start to finish.
Mix a 1:10 Metho-Water Solution for Daily Cleaning
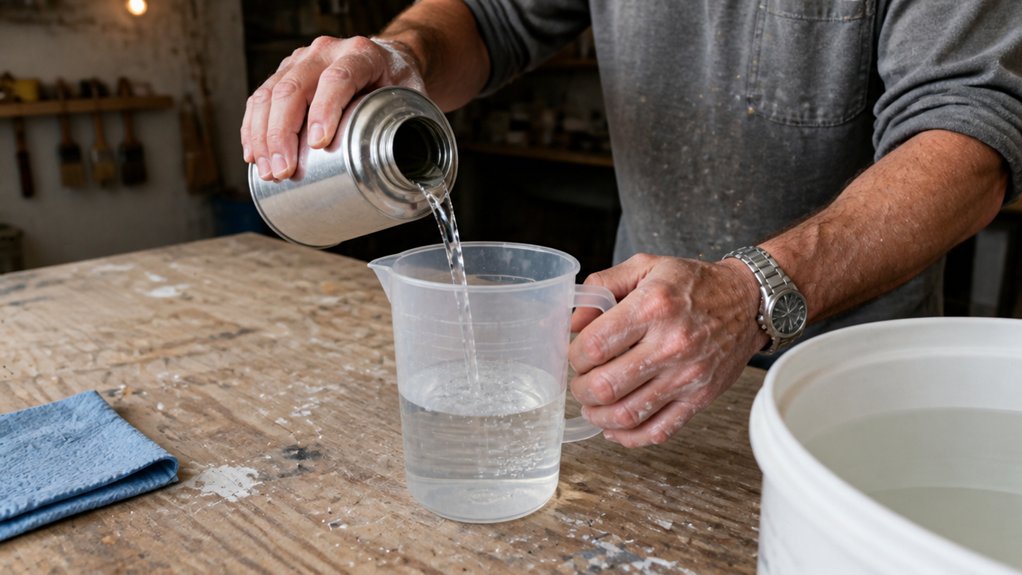
Mix a one-litre spray bottle with 100 millilitres of metho, then top it up with 900 millilitres of water.
That dilution ratio works for daily cleaning, gentle on most surfaces but tough on grime, much like a low-sheen finish hides wear.
Grab an old microfiber cloth as your applicator, and spray the solution onto the cloth, not the surface, to avoid pooling.
Work in small sections and wipe methodically, keeping a wet edge so you don’t leave lap marks or streaks behind.
For corners or tight spots, a cotton pad or a clean toothbrush gets in where the cloth can’t reach.
Don’t oversaturate; damp is the goal, just like you’d wipe down a freshly sanded surface before the primer goes on.
Let the solution air dry completely once you’re done, and you’ll see the grime lift without harsh scrubbing.
I’ve used this mix on kitchen counters for years, and it’s saved more finishes than I can count, no need for heavy chemicals or a high-gloss polish.
Keep the mix diluted, keep your strokes even, and your daily wipe-down turns into a ten-second pass, not a chore.
Treat it like a light topcoat: thin, even, and dry to the touch before you move on.
For tougher buildup, a higher 99.9% concentration evaporates quickly and leaves virtually no residue, making it ideal for electronics or stubborn sticky messes.
Sanitize Hard Surfaces With a 70% Metho Blend
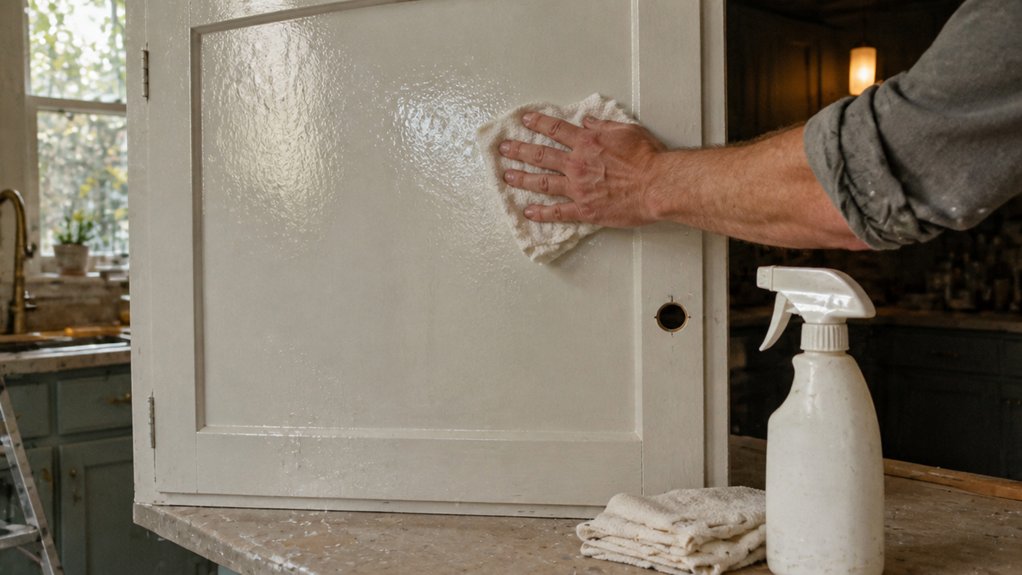
To really sanitize a hard surface, mix a 70% metho blend. That means seven parts methylated spirits to three parts water.
This stronger mix is the sweet spot for killing germs, but you must work in the right order. Wash the surface with hot, soapy water first, then let the metho sit for at least three minutes before wiping it off.
Treat this like a finish that needs a clean substrate, just like you would sand and wipe down wood before laying down a topcoat. If you skip the soapy wash, the metho can’t bond with the grime and the germs hide underneath.
Keep the wet edge alive by soaking the surface evenly, and don’t let it dry out before the three minutes are up. If it evaporates too fast, reapply a fresh coat so the contact time is complete. These solvents are petroleum-distillate based, so they evaporate quickly and require close attention to maintaining that wet edge.
Now, the hard rule: keep this blend far away from chopping boards, plates, cutlery, or any food-contact surface. Methylated spirits are toxic if ingested, and unlike a low-VOC varnish that cures safe, this stuff stays dangerous.
Use it only on non-food surfaces like benchtops, door handles, or painted trim, and wipe those down with a clean cloth afterward. For food areas, stick to hot soapy water or a food-safe sanitiser instead.
Work in a well-ventilated space, wear gloves, and don’t mix metho with bleach or ammonia. This is a practical solvent, not a universal cleaner, so use it where it belongs and let it do its job.
Disinfecting Hard Surfaces
Think of disinfecting like applying a good topcoat. You wouldn’t just flick paint on a wall and call it done, and you can’t just mist and wipe a surface either.
For a proper kill, mix seven parts isopropyl alcohol with three parts water, hitting that 70% sweet spot. That ratio cuts through grime like a sharp scraper on old varnish, and it’s your primer for germ removal.
Once you’ve got your blend, saturate the surface like you’re laying down a wet edge on a fresh coat of satin polyurethane. Don’t wipe it off yet; let it sit wet for a full three minutes.
That dwell time is the drying time before you touch it, and it’s what actually neutralizes the bacteria. If you rush, you’re just pushing dirt around like a dry brush leaving lap marks.
After those three minutes, grab a clean cloth and wipe it dry, working in one direction so you don’t redeposit anything. This step is your final sanding pass, smoothing out the job and leaving a clean, even result.
It’s a simple routine, cheap as a gallon of primer, and it works every time if you respect the clock and the coverage. For the wiping step, using a tack cloth ensures no dust or fibers are left behind on the surface.
Food-Contact Surface Warning
Why would you ever reach for that metho spray bottle when it’s time to wipe down the cutting board? A 70% metho blend sanitizes hard surfaces beautifully, but that’s a trap for food safety.
Methylated spirits leave behind surface toxicity that can leach into your next salad, and that’s not a risk I’m willing to take. Think of it like finishing wood: the right topcoat matters, and a high-VOC solvent has no place where food lands. For tasks like stripping old finishes, odorless mineral spirits offer a lower-odor alternative that still cleans and thins without the harsh aromatic punch.
| Food-Contact Surface | Safe Alternative |
|---|---|
| Cutting boards | Hot soapy water, then a 1:10 bleach rinse |
| Countertops | White vinegar or hydrogen peroxide spray |
| Utensils | Boiling water for 3 minutes |
Don’t let “sanitized” fool you; residue isn’t rinsed off. Stick to cleaning protocols that prioritize food safety, and use food-grade sanitizers like diluted vinegar.
Metho’s great for stripping old varnish or cleaning brushes, not for your lunch. Keep it away from anything you eat off, just like you’d keep paint thinner off a food-safe butcher block.
Use Undiluted Metho on Stubborn Stains
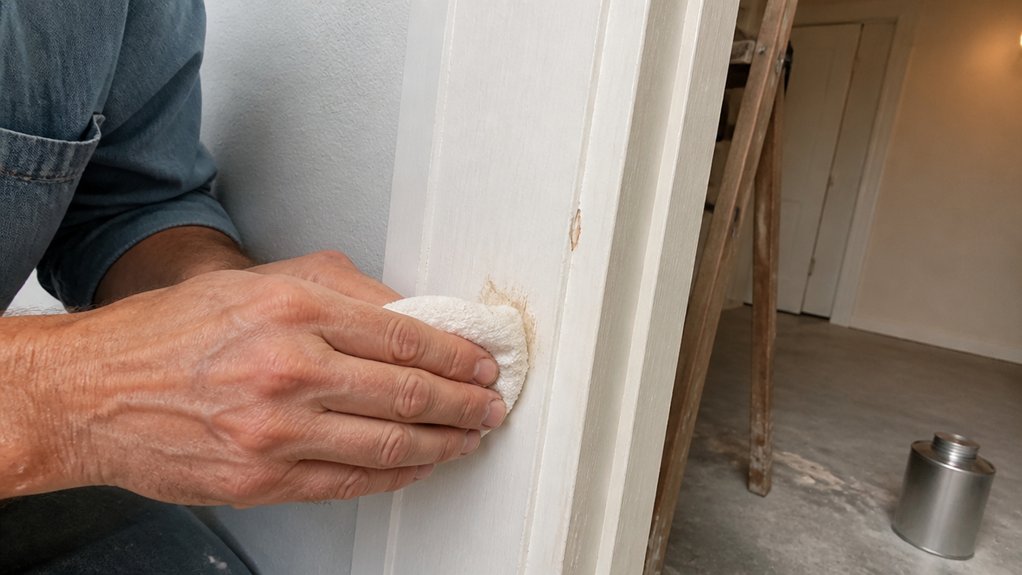
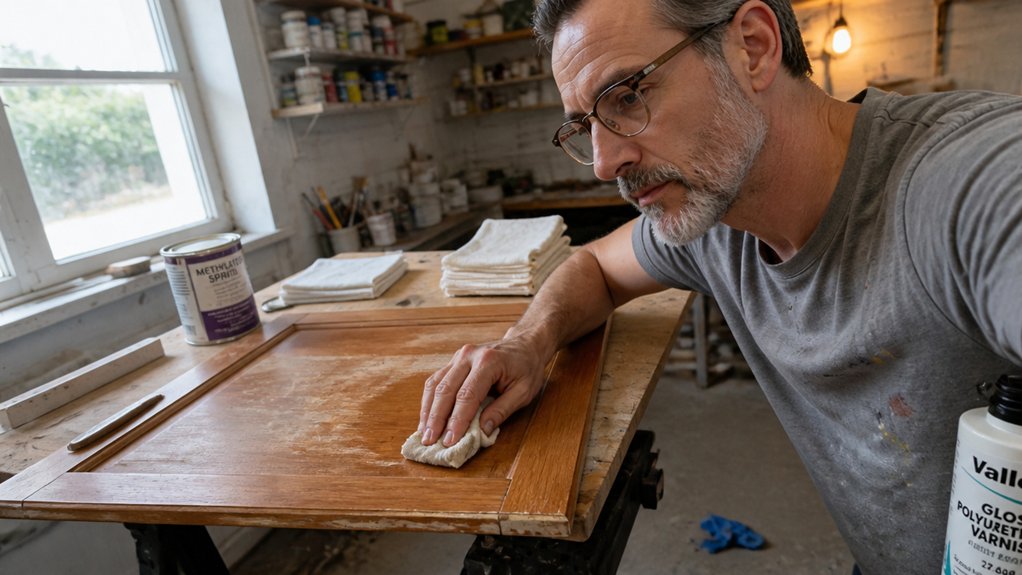
For tough stains like lipstick, ink, or scuff marks on non-porous surfaces, use metho straight from the bottle. Diluting it only weakens the solvent’s power, so skip the water.
Dab it onto the mark with a soft cloth and let it sit for a few seconds before wiping. The metho breaks down the residue quickly, but it can strip paint or varnish if you’re not careful.
Always test a hidden area first, especially on painted or delicate materials. If the finish starts to lift, you’ll know before you wreck the whole surface.
Use a drop cloth and painter’s tape when you’re working near trim or finished wood. That way you protect the topcoat and avoid lap marks or brush strokes from dripping solvent.
Metho evaporates fast, which helps you keep a wet edge when you’re wiping, but it also means you need to work quickly. Don’t let it pool, or it can soften the stain or polyurethane underneath. Industrial acetone is similarly fast-evaporating and leaves a zero-residue finish for pre-paint wipe-downs.
For bare wood or raw primer, skip the metho entirely. Stick to sanding with a fine grit, like 220, to lift the stain without damaging the wood’s surface.
When you’re done, let the area dry fully before applying any new topcoat or varnish. Drying time is short, but cure time still matters for a durable finish, so give it a day before heavy use.
Undiluted Application Method
Pour the methylated spirits straight onto a soft cloth with no mixing. This undiluted method works best for sticky messes like old label adhesive that soap cannot touch.
Let the solvent sit on the stain for about ten seconds, then dab gently instead of scrubbing. Scrubbing only spreads the grime and can damage the surface underneath.
Use a cotton bud to get into tight corners and grooves with accuracy. A wet cloth is your friend here, since a dry one just pushes the stain around.
Wipe in one direction only, moving from clean areas toward the dirty spot. This stops the dissolved gunk from smearing back where you already cleaned.
Work quickly because methylated spirits evaporate fast, even faster than your patience on a Monday. For sticker removal, this direct approach cuts through old glue like a fresh razor blade. Gentle mallet taps on a hammer cap can loosen stubborn paint or gypsum without damaging the blade edge, so consider that tool if scraping is needed.
Avoid soaking porous wood or unfinished surfaces, as the solvent can lift the grain or leave a cloudy mark. On sealed or painted wood, a quick wipe with the wet cloth should be safe, but always test on a hidden spot first.
This method pairs well with a final wipe of denatured alcohol to remove any oily residue before you apply primer or topcoat. If you are working near fresh paint, keep a drop cloth handy and watch your drying time, since the vapor can soften a soft sheen like satin or matte.
Stain-Specific Effectiveness
Methylated spirits is the workhorse you grab when water-based cleaners quit, and it earns its place on any finishing bench. For lipstick smears, permanent marker, or scuff marks on a cured topcoat, go straight from the bottle with no dilution.
Dab a soft cloth, let it sit for a few seconds, then wipe away without aggressive scrubbing. The solvent does the lifting while you keep the surface safe from scratches. Since these tough stains often leave behind oily residues, a 300 GSM microfiber cloth with dense weave traps the lifted grime effectively rather than spreading it.
Speed matters here, because a stain that dries into a porous finish or a raw wood grain becomes a permanent guest. On counters, glass, or a varnished table, tough ink breaks down fast with a little patience and a second pass if needed.
The sharp, boozy smell evaporates quickly, so you are not left with a chemical haze or a lingering odor in the workshop. That fast flash-off means you can spot-clean a spill, then move on to sanding or brushing without waiting around.
For fabrics or upholstery, test on a hidden seam first, because metho can pull dye from some materials. On hard, non-porous surfaces like a primed wall or a sealed floor, it is safe and effective for scuff marks from shoes or furniture.
Keep a bottle within arm’s reach near your drop cloth and painter’s tape, but do not overthink the process. Dab, wait, wipe, and you are back to your brushwork or your next coat of polyurethane.
Surface Safety Precautions
Undiluted metho on a stain works fast, but it comes with real risk. You are trading speed for the chance of damaging the finish underneath. Manage the dwell time carefully, because letting it sit too long will strip paint or cloud varnish. Thirty seconds is plenty for most inks or makeup, so keep a timer close by.
Test an invisible spot first on any surface. I have ruined a countertop so you do not have to make that mistake. Use a soft cloth, never a scrubber, since aggressive rubbing spreads the damage. Stop the moment you see colour lifting, because that is the surface telling you to back off.
Ventilate hard while you work. Metho fumes build up fast, and the exposure limits exist to protect your lungs, not to slow you down. Wear gloves if you can, and keep the room air moving with a fan or open window. Drying time matters too, but cure time is what protects the wood after you finish.
My simple rule is dab, wait, wipe, and check. Patience beats a heavy hand every time. You will keep the stain or varnish intact and avoid a blotchy repair. Work in small sections so you keep a wet edge and avoid lap marks or brush strokes. Zero-VOC formulations minimize harmful fumes, making them a safer alternative for enclosed spaces.
Remove Sticker Residue With Metho Without Damaging the Base
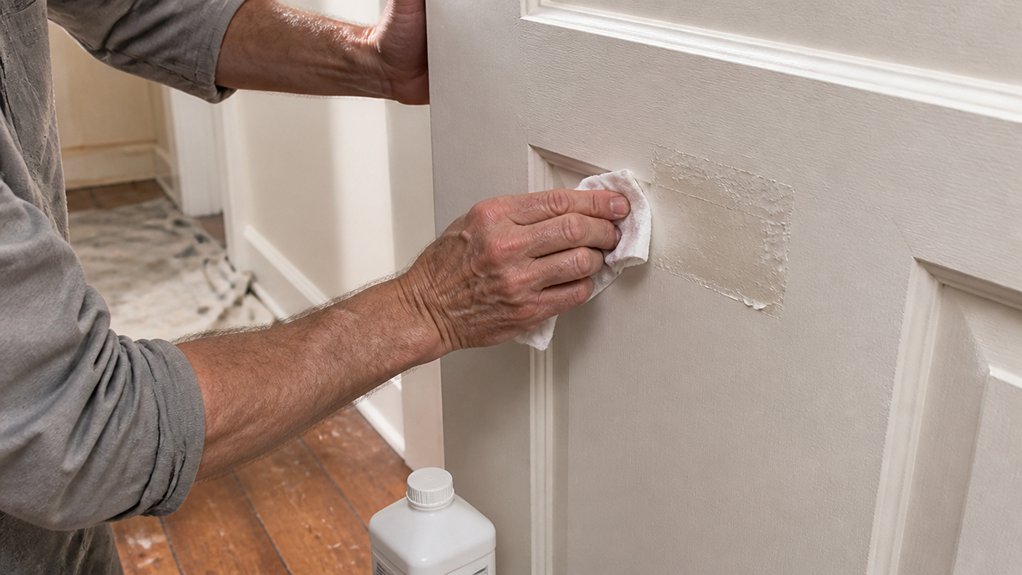
Sticker residue is a pain, but metho dissolves it fast. Grab a cotton bud or soft cloth, dab a little undiluted methylated spirits on it, and gently rub the gunk.
The solvent breaks down the adhesive bond, so you do not need to scrape or claw at it. Let the metho sit for ten seconds, then wipe with a light touch.
That residue lifts clean and simple. For thick, stubborn layers, reapply a few drops instead of pressing harder.
A plastic scraper helps, but keep it angled flat to avoid gouging the base, like you would with a putty knife on fresh paint. Afterward, wipe with a damp cloth to clear leftover solvent.
No harsh scrubbing, no damage to the topcoat or sheen. This works great on glass jars, plastic containers, and metal surfaces.
Metho is your cheapest, gentlest sticker remover, and it leaves the surface ready for a new coat of varnish or polyurethane if you need it. Just make sure the area is dry before you apply any primer or finish.
Test Metho for Paint Cleanup on a Hidden Spot First
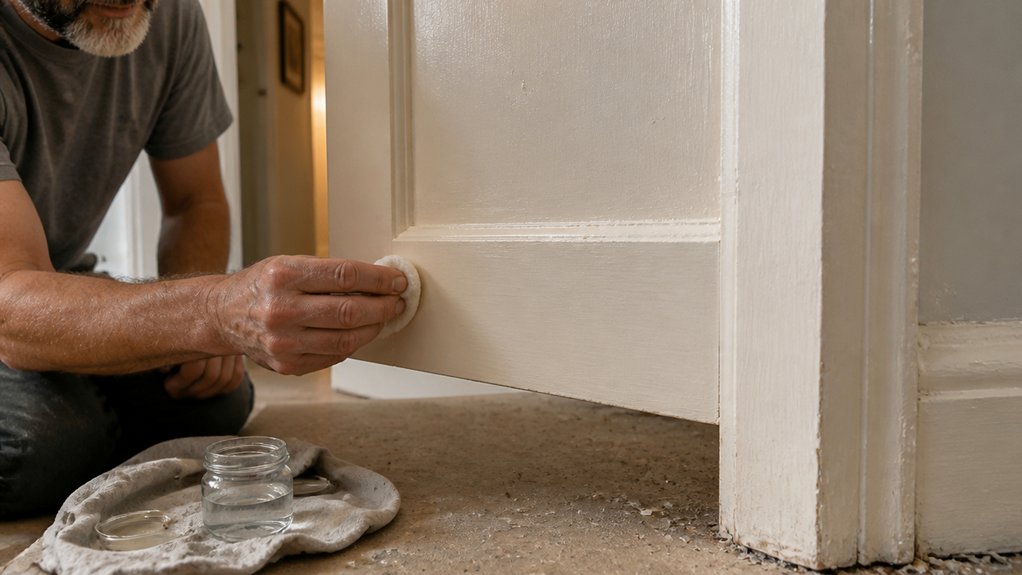
The metho horror stories are real, but they only matter if you skip the first step. Test a hidden spot before you touch the visible surface. Pick an inconspicuous patch, like behind a door or under a shelf, where nobody will look. Dab a little metho on a soft cloth and press it to the paint for a minute.
Test hidden spots first—one minute of metho saves a full repaint. Behind doors, under shelves, where nobody looks.
Watch for clouding, dulling, or colour coming off on the cloth. If the finish feels tacky or moves under your finger, stop right there. That means the metho is softening the paint, and a full wipe will ruin the sheen. If the spot stays clean and firm, your existing topcoat is safe to work with.
Use a small amount of metho, never flood the area. A damp cloth is enough to test the paint without soaking into the primer or bare wood underneath. Wait the full sixty seconds, because some finishes react slowly. This is the same reason you check drying time before recoating, not just cure time.
If the test passes, you can proceed with confidence, knowing your varnish or polyurethane won’t lift. If it fails, walk away and use a gentler cleaner instead. A minute of testing saves you a full repaint, with new primer, topcoat, and all the sanding grit that comes with it. Always keep a drop cloth and painter’s tape handy for the real job, but the hidden test comes first.
Frequently Asked Questions
Can I Use Metho to Clean Eyeglasses or Phone Screens?
No, using metho to clean eyeglasses or phone screens is a bad idea and can cause permanent damage. It will strip the lens coating damage and destroy the phone’s oleophobic layer, leaving surfaces sticky and prone to scratches.
For glasses, stick to a dedicated lens spray and a microfiber cloth, working in small circles for about ten seconds per lens.
For phone screens, a slightly damp microfiber cloth with plain water is all you need, then buff dry immediately.
If you want a disinfecting option, use a 70% isopropyl alcohol wipe designed for electronics, but avoid any solvent like mineral spirits or acetone.
As a finisher, I treat these surfaces like fresh varnish: harsh chemicals are the enemy, so gentle, purpose-built products always win.
What Should I Do if Metho Accidentally Gets on Skin?
If methanol accidentally gets on your skin, immediately rinse the affected area with cool water for at least 15 minutes, then wash with mild soap. This quick action is critical because absorption through the skin can lead to toxicity, and delaying cleanup raises your risk significantly.
Do not panic, but do remove any contaminated clothing or jewelry right away, as methanol soaks through fabric quickly. After rinsing, pat the skin dry and apply a gentle moisturizer to prevent irritation, since the solvent strips natural oils.
For paint or varnish removers containing methanol, keep a spray bottle of water in your work area for instant access. If you experience dizziness, blurred vision, or nausea after exposure, call poison control immediately, even if the skin looks fine.
Speed matters more than anything else, and a full 15 minute flush beats a quick wipe every time. Working with methanol-based products, or methylated spirits, always means knowing your exit route to a sink or hose before you start.
How Long Does Metho Smell Take to Dissipate?
With good ventilation speed, the smell usually fades within a couple hours, though heavy applications can linger up to a full day. Open every window and place a box fan blowing outward to create crossflow, which is the fastest way to clear the volatile compounds.
You’ll shorten the time further by wiping down nonporous surfaces with a damp rag, since meth residue itself holds the odor. Don’t rely on odor masking sprays or candles; they only hide the scent temporarily and can fool your nose.
After two hours of airing, do a sniff test at floor level, where the heavier vapors settle. If any trace remains, leave fans running overnight and recheck before moving furniture back in. For stubborn cases, an ozone generator can neutralize the smell, but run it only in an empty room and ventilate afterward. Finally, wash any fabrics nearby, as they absorb the odor and release it slowly. This practical approach beats guessing.
Can I Store Diluted Metho Solutions for Later Use?
Yes, you can store diluted metho for later use, but only if you manage the container and timeline carefully. The solvent’s longevity is limited, typically a few weeks to a couple of months, because evaporation and moisture absorption weaken the mix over time.
Use an airtight glass jar or a HDPE plastic bottle with a tight cap, never a loose lid or open cup. Fill the container to the brim to reduce air space, which slows evaporation and keeps the dilution ratio more stable.
For a practical tip, date the container and shake it before each use, since separation may occur. If you are thinning shellac or a French polish, expect a faster degradation than with mineral spirits. Check for a gummy residue or sour smell as a sign to discard. Related term: “metho shelf life” helps when researching.
Is Metho Safe for Cleaning Leather or Suede Items?
No, metho is not safe for cleaning leather or suede items, as it will strip the natural oils and leave them brittle. On leather, that leads to cracking and a dull, permanent finish, while suede loses its protective nap and becomes prone to water damage.
Instead, use a dedicated leather cleaner or a suede eraser and brush, which are formulated to lift dirt without dissolving the hide. For a quick spot test, dab a cotton swab with isopropyl alcohol on an inconspicuous seam, then wait 24 hours to check for color transfer or stiffening.
If you must remove a stubborn stain, mix a few drops of mild saddle soap with distilled water, apply with a soft cloth, and blot dry immediately. Never soak the material, and always condition leather afterward with a balm to restore suppleness. For suede, buff gently with a fine brass brush once fully dry to revive the texture.
Rounding Up
Applying methylated spirits means matching the strength to the job, using diluted mix for daily cleaning and the strong stuff for heavy messes.
Ventilate the area, glove up, and spray your chosen mix directly onto the surface you are treating.
Check your label to confirm the dilution ratio before you start, and test the mix on a small hidden patch first.
Write down which strength you used for each task so you can repeat it without guessing next time.
Keep the strong spirits sealed and reserved for sticky, grimy situations that diluted mix cannot shift.
Ask yourself if the surface is safe for spirits, since some finishes may react badly to the solvent.
A related topic to read next is how to remove sticky residue from glass without scratching it.