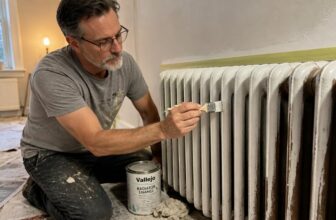
Can You Paint Over Paint Without Sanding?
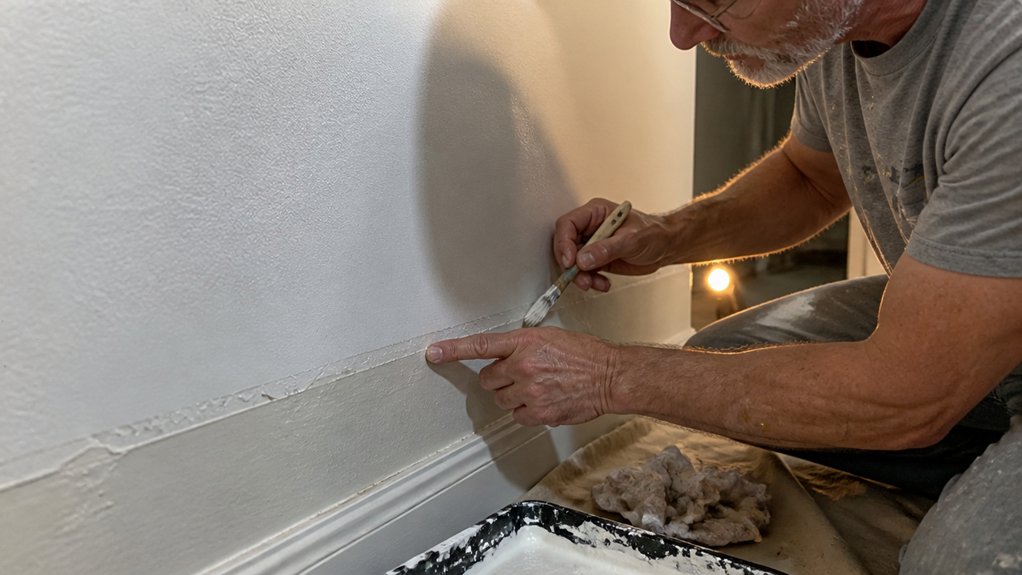
Can you paint over paint without sanding? Yes, but only if the old surface passes the tape test first. Yank off a piece of painter’s tape; if paint chips stick to it, sanding is non-negotiable.
Clean the wall with TSP, patch any holes, and apply a bonding primer like KILZ Adhesion for glossy finishes. Skip the sandpaper, but never skip the prep, or you will waste a weekend on peeling coats.
The trick is knowing when your existing paint is ready for a new layer of primer and paint. This guide walks you through that check, the right products, and the fastest way to a smooth, durable finish.
Quick Answer
- Yes, if old paint passes the tape test and is cleaned with TSP.
- No, sanding is mandatory if paint peels, flakes, or fails adhesion tests.
- Use liquid deglosser or bonding primer on glossy surfaces to skip sanding.
- Oil-based paint under latex requires scuffing or a bonding primer to prevent peeling.
- Clean, degrease, and dry walls fully; skip sandpaper, never skip surface prep.
Can You Paint Over Paint Without Sanding? Yes, If You Pass This Tape Test
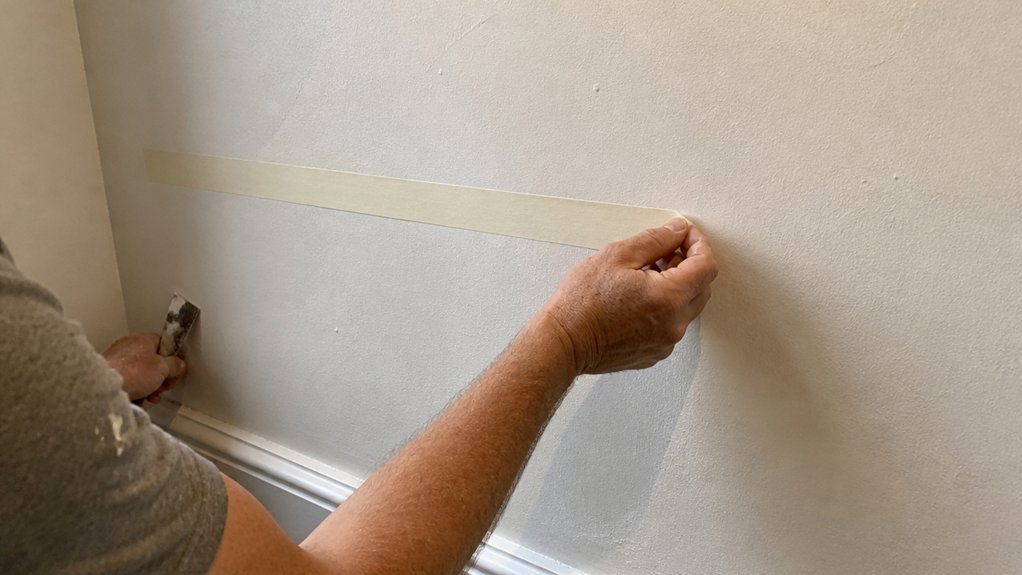
You can paint over old paint without sanding, but only if the existing coating is still firmly bonded. Test it first with a simple tape check.
You can paint over old paint without sanding, but only if the old coating is still firmly bonded. Test it first.
Cut a small X through the paint with a utility knife, press a piece of painter’s tape over it, then yank it off quickly. If no paint comes away with the tape, the surface is sound.
If the tape pulls up flakes or chips, sanding is non-negotiable. You need a stable base, because a fresh topcoat only performs as well as what sits underneath it.
Assuming the paint stays put, clean the wall with a damp cloth and let it dry completely. A dull finish, like flat or eggshell, will accept a new coat without any extra prep.
For a gloss or satin sheen, give it a light scuff with 220-grit sandpaper first. That helps the new paint grab a wet edge and avoids brush strokes or lap marks.
Use a good quality primer only if the old paint is stained or you are changing colors drastically. Bulls Eye 1-2-3 bonds glossy surfaces without scuff sanding, but otherwise a direct topcoat with low VOCs works fine and keeps the job simple.
Work in small sections to keep a wet edge, and roll on two thin coats rather than one thick one. Watch the drying time between coats, but remember full cure takes a few days.
You will save hours of dust and aching arms, and the finish will look clean. Just never skip the tape test, because a failing surface will ruin your new paint no matter how careful you are.
How to Clean and Prep Walls So Paint Adheres Without Sanding
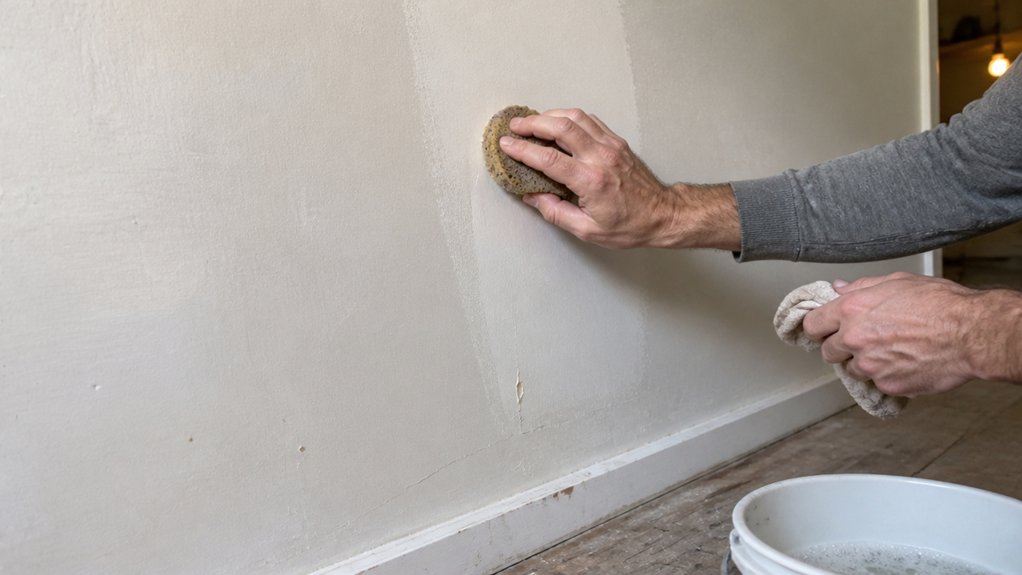
Walls collect grease and grime for months, so paint won’t stick to that layer. Mix warm water with a mild detergent like sugar soap, grab a sponge, and scrub from top to bottom.
Rinse thoroughly with clean water, because leftover soap ruins adhesion. Let the wall dry completely for 24 hours at around 70°F, and skip painting on rainy days since dampness makes the topcoat peel fast.
Fill any cracks with spackle, then wipe off the dust with a tack cloth. No sanding is needed if your tape test passed earlier, so keep the surface clean and dry.
You can also use a degreaser on kitchen or bathroom walls where grease builds up fast. A primer like a low-VOC bonding primer helps seal patch spots and gives the topcoat a uniform sheen. For heavy buildup on those walls, TSP heavy-duty powder mixed with warm water etches the surface to improve paint grip, but rinse thoroughly to avoid residue that harms adhesion.
When you roll, keep a wet edge to avoid lap marks, and use a satin or eggshell sheen for easy cleaning. Brush strokes disappear if you lay off the paint evenly, and remember drying time is just a few hours, but cure time takes a full week.
Lay down a drop cloth and use painter’s tape on trim to keep edges sharp. Clean beats sanding every time, so your fresh coat will cling like a stubborn relative.
Why Oil-Based Paint Fails No-Sand Repainting (and How to Fix It)
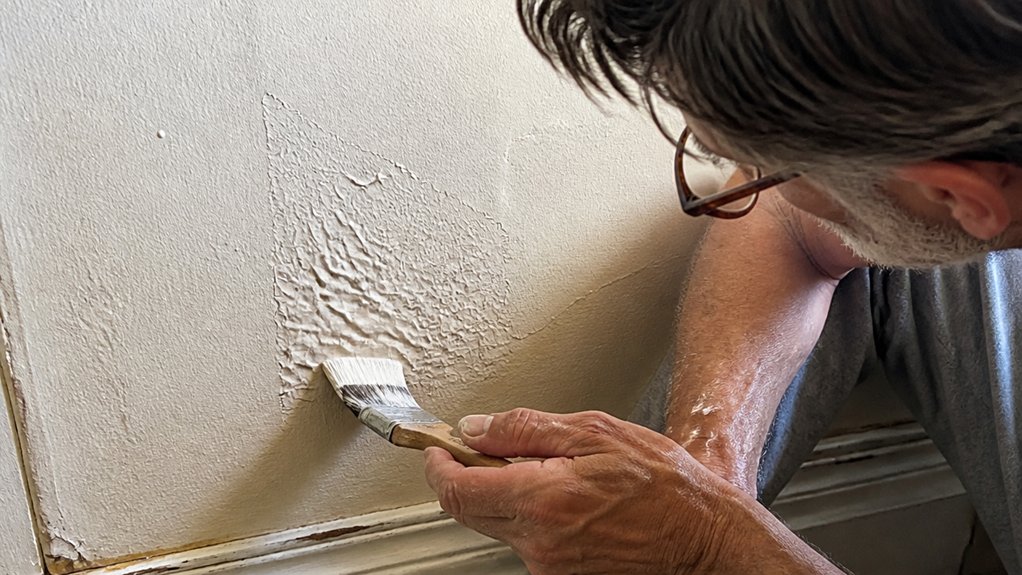
Oil-based paint is the stubborn holdout of the painting world: it looks fine for years, but it refuses to bond with anything new. If you roll water-based latex over it without prep, the fresh coat sits on that slick, oily surface like water on a greasy pan and peels off in sheets within weeks.
The real problem is gloss. That shiny finish repels water, so the new paint has nothing to grip. Sanding does help, but it’s dusty, tiring, and easy to get wrong on curved trim or detailed moldings.
The smarter fix is a liquid deglosser, sometimes called Liquid Sandpaper, which costs about $15 a quart. It etches the old surface microscopically, creating tiny teeth for the new topcoat to latch onto without any sanding dust.
Clean the surface with TSP first to remove grease and dirt, then wipe on the deglosser with a clean rag. Let it flash off until it’s dry to the touch, and you have a 24-hour window to apply your primer or paint.
Work in small sections to keep a wet edge, and use a good primer if you’re covering a dark color or going from oil to latex. The deglosser does the bonding work, but the primer seals the old finish and gives your topcoat a uniform base. For surfaces with light rust or oxidation, the same chemical etch principle applies as with prepped oxidation before applying a hard barrier coat.
Skip sanding if you want, but never skip the chemical etch. It takes about 15 minutes, saves your back, and prevents the kind of peeling that turns a weekend project into a full repaint.
Use Bonding Primers to Paint Over Glossy Finishes Without Sanding
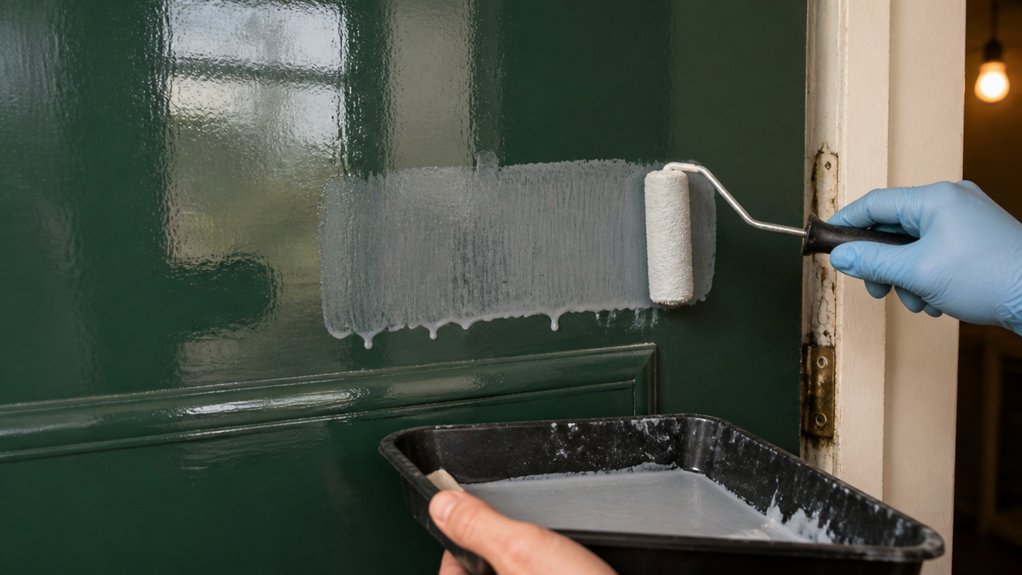
Skip the sanding on glossy surfaces by using a bonding primer. These products, like Zinsser BIN or KILZ Adhesion, use special resins that grip the slick finish at a microscopic level, so your new paint has something to hold onto.
Clean the wall with TSP first to remove grease and dirt. Then roll on a coat of bonding primer and let it dry completely before your topcoat.
The primer acts as a chemical bridge between the gloss and your new paint, and you don’t need to rough up the surface at all. This works on trim, cabinets, and doors where sanding is awkward and messy.
Wait for the primer to dry according to the label, usually a few hours, but check the cure time before heavy use. Use a low-VOC primer if you’re sensitive to fumes, and keep a drop cloth down to catch drips.
For best results, apply the primer with a foam roller to avoid brush strokes, then topcoat with a satin or matte sheen if you want to hide imperfections. Keep a wet edge while painting to prevent lap marks, and work in sections from top to bottom.
One coat of bonding primer is usually enough, but a second coat helps on very shiny or dark surfaces. After the primer dries, sand lightly with 220 grit only if you see drips or rough spots, then wipe with a tack cloth.
Finish with your topcoat and painter’s tape along edges for crisp lines. The bond will hold for years, and you won’t need to strip or sand the old gloss. Peak bond strength requires 24 hours of ambient curing for water-based primers, so plan for full cure time before heavy use.
Bonding Primer Science
Bonding primers let you skip sanding and still get a finish that sticks to glossy surfaces. The key is crosslink density, or how tightly the primer’s molecules knit together on the paint.
That tightness creates a mechanical grip on slick enamel, but the real work comes from the etch mechanism. Chemicals in the primer microscopically roughen the gloss, giving it a toothy surface without the dust or elbow grease. For projects on demanding surfaces like tile or metal, formulas such as Bulletproof LZ Grindless bond without grinding and dry within minutes.
I’ve used these on kitchen cabinets and trim where sanding would take hours. At around $20 a gallon, they cost more than standard primer, but they save time and save your back from the worst part of prep.
Here’s the practical rule: if you’re painting over gloss or satin, don’t sand. Clean the surface with a degreaser, apply the bonding primer with a brush or roller, and keep a wet edge to avoid lap marks. Also confirm your local VOC limits before indoor use to avoid a second hardware store run.
For topcoat, stick with a similar sheen, like a satin or semi-gloss, and remember drying time is not cure time. Wait at least 24 hours before you recoat or handle the cabinets, even if the primer feels dry to the touch.
Use a drop cloth and painter’s tape to protect the surrounding trim, and work in a well-ventilated space because these primers have VOCs. Your hands will be cleaner, your finish will last, and you’ll never go back to sanding gloss again.
Glossy Surface Prep
Skip the sanding on glossy paint by letting a bonding primer carry the load. Glossy enamel fights paint like a duck shakes off water, so a primer like KILZ Adhesion grips it tight.
That primer works like super glue for slick surfaces, and it saves you from elbow grease. I have also used deglossing chemicals that etch away the shine, but they add extra steps and fumes.
Primer is simpler and gives you a clean base for your topcoat. Before you commit, do a quick adhesion test: press a piece of painter’s tape onto the old paint, then yank it off hard.
If the old paint stays put, the primer will hold. KILZ Adhesion costs about $25 a gallon and covers 300 square feet, which handles kitchen trim or oil-based gloss without lap marks.
Use a brush or roller with a wet edge to keep the primer smooth, and let it dry fully before your topcoat. This method beats sanding dust, and it works on satin, semi-gloss, or high-gloss finishes.
Just test first, and you will skip sandpaper without regrets. Traditional shellac bonds deeper than synthetic versions, making it a strong alternative for sealing stain-prone wood before your topcoat.
When You Must Sand: Peeling Paint, Oil-Based Undercoats, and Failed Adhesion
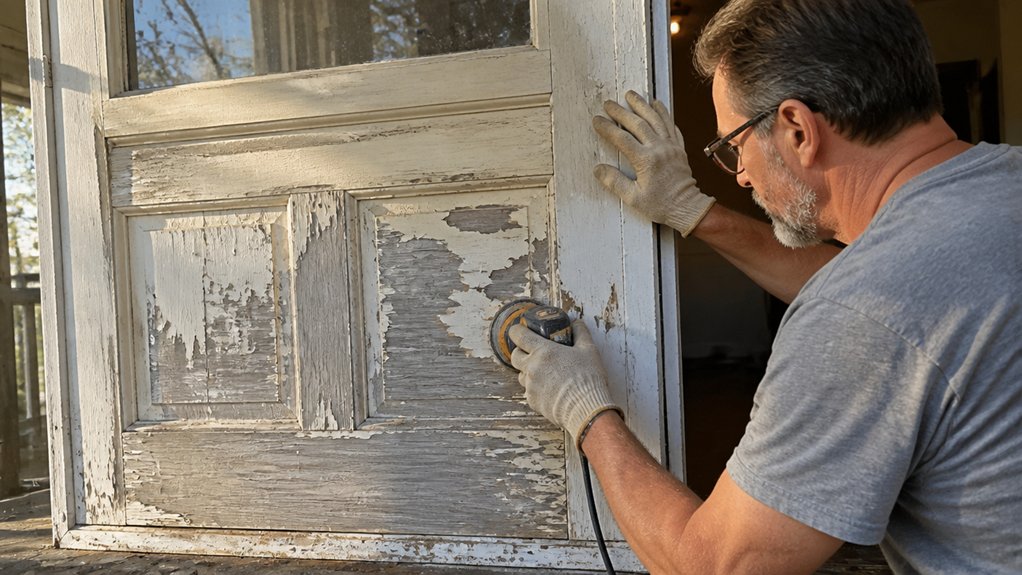
There are times when skipping sanding is a mistake you’ll regret. If the old paint is peeling, flaking, or failing to stick, sanding is the price of admission for a smooth, durable finish.
Oil-based undercoats can also cause trouble if you apply a latex topcoat over them. The new paint will sit on top like a loose skin, then bubble or peel within weeks without proper scuffing. To neutralize severe stains like smoke damage before painting, a permanent stain blocker like Zinsser B-I-N Advanced can be applied after sanding to seal the surface fully.
I’ve learned this the hard way, so trust me when I say a quick tape test saves you a lot of cursing later. Press a strip of painter’s tape onto the old surface, pull it off fast, and check for paint that comes away with it.
If you see bare wood, chalky residue, or glossy spots, grab a sanding block with 120-grit paper and rough up the whole area. Don’t spot-sand; you need an even tooth so the primer and topcoat can grip.
For oil-based undercoats, sanding breaks that slick, hard film so your new water-based primer can bond. Use 150-grit for fine work, then wipe everything down with a damp cloth to remove dust before priming.
A proper deglossing step also helps on trim and doors, where old varnish or polyurethane laughs at fresh paint. If you skip this, you’ll see brush strokes and lap marks appear as the topcoat fails to adhere.
Once you’ve sanded, apply a bonding primer and let it dry fully before your finish coat. Check the drying time versus cure time on the can, because a quick dry doesn’t mean it’s ready for heavy use.
Lay down your topcoat with a steady wet edge, working in one direction to avoid streaks. A satin or matte sheen hides minor imperfections better than gloss, but no sheen will save you if you skipped the sanding.
Use a drop cloth to catch dust, and keep your work area ventilated, especially with high-VOC primers. Sanding isn’t glamorous, but it’s the difference between a job that lasts years and one that flakes off in months.
Peeling Paint Removal
Skipping sanding feels like a shortcut, but peeling paint always wins in the end. If the old coating is flaking, bubbling, or cracking, no primer will fix it. You have to strip or sand down to a stable surface before anything else.
I use a stiff putty knife and a wire brush to scrape away loose chunks. Lay down a drop cloth and mist the area with water to keep dust down, especially if the house predates 1970. Start with a tape adhesion test by pressing painter’s tape onto the paint and pulling it off. If paint comes away with the tape, you need to remove everything unstable.
Scrape off the loose material, then feather the edges with 80-grit sandpaper. Wipe the surface clean with a damp cloth and let it dry fully. Spray a quick-dry primer over the sanded spots to seal the bare wood and give your topcoat something to grip. Choose a satin or gloss finish for walls that see heavy use, since flat sheen shows every flaw.
Keep a wet edge when rolling or brushing so you avoid lap marks, and watch the drying time between coats. The paint needs a full cure before you test adhesion again, which takes about a week. My rule is simple: an unstable base means no shortcuts, just a solid afternoon of prep.
Oil-Based Undercoat Risks
That oil-based undercoat can betray you. It looks solid and smooth, but a fresh latex topcoat will peel off in sheets within a month.
You will see classic adhesion failure signs: curling edges, blistering bubbles, and a film that lifts off with a fingernail. Water-based paint cannot bond to that slick, oil-rich surface without preparation.
Deglossing the surface is not optional; it is the difference between a lasting job and wasted effort. If you skip sanding, you are gambling a weekend on a chemically incompatible base.
Scuff the old coat thoroughly with 120-grit sandpaper to create a tooth for the new paint. Or apply a bonding primer, which is designed to grip slick surfaces and give your topcoat something to hold onto.
I have learned this the hard way, and the peeling is not a mystery. It is a message telling you the prep was skipped.
Sand it, wipe off the dust with a tack cloth, and then prime. Use a high-quality bonding primer, and let it dry completely before you roll on your latex topcoat. Keep in mind that an oil-based marine primer requires strict adherence to its recoat window to avoid the same adhesion problems.
Watch your drying time versus cure time, and keep a wet edge while painting to avoid lap marks. Brush strokes should level out if you do not overwork the paint.
Your future self will thank you when the finish stays put for years. Do the prep once, and paint with confidence.
Failed Adhesion Testing
A paint job that fails the tape test is a coating failure, not a cosmetic quirk. When the crosshatch pattern pulls paint off with the tape, the old coating has lost its grip on the surface.
That means your new topcoat will have nothing solid to hold onto, so it will peel right along with the old layer. Sanding is the only honest fix here, and it is not optional.
Peeling edges, chalky residue, or flakes under your fingernail all point to a dead undercoat that needs mechanical prep. Skip the sanding, and you will waste your time and money on a fresh finish that lifts within weeks.
| Sign of Failure | What It Means |
|---|---|
| Tape pulls big chips | Undercoat is dead, needs full removal |
| Paint lifts in strips | Adhesion is gone, sand down to sound substrate |
Think of it like a cracked foundation: you would not pour new concrete over it, so do not roll primer over loose paint. Grab a sander with 80 grit for rough spots, then move to 120 grit to smooth the edges before you apply any primer.
Once the surface is clean and dull, your primer and topcoat will bite in and cure into a bond that actually lasts. That is the difference between a quick patch and a finish you can trust for years.
For stubborn loose layers, chemical rust converters offer a no-sanding alternative only on stable, rusted metal, but they will not resurrect peeling paint.
Lead Paint and No-Sand Repainting: Pre-1970 Precautions
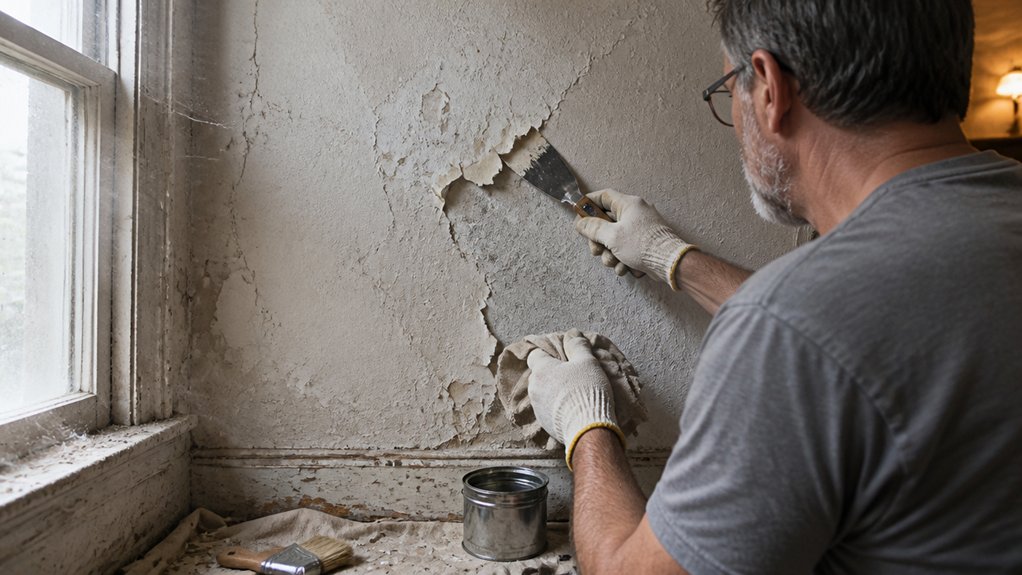
Sanding a 1972 kitchen is tempting, but that old paint almost certainly contains lead, and skipping the prep won’t protect you from the dust. I’ve done this work for decades, and you do not want to gamble with toxic particles, especially in a room where you cook and eat.
Before any no-sand repaint, test the existing finish. A $15 hardware store kit gives you a quick answer, or a professional lab test runs $100 to $300 per sample and is far more reliable.
Before any no-sand repaint, test the existing finish—a $15 kit beats a costly mistake.
If the test comes back positive, forget the shortcut entirely. You’ll need lead-safe work practices, which means wet-wiping every surface, running a HEPA vacuum, and sealing off all vents and doorways with painter’s tape and drop cloths.
Honestly, that setup takes longer than a proper sanding ever would, and it still leaves risk if you miss a spot. My rule is simple: test first, and if lead shows up, hire a certified abatement crew.
You’re not just protecting the topcoat; you’re protecting your lungs and your kids’ lungs. A weekend project isn’t worth a lifetime of health problems, so treat the lead test like the primer coat, it’s the step that makes everything else stick.
The VOC levels in old paint are another reason to avoid dry sanding, since heat and friction release more than just lead. Use a wet rag and a HEPA vacuum to keep the dust down, and always wear a respirator rated for lead, not a basic dust mask.
If the test is negative, you still need to clean the surface with a degreaser and apply a bonding primer before the topcoat. That gives you a smooth base and prevents brush strokes or lap marks from showing through your satin or gloss finish.
Keep your wet edge tight and work in small sections, because a fast-drying topcoat will leave streaks if you pause. Drying time is not the same as cure time, so wait a full week before you hang shelves or scrub the walls.
A cheap test beats a costly mistake, and a pro abatement crew costs far less than a medical bill. Do the job right, and you’ll get a finish that lasts without turning your kitchen into a hazard zone.
5-Step No-Sand Repaint Checklist
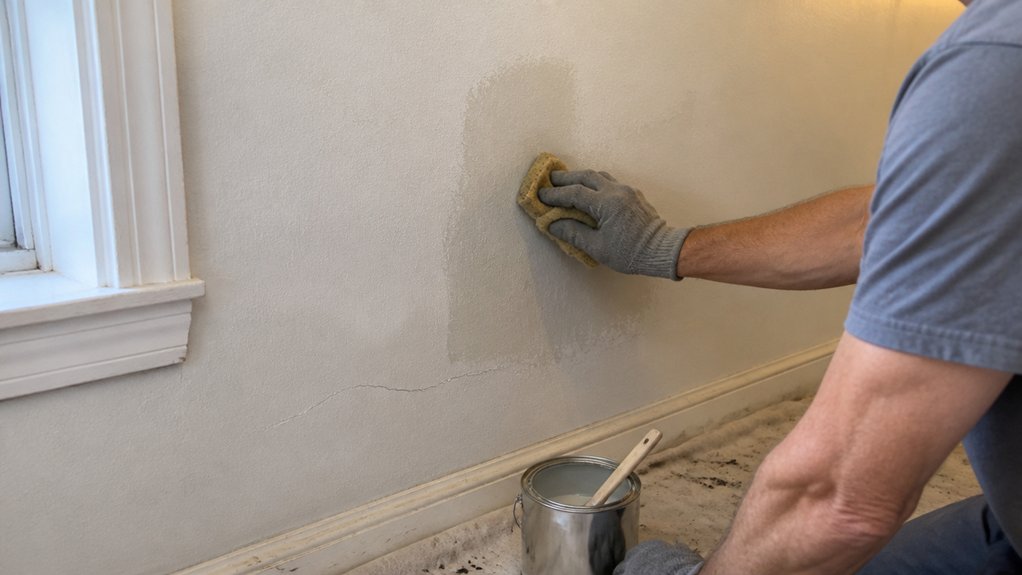
Once the lead test comes back clean and the tape test passes, you can skip the sandpaper completely. My five-step checklist keeps the job straightforward.
First, wash the wall with TSP to remove grease and grime. Grease is the enemy of adhesion, so this step matters most.
Second, fill any holes with spackle and wipe off the dust with a dry cloth. You do not need to sand the spackle smooth; just let it dry and clean it.
Third, pick a bonding primer if the surface is glossy. This primer type sticks to slick finishes where a regular primer would peel.
Fourth, stir the paint well and apply a thin first coat with a roller or brush. You are building layers, so keep the coat light to avoid drips and brush strokes.
After the first coat dries, check the wall for thin spots and touch them up with a small brush. Paint durability depends on this final inspection, so take your time.
Surface testing upfront saves you from a weekend of regret later. Skip the sandpaper, but never skip the prep work.
Frequently Asked Questions
Can I Paint Over Wallpaper Without Sanding It First?
Yes, you can paint over wallpaper without sanding it first, but only if you prepare the surface properly. I’d start by washing the walls with a mild detergent to remove grease, then focus on the seams and edges where loose paper or adhesive tends to lift.
Sand those seams lightly with 120 grit to feather the edges, and scrape away any dried glue bumps with a putty knife. Skip this, and your paint will blister and peel within months, guaranteed.
For the best bond, apply a high quality primer, like a shellac based stain blocker, before your topcoat. That seals the paper and stops moisture from activating the paste underneath.
Honestly, if the wallpaper is glossy or textured, you’re better off removing it entirely first, since painting over it is a temporary fix at best. Use a scoring tool and warm water with fabric softener to strip it cleanly today.
How Long Should I Wait After Cleaning Before Painting?
You should wait until the surface is completely dry, typically 2 to 4 hours after cleaning, before painting. However, humidity and cooler temperatures can easily double that drying window, so never rely on the clock alone.
Run a simple palm test by pressing your flat hand against the wall for five seconds. If you feel any coolness or moisture, wait another hour and test again, because paint will peel over damp substrate.
For best results, also wash with a degreaser if the area is near a kitchen, then rinse thoroughly, since leftover soap film ruins adhesion. A fast-drying primer can shorten your wait, but only if the surface passes the touch test dry.
Always sand glossy surfaces with 220-grit after cleaning to create tooth, then wipe off dust with a tack cloth before applying your first coat. Related to this, check the relative humidity reading; above 50% means you should extend your drying time by at least double.
Can No-Sand Paint Adhesion Work on Textured Surfaces?
Yes, no sand paint adhesion can work on textured surfaces, but only if you prep the texture properly. I always start by cleaning the surface with a degreaser or TSP substitute, because dirt and oils will ruin adhesion faster than any texture issue.
For rough spots or loose flakes, knock them down with 120 grit sandpaper, not finer, just to level the area. A bonding primer is my secret weapon here, it grips slick and rough surfaces alike, so roll on a full coat and let it dry completely, usually two to three hours.
Then apply your no sand paint, and for textured stucco or popcorn, use a thicker nap roller like 3/4 inch to work the paint into the valleys. This approach, with primer and spot sanding, beats a full sand job every time, and it holds up on block walls and knockdown finishes too.
What Sheen Should I Use for No-Sand Repainting?
For no-sand repainting, use a satin or eggshell sheen, not flat or high gloss, to balance durability and flaw hiding. Eggshell offers a foolproof middle ground: it hides minor imperfections better than satin while still providing wipeable, low-luster protection.
If your walls get heavy fingerprints or kitchen grease, satin is your pick, but it demands a clean, lightly scuffed surface to avoid streaking. Skip gloss entirely; it amplifies every roller mark and patch without sanding’s grip to smooth the substrate.
A concrete tip: before painting, wipe down with a degreaser and let it dry completely, about 2 hours. Then apply two coats of a high-adhesion primer-bonded paint, waiting 4 hours between coats. For less-traffic rooms, eggshell’s washability is plenty. For the same reason, look up “sheen comparison” to see how light reflects differently at your room’s angle.
Does Paint Conditioner Help When Skipping Sanding?
Yes, paint conditioner helps when skipping sanding, but it will not fix poor adhesion on a glossy or sealed surface. You still need to clean the area with a degreaser and use a liquid deglosser to create a mechanical bite for the new coat.
Conditioner only improves flow and leveling, so brush marks and lap lines smooth out better, which is a real advantage on vertical sides of doors. For best results on previously painted trim, wipe with a tack cloth after deglossing, then apply a thin first coat and let it dry for at least two hours before recoat.
Related term: paint additive. A practical tip is to use 220 grit sanding sponge on any rough spots, but only if you are not aiming for a full skip-sand approach.
Rounding Up
Yes, you can paint over paint without sanding, and the tape test never lies. If a piece of tape sticks firmly, you’re golden, so just clean the surface and apply a quality primer.
Skip the elbow grease, but never skip the prep. For glossy trim, grab a bonding primer; it’s cheap insurance at around ten bucks a gallon.
Test any questionable spot first with tape. If it pulls off paint, you must sand only that peeling area, nothing more.
Clean your walls with a damp cloth and mild detergent before priming, then brush on your topcoat. Sand only when paint is actively flaking.
A related topic you may want to read next is how to choose the right primer for high humidity rooms.