How to Apply Venetian Plaster Trowels: Step-by-Step Guide
Applying Venetian plaster trowels is where most DIYers hit a wall. You might think a standard drywall knife will work, but it won’t give you that smooth, polished finish.
You need the right stainless tools and a properly primed surface with a rough, sanded grip.
Work in small sections while keeping a wet edge, then burnish before the plaster cures.
This guide covers the exact timing and angle for each step, so you can avoid hollows and streaks.
We will break down the trowel types, surface prep, and finishing techniques next.
Quick Answer
- Prepare and prime the wall, sand smooth, and wipe dust before applying plaster.
- Use dedicated stainless steel trowels for mixing, backing, and burnishing to prevent scratches.
- Apply first coat at a 15–30° angle with firm pressure, then fill hollows after drying.
- Work in 0.5-meter squares with overlapping strokes, maintaining a wet edge to avoid lap marks.
- Burnish with a rigid, high-polish trowel using moderate pressure, then increase force for sheen.
Prep and Prime Walls for Venetian Plaster
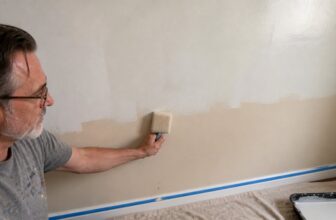
Prepping the wall is the most important step before applying Venetian plaster, since a dirty or uneven surface will ruin the finish. I patch any holes or cracks with spackle, let it dry, and then roll on a coat of primer evenly across the entire wall.
For new Level 5 drywall, I thin the primer with clean water at a 25% dilution, which helps it penetrate evenly. Let the primer dry for 12 to 24 hours; drying time matters here, so do not rush it.
Once the primer is fully dry, I sand the wall lightly with 120-grit sandpaper to create a fine, rough texture. This surface grip works like Velcro for the plaster, giving your trowel something to hold onto. This step also helps prevent dark streaks from forming on vivid white walls during the finishing passes.
Once the primer is fully dry, lightly sand with 120-grit to create a Velcro-like grip for your plaster.
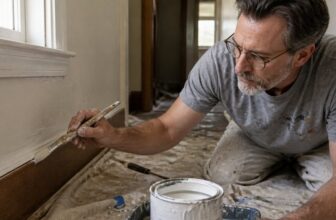
If you skip the sanding step, the plaster can peel off later, especially in humid rooms like bathrooms or kitchens. Use a drop cloth and painter’s tape to protect floors and trim before you start.
After sanding, wipe the wall with a damp cloth to remove dust, then let it dry again. You are now ready to mix your plaster and trowel it on.
Choose the Right Trowel for Mixing, Backing, and Burnishing
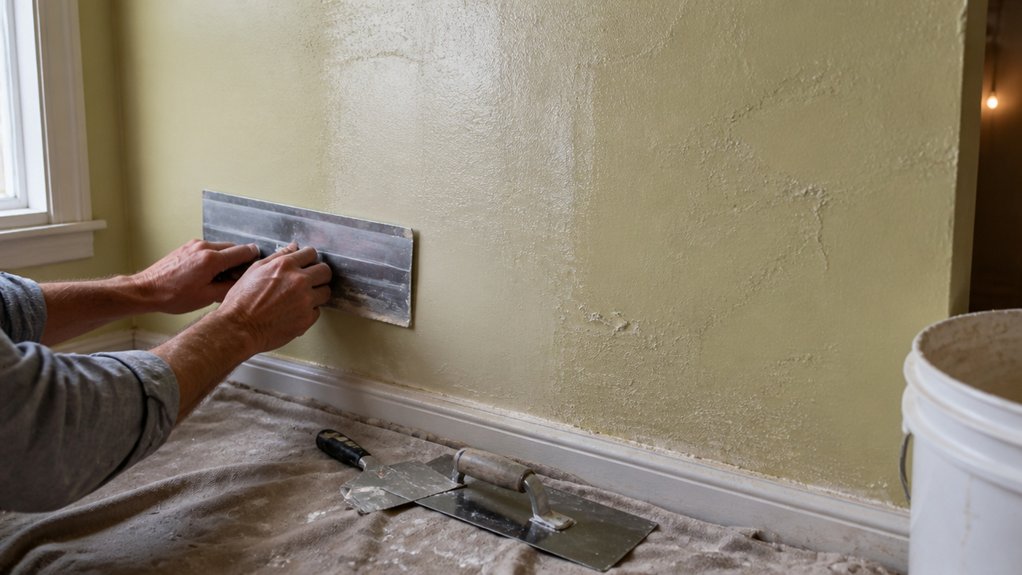
Choosing the right trowel matters more than most DIYers think. For mixing joint compound or skim coat, a drill paddle saves your arm and gets a lump-free mix fast. For backing and burnishing, skip the paint scraper and reach for a stainless steel Venetian trowel like the Pavan 846/I.
The rounded edges and flexible blade give you real control when you’re pressing material into corners or smoothing a final pass. A stiff scraper will gouge your surface and leave brush strokes or lap marks you have to fix later. Keep the blade clean and free of nicks, because a damaged edge will scratch wet finish and force you to sand with a finer grit than you planned.
I learned that lesson the hard way on a satin topcoat, and it turned a quick job into an afternoon of repair. A smooth, nick-free blade also keeps your burnishing consistent, so you get an even sheen without dull spots. Wipe the blade down after each use, and store it where it won’t knock against other tools.
Before you start, check your drying time versus cure time on the product label. If you burnish too early, you’ll drag the film and create rough patches that no amount of polyurethane will hide. Work with a wet edge, keep your passes overlapping, and let the material do the leveling. Low-shrinkage, polymer-modified compounds reduce cracking by up to 70% compared with traditional gypsum, which helps your finish stay smooth.
That trowel is a tool you’ll reach for again and again, just like a good drop cloth or painter’s tape. Keep it simple, keep it clean, and you’ll spend less time sanding and more time finishing.
Trowel Type Selection
Separate your trowels by job, and stick to one rule: one for mixing, one for backing, one for burnishing.
I learned this the hard way after dragging plaster ridges across a fresh wall with a nicked blade from mixing.
For mixing, use a heavy-duty stainless trowel with a thick blade.
Cheap ones flex too much and snap, and Venetian plaster needs a consistent paste with no lumps.
For backing, switch to a flexible, rounded-edge trowel with a softer steel grade.
It glides over the surface without gouging, and my go-to is a Pavan 846/I, around $40, which has held up for years.
Burnishing is where trowel steel grades matter most.
Use a rigid, high-polish stainless blade, because harder steel gives that mirror sheen you want before the final topcoat.
Don’t cheap out here; a $60 trowel beats a $15 regret every time.
Think of it like sanding: you wouldn’t use a rough 60 grit when you need a 220 grit for a smooth finish.
So keep three tools on hand, and treat each one like it has a single purpose.
Mixing with your burnishing blade or backing with your mixing trowel will leave scratches you’ll have to prime over, and nobody wants that.
Bulk frame sets like the Sibosen 15-Piece Set offer galvanized steel construction that resists rust, which is a worthwhile consideration if you’re equipping a crew for multiple plastering jobs.
Blade Maintenance & Care
Every scratch on a wall usually traces back to a trowel I didn’t clean. I learned this the hard way after chasing grooves in fresh plaster for hours.
A trowel isn’t something you wipe and toss aside. Before each session, run a fingertip along the blade edge gently to feel for nicks or burrs.
A tiny ding becomes a permanent groove in your finish, like a lap mark you can’t buff out. Treat the edge like you would a good putty knife: check it, then trust it.
For cleaning, scrape off wet plaster right away with a stiff plastic scraper. Rinse with water, then dry with a lint-free cloth.
Never soak the blade overnight or use a wire brush; both wreck the edge and leave rough spots. Keep a dedicated bucket and rag near your mixing station so the habit sticks.
Think of the blade as a chef’s knife, not a throwaway scraper. Clean it after every use, inspect the edge before you start, and you’ll get smooth burnishing without sanding grit or extra topcoats.
Skip the care, and you’re painting on scratches that show up under any sheen, from matte to gloss. A clean trowel means fewer touch-ups and a better finish every time.
For sanding touch-ups, a flexible sanding sponge works well to knock down any residual ridges before the final polish.
Angle & Pressure Control
Holding a trowel wrong is like gripping a hammer by the head. You’ll finish the job, but you’ll fight it the entire way.
For the first coat, keep the angle shallow, around 15 to 30 degrees, with light but firm pressure. That sweet spot lays down a thin, even base without gouging the surface.
Most people slip by cranking up the angle too early. On the second coat, steepen to 60 degrees so the edge catches and fills hollows.
You’re not muscling plaster; you’re coaxing it into place. Think of trowel force like a handshake: confident, not crushing.
For burnishing, go steep with moderate pressure, then add force in later passes. Too much too fast causes friction burns, gray clouds, and tears.
Not enough pressure gives you a satin finish with no polish, so you lose that final gloss.
Start shallow, build the angle, and save the force for the final buff. My rule is simple: if your forearm aches, you’re gripping the hammer by the head again.
Keep a drop cloth down and painter’s tape on trim before you start, so the base and topcoat stay clean. Wet edge matters, too, so work in one pass and avoid lap marks between sections. For sensitive or easily irritated skin, check the label for sulfate-free and fragrance-free formulas, as they help protect the moisture barrier.
Apply the First Venetian Plaster Coat Without Hollows
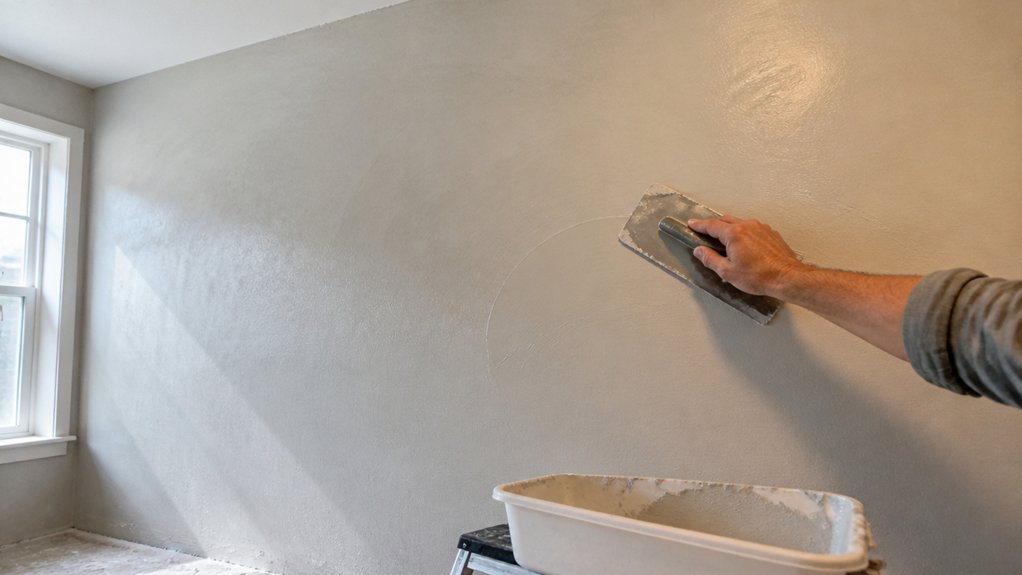
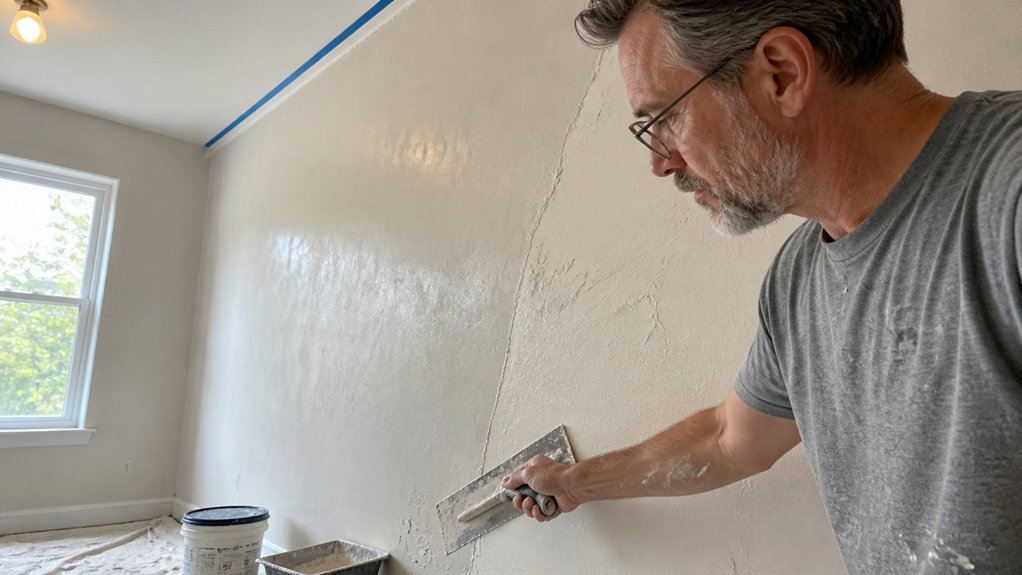
Hold the trowel at a 15 to 30 degree angle, just enough tilt to lay the plaster down thin and even. Work from wet to dry with overlapping strokes, and keep your patch to about half a meter square.
This small area keeps the wet edge alive, which is your real protection against hollows. Hollows are shallow dips where the plaster pulls away from the wall, and they show up later as dull spots under your topcoat.
Move the trowel in long, steady passes, pressing evenly so you don’t scoop out material at the end of each stroke. If you feel the plaster grabbing or drying under the blade, stop and mist the surface lightly before continuing.
A wetter edge means the plaster flows together without a seam, so overlap each pass by a third of the trowel’s width. Stay inside that half-meter square until it’s fully covered, then shift to the next square, always working back into the wet edge.
Keep your primer and finish coats in mind, because a smooth base coat is what lets a satin or matte sheen look even later. If you rush this first coat, you’ll be sanding out those dips with 220 grit and patching instead of finishing.
Use a stainless steel trowel, not a flexible drywall knife, because the stiff blade gives you the control to press out thin, even material. Clean the trowel edge every few passes with a damp rag, so dried bits don’t leave streaks in the wet plaster.
For a DIYer, the key is patience, not speed. Plan to cover a wall in multiple sessions, letting each coat dry fully before you sand or add the next layer.
Remember that drying time for plaster is not the same as cure time, so wait at least 24 hours before sanding or sealing. Lay a drop cloth under your work area, and keep painter’s tape on any trim so you don’t scrape plaster onto wood or painted edges.
If a hollow does appear after the first coat dries, don’t panic, just fill it with a thin skim coat and sand smooth once dry. That fix is faster than trying to trowel over a wet area that already pulled away.
The goal is a flat, unbroken surface that takes your stain or paint evenly, without lap marks or brush strokes showing through. When you finish, run a straightedge across the wall to check for dips, and touch up any low spots before the next coat.
Set Trowel Angle
The angle of your trowel controls everything on that first coat, and getting it wrong creates hollows that show up later. Keep the blade at a shallow 15 to 20 degrees, pressing with light but firm pressure, like spreading peanut butter rather than scraping ice.
That low angle lets the blade skim over high spots and lay a thin, even skin without gouging dips. You will feel the blade glide when it is right, similar to how a putty knife moves over a primed surface with a smooth, wet edge.
| Angle | Result |
|---|---|
| 10–15° | Too flat, skips plaster, leaves thin spots |
| 15–20° | Sweet spot, smooth coverage |
| 20–30° | Edges dig, creates ridges |
| 30°+ | Hollows and gouges, guaranteed |
Too much pressure scoops out material, and too little lets plaster pile up like a heavy topcoat that never dries flat. Keep the angle steady, and you will fill the wall without voids, just as you would avoid lap marks when rolling paint.
For a DIYer, think of it as the difference between a primer coat that seals and a satin finish that shows every brush stroke. The low angle is your friend, and it works best when your hand stays relaxed and your wrist does not bend.
Check your work with a straight edge after it sets, and sand any ridges with 120 grit before the next coat. That habit saves you from chasing hollows with filler later, and it beats any amount of touch-up pain.
For extended sessions, a comfortable grip on a rubberized or textured foam block helps prevent slipping and reduces wrist strain, keeping your trowel hand steady and consistent throughout the coat.
Work Wet To Dry
The first coat of plaster is where hollow spots are born, and they are much easier to prevent than to fix later. I have chased those air pockets with a trowel and regretted every second of it, so learn from my mistakes.
Work wet to dry, meaning you keep the plaster alive as you go by never letting your previous section dry out completely. Use overlapping strokes that feather into that damp zone, not over it, and stay within a half-meter square patch at a time.
Anything bigger gets you into trouble because the edges dry before you return. Press lightly with your trowel at a 15 to 30 degree angle, and wipe off any excess plaster as you glide across the surface.
Check for shiny spots as you work, because those are still wet and safe to blend. Dull patches mean the plaster has started to set, and you have lost the race to avoid a hollow.
Think of it like painting with mud, where rhythm beats muscle every time. Stick to this wet edge discipline, and you will avoid the hollows that haunt your burnish later. This discipline mirrors the ideal application conditions for any water-based coating, where staying within a narrow temperature range prevents tacky results.
The same rule applies when you move to primer and topcoat, where a wet edge prevents lap marks and brush strokes. Keep your drying time in mind, not cure time, and you will get a smooth sheen whether you choose satin, gloss, or matte.
Use a drop cloth and painter’s tape to protect your work, and sand between coats with a fine grit to keep the surface honest. This whole game is about keeping the material workable, so stay steady and let your strokes flow.
Manage Working Area
Good rhythm keeps plaster hollow-free, and it starts with how you divide the wall. I set my working area before I even load the trowel, sticking to roughly 0.5 by 0.5 meters per section.
That size is my sweet spot for holding a wet edge, so the plaster stays workable long enough to compress properly. I work left to right because I’m right-handed, and I overlap each stroke by about half the trowel’s width.
This tight overlap stops thin spots that dry fast and trap air, which turn into hollows later. Don’t try to cover the whole wall at once; you’ll get proud lumps and weak patches.
Treat each square like its own tiny job, feathering the perimeter as you go. Before you start, lay down a drop cloth and mask off any trim with painter’s tape, just like you would before a primer coat. To keep the plaster from skinning over between sections, mist the wall lightly with water, a technique that also protects seal integrity against temperature swings in the surrounding environment.
Small sections and deliberate overlap do the heavy lifting, so you avoid hollows without extra sanding or patching. For the finish, think of this as the basecoat: a smooth, compact surface means your topcoat goes on even, with no sheen changes or lap marks.
Second Coat Timing and Stroke Styles
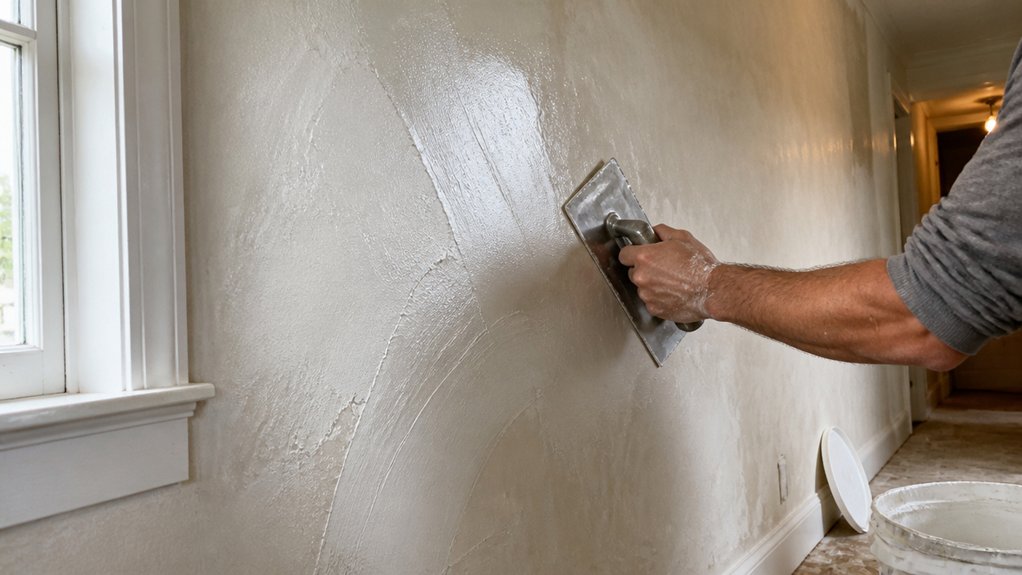
Timing the second coat is the difference between a smooth finish and a ruined wall. Aim for about 6 hours after the first coat has dried, but before it fully cures.
If you apply it too early, your trowel will drag the base coat and create streaks. If you wait too long, the second layer won’t bond properly, and you’ll see peeling later.
Your stroke style controls the final texture, so pay close attention here. Set your trowel angle to roughly 60 degrees, which is steeper than most people expect.
Use longer, overlapping strokes for a smooth, subtle surface with minimal movement. Short, tight strokes create a choppier, more active texture that hides imperfections better.
Press firmly with the trowel’s edge to fill any hollows left from the first pass. Keep your blade clean at all times, because a dirty edge will drag grit across your wet finish.
Press firmly to fill hollows, but keep your blade clean—dirty edges drag grit across the wet finish.
I’ve ruined plenty of walls by rushing this step, and the fix always costs more time than waiting. Patience pays off, especially when you’re working with a primer that needs a full dry time before topcoat.
Always check the label for drying time versus cure time, since a low-VOC paint can feel dry but still need hours before it’s safe for a second pass. Use a drop cloth to catch drips, and keep painter’s tape in place until your final coat cures.
For wood work, the same logic applies to stain and varnish. Let the first coat of polyurethane dry until it’s tack-free, then sand lightly with 220 grit before the next layer.
A smooth, even finish comes from consistent wet edge work, so avoid stopping mid-wall. Keep your strokes parallel and overlap them by half a trowel width every time.
If you’re aiming for a satin or matte sheen, the second coat is where the gloss levels out. Rushing it will leave lap marks that show up once the light hits the surface.
To prevent paint skinning during long waits between coats, airtight seals keep water-based or latex finishes viable and ready for your next pass.
The Venetian Plaster Burnishing Sweet Spot

Finding the burnishing sweet spot takes practice, but it comes down to timing and pressure. I wait until the plaster feels firm but slightly cool, like a damp sponge. Too wet and I’m just smearing mud, too dry and the trowel slides without any polish.
Start with light pressure, about five pounds of force, and make a slow, overlapping pass. Then build up with a firmer sweep on the next go. You’ll feel the surface tighten under the blade, which is your cue to stop. A satin sheen tells you the finish is right.
My rule is two light passes, then one firm pass. Going beyond that risks gray friction burn, so stop as soon as it looks good. This works best with a clean stainless trowel and a steady hand. For a beginner, practice on a small test board before you tackle the wall.
Use a soft cloth to check the sheen between passes, and keep your plaster coat even to avoid high spots. If you see dull patches, wait a few minutes and try one more light pass. The goal is a smooth, polished topcoat that doesn’t need added gloss or varnish.
Waxing, Sealing, and Fixing Common Mistakes
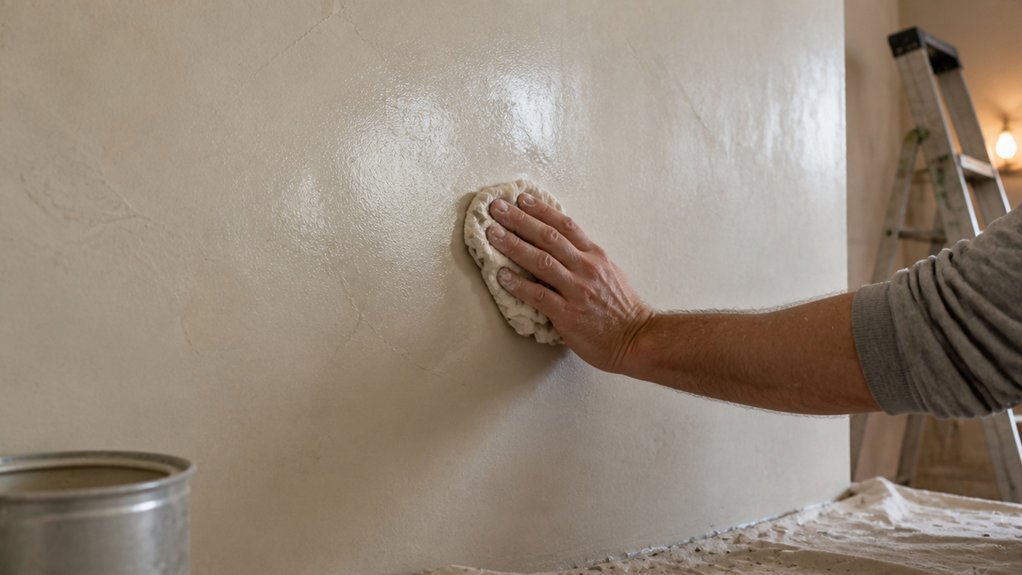
Waxing burnished plaster is a required step near any sink or splash zone, because it protects the surface from water damage.
Without it, you risk permanent stains that turn a showpiece into a regret, and I learned this from experience.
Wait 48 hours after burnishing, then apply 2 to 3 thin layers of wax using a natural sponge in circular motions.
Use a natural sponge, not a synthetic one, because it spreads the wax evenly and prevents streaks.
Thin layers always beat thick ones, since thick wax dries blotchy and looks patchy.
Buff between coats with a dry cloth to boost the sheen, and test a small patch first to check how your plaster reacts.
Patience is the key to avoiding mistakes, because smearing means you waxed too early.
If you do mess up, sand lightly with fine grit, re-burnish the area, then rewax to fix the damage.
The wax acts like a topcoat, but it isn’t a varnish or polyurethane, so reapply it every few months in high-moisture spots.
Keep a drop cloth handy to catch drips, and use painter’s tape to protect edges while you work.
Always check the drying time versus cure time on your wax label, because a quick dry doesn’t mean it’s ready for water.
For the best finish, work in small sections to maintain a wet edge and avoid lap marks in the wax layer.
If you’re using a colored wax, test it on a hidden spot first, since some plasters absorb pigment unevenly.
A low-VOC wax is a good choice for indoor spaces, and it keeps the air cleaner while you work.
Finally, don’t rush the buffing step, because that’s what gives you a satin or matte look depending on pressure.
With this routine, your burnished plaster stays dry, smooth, and easy to clean for years.
Know Your Materials and Safety Rules Before You Start
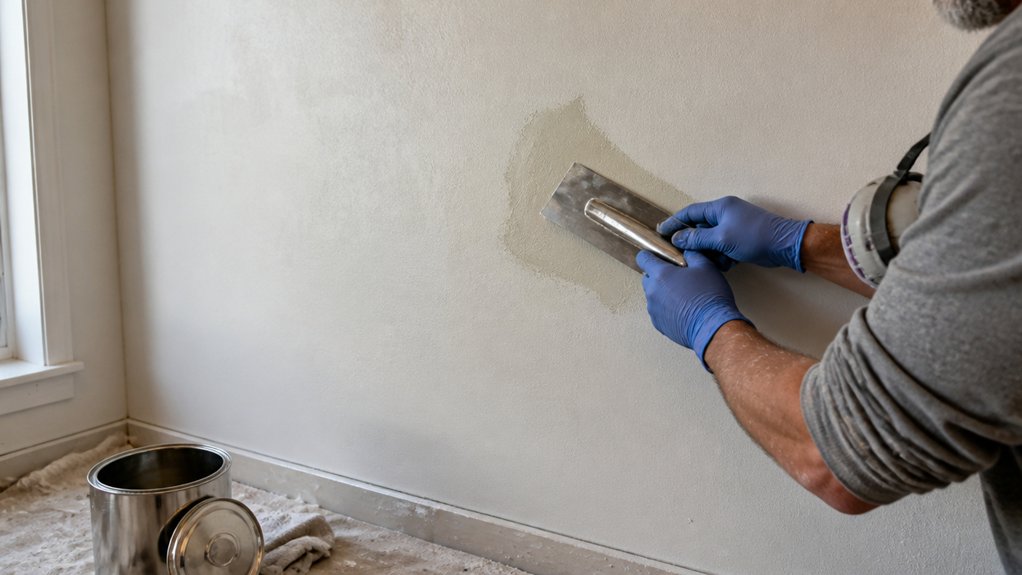
Before you pick up a trowel, know what you’re dealing with. Venetian plaster is a caustic, lime-based material, not fancy paint, and it will burn your skin if you’re careless.
> Venetian plaster is caustic lime, not fancy paint—it will burn your skin if you’re careless.
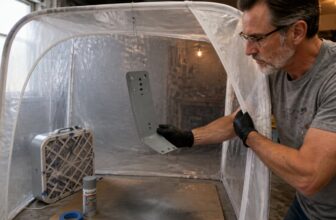
The high alkaline content is the real hazard, so treat every splash like a potential chemical burn. Wear nitrile gloves, long sleeves, and eye protection from the start, and don’t skip any of it.
Open a window or run a fan before you mix anything, because the dust and fumes are just as unpleasant as the wet plaster. Ventilation isn’t optional here; it’s part of the job.
Check the material’s shelf life on the bucket before you start mixing, since expired plaster won’t cure properly and will leave you with a soft, chalky mess. If the date looks old, toss it and buy fresh.
For damp areas like bathrooms or kitchens, plan to apply a sealer after the plaster dries, because lime plaster alone won’t resist moisture. You’ll need a compatible topcoat, and a matte or satin sealer works well without changing the finish.
Test your colorant in a small batch before committing to the full mix, since some tints react badly with lime and can shift color or clump. Stir thoroughly and let it sit for a few minutes, then check for streaks.
Use painter’s tape to protect trim and edges, and lay down a drop cloth to catch drips that will stain concrete or wood floors. The plaster is unforgiving once it hits a surface you didn’t cover.
Remember that drying time and cure time are different, so wait the full cure period before sanding or burnishing, usually several days. Sand with a fine grit, like 220, between coats if you want a smooth, even surface.
Keep a wet edge while you work, applying each coat in one continuous pass to avoid lap marks and brush strokes. Work in small sections, and don’t let the plaster dry before you feather the next patch.
This isn’t a race, so take your time and check your tools often, since a dirty trowel will drag grit into the finish. Clean your trowel with water between batches, and keep your mixing bucket free of dried chunks.
If you’re using a primer first, make sure it’s compatible with lime plaster, otherwise the topcoat won’t bond. A low-VOC primer is safer for indoor air, and it gives the plaster a consistent base to grip.
Varnish and polyurethane aren’t for this material, so stick to lime-safe sealers or waxes made for plaster. The wrong finish will trap moisture and crack, ruining all your hard work.
At the end of the day, respect the material and it will behave, but skip the safety gear and you’ll pay for it with red, itchy skin or worse. Gear up, ventilate, test your tint, and you’ll get a beautiful, durable wall that’s worth the effort.
Frequently Asked Questions
Can I Apply Venetian Plaster Over Existing Paint?
Yes, you can apply Venetian plaster over existing paint, but only if the surface is properly prepared to ensure long-term adhesion.
Start by cleaning the wall with a mild degreaser, then sand it with 120 grit paper to knock down any gloss and create tooth. Priming with a quality acrylic primer is non-negotiable, as it seals the paint and prevents moisture from lifting the plaster later.
Without this step, you risk peeling, cracks, or a blotchy finish that wastes your material and time. Use a primer tinted close to your plaster color, so thin patches don’t show through.
For best results, apply two thin coats of plaster with a stainless steel trowel, allowing each to dry for 24 hours before burnishing. Search for “Venetian plaster over sealed surfaces” if you need more prep details.
How Do I Fix Hollow Spots After the First Coat?
To fix hollow spots after the first coat, apply a second coat with the trowel’s edge, but only after checking that the first layer has bonded properly. Those depressions appear as the plaster shrinks during drying, which is completely normal, so there is no need to panic.
Do a quick adhesion test by pressing a putty knife against the surface and pulling it away. If no material flakes off, the base is secure enough for the next pass.
For the second coat, use a medium-grade trowel and work in thin, sweeping strokes to fill each hollow completely. Keep the blade at a shallow angle, around 30 degrees, to avoid dragging out the wet compound.
After it sets for about 45 minutes, scrape down any ridges with a 100 grit sanding sponge. This will level the patch and prep it for the finish skim.
What Happens if I Skip the Primer Entirely?
Skipping the primer entirely means you forfeit proper adhesion, so you will likely face plaster peeling and bubbling within months.
I have seen this happen on fresh walls, and the fix costs far more than a simple coat of primer ever would.
For a concrete example, use a high-quality drywall primer on bare plaster and wait at least 24 hours before your topcoat.
This gives the sealer time to bond fully, and it also evens out suction so your paint dries uniformly without patchy sheen.
If you are working with patched areas, always spot-prime with a bonding primer first, then apply a full coat.
Skipping this step invites blistering and chipping, especially in humid rooms like bathrooms or kitchens.
A quick sanding with 120 grit before priming also helps, but never skip that sealer layer.
Your reputation depends on that first barrier, so prime every time and sleep soundly.
Can I Burnish With a Regular Putty Knife?
No, you should not burnish with a regular putty knife, as its flexible blade and nicked edge will leave scratches instead of a smooth finish. For a proper burnishing tool, grab a clean stainless steel trowel, which offers the rigid, flat surface needed to compress the surface evenly.
A trowel’s hardness and lack of flex are what create that polished, dense result you’re after. Before you start, wipe the trowel with a damp cloth and check for any burrs, since even a tiny imperfection will telegraph into the finish.
Work in small, overlapping arcs with firm, even pressure, and keep the tool at a low angle, around 15 degrees. If you’re burnishing joint compound, wait until it’s dry to the touch but still slightly cool, roughly 30 to 45 minutes after the final coat, to avoid smearing. This technique also works for polishing plaster or skim coats, so you can skip sanding dust entirely.
How Long Should I Wait Before Waxing in Humid Weather?
In humid weather, you should wait at least 48 hours before waxing, and often longer, until the plaster or paint film feels completely dry to the touch. Humidity slows solvent evaporation, so the surface can seem set while moisture is still trapped beneath, which will cause wax to smear or peel.
Check the coating by pressing a clean fingertip into an inconspicuous area. If it feels tacky or leaves a slight mark, give it another full day. Heat and airflow are your allies: run a fan or dehumidifier nearby to speed the cure, but never use a heat gun, as that can blister the film.
For a practical test, place a small piece of plastic wrap on the surface and tape it down for six hours. If any condensation appears underneath, wait another 24 hours. This moisture check is more reliable than a clock, especially when you are working with water-based finishes, which are the most sensitive to humidity. Patience here prevents a dull, uneven wax coat that will need stripping.
Rounding Up
Applying Venetian plaster trowels takes practice, but the routine is straightforward once you break it down. Start by testing your trowel angle on a scrap board, then check your blade quality before the first coat.
A worn or cheap blade ruins the finish, so spend the $25 on a good one. Compare your burnish pressure on each pass, and write down what works when the surface turns smooth.
Patience beats talent, so commit to steady, even coats instead of rushing. Test the seal step before finishing, and confirm the final result looks nothing like drywall.
If you master this, read next about color mixing techniques for Venetian plaster.