How to Apply Water-Based Drywall Primers: Step-by-Step Guide
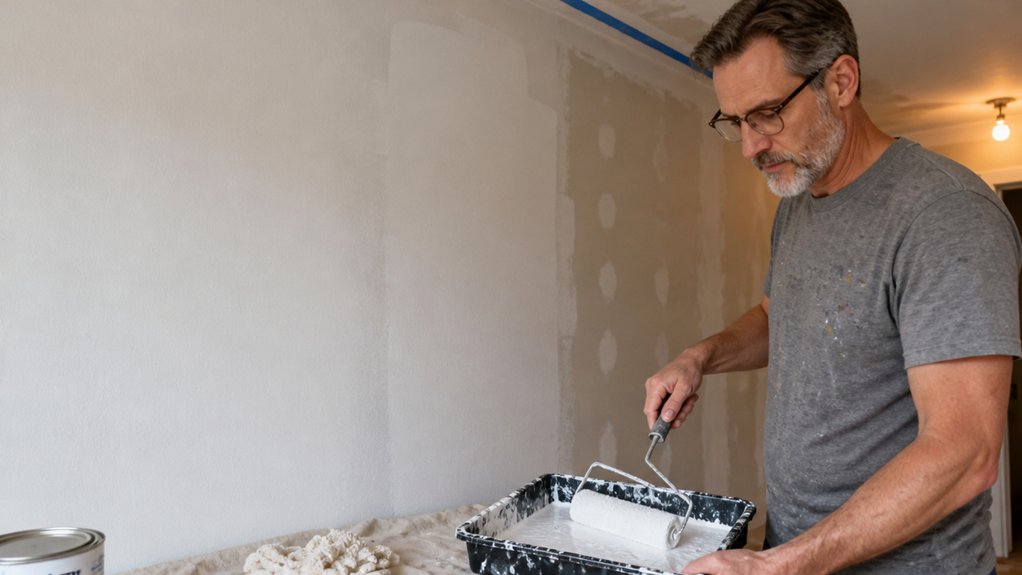
Applying water-based drywall primers is the step that decides whether your topcoat looks flawless or frustrating. Skip the prep and you will see every ridge, dust speck, and patch seam staring back at you.
Scrape off joint compound bumps, sand until smooth, and wipe the surface clean before you open the can. Use a dedicated drywall primer, not an all-purpose paint, and stir it well to keep the pigment uniform.
Cut in the edges with a brush, roll on an even coat, and maintain a wet edge to avoid ugly lap marks. Dry time matters more than you think, so wait until a knuckle test shows zero tackiness before you even consider a second coat.
Stick with me, and I will cover the exact drying and cure times, the best roller naps, and how to fix common primer mistakes. That way, you can move on to your finish paint with total confidence.
Quick Answer
- Prepare drywall by filling defects with joint compound, sanding smooth, and removing all dust before priming.
- Use a true drywall primer (PVA) with flat sheen; check shelf life and tint no darker than 50% of topcoat.
- Load tools correctly: dip brush one-third, roll from tray deep end, and strain sprayer primer through a mesh filter.
- Apply primer with a 2-inch brush for cut-in, then roll in a W pattern, overlapping passes and maintaining a wet edge.
- Wait for full cure, not just surface dryness; test with sandpaper—powdering means safe to topcoat.
How Joint Compound, Dust, and Defects Affect Primer Adhesion
Primer adhesion depends entirely on how clean and smooth your drywall is. I have painted plenty of walls, and skipping the prep always shows up later as blotchy spots that ruin the finish.
Joint compound shrinks as it dries, leaving tiny craters and ridges that are invisible until you shine a work light across the surface. Do that first, because those small defects will telegraph right through your primer and topcoat.
Sanding dust is the sneaky saboteur that sticks to the wall like powdered sugar on a donut. It looks harmless, but it blocks primer from bonding, so brush or vacuum it off before you even think about a damp cloth.
Sanding dust blocks primer from bonding, so brush or vacuum it off before you even think about a damp cloth.
Fill any pinholes or divots with fresh joint compound, then let it cure fully according to the label’s drying time versus cure time. Sand smooth with 120 or 150 grit, and wipe the dust again with a tack cloth.
Check your work with a raking light one more time, because any missed defect will show up as a dull patch after you roll on your primer coat. Use a good bonding primer, and you will get a grip that holds the topcoat without peeling or flaking.
Skip this prep, and you are painting over lies, which gives you a finish that flakes off in patches. The extra twenty minutes of sanding and cleaning saves you a full repaint later, and that is the practical difference between a wall that looks great and one that haunts you.
Choosing a high-solids formula reduces the chance of flashing or blotching by evening out joint compound texture and sealing porous drywall effectively.
What Makes a Good Drywall Primer: and What to Skip
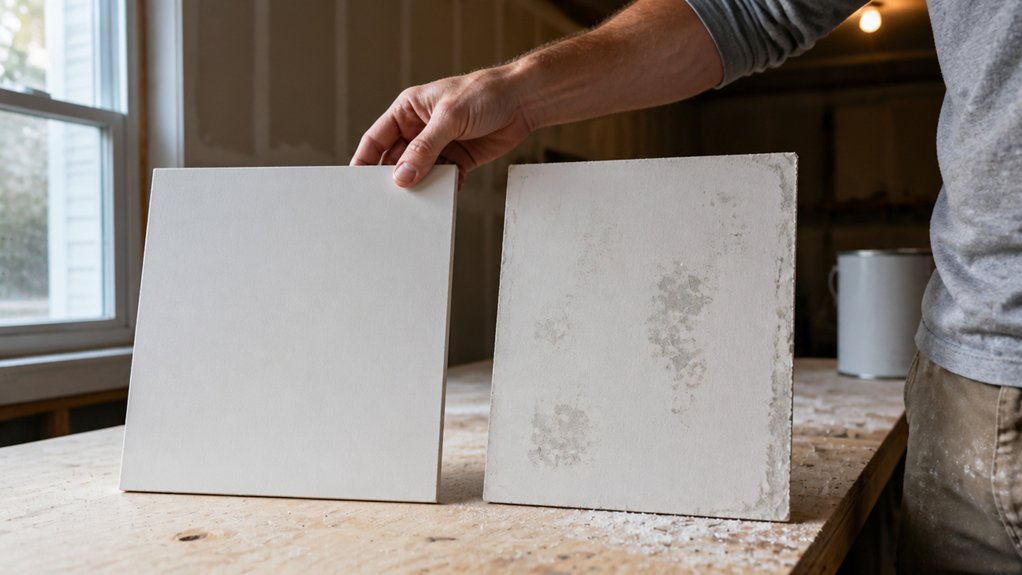
A good drywall primer does more than sit on the surface; it actually bonds with the paper and joint compound. This seals the pores and prevents flash-through, so your topcoat grabs evenly and looks smooth. You want a PVA formula that covers around 350 square feet per gallon, with low odor for comfortable indoor work.
Skip any can labeled “all-purpose” that doesn’t mention drywall, because that’s a gamble you don’t need. Stick to a flat sheen; gloss or satin will highlight every joint imperfection you thought you hid. Check the shelf life before you buy, and leave anything past 18 months on the shelf, since stale primer clumps and skips. For the compound underneath, choose a product with low shrinkage and good crack resistance, like the USG lightweight option, so the primed surface stays smooth and defect-free.
For tinting, ask for up to 2 ounces of color per gallon, but never go darker than 50% of your topcoat. That keeps the primer from showing through thin paint layers. Use a drop cloth and painter’s tape to protect your edges, and keep a wet edge while rolling to avoid lap marks.
Don’t worry about brush strokes here, since you’ll roll most of it on. Let the primer dry fully according to the label, and remember that drying time is not the same as cure time before sanding. If you need to sand, use 120 grit on any rough spots, but keep it light so you don’t tear the paper.
Spend the extra two dollars on a true drywall primer, and your topcoat will lay down clean without surprises. That small upfront cost saves you from a second coat and a weekend of frustration. Your paint will thank you.
Mixing and Loading Your Drywall Primer for Brush, Roller, or Spray
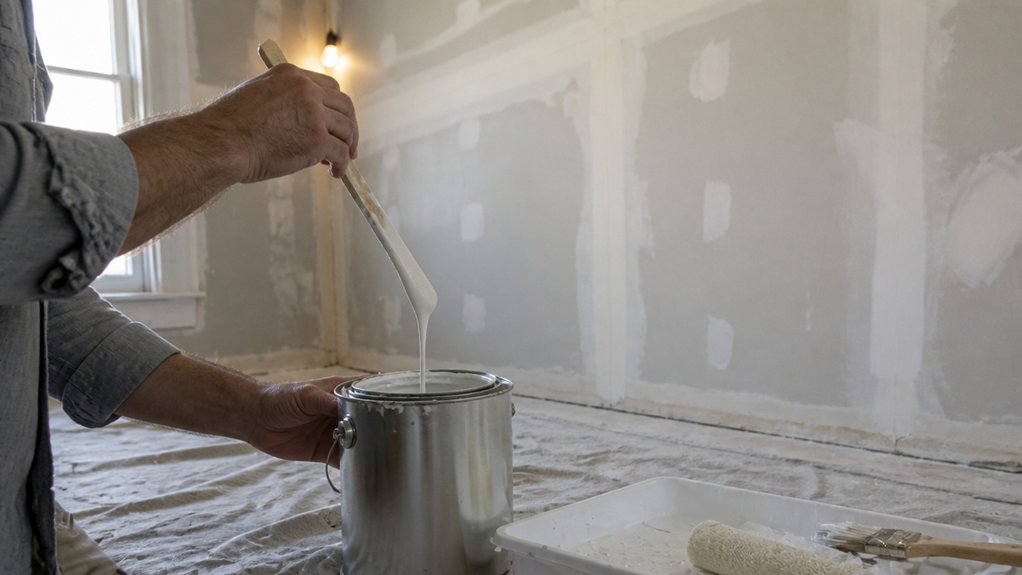
Mix the primer well before you start, then pour it into a clean bucket or sprayer hopper. Skimping on this step only creates uneven coverage and extra sanding later.
For a brush, dip about one third of the bristles into the primer, then tap the brush against the bucket rim instead of scraping it. This loads the brush evenly and keeps excess from dripping onto your drop cloth.
Dip the brush a third deep, tap the rim—not scrape—for even loading and fewer drips.
For a roller, roll it through the tray’s deep end, then over the ribbed slope to spread the primer into the nap. Stop when the roller looks saturated but not soaked, since an overloaded roller leaves lap marks and runs. Deep wells hold around 1.25 liters of paint, reducing refill interruptions during large wall sections.
If you’re spraying, strain the primer through a mesh filter into the hopper, then set the pressure according to the sprayer’s manual. Test on a piece of cardboard first to check the fan pattern, and adjust the flow until you get a wet, even coat without heavy edges.
Keep a rag nearby to wipe the spray tip every few minutes, because dried primer clogs fast and ruins your pattern mid-wall. The key is to mix thoroughly, load the tool with restraint, and keep a wet edge as you work.
A smooth coat comes down to these habits, and once you’ve got them down, the rest of the job goes faster. Primer needs full drying time before you topcoat, so check the label and don’t rush that step.
Use a satin or matte topcoat over a well-primed surface, and you’ll see fewer brush strokes and a more forgiving finish. Clean your tools with water before the primer cures, because once it sets, it’s a tough mess to remove.
Cutting In and Rolling Even Primer Coats: Step-by-Step
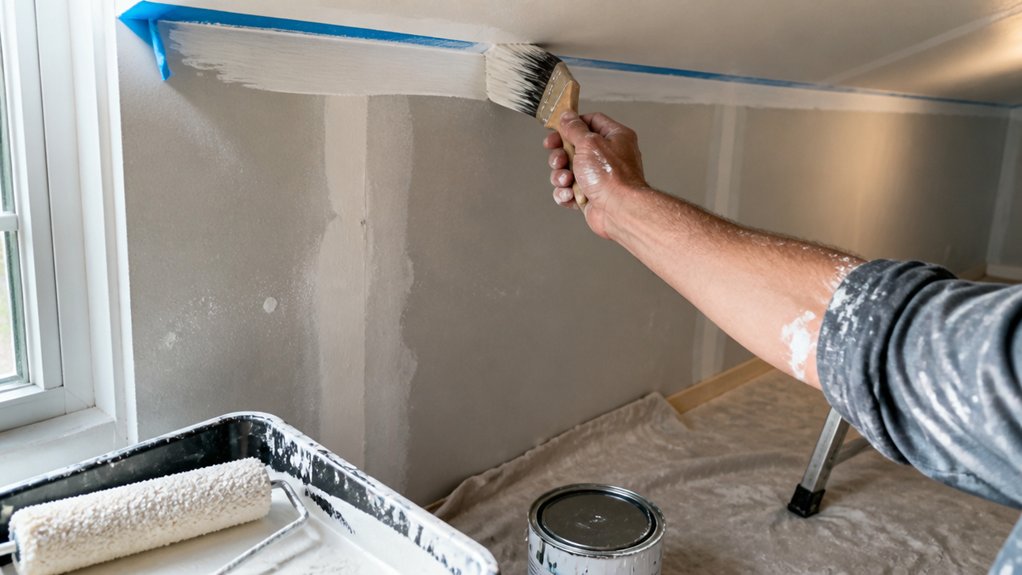
Start with the cut-in, and the rest of the wall gets easier. Grab a 2-inch brush and dip it lightly.
Primer thickness matters here. If it is too thick, you will drag; if it is too thin, it drips.
Work the edges, corners, and spots around outlets first. Keep a wet edge so the primer blends later without lap marks.
Then switch to a roller and load it evenly in the tray. Heavy streaks will show up in the topcoat, so avoid them.
Roll in a W pattern and overlap each pass by half the roller width. Always finish in the same direction to keep the texture uniform.
Work in 3-foot squares to maintain that wet edge. Back-roll over your cut-in while it is still damp to avoid harsh lines.
Keep pressure steady. Too much force creates roller texture you do not want on a smooth base.
Check the wall from a shallow angle. Lap mark visibility fades when the coats are even and the drying time is respected.
You will get a smooth primer coat, and the topcoat will sit better. Use a drop cloth and painter’s tape to protect trim before you start.
A satin or matte topcoat will hide minor flaws, but only if the primer is even. Sand lightly with fine grit between coats if you feel any brush strokes.
Stay consistent with your roller speed and reload before the roller goes dry. That keeps the sheen uniform once you apply the final finish.
Prime the whole wall in one session so the wet edge never dries out. Drying time matters, but cure time matters more before you sand or recoat. Flagged synthetic bristles minimize brush marks and improve paint flow on water-based primers.
Primer Drying Times, Spot Checks, and Recoat Readiness
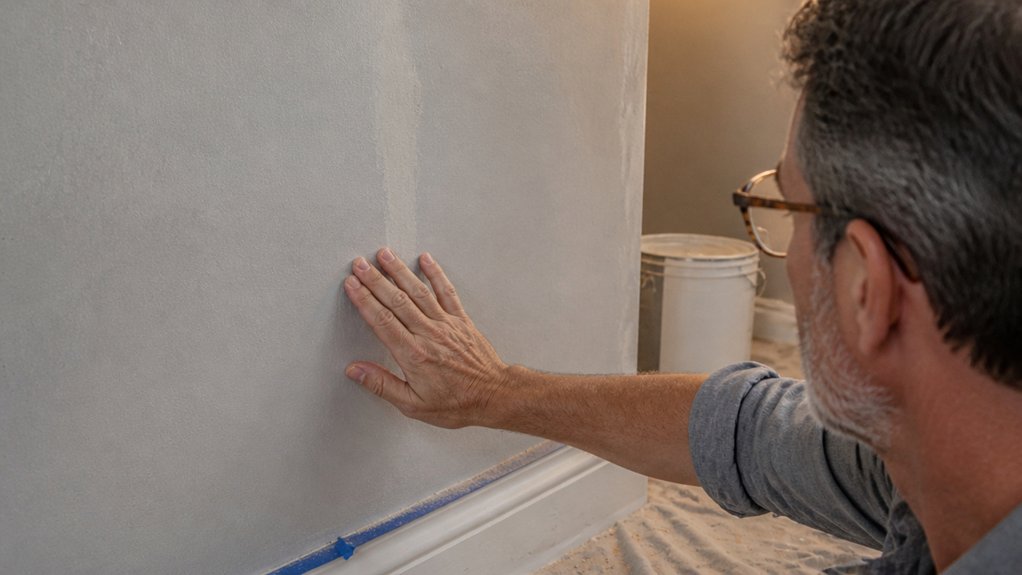
You are likely looking at a primed wall and wondering if you can start the topcoat. Do not rush it, because surface dry is not the same as ready.
At 77°F and 50% humidity, most water-based primers dry to the touch in 30 minutes to an hour. That touch dry stage is a trap, so always check the label for the recoat window.
Some primers allow a 1 hour wait, while others demand a full 2 hours. Cooler temperatures or damp air stretch that timeline, so give the coat extra grace.
Press a knuckle lightly into the primer as a spot check. If it feels tacky, walk away and come back later.
For primer touch up, fix bare spots only while the coat is still wet and workable. Once the primer skins over, you lose that window and must wait for full cure.
After the recoat window passes, test an inconspicuous spot with a scrap of sandpaper. If it powders instead of gumming, you are safe to apply the topcoat.
Using the full drying time prevents drag, peeling, or lap marks in your finish. A quick test beats a ruined wall every time.
Remember that drying time is not cure time, even after you recoat. Keep the sheen and gloss consistent by maintaining a wet edge as you roll.
Grab your drop cloth and painter’s tape, then check the primer label for recoat temperature ranges. Low VOC primers often dry faster, but they still need that full window.
Zinsser Smart Prime offers the fastest drying option among water-based primers, with a dried film that resists mold and mildew growth.
Frequently Asked Questions
Can I Prime Over Glossy Paint With Drywall Primer?
Yes, you can technically prime over glossy paint with drywall primer, but you should not expect it to adhere properly. Drywall primer lacks the aggressive adhesion promoters needed to bite into that slick, nonporous surface. Instead, scuff the gloss with 120 grit sandpaper, then wipe off the dust with a tack cloth before switching to a dedicated bonding primer.
The bonding primer chemically etches the surface, forming a mechanical and chemical grip that drywall primer simply cannot match. You will need two thin coats of bonding primer, allowing the first to dry for about one hour before recoating. After that, your topcoat will stick like it is painted on glass, and peeling will not be a concern.
For the best results, use a primer labeled as high adhesion or bonding under specific conditions like this. Sanding the sheen alone is not enough, so do not skip the bonding step. This prep takes an extra hour, but it saves you from redoing the entire wall when the paint eventually lifts.
How Long Should Joint Compound Cure Before Priming?
Joint compound should cure before priming only when it is completely dry, which typically takes 24 hours at 70°F with low humidity. Do not trust the clock alone, since thicker coats or poor airflow can stretch that timeline significantly.
Perform a palm test by pressing your flat hand against the mud; if it feels cool or clammy, moisture is still trapped inside. A bone-dry surface feels room temperature and looks uniformly chalky, with no darker patches.
Prime only after this check, because sealing in dampness causes blistering or peeling later. For a practical edge, use a 120-grit sanding pass first to confirm dust, not clogging, and then apply a PVA primer for best adhesion.
If you are short on time, speed drying with a dehumidifier and fan, but never force heat, as that can crack the compound. This drying time also applies before skim coating again, so plan your schedule around it.
Can I Use a Paint Sprayer Without Back-Rolling?
Yes, you can use a paint sprayer without back-rolling, but you absolutely should not for drywall if you want a durable, even finish. Back-rolling is critical because it presses the paint into the porous surface, ensuring strong adhesion and a consistent texture that a sprayer alone cannot achieve.
Skipping this step leads to blotchy coverage and weak spots that will peel or bubble later. For an optimal result, spray at a 12 to 15 inch distance using a 515 or 517 tip, then immediately roll with a 3/8 inch nap roller while the paint is still wet.
This creates a mechanical bond and hides lap marks. If you are coating smooth wood or metal, back-rolling is less essential, but for drywall and other absorbent surfaces, it is non-negotiable for professional results. Always keep a wet edge and work in manageable sections to avoid flashiness and uneven sheen.
What Happens if I Prime Below 50°F?
Priming below 50°F risks adhesion failure and low temperature drying issues. The binder in the primer cannot coalesce properly, so the film stays soft and will likely peel or flake once warmer weather arrives.
Wait for the surface and air temperature to stay above 50°F for at least 48 hours before you start. If you must work in cooler weather, use a solvent-based primer specifically rated for low temperatures, but never below 40°F.
A concrete example: at 45°F, a standard latex primer may take over 24 hours to dry to the touch, yet still remain weak underneath. Sanding it too early will roll the film into balls, and topcoats will delaminate.
You can substitute a warmth gun to preheat the substrate and keep the primer can in a heated bucket, but this only buys you a small window. The best move is to reschedule for a forecast above 55°F. Cure time and proper film formation depend on consistent warmth, not just the moment of application.
Can I Recoat Primer Before It’s Fully Dry?
Yes, you can recoat primer before it’s fully dry, but you absolutely shouldn’t. Recoat timing is a chemical requirement, not a suggestion. Most water based primers need 60 to 90 minutes at 70°F with good airflow, while oil based primers often demand a full 24 hours.
Rushing this step traps solvents and moisture beneath the new layer. That leads to blistering, peeling, or a soft film that never hardens properly. A practical trick: press your knuckle gently into the primer. If it feels tacky or leaves a mark, wait another 30 minutes and test again.
For a reliable cure, sand the dry primer with 220 grit before the topcoat. This bonds the layers mechanically. If you’re in a hurry, use a shellac based primer, which dries in 30 minutes and accepts recoat quickly. Otherwise, let time work for you, or you’ll scrape your own walls next week.
Rounding Up
Applying water-based drywall primer starts with rolling it on evenly and waiting the full hour before any paint touches the wall.
That hour is non-negotiable, so set a timer and then do the fingernail test: press a nail into the surface and check that it doesn’t dent or drag.
If it passes, you’re ready to paint. If it fails, give it another 30 minutes and test again.
Write down the drying time on the can so you don’t guess later.
Compare the primer’s finish to the paint you’ll use, since flat primer under glossy paint can show flaws.
Test a small corner with your paint before doing the whole room.
The article’s bottom line is that ten bucks of primer saves ten hours of regret, which is exactly what the fingernail test measures.
Next, read about how to choose the right paint sheen for each room.