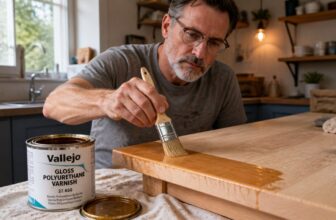
How to Apply French Polishes: Step-by-Step Guide
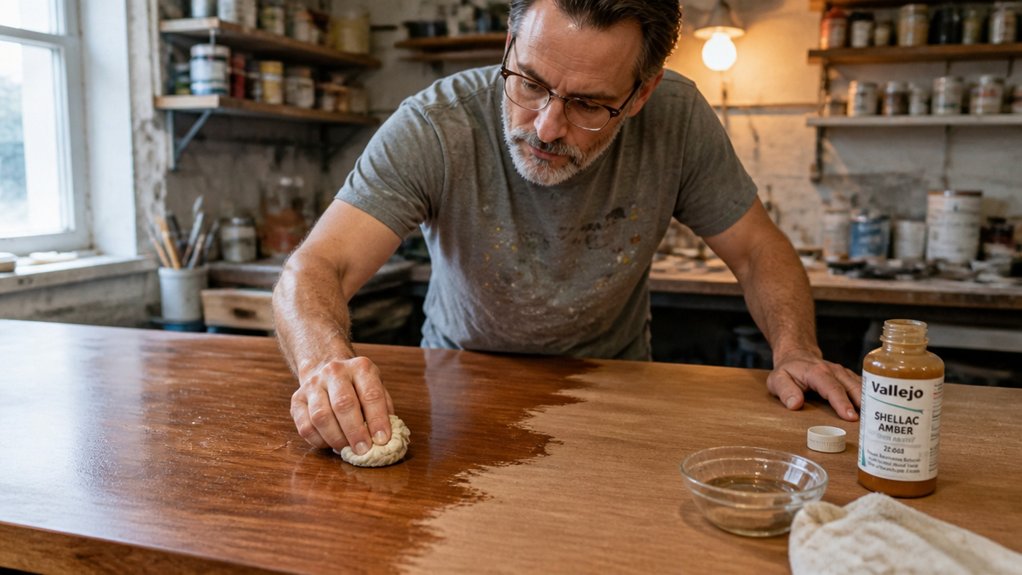
How to Apply French Polishes can feel like a secret ritual, but the real trick is prep and patience. You do not need expensive gear, just shellac flakes, denatured alcohol, and a soft pad.
The process is simpler than it looks: sand to 220-grit, wipe with alcohol, then build three thin coats before moving to circular bodying strokes. A light spiriting pass lifts the finish to that mirror glow, but only if you respect drying time. This guide covers the exact pad mix, coat sequence, and cure time secrets that prevent sticky, ruined surfaces.
Stick with these steps, and you will get a flawless, hand-rubbed sheen without the guesswork.
Quick Answer
- Sand sealed wood from 120 to 220 grit, then wipe with alcohol-dampened paper towel.
- Charge a cotton pad with 1½-pound cut shellac, adding two drops of olive oil.
- Apply three thin sealer coats with up-and-down strokes along the grain for fading.
- Build body with circular and figure-eight strokes, finishing with a quick grain pass.
- Cure overnight, test with fingernail, then spirit off with a 2:1 polish-to-spirit mix.
Prep the Wood Surface for a French Polish Finish
You need a surgically clean surface before mixing shellac, not just a dust-free one. Start with closed-grain hardwoods like maple or cherry to save hours of work, while walnut requires grain filling with pumice.
Skipping that step will create a blotchy mess later, so don’t test your luck.
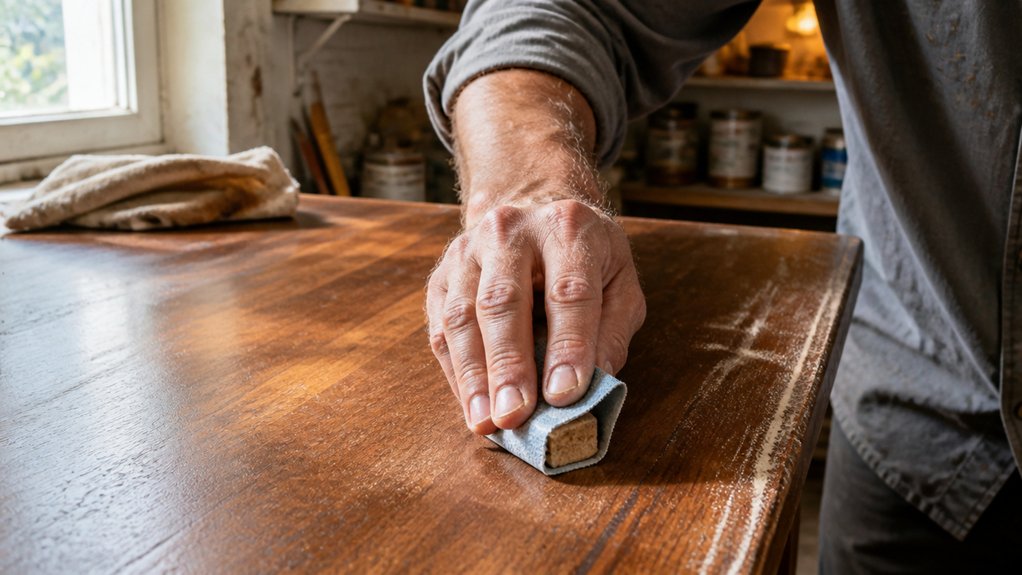
Sanding is non-negotiable, and I work up from 120-grit to 220-grit for a smooth base. After that, wipe everything down with an alcohol-dampened paper towel to catch the fine dust your eye misses.
That simple wipe prevents streaks from ruining your polish, and it also removes any lingering oils from your fingers.
Humidity is the silent killer of a French polish, and on a muggy day shellac pulls moisture from the air. That moisture shows up as white rings that mock your effort, so check the forecast before you even pull out the sandpaper.
Humidity is the silent killer of French polish—check the forecast before you even pull out the sandpaper.
Rainy weather means I wait, and dry wood with a clean surface is already halfway to a glass-like finish.
You also want to avoid any contaminant like polish residue or old stain, so use a fresh rag and a tack cloth before the final wipe. A topcoat of shellac will sit on any leftover wax or grease, and that leads to fish-eye bubbles you can’t fix easily.
Primer isn’t needed here, but painter’s tape and a drop cloth keep your work area free of sawdust and spills that settle into the finish.
Remember that drying time for shellac is short, but curing takes days, so keep the piece in a stable, low-VOC room. Brush strokes and lap marks show up fast in this finish, so work with a wet edge and keep your strokes even.
If you rush the sanding or ignore the humidity, the sheen will look streaky instead of satin, and then you’re sanding back down to bare wood.
Stay patient, check your grit progression, and don’t mix shellac until the wood feels cool and smooth to the touch. That’s the hands-on test that beats any thermometer, and it’s served me well for decades.
For damaged or oily wood, applying an alcohol-based shellac shield first prevents moisture from seeping into the grain and causing those white rings.
Mix Shellac and Charge Your French Polish Pad
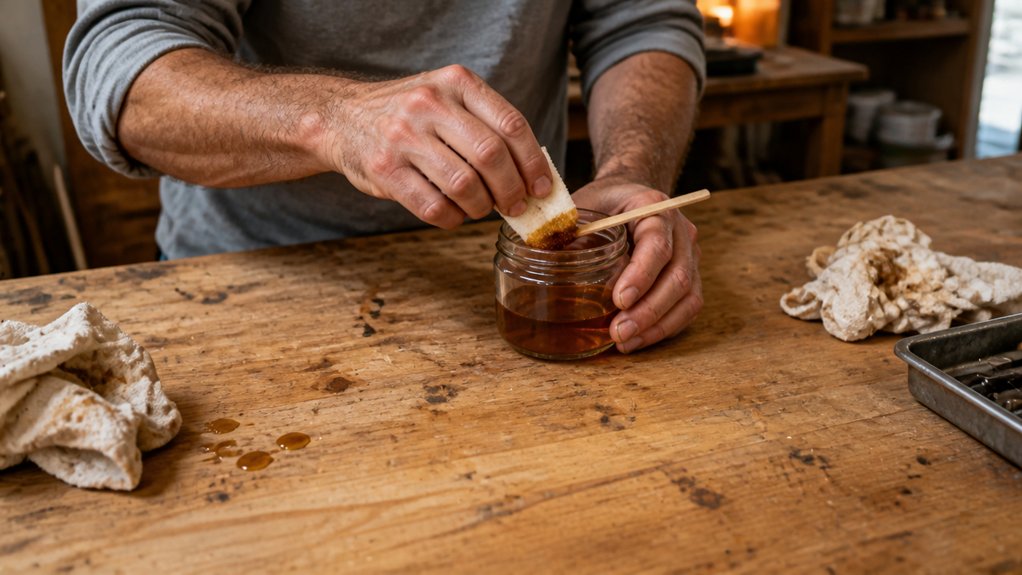
Mixing shellac is simpler than most people think. You are just combining two ingredients, plus a little oil to keep things moving. For a 1-1/2-pound cut, mix 1-1/2 ounces of shellac flakes with one cup of denatured alcohol. Shake the jar well, like you would a salad dressing, because the oil will separate if you don’t.
Now you can charge your French polish pad. Saturate the cotton wad inside the fabric cover until it is wet, but not dripping. Add two drops of olive oil to the pad’s face, which acts as your friction insurance. Test the glide on a piece of scrap wood. The pad should slide smoothly, not stick or drag. This shellac mix, made from an eco-friendly bug-derived resin, dissolves quickly in denatured alcohol, requiring only minutes of waiting before use.
Pad lubricants are the real workhorses in this process. If the pad is too dry, you will drag and tear the finish. If it is too wet, you will flood the grain and leave blotches. Find that sweet spot between wet and dry, and you are halfway to a mirror-like gloss. This same principle applies when you are working with varnish or polyurethane, where keeping a wet edge matters more than speed. Always use a drop cloth and painter’s tape to protect your work area before you begin.
Apply French Polish Coats: Fading, Bodying, and Spiriting

Once the pad glides smoothly, you’re ready to build the finish in three stages: fading, bodying, and spiriting. Fading lays down thin sealer coats with up-and-down strokes along the grain, which builds your base.
Bodying adds thickness and levels the surface, using circles and figure-eights. Spiriting removes excess oil and brings up the final sheen with light, oil-free strokes.
Start with fading as your warm-up. Apply three thin coats, overlapping each pass without fussing.
This creates a solid foundation, much like a primer on bare wood. Keep the pad moving and the coats even. For a more durable base, consider an oil-based wipe-on that dries hard and clear against water and stains.
Bodying is where the finish really comes together. Work in circles, then finish with a quick pass along the grain.
Move fast and keep the pad wet. Lingering in one spot leaves marks that are hard to fix later.
For spiriting, switch to a 2:1 mix of polish and spirit. This step preserves the gloss without sinking the finish.
Think of it like turning a lathe, where slow and steady wins. Here, though, it’s your hand speed that matters.
Step back and let the surface breathe. You’ll see the depth build up with each coat, just like watching varnish cure.
Curing, Sanding, and When to Skip French Polish
Let the polish cure overnight after your final spiriting session. This cure time is non-negotiable for a hard, scratch-resistant surface, and rushing it leads to dents and dull patches.
The next morning, sand out any embedded dust with 1200-grit paper wetted with olive oil, buffing gently. I’ve ruined plenty of finishes by skipping this step or using the wrong grit.
Check the weather forecast before you start. High humidity turns shellac milky-white, so skip the session on rainy days or you will be sanding out cloudy blotches instead of admiring a clear coat.
Test the finish with your fingernail in an inconspicant spot. If it dents, it has not cured, so wait another 12 hours. There are no shortcuts here, and a soft shellac will mar under normal use.
Know when to skip French polish entirely. For a coffee table, bar top, or bathroom vanity, use a varnish or polyurethane topcoat instead, because shellac melts under heat, alcohol, and water.
I learned that the hard way after a hot mug left a permanent ring in my best table. The extra drying time for a film finish is worth it when you need water and scratch resistance.
Respect the climate, trust the cure, and your finish will stay glossy for decades. Always test a scrap piece first to confirm the sheen and wet edge behavior before you commit to the real project.
Frequently Asked Questions
Can French Polish Be Applied Over an Existing Finish?
Yes, French polish can be applied over an existing finish, but only if that finish is properly prepared and compatible. I always run a simple adhesion test first by applying a small shellac patch and letting it dry for 24 hours before checking if it sticks firmly.
If the existing surface has oil, wax, or silicone polish, you must strip or degrease it thoroughly, since shellac will not bond to those residues. Start by sanding with 320 grit to create tooth, then wipe down with denatured alcohol to remove any contaminants.
For best results, apply at least three thin coats of a 1.5 pound cut shellac, letting each coat dry for 30 minutes. This approach works well over cured varnish or lacquer, and you can search for “shellac over polyurethane” for more guidance.
How Long Should Shellac Flakes Be Stored Before Use?
Shellac flakes should be stored for no more than two years under dry, stable conditions before use. Beyond that point, flake aging effects progressively harm both solubility and the final finish, leaving you with a cloudy or brittle coat.
For best results, always test a small batch fresh before mixing your full amount. I keep a sealed glass jar with a desiccant packet, which easily pushes shelf life toward that two year mark.
If you are unsure of age, dissolve a few flakes in denatured alcohol; fresh ones dissolve within an hour, while stale ones turn milky or remain grainy. Use only fresh flakes for high gloss work, but older stock can still serve for a basic sealer coat if you strain it through 200 mesh.
Related terms like dewaxed shellac also age similarly, so track their purchase date on the label. When in doubt, buy smaller quantities and rotate stock regularly, as stale shellac will always ruin your polish.
What Is the Best Way to Clean a Dabber?
The most effective way to clean a dabber is to use a solvent soak, but you must adjust the technique based on the tool’s material. For a titanium or quartz tip, immerse it in denatured alcohol for about five minutes, then gently scrub with a cotton swab to remove carbon buildup.
For porous ceramic or glass tips, avoid harsh soaking, as this can push residue deeper into the surface. Instead, wipe the tip with an alcohol-dampened cloth and let it air dry for ten minutes, which is the same principle as cleaning a spatula after stirring stain.
Never use shellac thinner, as that will leave a film and ruin the dabber’s surface. A quick rinse with warm water after the alcohol soak removes any leftover solvent and keeps the tool ready for your very next session.
Does Wood Type Affect the Number of Coats Needed?
Yes, wood type directly affects the number of coats needed because porosity and grain structure control how much finish soaks in. Open-pored walnut acts like a thirsty sponge, often requiring a sealer coat plus two topcoats to build a smooth film, while closed-grain maple can get away with just two total coats.
For a practical rule, sand open grain to 150 grit and apply a thinned first coat, then let it dry fully before sanding lightly with 220 grit. This filler step cuts the final coat count by one, especially on oak or ash, which are notorious for pitting.
Always test a scrap piece first, because end grain will drink more finish than flat grain and may need an extra wipe. If you are using a water based polyurethane, expect to add 20 percent more coats than oil based varnish, since water borne resins dry thinner.
How Do I Fix a Dull Patch After Polishing?
To fix a dull patch after polishing, you need to reflow the finish with a fresh pad, using light pressure and a thin cut of shellac to melt the surface back into continuity. Start by damping a soft, lint free pad with denatured alcohol, then apply a single, almost dry coat of shellac directly over the dead spot, working in slow, overlapping circles.
Let that shellac flash off for about two minutes until it feels tacky, then lightly spirit off the area with a clean pad barely moistened with alcohol, sweeping in one direction to lift any excess. Avoid pressing hard, as that will re-create the friction burn that caused the dullness in the first place.
For a stubborn patch, you can repeat the process up to three times, waiting five minutes between passes, but never sand it while wet. If you’re working on a lacquer or varnish surface, substitute shellac with a thin mix of the same finish and use a drying time of at least ten minutes before buffing. This technique also works for French polishing repairs, where the key is to blend, not build.
Rounding Up
Applying French polish means layering thin shellac coats with a pad, not rubbing a finish from a can.
The process demands patience, but the mirror like depth is built slowly, pad stroke by pad stroke.
Check your shellac kit today for fresh flakes and denatured alcohol, since old liquid fails to cure.
Test your pad technique on scrap wood first, pressing lightly and moving in continuous figure eights.
Take breaks when your shoulders ache, because fatigue causes skipped spots and pad drag marks.
Compare your first pass to a polyurethane sample to see the true difference in gloss and warmth.
A $15 shellac kit is all you need to start, while your back will thank you if you choose polyurethane instead.
Read about pad application pressure next if you want to refine your motion.