How to Apply Fungicidal Washes: Step-by-Step Guide
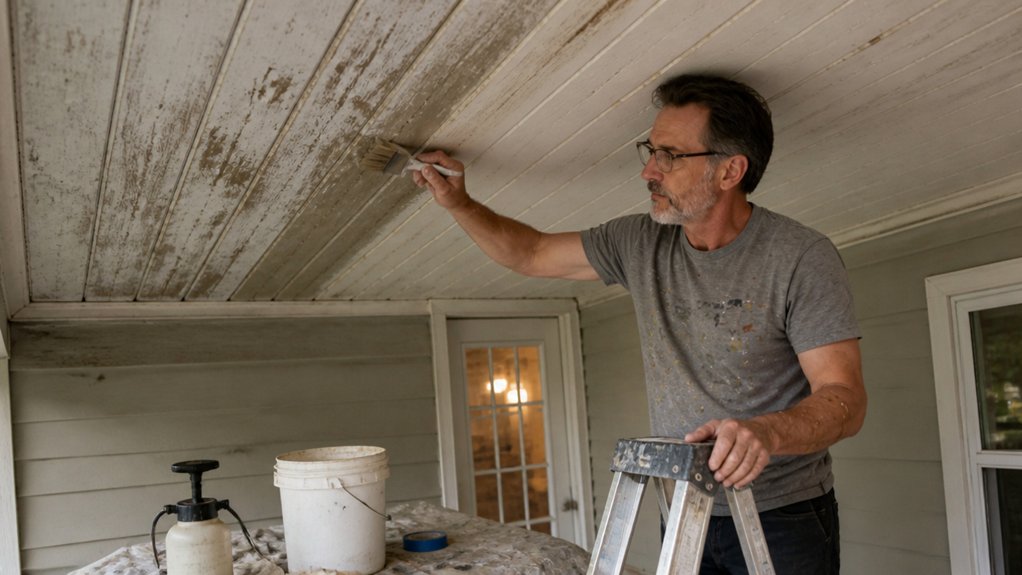
Applying fungicidal washes can feel like a guessing game, but it is not. You can scrub off heavy growth all day, yet the chemical will never do its job if the surface is bone dry or caked with dirt.
The trick is to dampen the surface first so the wash soaks in, not just sits on top. Mix ratios vary by brand, so check the label before you start, and then apply an even coat with a sprayer or brush.
Let it sit for the full dwell time, rinse it off, and you are ready for primer or a fresh topcoat.
Skip this prep, and you are just sealing in the problem under your new paint.
The full step by step process, including timing and common mistakes, is exactly what you will find in the guide below.
Quick Answer
- Prepare surfaces by stripping loose paint, scrubbing growth, and rinsing clean before applying wash.
- Dampen the surface first; dry surfaces pull fungicide too deep and leave mould untreated.
- Mix wash to label ratios, like Bostik’s 1:1 water dilution; ready-to-use products need no thinning.
- Apply evenly top-to-bottom with a wet edge, using a fine mist sprayer or brush.
- Respect contact and drying times—rinsing, priming, or painting too early ruins the treatment.
How to Mix and Dilute Fungicidal Wash by Brand
Mixing fungicidal wash starts with reading the label, not guessing. I have watched people pour it straight from the jug like it is a stiff drink, and that mistake costs them damaged masonry and wasted money.
Dilution ratios are not universal, and each brand has its own spec that you must follow. Bostik needs a 1:1 mix with water by volume, while Permarock and Bartoline come ready to use and should never be thinned.
Dulux requires a good shake before use, not a splash of water, because its concentration assumes you apply it as is. Skipping that step leads to uneven kill or a residue that won’t rinse clean, which makes your primer or topcoat fail later.
Grab a measuring jug, check the ratio on the container, and stick to it exactly. This is the same discipline you would use for sanding grit or wet edge on a gloss coat, and it keeps the wash effective without raising VOC levels unnecessarily.
Use a drop cloth to catch drips, and keep painter’s tape off the surface until the wash dries fully. Drying time matters more than cure time here, since a damp wall will lift your next coat of satin or matte finish.
Follow the label, measure twice, and pour once. That simple routine prevents lap marks and brush strokes from showing through your final sheen, and it saves you from a second trip to the store. Always confirm the active-ingredient concentration matches the specific fungal problem you are treating, as formulations vary widely between brands.
Why Surface Prep Decides Fungicidal Wash Success
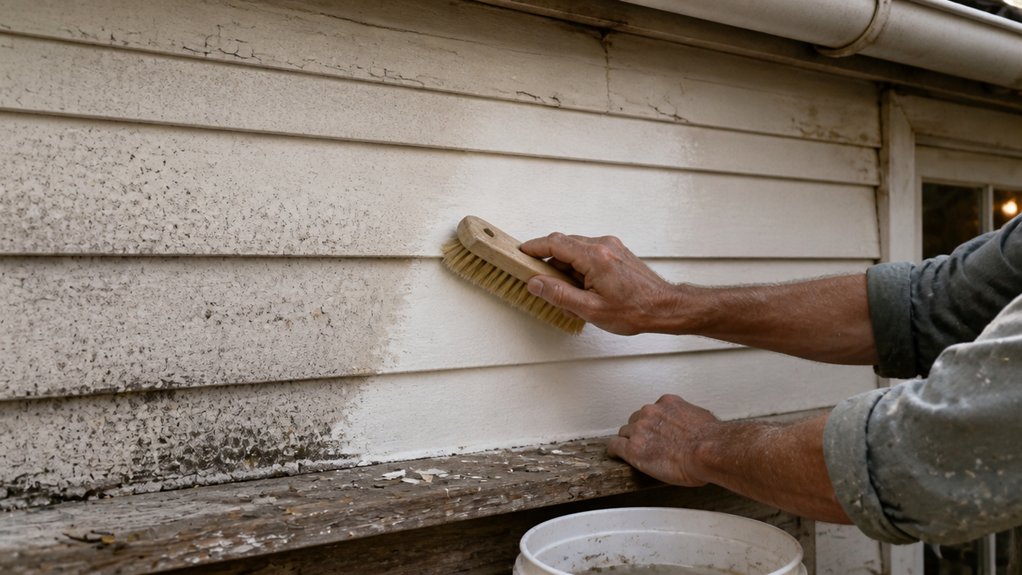
You can spray the perfect mix, but if you skip the prep, you’re just painting over a lie. I’ve watched fungicidal washes fail because thick moss was left on or wallpaper was hiding black mould underneath.
Brush off the heavy growth first, then dampen the surface with clean water. This lets the chemical soak in instead of sitting on top of dry dirt.
Strip any layered coatings that are trapping old spores, like peeling paint or vinyl wallpaper. That’s the step that gives the wash a real chance to bite into the substrate.
Think of it like sanding before a topcoat: you wouldn’t apply satin varnish over greasy wood and expect a smooth finish. The same logic applies to killing mould.
Use a stiff bristle brush or a scraper for the loose stuff, and rinse with a hose before you apply anything. For interior walls, pull back loose paper and wipe down with a damp rag.
After that, check your timing. Drying time matters, but cure time matters more, so don’t rush to paint over the wash with a primer.
Once the surface is clean and dry, you can lay down a stain-blocking primer, then your finish in your chosen sheen, whether that’s matte or gloss.
And keep a drop cloth under the work area to catch drips, and painter’s tape on trim so you don’t leave brush strokes where they don’t belong.
Prep is the sanding, the wash is the stain, and the paint is the varnish. Skip the first step, and you’ll be stripping it all off again next season.
Remember that humidity above 60% will cut protection durability by up to 40%, so ventilate the room and address moisture sources before you start.
Clearing Heavy Growth
Clearing heavy growth starts with prep, because a fungicidal wash can’t reach what it can’t touch.
I learned this the hard way, so you don’t have to.
First, scrub off thick moss and algae with a stiff brush.
On tough patches and stone, a wire brush works best, and it exposes the contaminated surface underneath.
Next, remove all organic material completely.
Loose debris, lichen, and growth trapped between old paint layers will just sit there and block the chemical, so scrape until the substrate is bare.
Scrape and clear thoroughly, especially where growth hides under peeling coating.
If you leave any of it, the wash sits on dead matter and does nothing, which is a waste of time and product.
Prep isn’t glamorous, and my arms remember every session.
But exposing the surface lets the wash penetrate, and that’s the whole job: clear first, treat second.
After the wash dries, you’ll likely need to sand down to bare wood or masonry, using 80 grit for stubborn spots and 120 grit for a smooth base.
Then apply a stain-blocking primer, followed by a topcoat with a satin or matte sheen, since gloss will highlight any leftover brush strokes.
Keep a wet edge as you roll or brush, and respect the drying time before you recoat, because cure time is longer than you think.
Use a drop cloth to catch drips, and check the VOC label if you’re working indoors.
Once the coating is down, you can step back and see that the prep made the finish last, not just look good.
For a lasting defense, choose an EPA-registered fungicidal primer that kills existing spores and blocks regrowth for months.
Dampening Before Treatment
Most people skip the dampening step, and that’s where the whole treatment falls apart. You’re not just wetting the wall; you’re prepping the surface so the fungicide can do its job.
A simple garden sprayer works fine, but a fine mist from a pump sprayer gives you better control. You’ll cover about 4–6 m² per litre before the wash even touches the wall.
The goal is surface moisture balance. Dry surfaces suck the fungicide in like a thirsty sponge, pulling it too deep and leaving the mould on top untouched.
Damp surfaces hold the chemical right where it belongs, on the growth itself. So don’t overdo it. You want a damp sheen, not drips.
Give the wall one quick, even pass, then wait five minutes before you treat. That short pause lets the moisture settle into the pores.
This ten minute step saves you from a second application later, and it keeps your finish coat from failing early. Think of it like wiping down wood before you stain, you wouldn’t skip that either.
Grab a pump sprayer, set it to a light mist, and work top to bottom in overlapping strokes. Keep a wet edge as you go so you don’t leave dry patches.
Dampen first, treat next, and your fungicide will stay on the surface where it counts. You’ll get a cleaner result with less product and less scrubbing.
For stubborn black stains on porous surfaces, this pretreatment also ensures a bleach-free biocide like Concrobium’s sodium carbonate formula crushes spores effectively rather than being absorbed too deep.
Stripping Hidden Mould
The mould you can see is only part of the problem. The real trouble hides under paint or wallpaper, where surface coatings trap moisture and spores underneath.
Fungicidal wash will sit on top of that coating and do nothing. You have to strip the layers back to expose the contaminated substrate before any treatment can work.
Start by tapping walls and listening for hollow spots. Soft, spongy areas are where hidden growth is thriving behind the surface.
Next, scrape or peel back the affected paint or wallpaper completely. Use a paint scraper or a wallpaper steamer, and get down to bare plaster or wood.
Once the coating is off, use a wire brush to knock away any thick mould growth before you dampen the surface. This keeps loose debris from blocking your fungicide later.
I have wasted plenty of product skipping these steps, and it never ends well. Without stripping, your wash just forms a film over the problem, and the mould comes back through the new primer and topcoat.
Prep decides everything. Strip first, brush clean, then apply your treatment with a wet edge so the fungicide soaks in properly. Patience here saves you from repainting the same wall twice. For stubborn residue on trim or mouldings, a stainless steel shave hook with a rubber grip can scrape away dried paint without damaging the wood beneath.
Spray or Brush? Coverage Rates and Application Tips
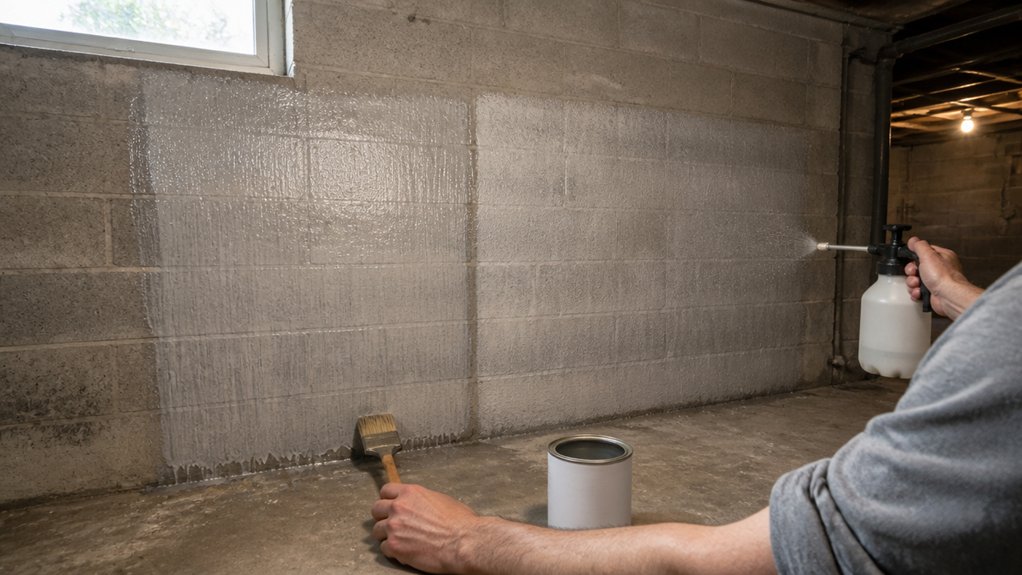
The tool you choose changes how far a litre of product goes, and that difference adds up fast. A sprayer with a diluted mix like Bostik covers about 4 to 6 square metres per litre, while a brush stretches the same litre to 5 to 9 square metres, a gain of roughly 50% that saves real money.
For a small patch or a touch-up, I grab a brush because it keeps the product exactly where I put it, with no drift or mess. Spraying wins on a big, open wall where speed matters more than precision, and you can protect surrounding surfaces with a drop cloth and painter’s tape.
Watch your wet edge when brushing, because going back over a drying section will leave lap marks and brush strokes. Work in continuous strips from top to bottom, and keep a consistent coat thickness so the sheen stays even, whether you use satin or gloss.
Spraying lets you cover a large area fast, but overspray settles on everything nearby, so mask off trim and floors before you start. You also need to thin the product correctly for your gun, and a heavier coat means you should respect the drying time before you add a primer or topcoat. For large walls, a backpack sprayer with a 3.2-gallon tank reduces refill frequency and covers more ground per charge.
For either method, sand between coats with a fine grit like 220 to knock down any roughness and improve adhesion. That step matters for stain, varnish, or polyurethane finishes, and it keeps the final surface smooth and free of defects.
Low-VOC products work well with both tools, but they flash off quicker, so keep your wet edge moving and avoid working in direct heat. Measure your coverage before you start, and always mix enough for the whole job to avoid colour shifts from batch to batch.
Spray Efficiency Rates
Covering a square metre per brush-stroke sounds like hard work, but it’s really just a slow route to a sore shoulder. For a large wall or roof, the numbers quickly favor a sprayer.
A sprayer lays down Bostik at roughly 4 to 6 m² per litre, while a brush manages 5 to 9 m². That gap is small, but the real difference shows up in time.
Spraying a 10 m² section takes about 4 minutes, where brushing needs 20 to 30. That’s a fivefold speed gain, which matters when you’re fighting a drying edge or a long topcoat run.
The spray gives an even mist, so you avoid lap marks and missed patches that a brush can leave behind. Your shoulder also stays happy, since you’re not cranking your wrist on every stroke.
For jobs over 20 m², rent a sprayer and keep your brush for trim and touch‑ups. Use painter’s tape to protect edges, lay down a drop cloth, and check the VOC level of your coating for ventilation.
Prime the surface first with a suitable primer, then apply your topcoat in thin, overlapping passes to keep a wet edge. Let the coating dry fully between coats, and remember drying time is not the same as cure time before heavy use. To maximize efficiency on larger projects, look for a model with a flow rate of 1.2 L/min to finish the job five times faster than a roller.
Brush Coverage Tips
Brushing a fungicidal wash is the most controllable way to treat tight spots and textured surfaces without turning your garden into a misty hazard zone. I’ll take a stiff brush over a sprayer any day for precision work, especially around eaves or rough brick. For rough surfaces like porous stone or concrete pads, a brush with natural tampico bristles digs into the texture better than any sprayer can.
Brush coverage runs 5 to 9 square metres per litre of diluted wash, so you’re not losing product to drift. Use even strokes in one direction, and overlap each pass by a few centimetres to avoid skips and pooling.
The bristles dig into pores that spray just glides over, which matters on rough surfaces and awkward corners. Work with a wet edge so you don’t leave lap marks, and keep your strokes thin and steady, like buttering toast.
You’ll use more elbow grease than with a sprayer, but you’ll get full control and less cleanup. For a topcoat over the wash, brush on a satin or matte finish with the same method, and let it dry fully before curing.
Use a drop cloth underneath to catch drips, and painter’s tape where you need a clean line. Sand any rough spots with 120 grit before you start, and wipe off the dust with a damp cloth.
The key is to keep moving in one direction and check your coverage as you go. If you need speed on a flat, open wall, spray, but for detail work, brush every time.
How Long Should Fungicidal Wash Sit Before Rinsing or Painting?
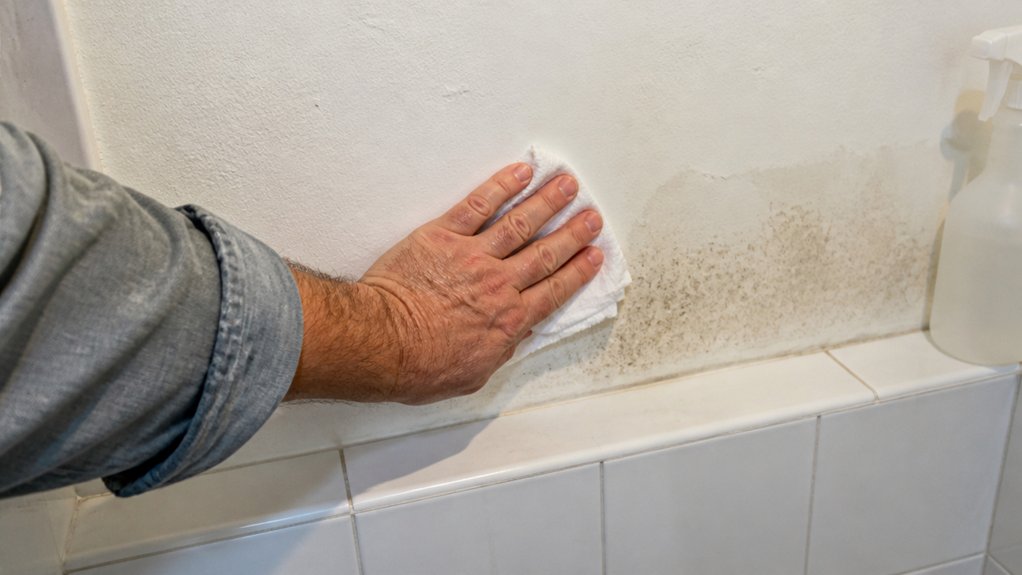
Most brands won’t give you a single magic number for contact time, so let’s break it down by product. I’ve learned the hard way that rinsing too early just washes your money away, and waiting too long leaves a chalky mess.
The contact time is the key variable, and each product works differently. For Permarock, let it sit for 20 minutes, then rinse with water.
Dulux needs a 2 to 4 hour drying window, followed by a full 24 hour wait before rinsing. Bostik takes several days to work, but you don’t rinse it at all, just leave it and wait.
Before painting, always scrape off dead growth and wash the surface with plain water first. No exceptions, because leftover fungicide can mess with your primer and topcoat adhesion.
My rule of thumb is to check the label, set a timer, and don’t get impatient. A proper wet edge and smooth topcoat depend on a clean, dry surface, so giving the wash its full time saves you from brush strokes and lap marks later.
If you’re working indoors, keep VOC levels down by opening windows and using a drop cloth to catch drips. Painter’s tape around edges protects trim, and a satin or matte finish hides any slight residue better than gloss.
Remember that drying time and cure time are not the same. A wash may feel dry, but the chemicals need hours or days to fully kill spores, so rushing leads to staining under your varnish or polyurethane.
Low-VOC water-based formulas are worth prioritizing here, as they reduce fumes while you wait and help prevent streaky residue that can compromise the surface before you paint.
Safety: Protecting Yourself, Drains, and Plants During Application
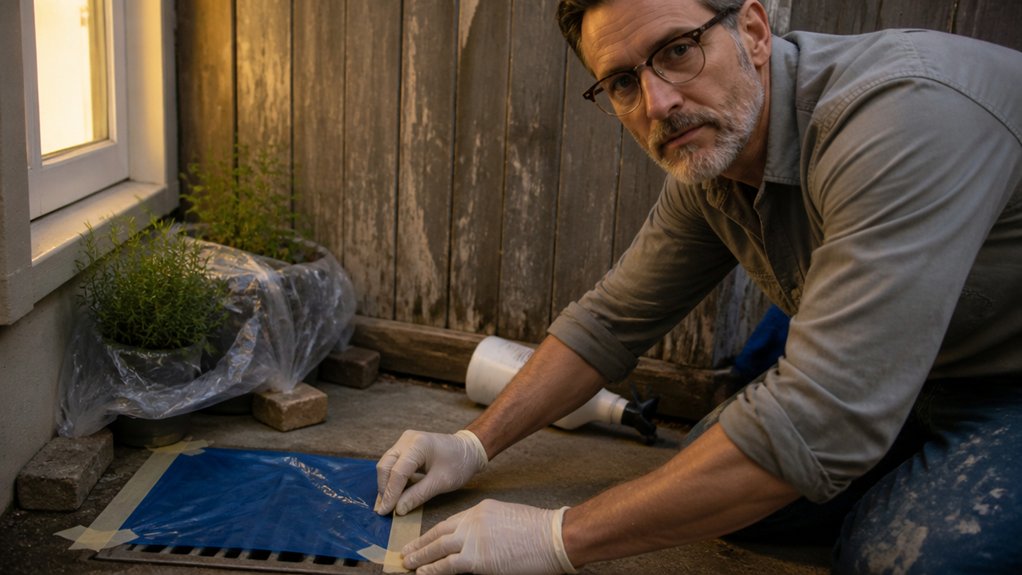
Spraying a fungicide means handling chemicals built to kill living things, so suit up completely. I put on chemical-resistant coveralls, goggles, and a respirator every time, and that’s just basic sense, not paranoia.
Gloves alone won’t cut it, and you don’t want this stuff soaking into your skin. Before I mix anything, I also check the wind and cover nearby surfaces with a drop cloth, just like I would before spraying a finish.
Drain runoff is a serious issue, because fungicidal wash can poison aquatic life. I always block storm drains with sandbags or absorbent mats, and I keep a pH neutralizer on hand to knock down toxicity if a spill happens.
Think of it like prepping a floor for a topcoat: you seal off the trouble spots before you start. For plants, I set up plastic sheeting or old buckets as barriers, much like using painter’s tape to protect trim.
It’s a bit of a hassle, but it beats wrecking your prize roses over a patch of moss. The same logic applies to paint: a good primer protects the surface underneath, and here you’re protecting living things.
Keep a wet edge on your work, so to speak, by staying organized and ready. Drying time for the chemical matters, but cure time for the soil and water is what really counts.
VOCs in the spray are another reason to use a respirator, not just a dust mask. You want low-VOC products when you can find them, and you want to work when the air is still.
After the job, store any leftover wash in a sealed container, never pour it down a drain. Sanding grit and brush strokes don’t apply here, but patience does: let everything dry completely before you remove the barriers.
Protect yourself, your drains, and your greenery from the start. Do it right, and you won’t have to regret a sloppy morning later. For maximum coverage, choose a suit with elastic wrists and ankles to seal out overspray and drips.
Post-Treatment: Removing Dead Growth and Prepping for Paint
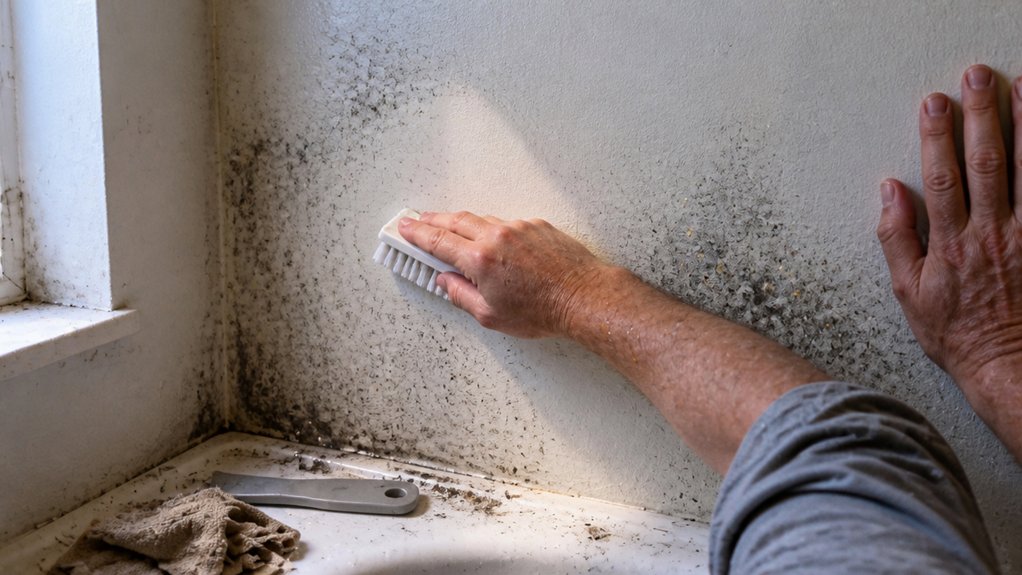
Killing the mold is only half the job. You have to scrape off the dead growth so it doesn’t stain your paint or primer later.
Killing the mold is only half the job—scrape off the dead growth so it won’t stain your paint later.
Use a wire brush or a paint scraper to lift the debris, then rinse with clean water from the top down. Avoid high pressure in cracks and seams, because that forces spores deeper into the wood. Bag the scraped material and toss it in the trash; don’t leave it on the lawn to compost.
Work through this checklist before you even open a can of primer. First, scrape every bit of dead mold with a wire brush. Second, rinse the surface thoroughly with a hose or bucket of clean water.
Let the wood dry completely before painting. Drying time depends on humidity and sun, but give it at least a full day if you can.
Skipping the rinse is the fastest way to ruin your topcoat. Trapped residue makes paint bubble and peel, and you’ll be sanding and recoating within months.
Once the surface is dry, apply a quality primer with a brush or roller, keeping a wet edge to avoid lap marks. Then finish with a satin or gloss exterior paint, and check the label for recoat timing and cure time before heavy use.
Frequently Asked Questions
Can I Use Fungicidal Wash on Damp or Wet Surfaces?
Yes, you can use fungicidal wash on damp or wet surfaces, but it is not the ideal condition for proper performance. Dampness significantly reduces penetration, and the wash will simply sit on the surface instead of soaking into the wood or masonry.
I’d strongly suggest waiting until the substrate has dried for at least 24 to 48 hours after rain, or until a moisture meter reads below 18%. Applying onto a wet surface wastes product and can leave a patchy, ineffective film that encourages regrowth.
For a quick test, tape a 30 cm square of plastic sheeting to the wall overnight. If condensation forms underneath, the surface is still too wet to treat.
You could also swap to a higher concentration of biocide for stubborn stains, but absorption is the key to killing spores at the root. Using a fungicidal wash on a dry day, ideally with light breeze, will give you the best one-coat kill before priming.
Do I Need to Neutralize the Wash After It Dries?
No, you do not need to neutralize the wash after it dries, as the drying process is what activates the remaining active ingredients. Once the surface is fully dry, typically after 10 to 15 minutes at 70°F with good airflow, the residual effect continues breaking down the biofilm or stain.
Rinsing it away now would only stop that ongoing chemical action, so leave it be and let it finish the job. After it has cured, simply wipe away the dead growth with a damp cloth or a 120-grit sanding block for stubborn spots.
This approach works equally well for alkaline washes, like a sodium hydroxide stripper, where the dry residue stays potent until you mechanically remove it. For best results, test a small corner first and watch for a powdery or chalky film, which signals the wash has done its work.
Can I Paint Over the Wash Without Rinsing It Off?
No, you can’t paint over the wash without rinsing it off, as the residual alkaline residue will compromise the new coating’s bond. This residue actively attacks the paint film, leading to peeling, blistering, and premature failure within months.
Always rinse the surface thoroughly with clean water, then allow it to dry completely, typically 24 hours depending on humidity. For best results, use a garden hose or pressure washer on a low setting to remove all traces of the wash solution.
After rinsing, do a quick adhesion test by pressing duct tape onto the surface and pulling it off; if any film lifts, rinse again. You can also lightly sand with 120-grit to scuff the surface, which improves mechanical grip. This extra step, often called “deglossing,” ensures your topcoat lasts for years, so skip the shortcut and rinse.
What Temperature Is Too Cold or Hot for Application?
The safe application window for coatings sits between 5 and 40°C, but the ideal range is 15 to 25°C. Outside that sweet spot, you risk poor curing or flash-off before the product can bond properly.
Below 5°C, most water-based washes won’t cure, leaving a soft, tacky film that fails adhesion tests. Above 40°C, the solvent evaporates too fast, causing blushing or a dusty, uneven finish. Always check the dew point, too: apply only when the surface temperature is at least 3°C above it, or you’ll trap moisture under the film.
For a practical tip, wait for a dry, overcast morning in spring or autumn. At 20°C, a single coat of acrylic sealer typically dries to the touch in 30 minutes, but recoat after 2 hours for best results. If you’re working in borderline cold, use a slow thinner or a warmer additive, as these adjust the curing profile safely.
How Soon Can I Reapply if Growth Persists?
You can reapply typically within 24 hours if growth persists, but only after confirming the surface is fully dry. Check for green or black patches, which signal active mold or mildew, and address them with a biocide wash before any recoat.
If the stain or sealer is still tacky, give it more time, as humidity slows curing. For example, on exterior cedar, a 24 hour window works well in dry weather but stretch it to 48 hours in damp conditions. Always verify the manufacturer’s recoat interval on the can, since some oils need overnight while water based products may accept a second coat sooner.
Persistent growth means you must also sand lightly with 120 grit to break the film and improve adhesion, then wipe off dust before recoating. Skip adding extra coats if the growth is surface only, since that can trap moisture and worsen the problem. Search for fungicidal wash as a related treatment tip if the patches return quickly.
Rounding Up
Applying fungicidal washes means scraping and sanding the dead growth after the wash has dried, since the article only covers that final prep step. Check the surface is fully dry before you start scraping, and use a stiff scraper to remove all dead matter. Then sand lightly to smooth the wall, because this quick step prevents a full repaint next spring.
Write down your drying time and weather conditions from the label, and compare them to what the article says about staying patient. Test a small patch with the scraper first, and ask yourself if the growth lifts easily, which confirms the wash worked.
Keep the wall dry throughout the process, and that effort buys you years of clean walls.
Read next: applying primer before repainting cured masonry.